How to Use Inkbird Thermostat: Examples, Pinouts, and Specs
Introduction
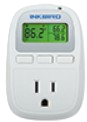
The Inkbird Thermostat (C929) is a digital temperature controller designed to regulate heating and cooling systems with precision. Manufactured by Inkbird, this versatile device features programmable settings, making it ideal for maintaining desired temperature ranges in a variety of applications. Its user-friendly interface and reliable performance make it a popular choice for both hobbyists and professionals.
Explore Projects Built with Inkbird Thermostat

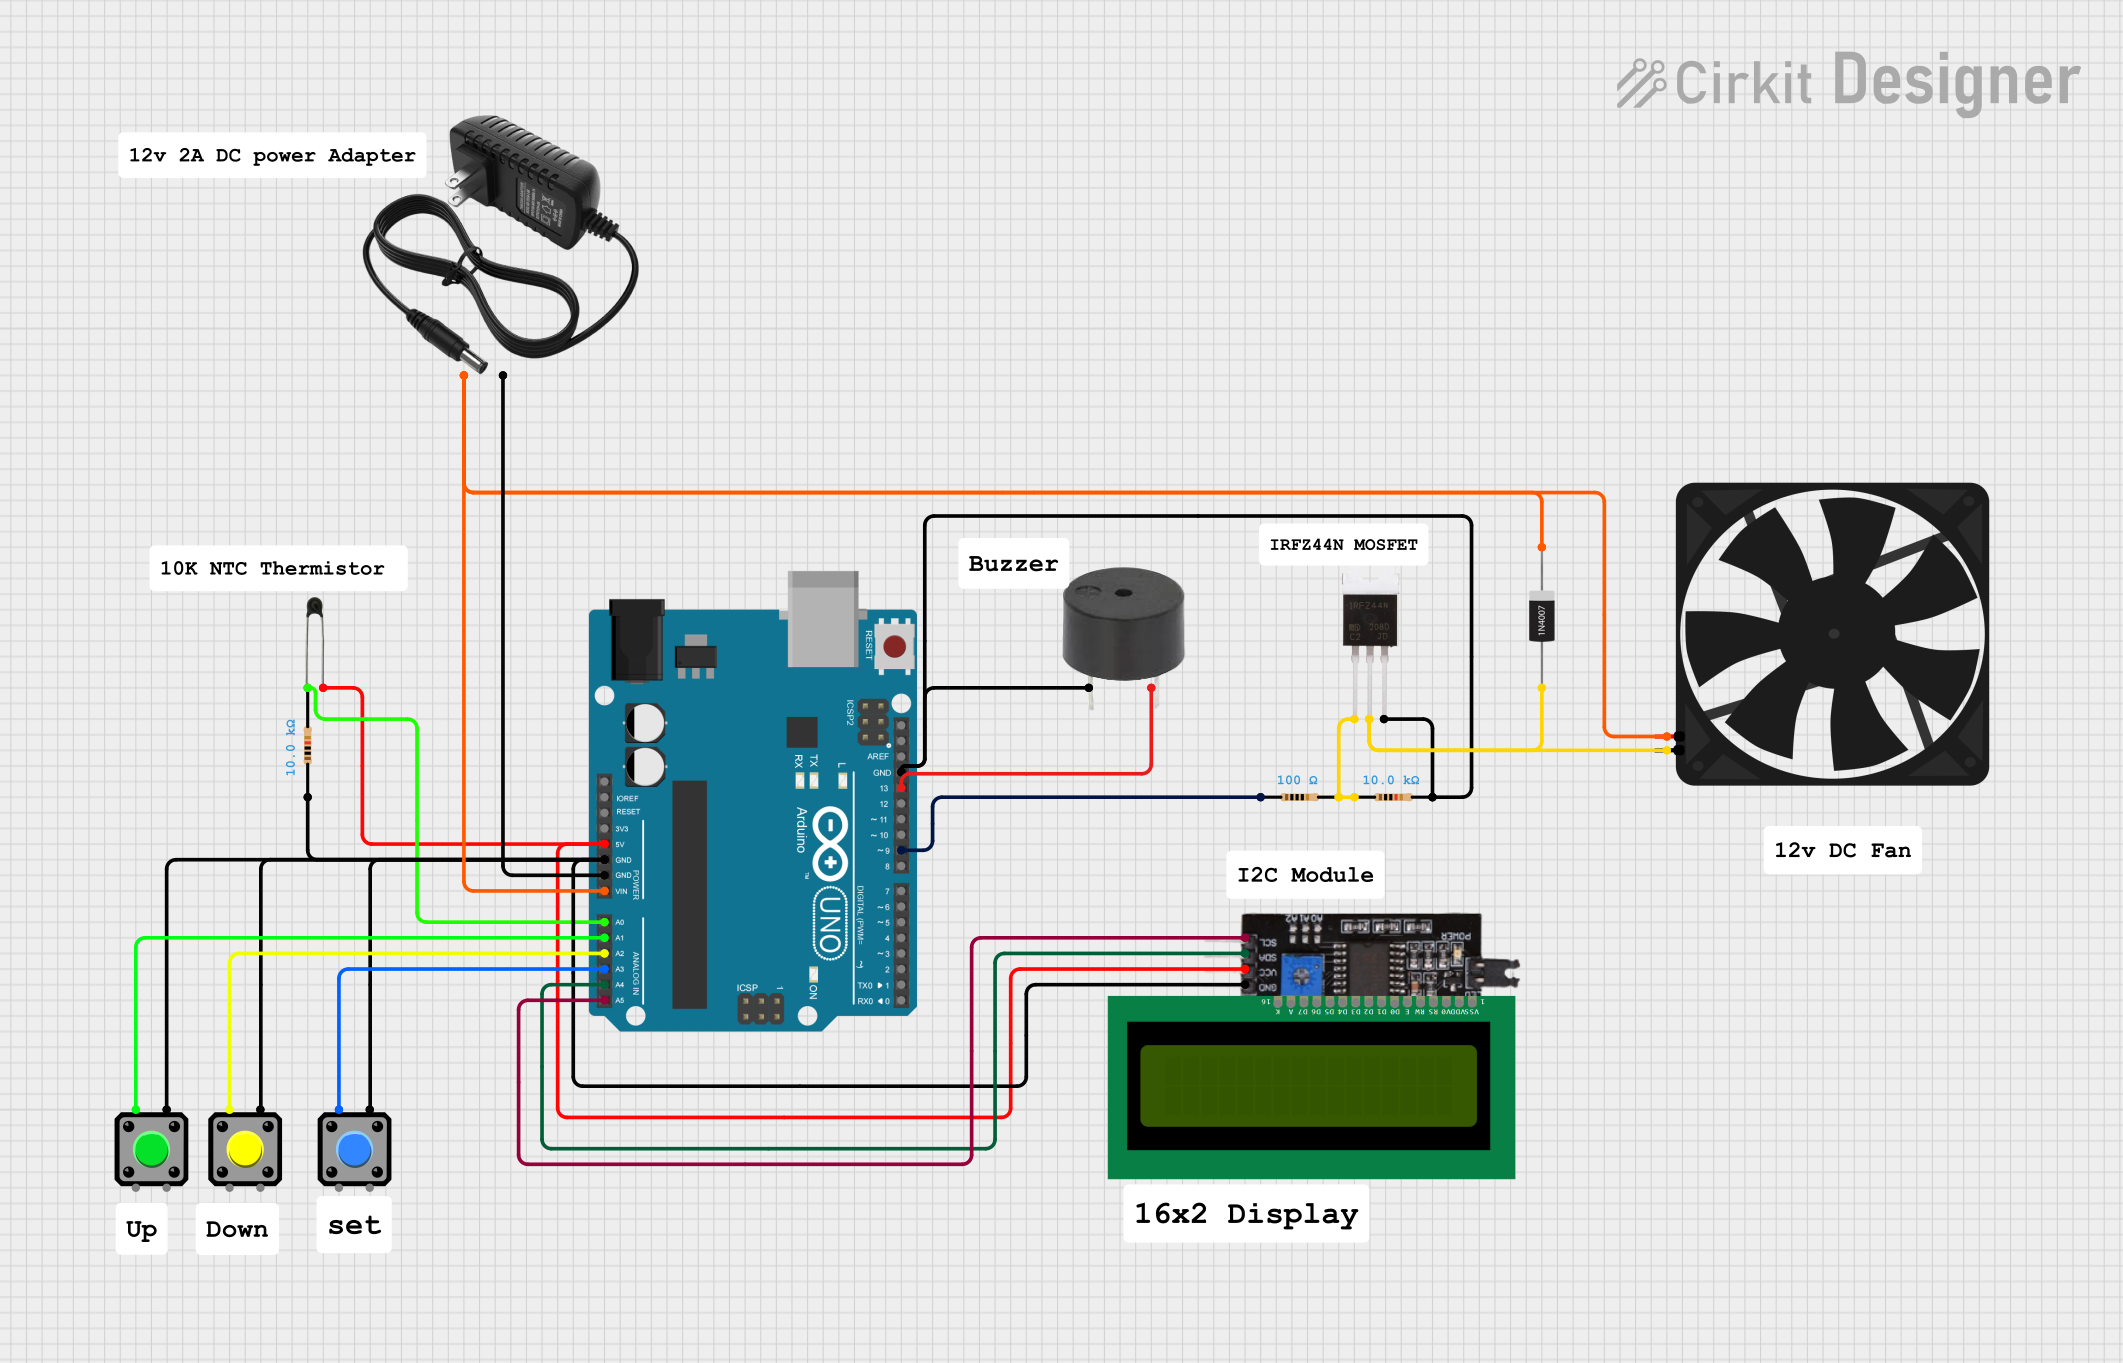

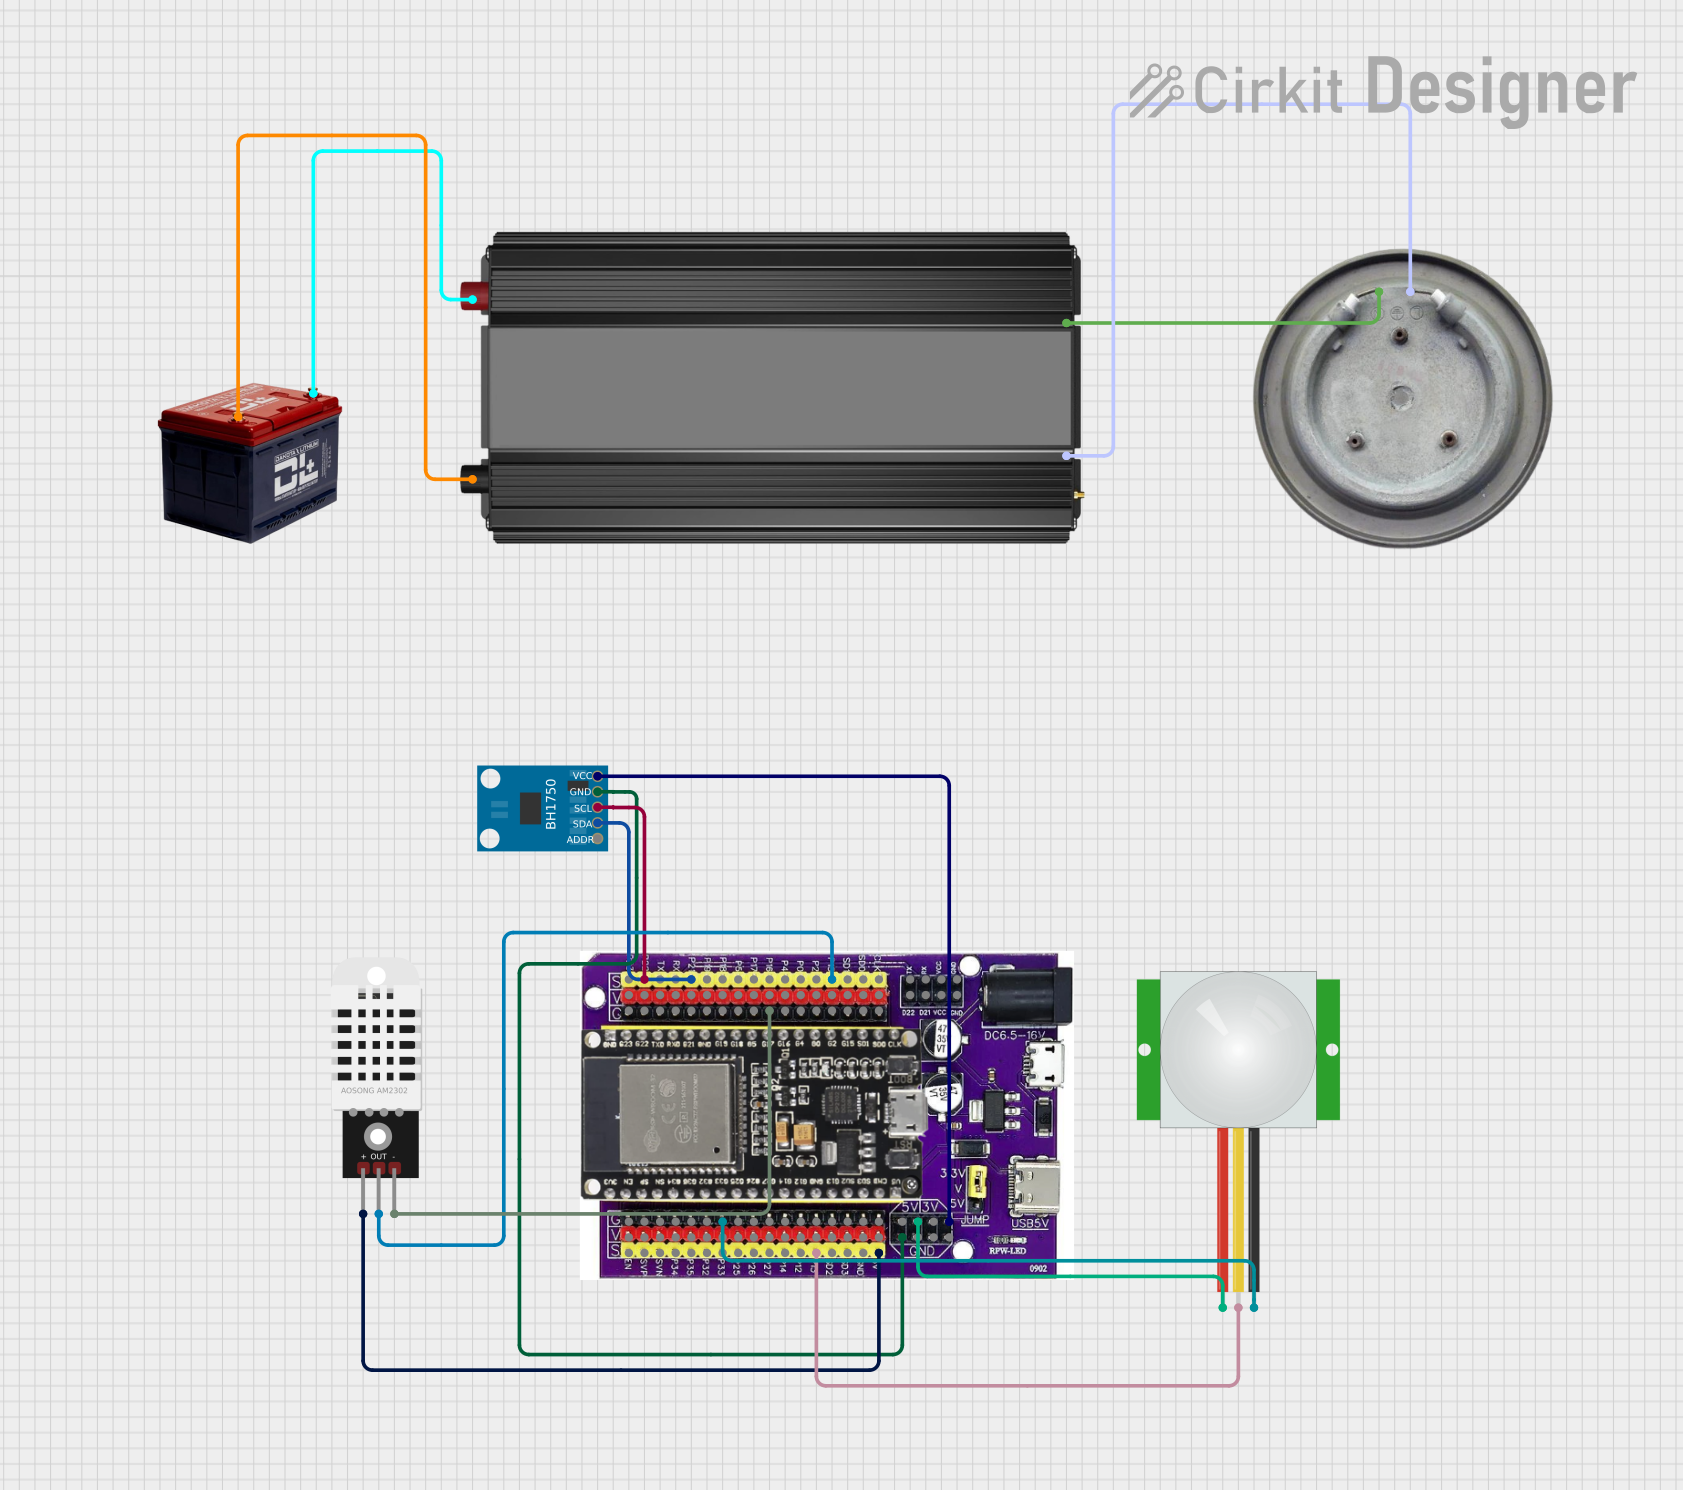
Explore Projects Built with Inkbird Thermostat
Common Applications and Use Cases
- Home brewing and fermentation temperature control
- Aquarium and reptile habitat heating
- Greenhouse climate regulation
- HVAC systems
- Industrial temperature monitoring and control
Technical Specifications
The Inkbird C929 Thermostat is equipped with advanced features to ensure accurate and reliable temperature control. Below are its key technical details:
Key Technical Details
| Parameter | Specification |
|---|---|
| Input Voltage | 100-240V AC, 50/60Hz |
| Temperature Range | -40°C to 100°C (-40°F to 212°F) |
| Temperature Accuracy | ±1°C (±1.8°F) |
| Output Power | Max 10A, 2400W (at 240V) |
| Sensor Type | NTC Thermistor (10kΩ) |
| Display Type | LED digital display |
| Control Modes | Heating and cooling |
| Programmable Settings | Adjustable temperature setpoints, |
| hysteresis, and delay protection |
Pin Configuration and Descriptions
The Inkbird C929 Thermostat features a simple wiring interface for connecting power, sensors, and controlled devices. Below is the pin configuration:
| Pin Number | Label | Description |
|---|---|---|
| 1 | L (Live) | Live input for AC power |
| 2 | N (Neutral) | Neutral input for AC power |
| 3 | Heating Out | Output for heating device (e.g., heater) |
| 4 | Cooling Out | Output for cooling device (e.g., fan or cooler) |
| 5 | Sensor Input | Input for the NTC temperature sensor |
Usage Instructions
The Inkbird C929 Thermostat is straightforward to use and can be integrated into a variety of systems. Follow the steps below to set up and operate the device:
Step 1: Wiring the Thermostat
- Power Connection: Connect the live (L) and neutral (N) wires from your AC power source to pins 1 and 2, respectively.
- Heating Device: Connect the heating device (e.g., a heater) to the "Heating Out" terminal (pin 3).
- Cooling Device: Connect the cooling device (e.g., a fan or cooler) to the "Cooling Out" terminal (pin 4).
- Sensor Connection: Plug the NTC thermistor sensor into the "Sensor Input" terminal (pin 5).
Step 2: Configuring the Thermostat
- Power on the thermostat by supplying AC power.
- Use the buttons on the front panel to set the desired temperature range:
- Set Temperature: Adjust the target temperature for heating or cooling.
- Hysteresis: Define the allowable temperature deviation before switching.
- Delay Protection: Set a delay time to protect connected devices from rapid cycling.
- Save the settings and allow the thermostat to begin regulating the temperature.
Step 3: Monitoring and Adjustments
- The LED display shows the current temperature in real-time.
- Adjust settings as needed using the control buttons.
Arduino Integration Example
The Inkbird C929 Thermostat can be used alongside an Arduino UNO for advanced automation. Below is an example of how to monitor the thermostat's output using Arduino:
// Example: Reading the Inkbird Thermostat's output with Arduino
// This code assumes the thermostat's heating or cooling output is connected
// to a digital input pin on the Arduino.

const int heatingPin = 2; // Pin connected to the thermostat's heating output
const int coolingPin = 3; // Pin connected to the thermostat's cooling output

void setup() {
  pinMode(heatingPin, INPUT); // Set heating pin as input
  pinMode(coolingPin, INPUT); // Set cooling pin as input
  Serial.begin(9600);         // Initialize serial communication
}

void loop() {
  int heatingState = digitalRead(heatingPin); // Read heating output state
  int coolingState = digitalRead(coolingPin); // Read cooling output state

  // Print the states to the Serial Monitor
  Serial.print("Heating Output: ");
  Serial.println(heatingState ? "ON" : "OFF");
  Serial.print("Cooling Output: ");
  Serial.println(coolingState ? "ON" : "OFF");

  delay(1000); // Wait 1 second before reading again
}
Important Considerations and Best Practices
- Ensure the connected devices do not exceed the thermostat's maximum output power rating (10A, 2400W).
- Place the NTC sensor in a location that accurately represents the temperature of the controlled environment.
- Use proper insulation and secure connections to prevent electrical hazards.
- Avoid exposing the thermostat to water or extreme environmental conditions.
Troubleshooting and FAQs
Common Issues and Solutions
Thermostat Not Powering On
- Cause: Incorrect wiring or no power supply.
- Solution: Verify the live (L) and neutral (N) connections and ensure the power source is active.
Inaccurate Temperature Readings
- Cause: Faulty or improperly placed sensor.
- Solution: Check the sensor connection and ensure it is positioned correctly.
Heating or Cooling Device Not Activating
- Cause: Device not connected properly or exceeds power rating.
- Solution: Verify the wiring and ensure the device's power requirements are within the thermostat's limits.
Rapid Cycling of Devices
- Cause: Hysteresis or delay protection not configured.
- Solution: Adjust the hysteresis and delay protection settings to prevent frequent switching.
FAQs
Q: Can the Inkbird C929 Thermostat be used with DC-powered devices?
A: No, the thermostat is designed for AC-powered devices only. Ensure all connected devices are compatible with the specified voltage and current ratings.
Q: Is the NTC sensor waterproof?
A: Yes, the included NTC thermistor sensor is waterproof and suitable for use in humid or wet environments.
Q: Can I use the thermostat for both heating and cooling simultaneously?
A: Yes, the thermostat can control both heating and cooling devices at the same time, provided they are wired correctly.
Q: How do I reset the thermostat to factory settings?
A: Refer to the user manual for the specific reset procedure, which typically involves holding down certain buttons for a few seconds.
By following this documentation, users can effectively utilize the Inkbird C929 Thermostat for precise temperature control in various applications.