Cirkit Designer
Your all-in-one circuit design IDE
Home /
Component Documentation
How to Use Pushbutton: Examples, Pinouts, and Specs
Introduction
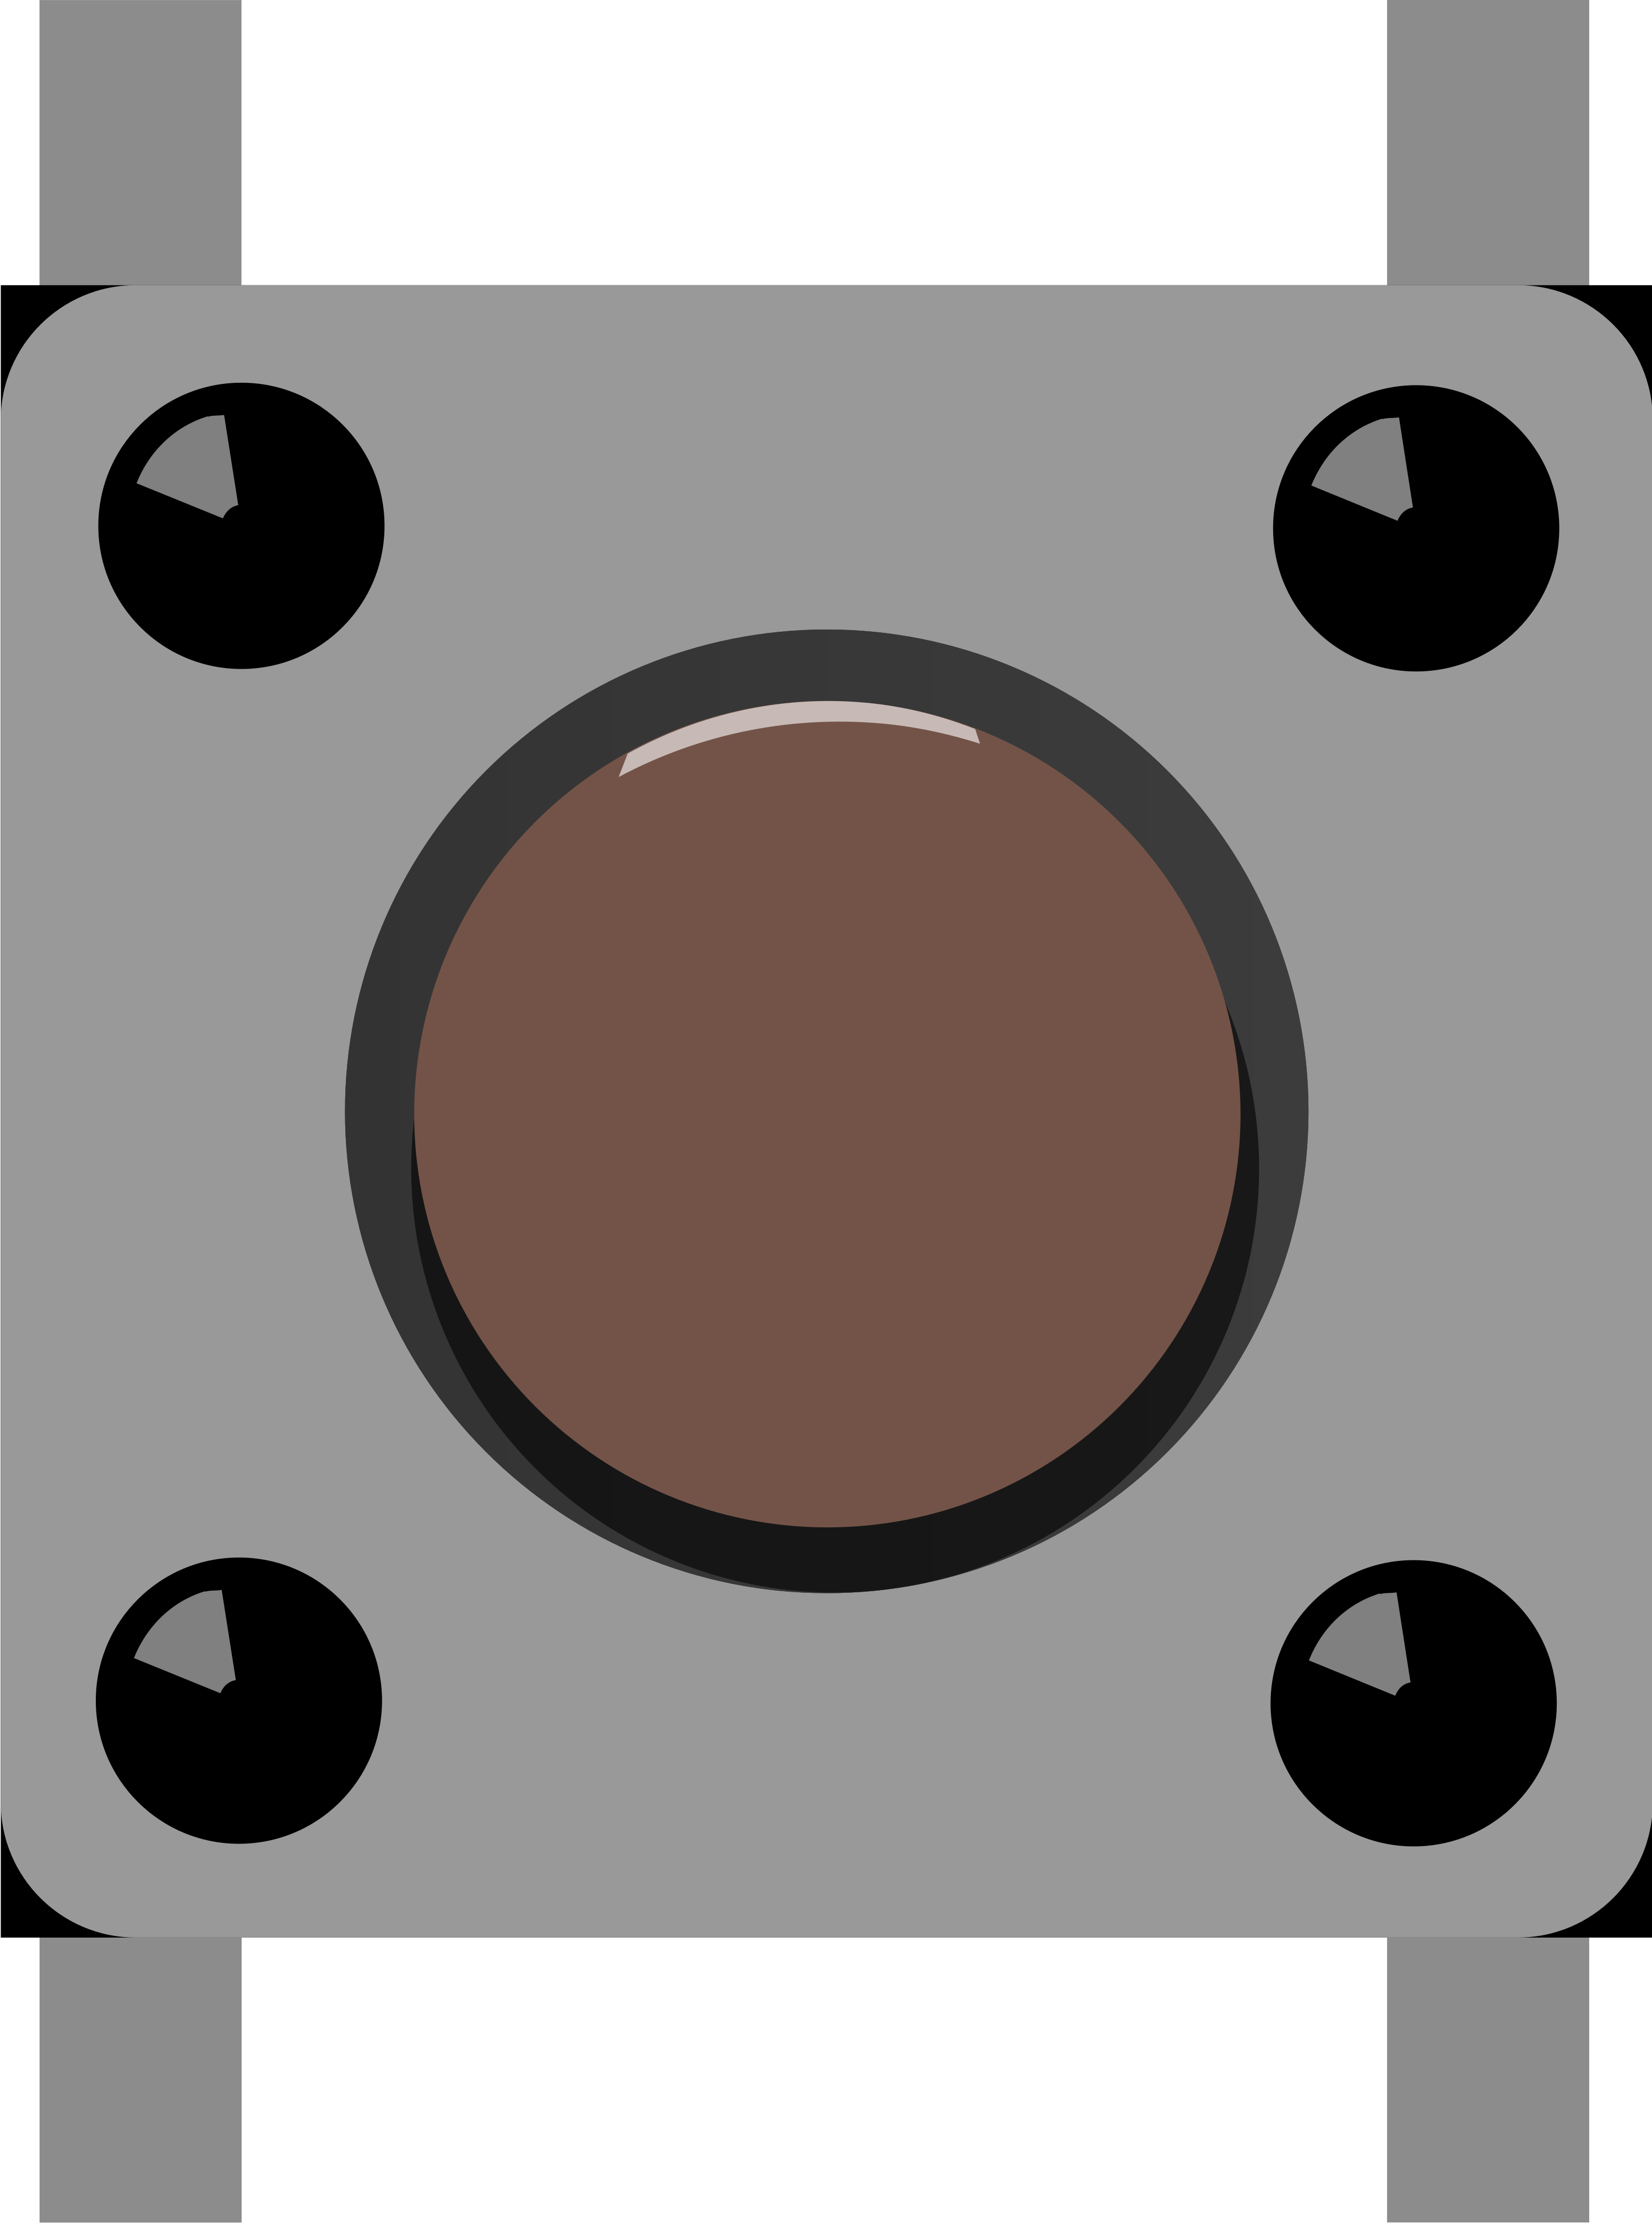
A pushbutton is a simple switch mechanism for controlling some aspect of a machine or a process. It is typically used to start or stop a circuit by pressing the button. Pushbuttons are widely used in various electronic projects and devices due to their simplicity and reliability. They are commonly found in consumer electronics, industrial machinery, and DIY electronics projects.
Explore Projects Built with Pushbutton
Pushbutton-Controlled Interface with 40-Pin Connector and UBS Power Supply

This circuit consists of a 40-pin connector interfacing with four pushbuttons and a UBS power supply. The pushbuttons are used as inputs to the connector, which then relays the signals to other components or systems. The UBS power supply provides the necessary 24V power to the pushbuttons and the common ground for the circuit.
Raspberry Pi 5 Pushbutton Input Circuit
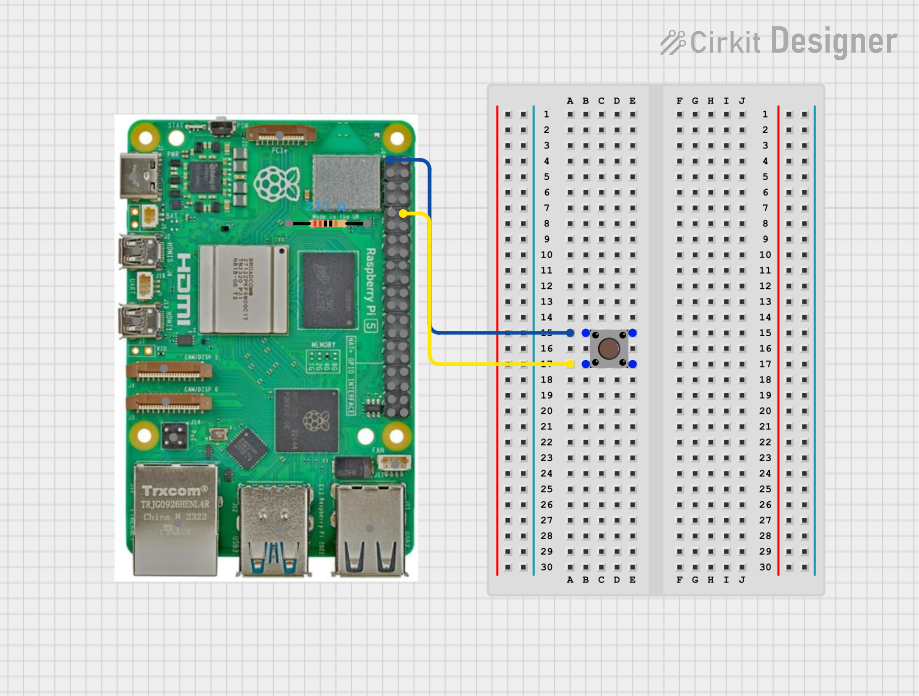
This circuit features a Raspberry Pi 5 connected to a pushbutton. The pushbutton is powered by the 3.3V pin of the Raspberry Pi and its output is connected to GPIO 15, allowing the Raspberry Pi to detect button presses.
Arduino UNO Pushbutton Input with 10k Ohm Resistor

This circuit features an Arduino UNO microcontroller connected to a pushbutton and a 10k Ohm resistor. The pushbutton is powered by the 5V pin of the Arduino, and its state is read through digital pin D2, with the resistor providing a pull-down to ground.
Battery-Powered Multi-Button Controller with Seeed Studio nRF52840
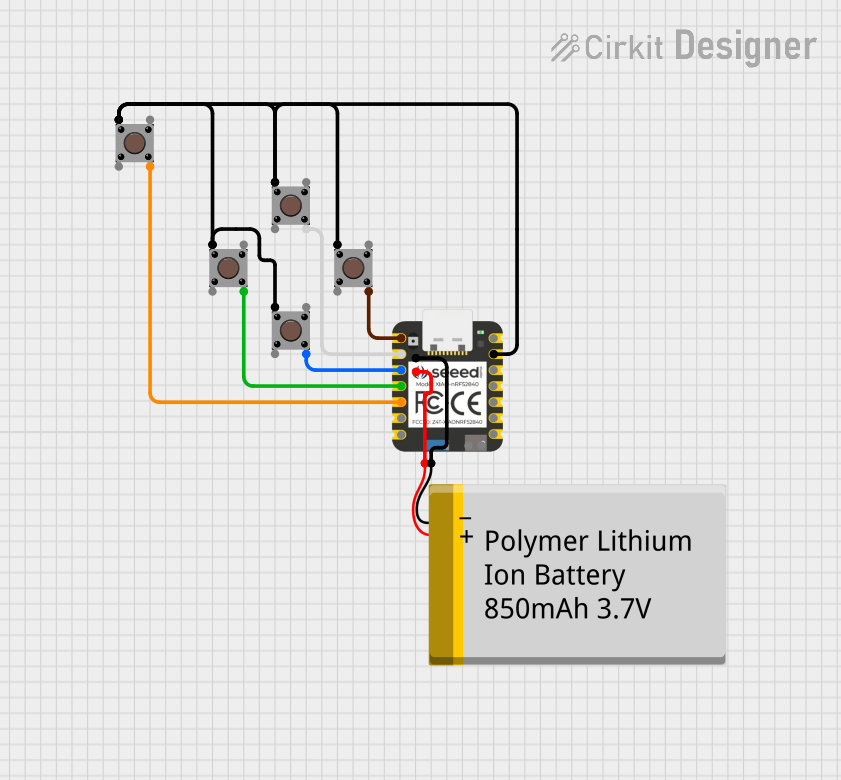
This circuit consists of five pushbuttons connected to a Seeed Studio nRF52840 microcontroller, which is powered by a Polymer Lithium Ion Battery. Each pushbutton is connected to a different GPIO pin on the microcontroller, allowing for individual button press detection and processing.
Explore Projects Built with Pushbutton
Pushbutton-Controlled Interface with 40-Pin Connector and UBS Power Supply
This circuit consists of a 40-pin connector interfacing with four pushbuttons and a UBS power supply. The pushbuttons are used as inputs to the connector, which then relays the signals to other components or systems. The UBS power supply provides the necessary 24V power to the pushbuttons and the common ground for the circuit.
Raspberry Pi 5 Pushbutton Input Circuit
This circuit features a Raspberry Pi 5 connected to a pushbutton. The pushbutton is powered by the 3.3V pin of the Raspberry Pi and its output is connected to GPIO 15, allowing the Raspberry Pi to detect button presses.
Arduino UNO Pushbutton Input with 10k Ohm Resistor
This circuit features an Arduino UNO microcontroller connected to a pushbutton and a 10k Ohm resistor. The pushbutton is powered by the 5V pin of the Arduino, and its state is read through digital pin D2, with the resistor providing a pull-down to ground.
Battery-Powered Multi-Button Controller with Seeed Studio nRF52840
This circuit consists of five pushbuttons connected to a Seeed Studio nRF52840 microcontroller, which is powered by a Polymer Lithium Ion Battery. Each pushbutton is connected to a different GPIO pin on the microcontroller, allowing for individual button press detection and processing.
Common Applications and Use Cases
- Consumer Electronics: Power buttons on devices like TVs, computers, and gaming consoles.
- Industrial Machinery: Start/stop controls for machines and equipment.
- DIY Electronics Projects: User input for microcontroller-based projects, such as Arduino.
- Automotive: Horns, lights, and other control switches in vehicles.
Technical Specifications
Key Technical Details
- Voltage Rating: Typically 12V DC (varies by model)
- Current Rating: Typically 50mA to 1A (varies by model)
- Contact Resistance: ≤ 100mΩ
- Insulation Resistance: ≥ 100MΩ
- Operating Temperature: -20°C to +70°C
- Mechanical Life: 100,000 cycles
Pin Configuration and Descriptions
| Pin Number | Pin Name | Description |
|---|---|---|
| 1 | NO | Normally Open |
| 2 | COM | Common |
| 3 | NC | Normally Closed (optional feature) |
Usage Instructions
How to Use the Component in a Circuit
- Identify the Pins: Locate the NO (Normally Open), COM (Common), and NC (Normally Closed) pins on the pushbutton.
- Connect to Power Source: Connect the COM pin to the ground (GND) of your power source.
- Connect to Load: Connect the NO pin to one terminal of the load (e.g., an LED), and the other terminal of the load to the positive voltage supply.
- Press the Button: When the button is pressed, the circuit will close, allowing current to flow through the load.
Important Considerations and Best Practices
- Debouncing: Mechanical pushbuttons can produce multiple signals when pressed or released. Use hardware (capacitors) or software (debouncing code) to filter out these noise signals.
- Current Limiting: Use a current-limiting resistor in series with the load to prevent excessive current flow.
- Mounting: Ensure the pushbutton is securely mounted to avoid accidental disconnections.
Example Circuit with Arduino UNO
// Example code to read a pushbutton state with Arduino UNO

const int buttonPin = 2;  // Pin connected to the pushbutton
const int ledPin = 13;    // Pin connected to the onboard LED

int buttonState = 0;      // Variable to store the button state

void setup() {
  pinMode(buttonPin, INPUT);  // Set the button pin as input
  pinMode(ledPin, OUTPUT);    // Set the LED pin as output
  Serial.begin(9600);         // Initialize serial communication
}

void loop() {
  buttonState = digitalRead(buttonPin);  // Read the state of the button

  if (buttonState == HIGH) {  // If the button is pressed
    digitalWrite(ledPin, HIGH);  // Turn on the LED
    Serial.println("Button Pressed");
  } else {
    digitalWrite(ledPin, LOW);  // Turn off the LED
  }

  delay(50);  // Small delay for debouncing
}
Troubleshooting and FAQs
Common Issues Users Might Face
Button Not Responding:
- Solution: Check the wiring connections. Ensure the pushbutton is properly connected to the circuit.
LED Not Lighting Up:
- Solution: Verify the LED and resistor connections. Ensure the LED is not damaged and the resistor value is appropriate.
Multiple Signals on Button Press:
- Solution: Implement debouncing either through hardware (capacitors) or software (debouncing code).
Solutions and Tips for Troubleshooting
- Check Connections: Ensure all connections are secure and correct.
- Use a Multimeter: Measure the voltage and continuity to diagnose issues.
- Debouncing: Use a small delay in the code or add a capacitor across the button terminals to debounce the signal.
By following this documentation, users should be able to effectively integrate and troubleshoot a pushbutton in their electronic projects.