
How to Use Battery: Examples, Pinouts, and Specs
 Design with Battery in Cirkit Designer
Introduction
A battery is a device that stores electrical energy in chemical form and converts it into electrical energy to power electronic circuits. Batteries are widely used in various applications, ranging from small electronic devices like remote controls and smartphones to large systems such as electric vehicles and renewable energy storage. They are essential for providing portable and reliable power.
Common applications and use cases include:
- Powering portable electronic devices (e.g., smartphones, laptops, cameras)
- Backup power for critical systems (e.g., uninterruptible power supplies, emergency lighting)
- Energy storage in renewable energy systems (e.g., solar panels, wind turbines)
- Electric vehicles and robotics
Explore Projects Built with Battery
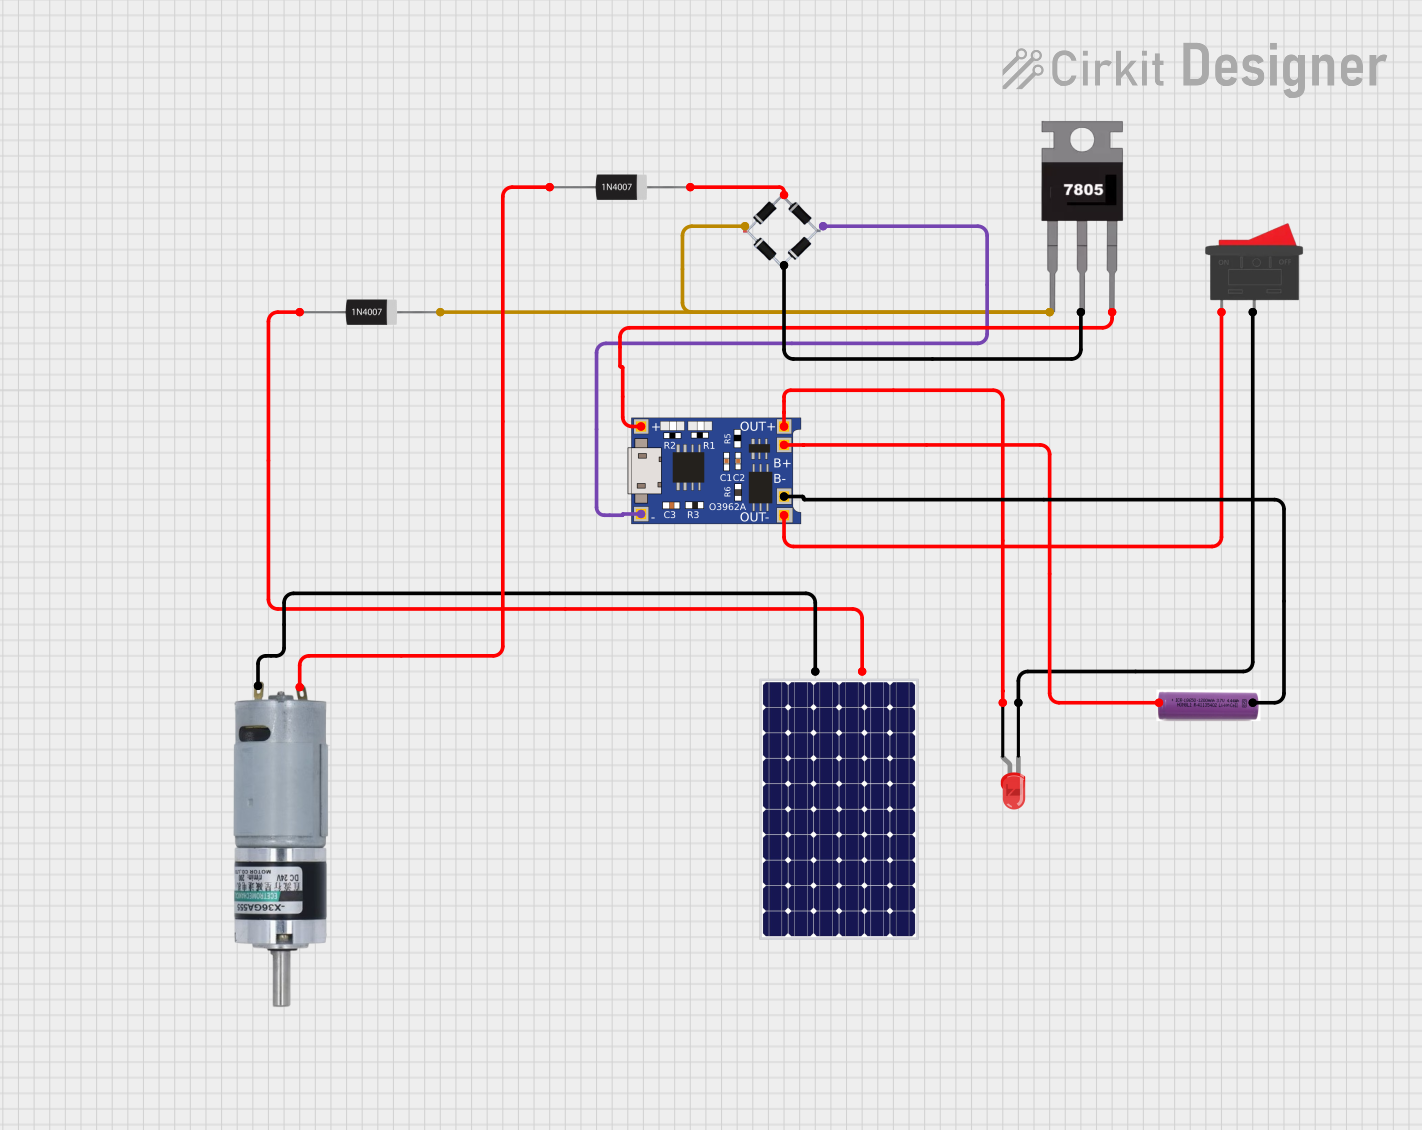 Open Project in Cirkit Designer
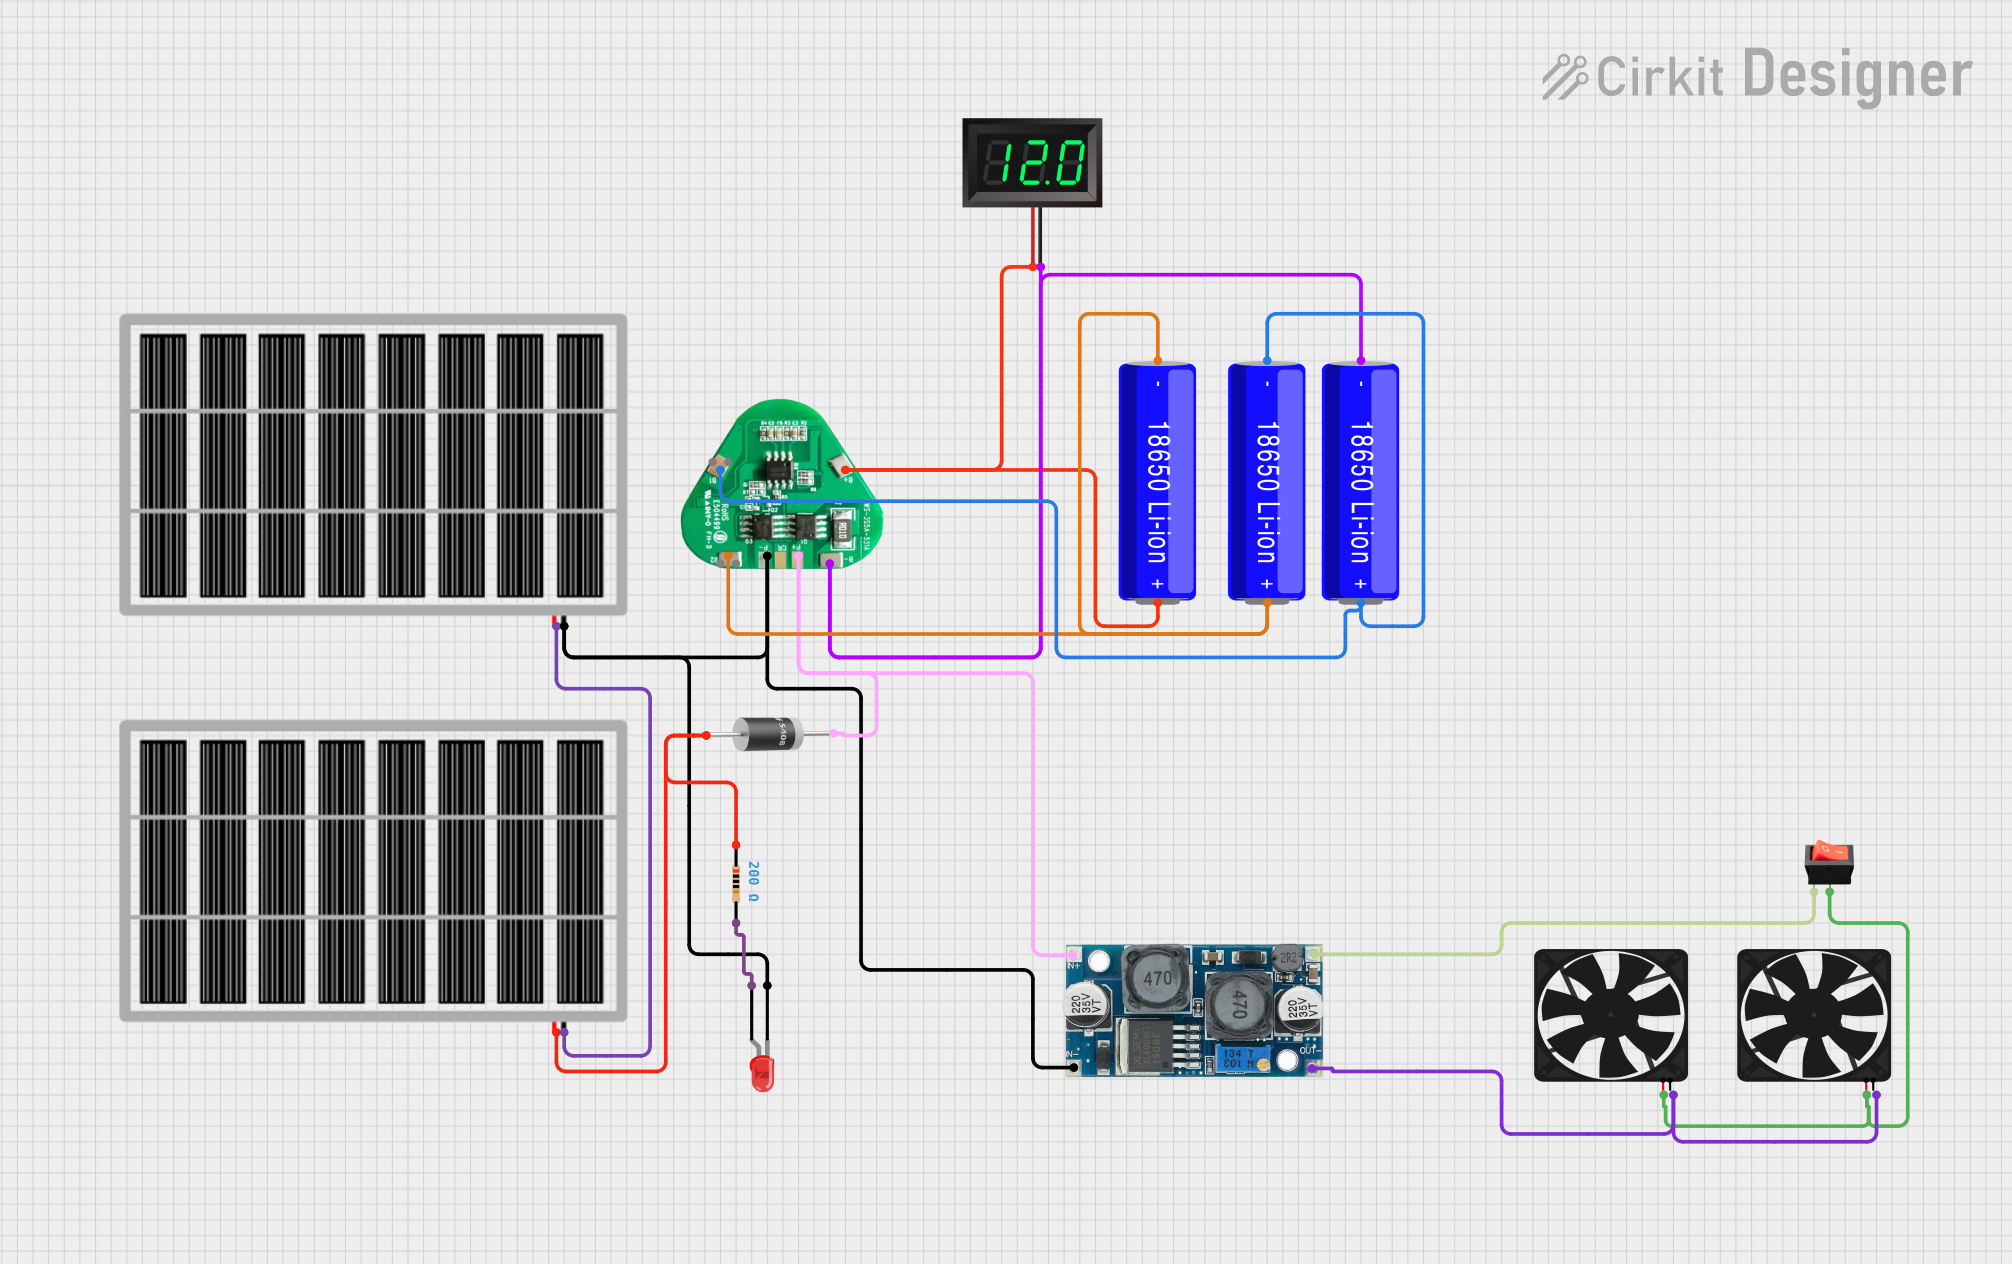 Open Project in Cirkit Designer
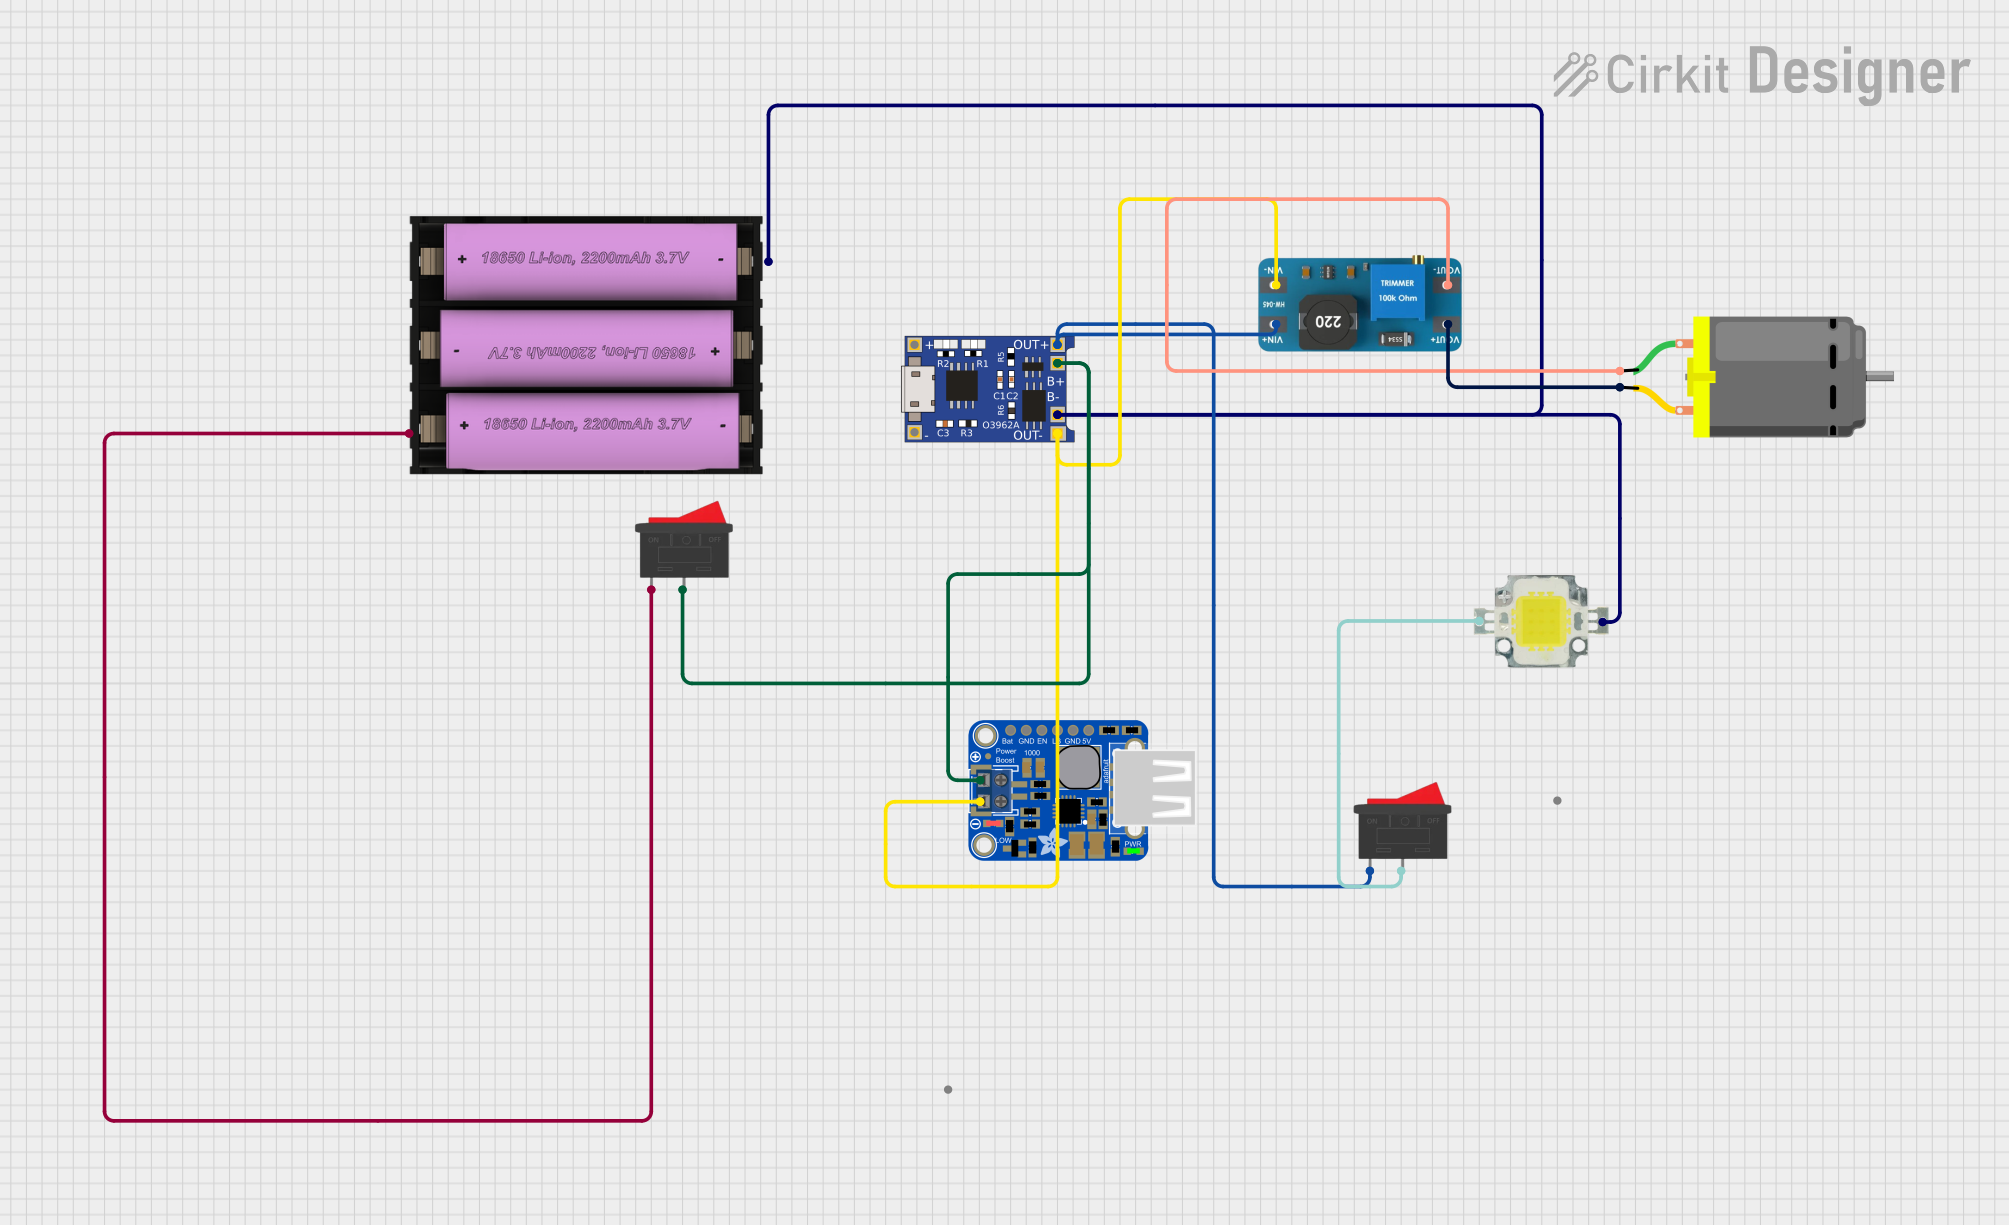 Open Project in Cirkit Designer
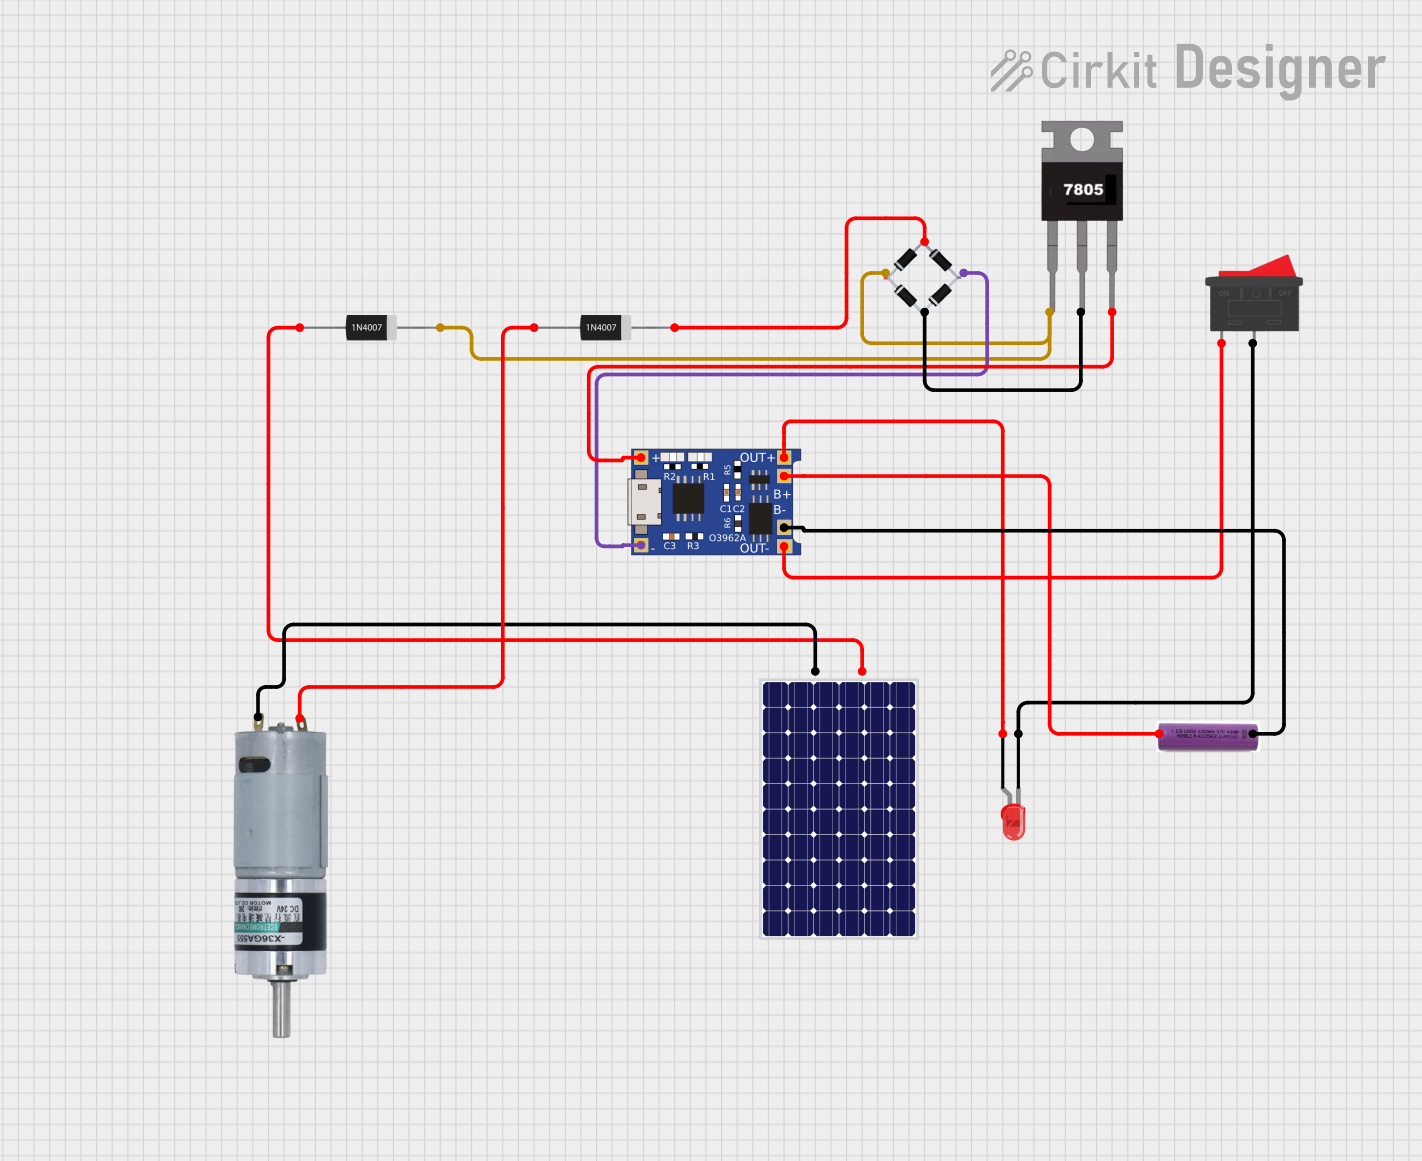 Open Project in Cirkit Designer
Explore Projects Built with Battery
Open Project in Cirkit DesignerOpen Project in Cirkit DesignerOpen Project in Cirkit DesignerOpen Project in Cirkit DesignerTechnical Specifications
The specifications of a battery vary depending on its type (e.g., alkaline, lithium-ion, lead-acid). Below are general technical details for a typical lithium-ion battery:
| Parameter | Specification |
|---|---|
| Nominal Voltage | 3.7V |
| Capacity | 1000mAh to 5000mAh (varies by model) |
| Maximum Charging Voltage | 4.2V |
| Discharge Cutoff Voltage | 3.0V |
| Maximum Discharge Current | 1C to 3C (varies by model) |
| Operating Temperature | -20°C to 60°C |
| Cycle Life | 300 to 1000 cycles |
Pin Configuration and Descriptions
For a typical rechargeable lithium-ion battery with a protection circuit, the pin configuration is as follows:
| Pin | Label | Description |
|---|---|---|
| 1 | + (Positive) | Positive terminal for power output and charging |
| 2 | - (Negative) | Negative terminal for power output and charging |
| 3 | T (Thermistor) | Optional pin for temperature monitoring (if available) |
Usage Instructions
How to Use the Battery in a Circuit
- Connect the Terminals Properly: Ensure the positive terminal of the battery is connected to the positive rail of the circuit, and the negative terminal is connected to the ground.
- Use a Battery Holder: For safety and convenience, use a battery holder or connector that matches the battery type and size.
- Include a Protection Circuit: For rechargeable batteries, use a protection circuit to prevent overcharging, over-discharging, and short circuits.
- Charge Safely: Use a charger specifically designed for the battery type (e.g., a lithium-ion battery charger for lithium-ion batteries).
Important Considerations and Best Practices
- Avoid Overcharging and Over-discharging: Overcharging can damage the battery, while over-discharging can reduce its capacity and lifespan.
- Monitor Temperature: Avoid using the battery in extreme temperatures, as this can affect performance and safety.
- Store Properly: Store batteries in a cool, dry place when not in use. For long-term storage, maintain a charge level of around 40-60%.
- Dispose Responsibly: Follow local regulations for recycling or disposing of batteries to minimize environmental impact.
Example: Connecting a Battery to an Arduino UNO
To power an Arduino UNO with a 9V battery, follow these steps:
- Connect the positive terminal of the 9V battery to the VIN pin on the Arduino.
- Connect the negative terminal of the battery to the GND pin on the Arduino.
Here is an example Arduino sketch to read the battery voltage using an analog pin:
// Define the analog pin connected to the battery voltage divider
const int batteryPin = A0;

// Define the voltage divider ratio (adjust based on your resistor values)
const float voltageDividerRatio = 2.0;

// Define the reference voltage of the Arduino (5V for most boards)
const float referenceVoltage = 5.0;

void setup() {
  Serial.begin(9600); // Initialize serial communication at 9600 baud
}

void loop() {
  int analogValue = analogRead(batteryPin); // Read the analog value
  // Calculate the battery voltage based on the analog value and divider ratio
  float batteryVoltage = (analogValue * referenceVoltage / 1023.0) * voltageDividerRatio;

  // Print the battery voltage to the Serial Monitor
  Serial.print("Battery Voltage: ");
  Serial.print(batteryVoltage);
  Serial.println(" V");

  delay(1000); // Wait for 1 second before the next reading
}
Troubleshooting and FAQs
Common Issues
Battery Drains Quickly
- Cause: High current draw or an old battery with reduced capacity.
- Solution: Check the circuit's power consumption and replace the battery if necessary.
Battery Overheats
- Cause: Overcharging, short circuit, or high discharge rate.
- Solution: Use a proper charger and ensure the circuit does not exceed the battery's maximum discharge current.
Battery Does Not Charge
- Cause: Faulty charger, damaged battery, or protection circuit issue.
- Solution: Test the charger and battery separately. Replace if needed.
Voltage Drops Below Expected Levels
- Cause: Battery nearing the end of its charge or excessive load.
- Solution: Recharge the battery or reduce the load on the circuit.
FAQs
Can I use any charger for my battery?
- No, always use a charger designed for your specific battery type to ensure safety and longevity.
How do I know when to replace a battery?
- Replace the battery if it no longer holds a charge, has visible damage, or shows significant performance degradation.
Is it safe to connect batteries in series or parallel?
- Yes, but ensure the batteries are of the same type, capacity, and charge level. Use balancing circuits for safety.
What is the difference between nominal voltage and maximum voltage?
- Nominal voltage is the average operating voltage, while maximum voltage is the highest voltage the battery can reach when fully charged.