How to Use JST SM Male Connector 4 Pin: Examples, Pinouts, and Specs
Introduction
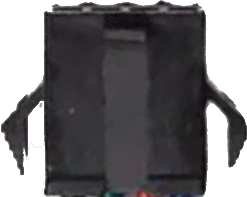
The JST SM Male Connector 4 Pin is a compact and reliable connector designed for secure electrical connections in a variety of electronic applications. Manufactured by Generic, this connector features a robust locking mechanism that ensures a stable connection, making it ideal for projects requiring durability and precision. Its 4-pin configuration allows for the transmission of multiple signals or power lines in a single connection.
Explore Projects Built with JST SM Male Connector 4 Pin


Explore Projects Built with JST SM Male Connector 4 Pin
Common Applications and Use Cases
- LED strip connections (e.g., RGB or RGBW LED strips)
- Robotics and automation systems
- Power and signal connections in drones and RC vehicles
- Audio and video equipment
- General-purpose wiring in DIY electronics projects
Technical Specifications
Below are the key technical details for the JST SM Male Connector 4 Pin:
| Parameter | Specification |
|---|---|
| Manufacturer | Generic |
| Manufacturer Part ID | 4 Pin Connector JST SM Male |
| Number of Pins | 4 |
| Connector Type | Male |
| Current Rating | Up to 3A |
| Voltage Rating | Up to 250V |
| Wire Gauge Compatibility | 22-28 AWG |
| Material | Plastic housing with metal contacts |
| Operating Temperature | -25°C to +85°C |
| Locking Mechanism | Snap-lock design |
Pin Configuration and Descriptions
The 4-pin JST SM Male Connector has the following pin configuration:
| Pin Number | Description | Typical Use |
|---|---|---|
| 1 | VCC (+) | Positive power supply |
| 2 | Signal 1 | Data or control signal 1 |
| 3 | Signal 2 | Data or control signal 2 |
| 4 | GND (-) | Ground connection |
Note: The pin assignments may vary depending on the application. Always verify the wiring diagram for your specific project.
Usage Instructions
How to Use the Component in a Circuit
- Prepare the Wires: Strip the insulation from the wires you intend to connect to the JST SM Male Connector. Ensure the exposed wire length matches the connector's crimping requirements.
- Crimp the Contacts: Use a crimping tool to attach the metal contacts to the stripped wires. Ensure a secure and firm crimp to avoid loose connections.
- Insert the Contacts: Push the crimped contacts into the connector housing until they click into place. The locking mechanism will secure them.
- Connect to the Female Connector: Align the male connector with the corresponding JST SM Female Connector and push them together until the snap-lock mechanism engages.
- Verify the Connection: Test the connection for continuity and proper signal transmission before powering the circuit.
Important Considerations and Best Practices
- Wire Gauge: Use wires within the recommended range (22-28 AWG) to ensure proper crimping and electrical performance.
- Polarity: Double-check the polarity and pin assignments to avoid damaging your components.
- Locking Mechanism: Ensure the connectors are fully engaged to prevent accidental disconnections.
- Environmental Conditions: Avoid exposing the connector to extreme temperatures or moisture unless additional protection is applied.
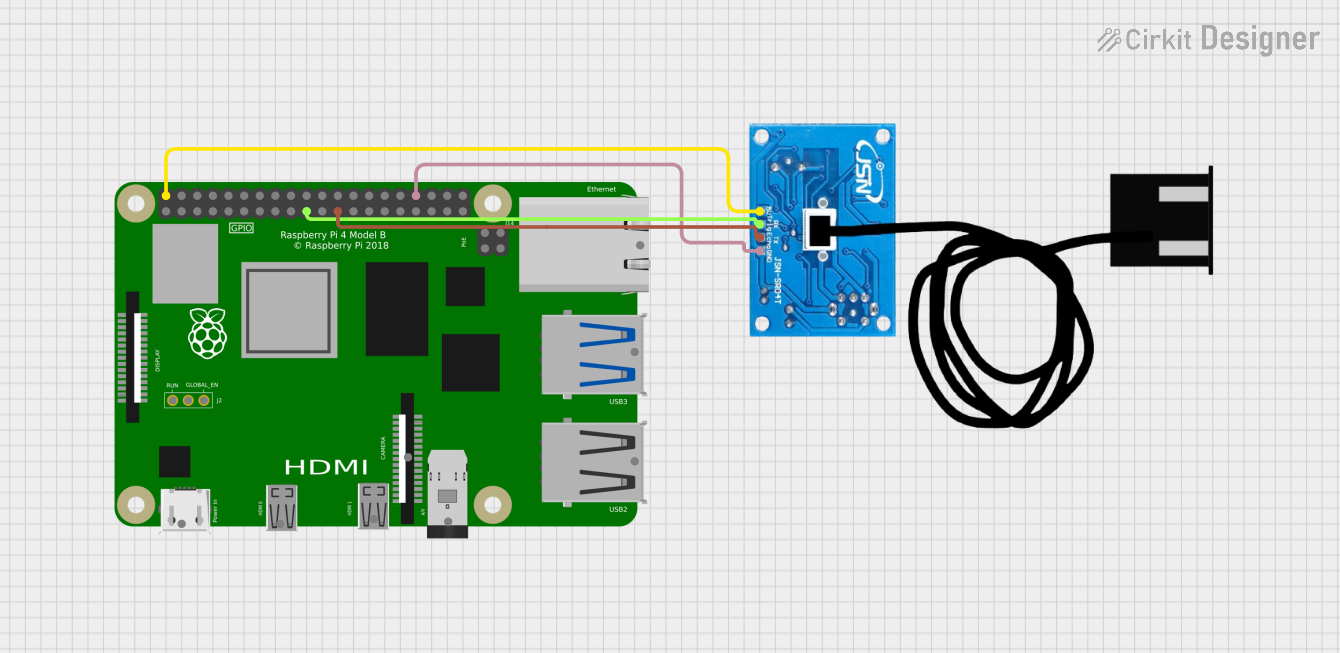
Example: Connecting to an Arduino UNO
The JST SM Male Connector can be used to connect an RGB LED strip to an Arduino UNO. Below is an example wiring and code snippet:
Wiring Diagram
- Pin 1 (VCC): Connect to the 5V pin on the Arduino.
- Pin 2 (Signal 1): Connect to digital pin 9 (Red LED control).
- Pin 3 (Signal 2): Connect to digital pin 10 (Green LED control).
- Pin 4 (GND): Connect to the GND pin on the Arduino.
Arduino Code Example
// Example code to control an RGB LED strip using Arduino UNO
// Ensure the JST SM Male Connector is properly wired to the LED strip

#define RED_PIN 9    // Pin connected to the red channel
#define GREEN_PIN 10 // Pin connected to the green channel

void setup() {
  pinMode(RED_PIN, OUTPUT);  // Set red pin as output
  pinMode(GREEN_PIN, OUTPUT); // Set green pin as output
}

void loop() {
  // Turn on the red LED
  digitalWrite(RED_PIN, HIGH);
  digitalWrite(GREEN_PIN, LOW);
  delay(1000); // Wait for 1 second

  // Turn on the green LED
  digitalWrite(RED_PIN, LOW);
  digitalWrite(GREEN_PIN, HIGH);
  delay(1000); // Wait for 1 second
}
Note: Modify the code as needed for your specific application, such as adding a blue channel or using PWM for brightness control.
Troubleshooting and FAQs
Common Issues Users Might Face
Loose Connections: The connector may not lock properly if the contacts are not fully inserted into the housing.
- Solution: Ensure the crimped contacts click into place and the locking mechanism is engaged.
Incorrect Wiring: Miswiring the pins can lead to malfunction or damage to connected components.
- Solution: Double-check the pin configuration and wiring diagram before powering the circuit.
Signal Interference: Poor-quality wires or long cable runs may introduce noise or signal degradation.
- Solution: Use shielded cables or keep wire lengths as short as possible.
Overcurrent or Overvoltage: Exceeding the current or voltage rating can damage the connector.
- Solution: Ensure the connected load does not exceed the specified ratings (3A, 250V).
FAQs
Q: Can I use this connector for high-power applications?
A: The JST SM Male Connector is rated for up to 3A and 250V. For higher power applications, consider using connectors with higher current and voltage ratings.
Q: How do I remove the contacts from the housing?
A: Use a small flathead screwdriver or a pin removal tool to gently release the locking tab and pull the contact out.
Q: Is this connector waterproof?
A: No, the JST SM Male Connector is not waterproof. For outdoor or moisture-prone environments, use additional waterproofing measures such as heat shrink tubing or silicone sealant.
Q: Can I use this connector with thicker wires?
A: The connector is designed for 22-28 AWG wires. Using thicker wires may result in improper crimping and unreliable connections.