
How to Use Particle Photon 2: Examples, Pinouts, and Specs
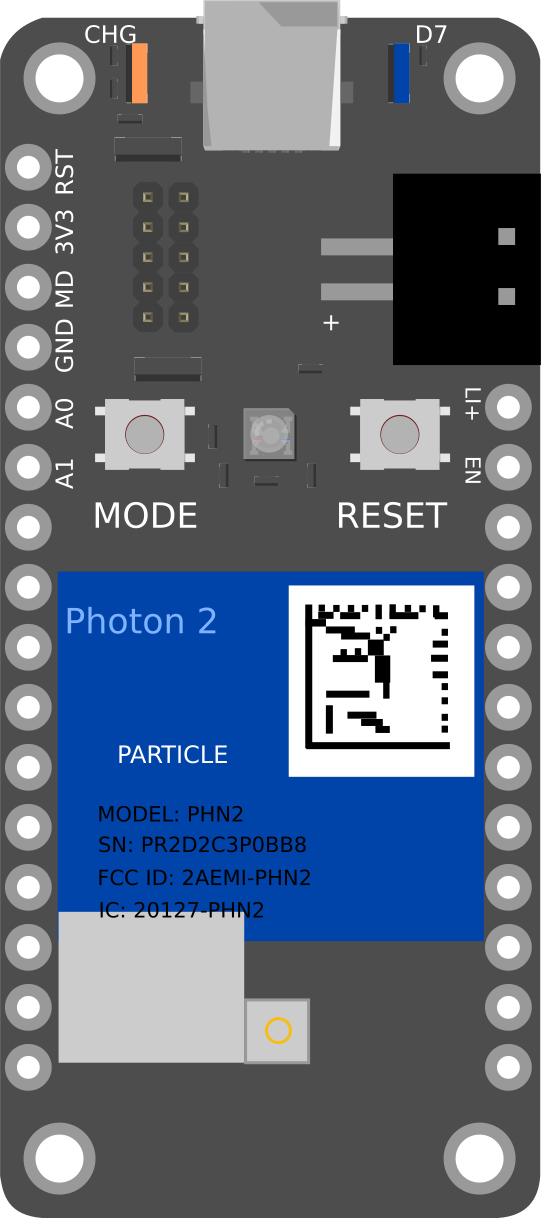
 Design with Particle Photon 2 in Cirkit Designer
Introduction
The Particle Photon 2 is a powerful, Wi-Fi enabled microcontroller designed for Internet of Things (IoT) projects. It features an ARM Cortex-M4 processor, ample flash memory, and RAM, making it suitable for a wide range of applications. Whether you're building a smart home device, an industrial automation system, or a connected sensor network, the Photon 2 provides the performance and connectivity you need.
Explore Projects Built with Particle Photon 2
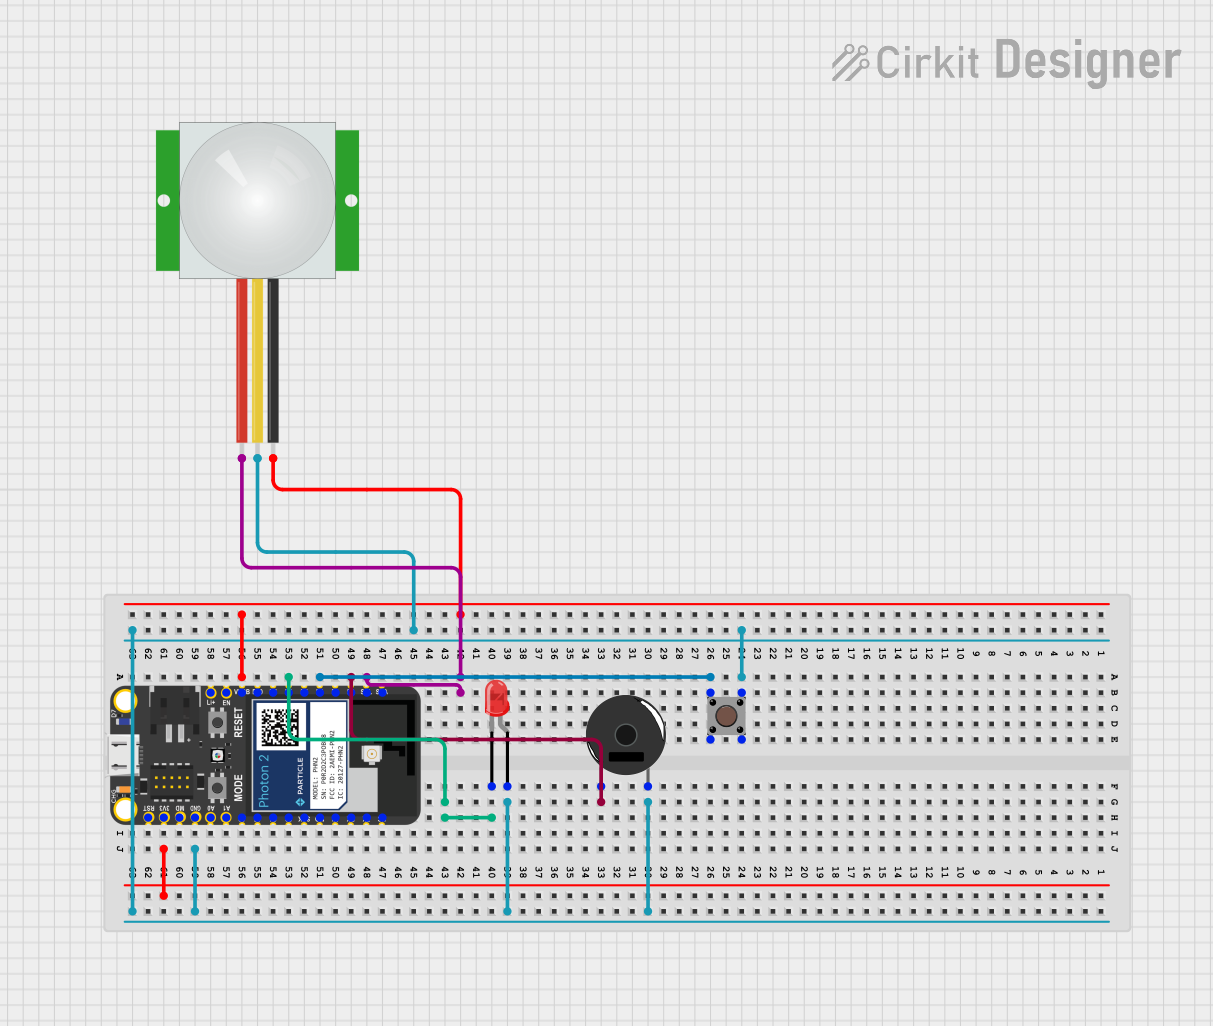
 Open Project in Cirkit Designer
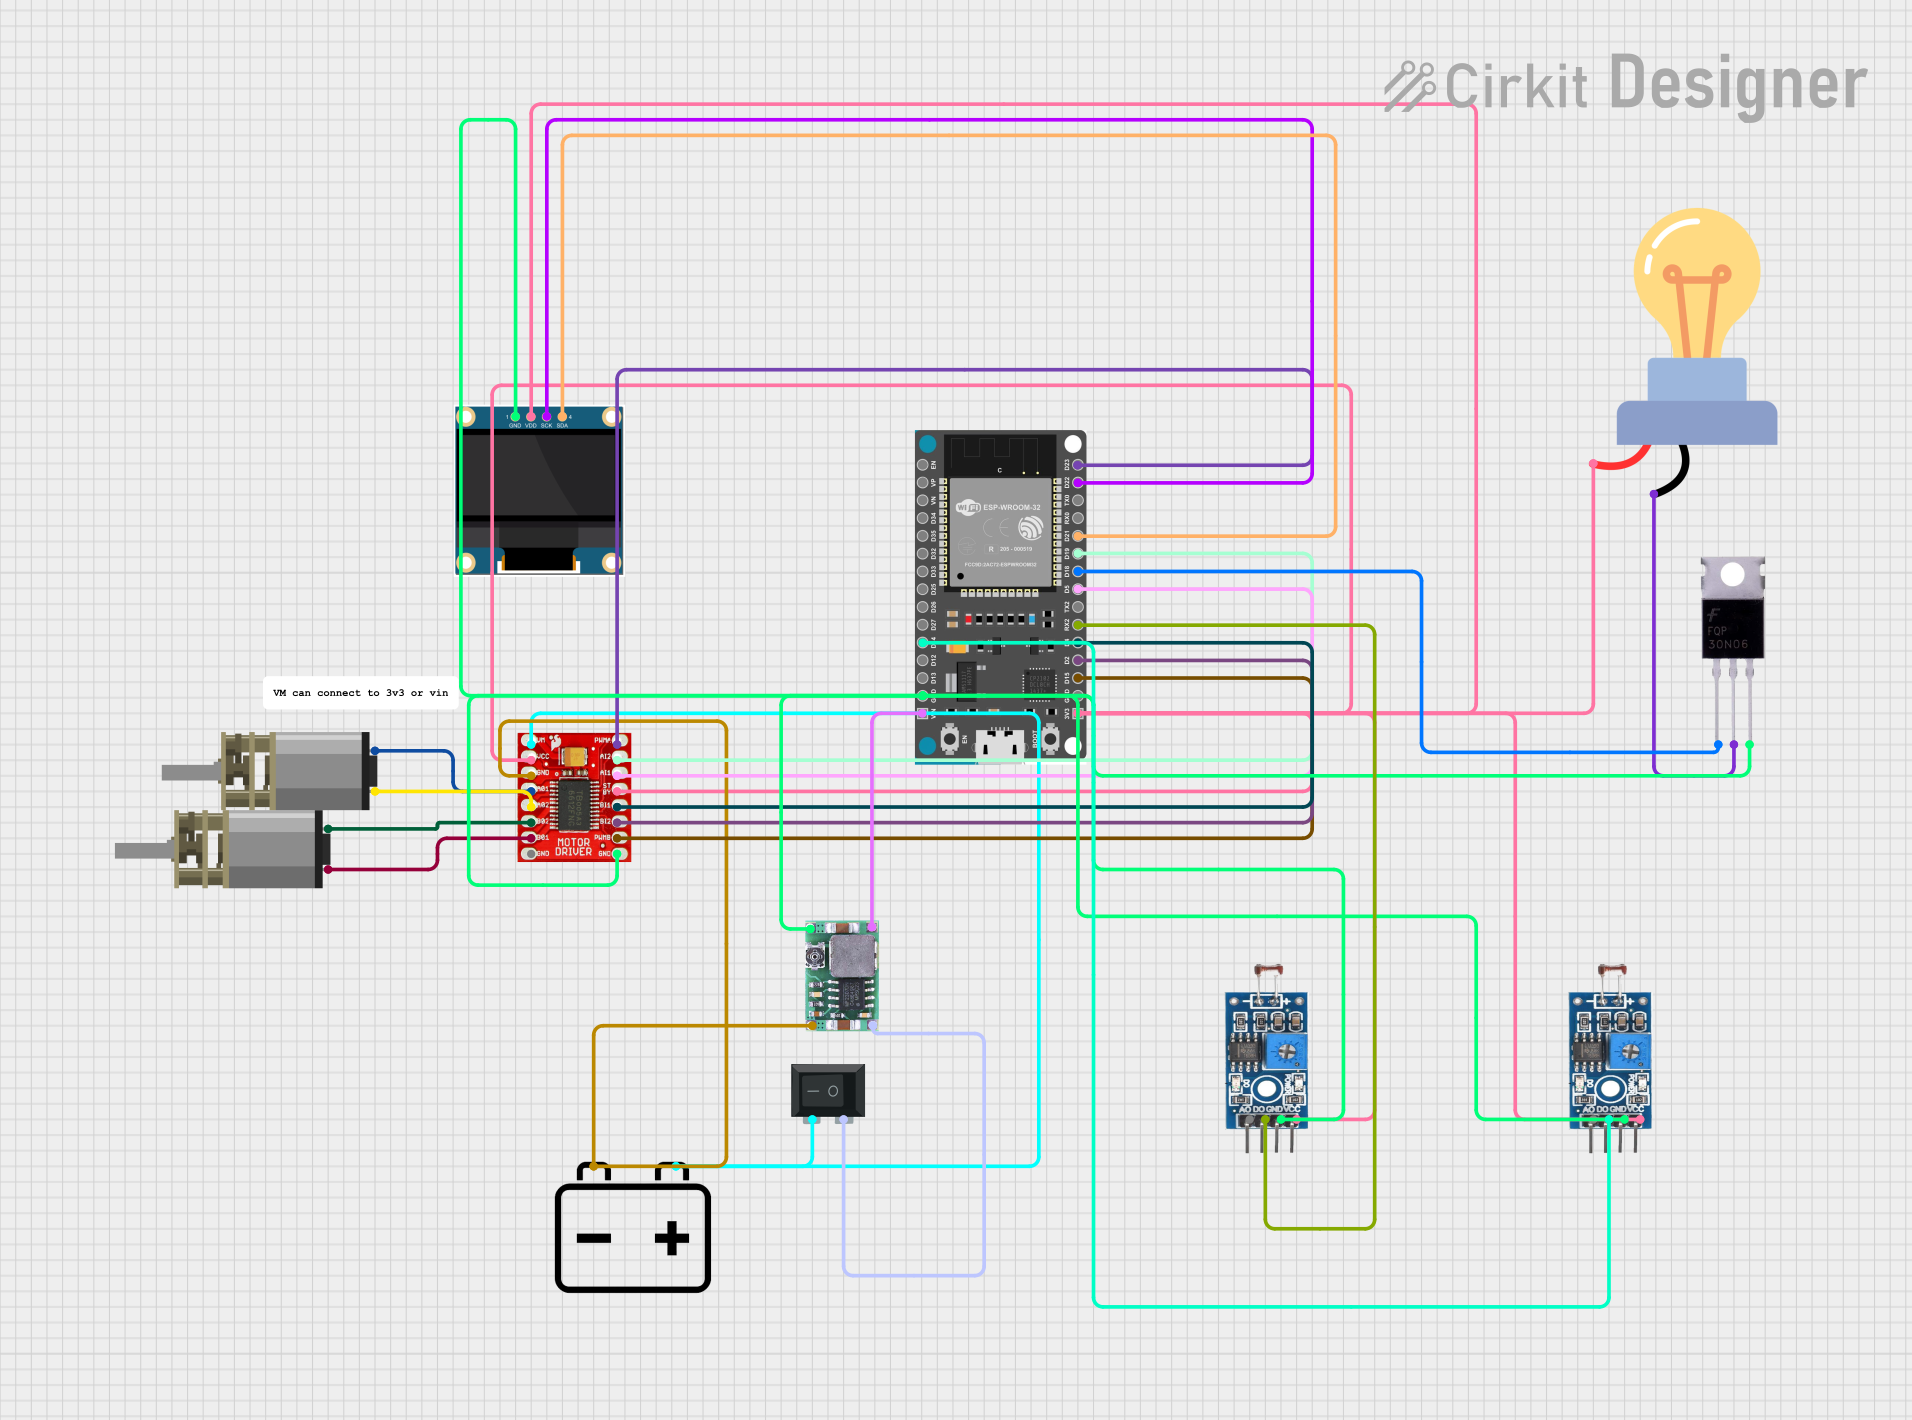
 Open Project in Cirkit Designer
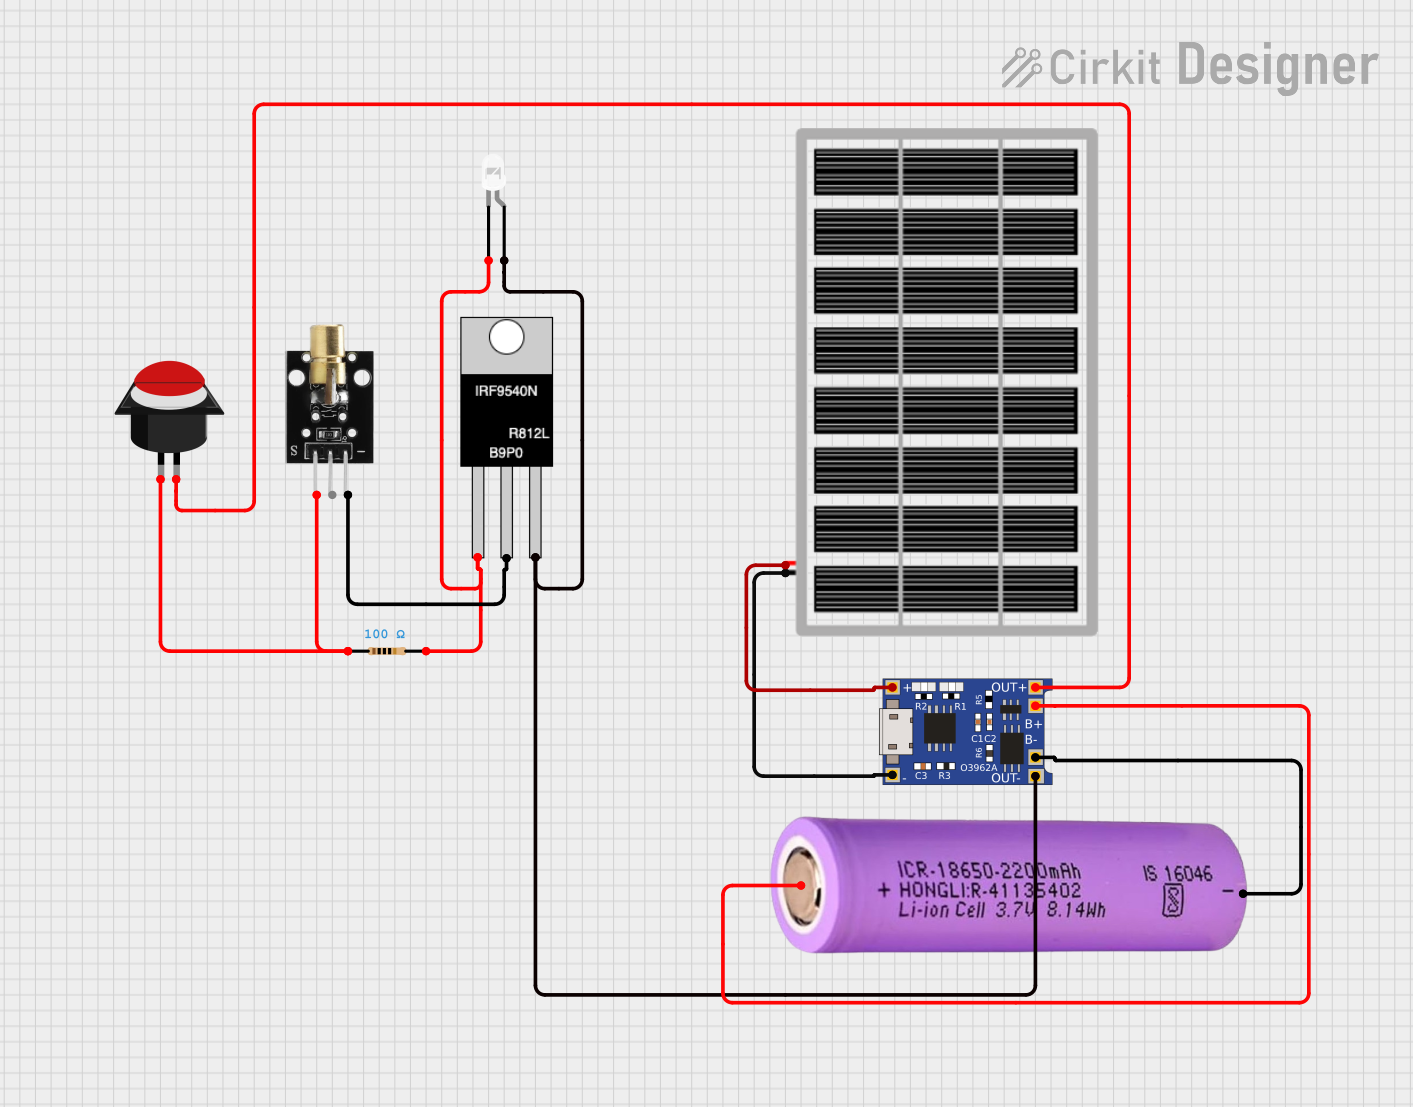
 Open Project in Cirkit Designer
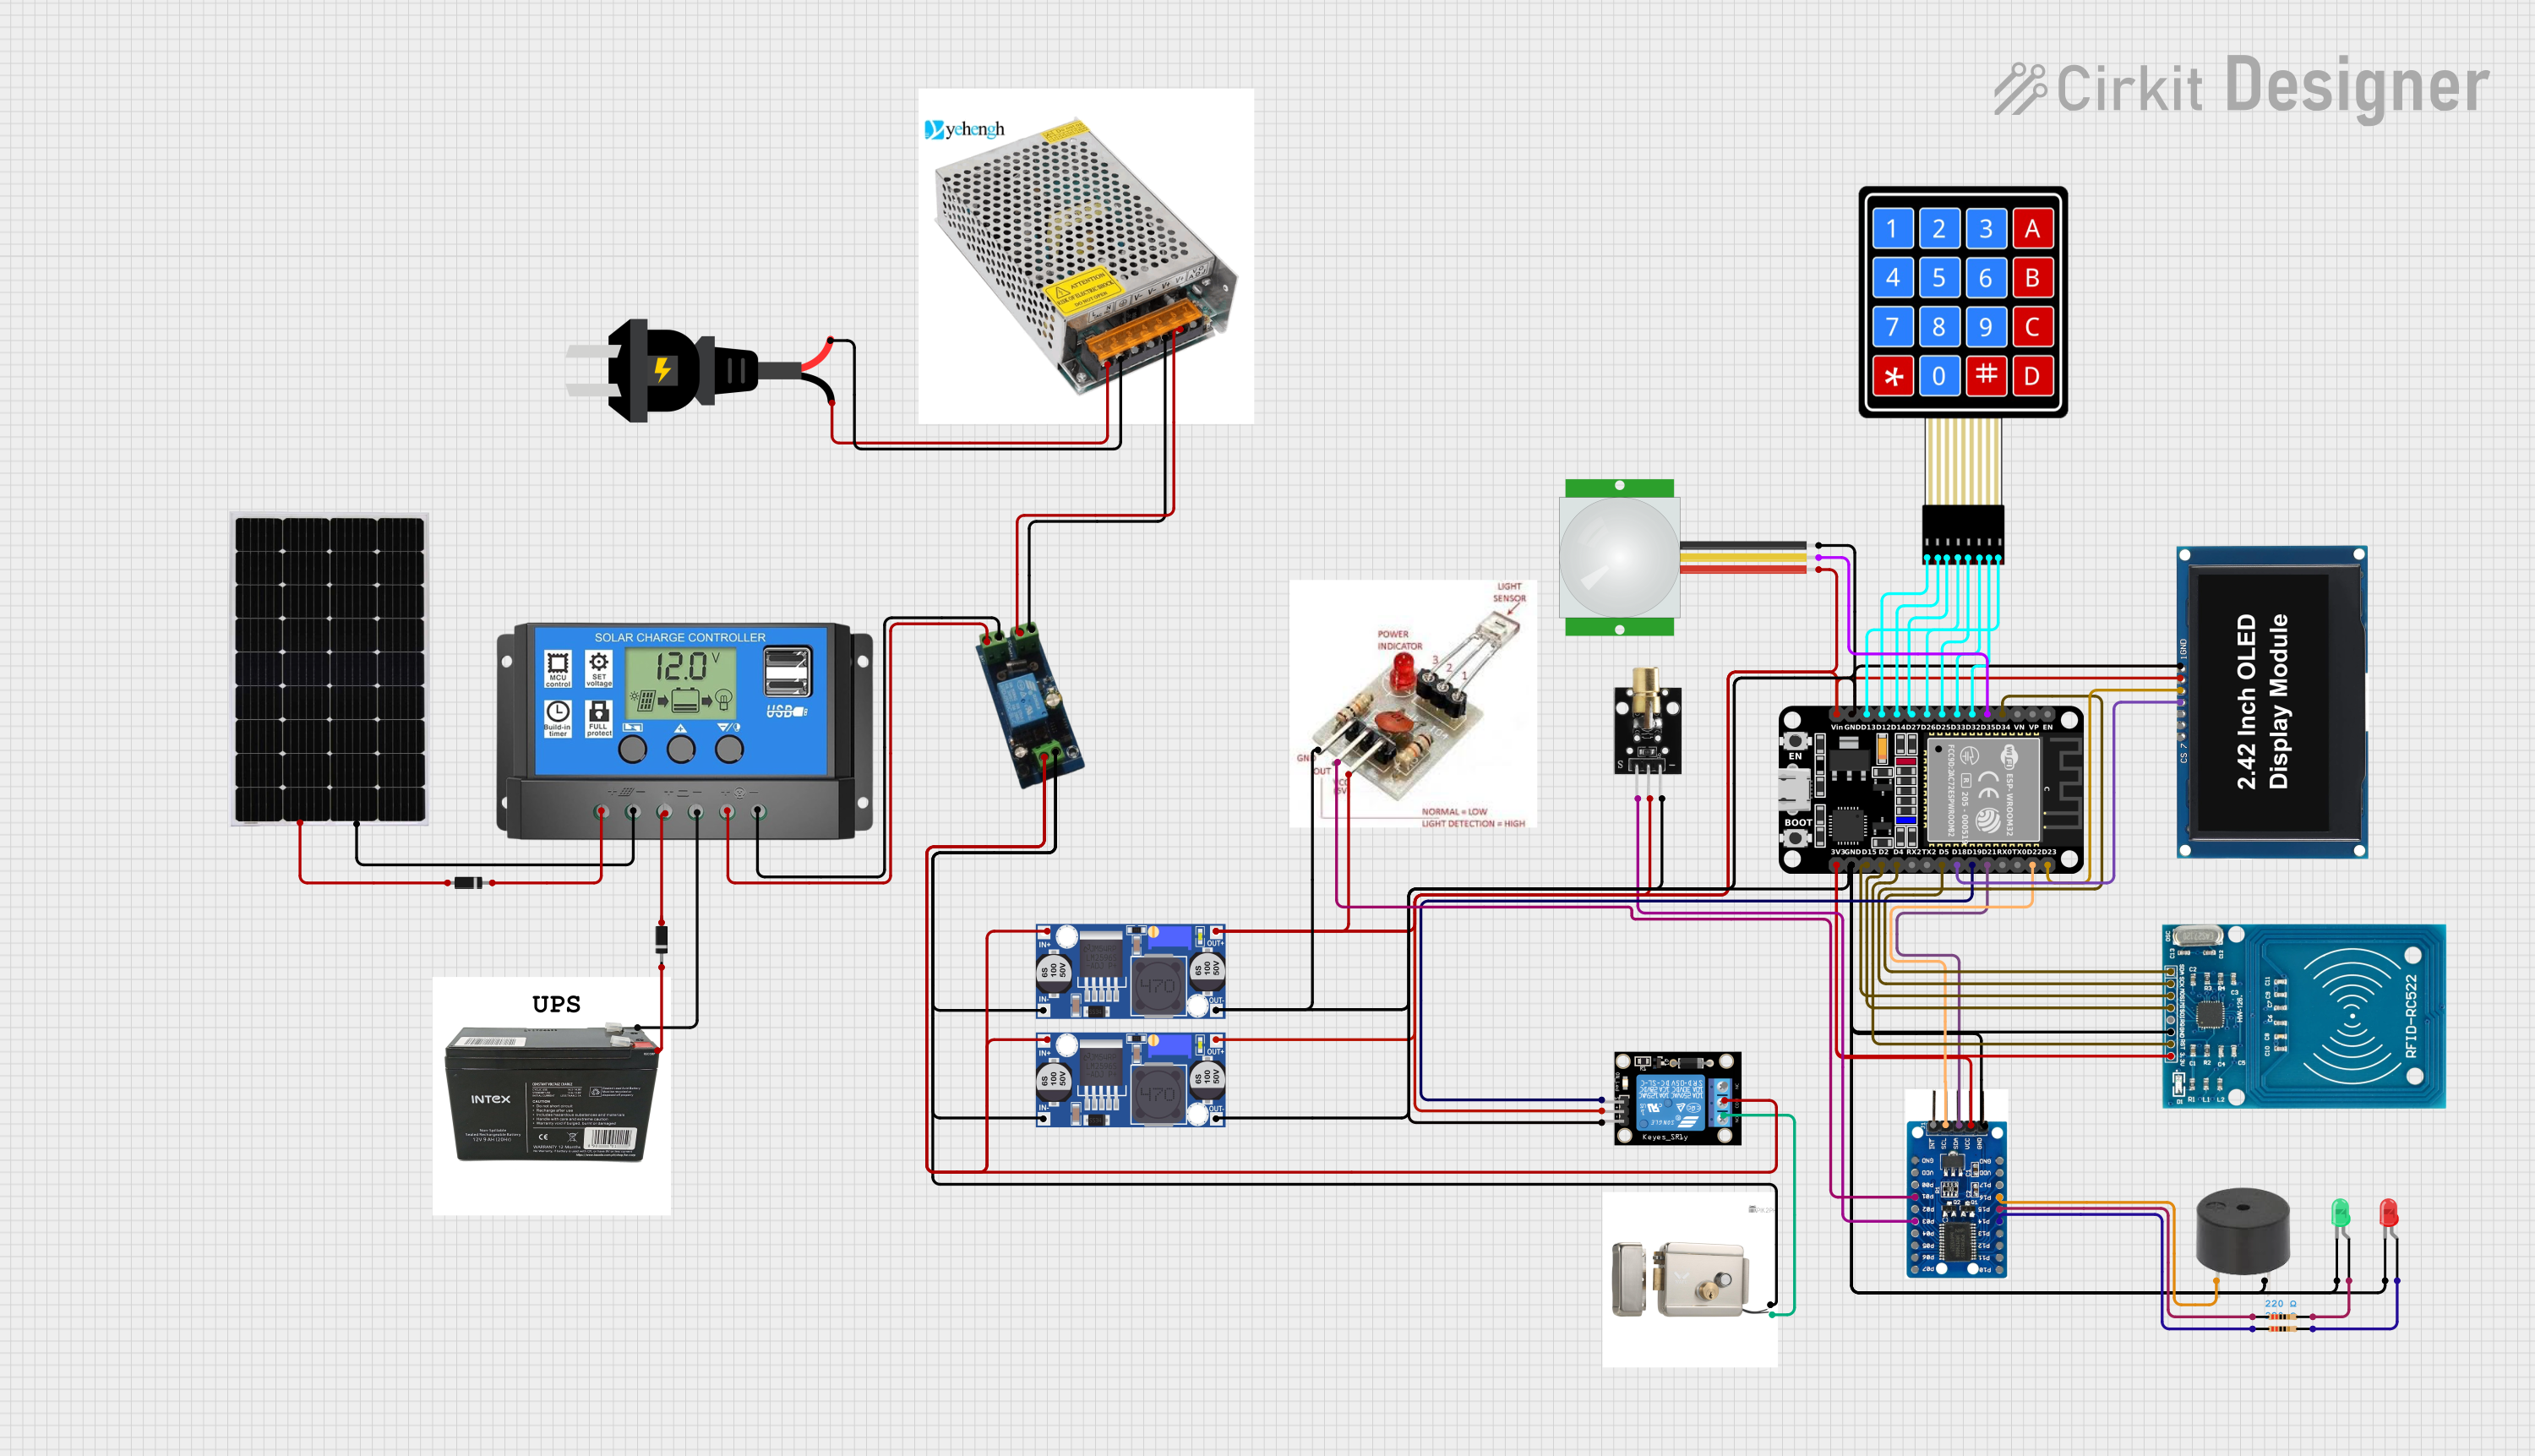
 Open Project in Cirkit Designer
Explore Projects Built with Particle Photon 2

 Open Project in Cirkit Designer
 Open Project in Cirkit Designer
 Open Project in Cirkit Designer
 Open Project in Cirkit Designer
Common Applications and Use Cases
- Smart Home Devices: Control lights, thermostats, and other home appliances.
- Industrial Automation: Monitor and control machinery and processes.
- Connected Sensors: Collect and transmit data from environmental sensors.
- Wearable Technology: Develop health and fitness tracking devices.
- Prototyping and Development: Rapidly prototype and test IoT solutions.
Technical Specifications
Key Technical Details
| Specification | Value |
|---|---|
| Processor | ARM Cortex-M4 |
| Clock Speed | 120 MHz |
| Flash Memory | 1 MB |
| RAM | 256 KB |
| Wi-Fi | 802.11 b/g/n |
| Operating Voltage | 3.3V |
| Input Voltage | 3.6V to 5.5V |
| Digital I/O Pins | 18 |
| Analog Input Pins | 8 |
| PWM Pins | 8 |
| UART | 1 |
| SPI | 1 |
| I2C | 1 |
| Dimensions | 36.58mm x 20.32mm |
Pin Configuration and Descriptions
| Pin Number | Pin Name | Description |
|---|---|---|
| 1 | VIN | Input voltage (3.6V to 5.5V) |
| 2 | GND | Ground |
| 3 | 3V3 | 3.3V output |
| 4 | A0 | Analog input 0 |
| 5 | A1 | Analog input 1 |
| 6 | A2 | Analog input 2 |
| 7 | A3 | Analog input 3 |
| 8 | A4 | Analog input 4 |
| 9 | A5 | Analog input 5 |
| 10 | A6 | Analog input 6 |
| 11 | A7 | Analog input 7 |
| 12 | D0 | Digital I/O 0 |
| 13 | D1 | Digital I/O 1 |
| 14 | D2 | Digital I/O 2 |
| 15 | D3 | Digital I/O 3 |
| 16 | D4 | Digital I/O 4 |
| 17 | D5 | Digital I/O 5 |
| 18 | D6 | Digital I/O 6 |
| 19 | D7 | Digital I/O 7 |
| 20 | RX | UART Receive |
| 21 | TX | UART Transmit |
| 22 | SCL | I2C Clock |
| 23 | SDA | I2C Data |
| 24 | SCK | SPI Clock |
| 25 | MISO | SPI Master In Slave Out |
| 26 | MOSI | SPI Master Out Slave In |
| 27 | RST | Reset |
Usage Instructions
How to Use the Component in a Circuit
Powering the Photon 2:
- Connect the VIN pin to a power source (3.6V to 5.5V).
- Connect the GND pin to the ground of the power source.
Connecting to Wi-Fi:
- Use the Particle mobile app or Particle CLI to configure Wi-Fi credentials.
Programming the Photon 2:
- Use the Particle Web IDE, Particle Workbench, or Particle CLI to write and upload code.
Basic Circuit Example:
- Connect an LED to pin D0 with a current-limiting resistor.
- Use the following code to blink the LED:
// Define the pin for the LED
int ledPin = D0;

void setup() {
    // Initialize the LED pin as an output
    pinMode(ledPin, OUTPUT);
}

void loop() {
    // Turn the LED on
    digitalWrite(ledPin, HIGH);
    delay(1000); // Wait for 1 second

    // Turn the LED off
    digitalWrite(ledPin, LOW);
    delay(1000); // Wait for 1 second
}
Important Considerations and Best Practices
- Power Supply: Ensure the power supply voltage is within the specified range (3.6V to 5.5V).
- Wi-Fi Signal: Place the Photon 2 in an area with a strong Wi-Fi signal for reliable connectivity.
- Pin Usage: Avoid exceeding the maximum current ratings for the I/O pins.
- Firmware Updates: Regularly check for and apply firmware updates to ensure optimal performance and security.
Troubleshooting and FAQs
Common Issues Users Might Face
Photon 2 Not Connecting to Wi-Fi:
- Ensure the Wi-Fi credentials are correct.
- Check if the Wi-Fi network is operational.
- Move the Photon 2 closer to the Wi-Fi router.
Code Not Uploading:
- Verify the USB connection.
- Ensure the Photon 2 is in DFU mode (blinking yellow).
- Check for any errors in the Particle CLI or Web IDE.
LED Not Blinking:
- Check the wiring and connections.
- Ensure the correct pin is defined in the code.
- Verify the LED and resistor are functioning.
Solutions and Tips for Troubleshooting
Resetting the Photon 2:
- Press and hold the RST button to reset the device.
Safe Mode:
- Enter Safe Mode by holding the MODE button until the LED blinks magenta. This can help troubleshoot firmware issues.
Factory Reset:
- Perform a factory reset by holding the MODE button until the LED blinks white, then release and hold again until it blinks white rapidly.
FAQs
Can I use the Photon 2 with Arduino IDE?
- No, the Photon 2 is programmed using the Particle Web IDE, Particle Workbench, or Particle CLI.
What is the maximum current for the I/O pins?
- The maximum current for each I/O pin is 25mA.
How do I update the firmware?
- Use the Particle Web IDE or Particle CLI to check for and apply firmware updates.
Can I use the Photon 2 without Wi-Fi?
- Yes, the Photon 2 can run code without Wi-Fi, but certain features like cloud functions will be unavailable.
By following this documentation, users can effectively utilize the Particle Photon 2 in their IoT projects, ensuring reliable performance and connectivity.