How to Use LiDAR TF Luna: Examples, Pinouts, and Specs
Introduction
The LiDAR TF Luna is a compact and lightweight LiDAR sensor manufactured by Sensor, with the part ID UNO. It is designed for high-precision distance measurement and mapping. Utilizing advanced laser technology, the TF Luna can create detailed 3D representations of its surroundings, making it an essential component for applications in robotics, autonomous vehicles, drones, and geographic information systems (GIS). Its small form factor and low power consumption make it suitable for embedded systems and portable devices.
Explore Projects Built with LiDAR TF Luna
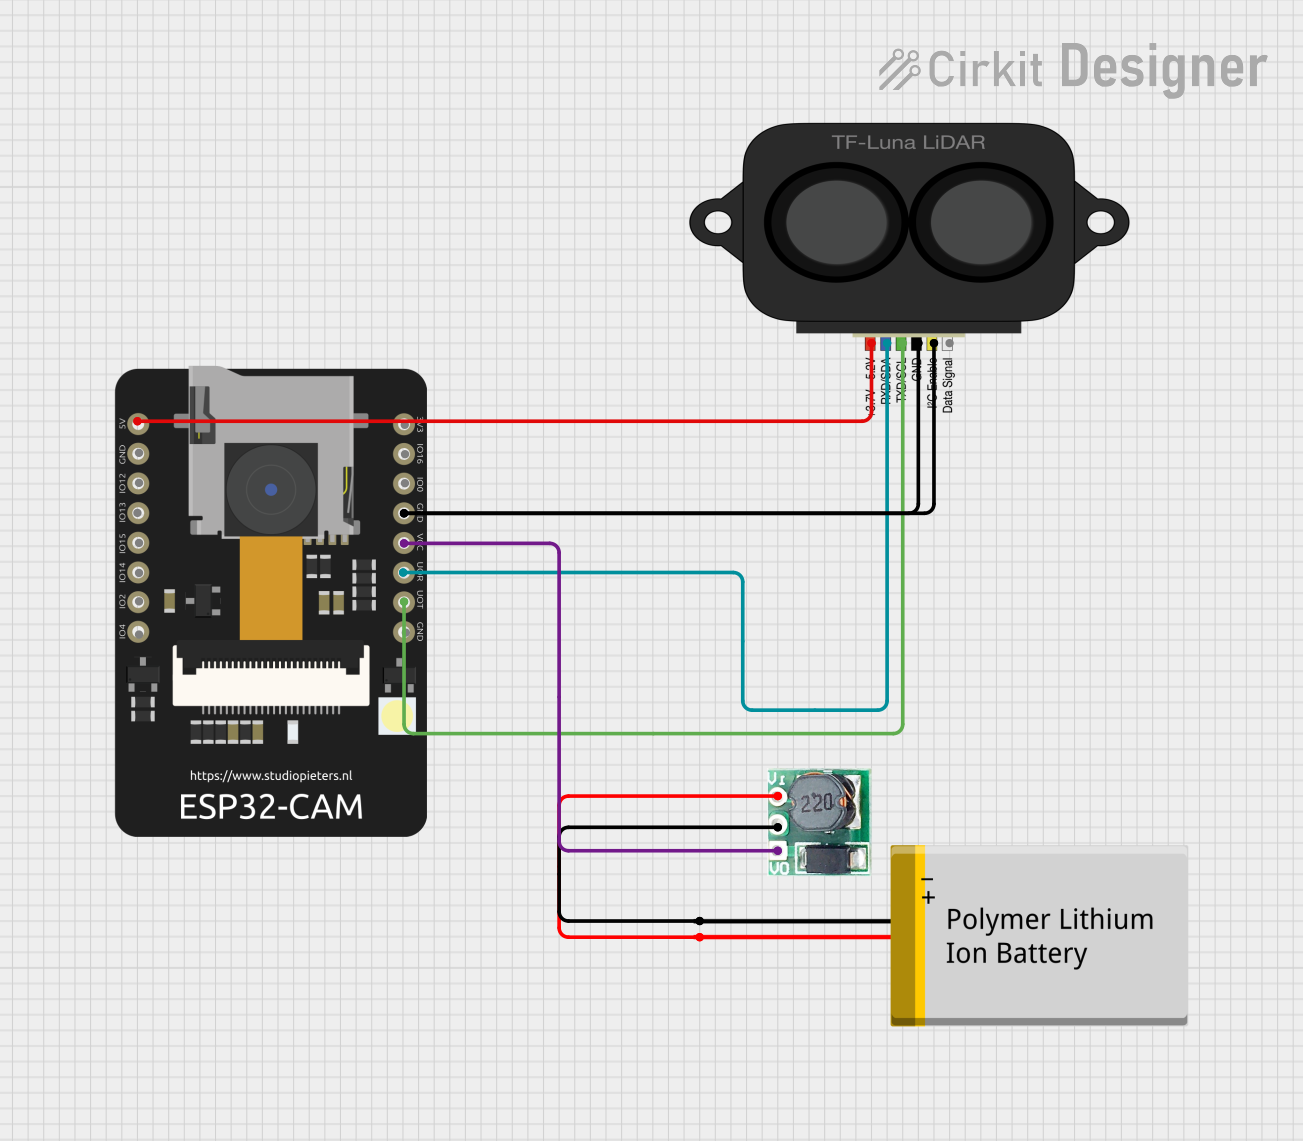
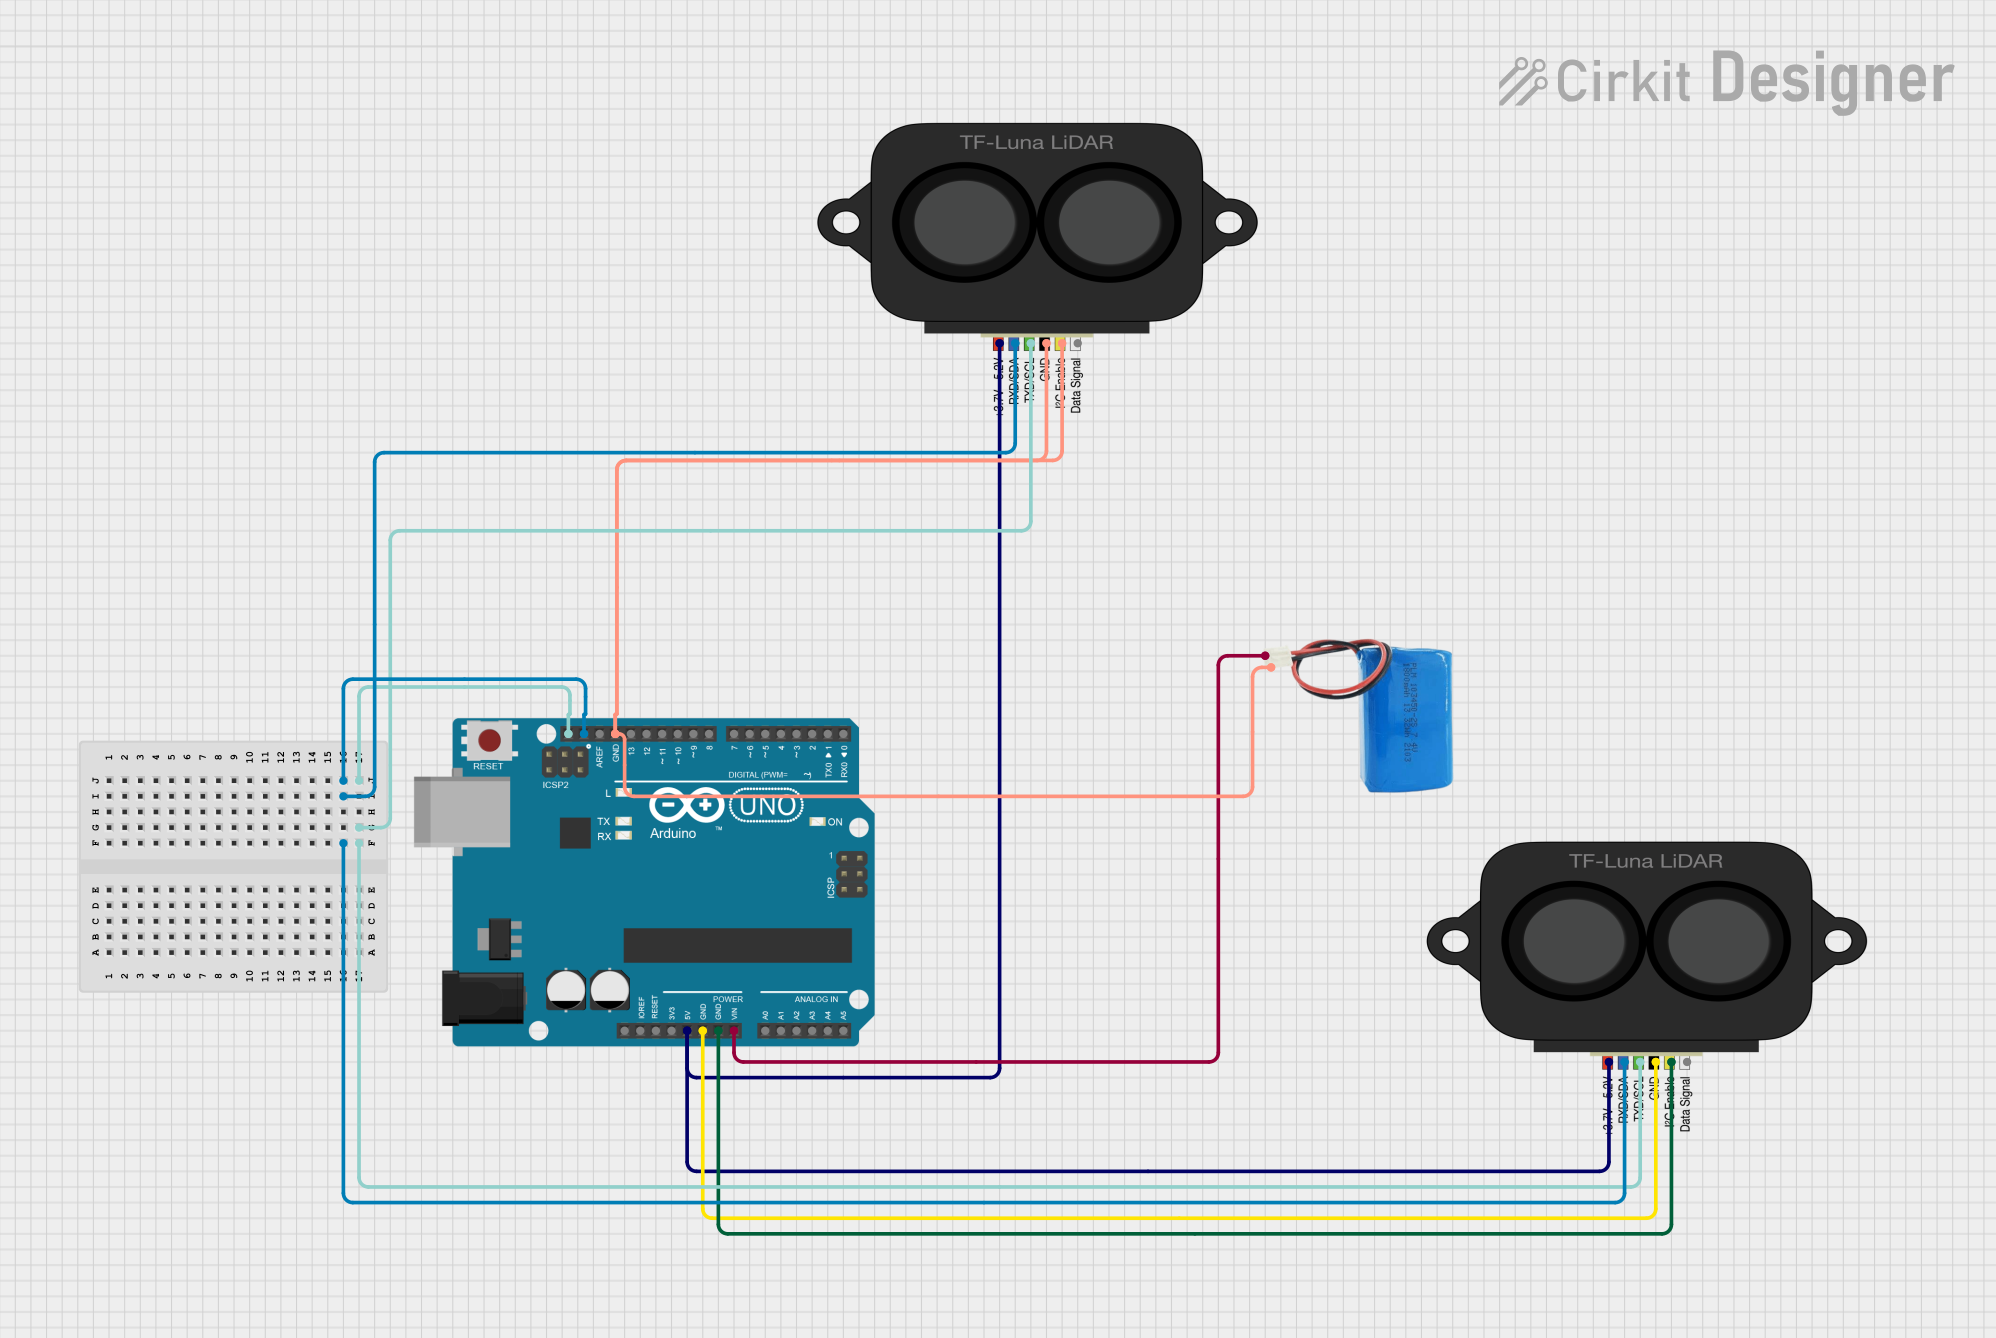
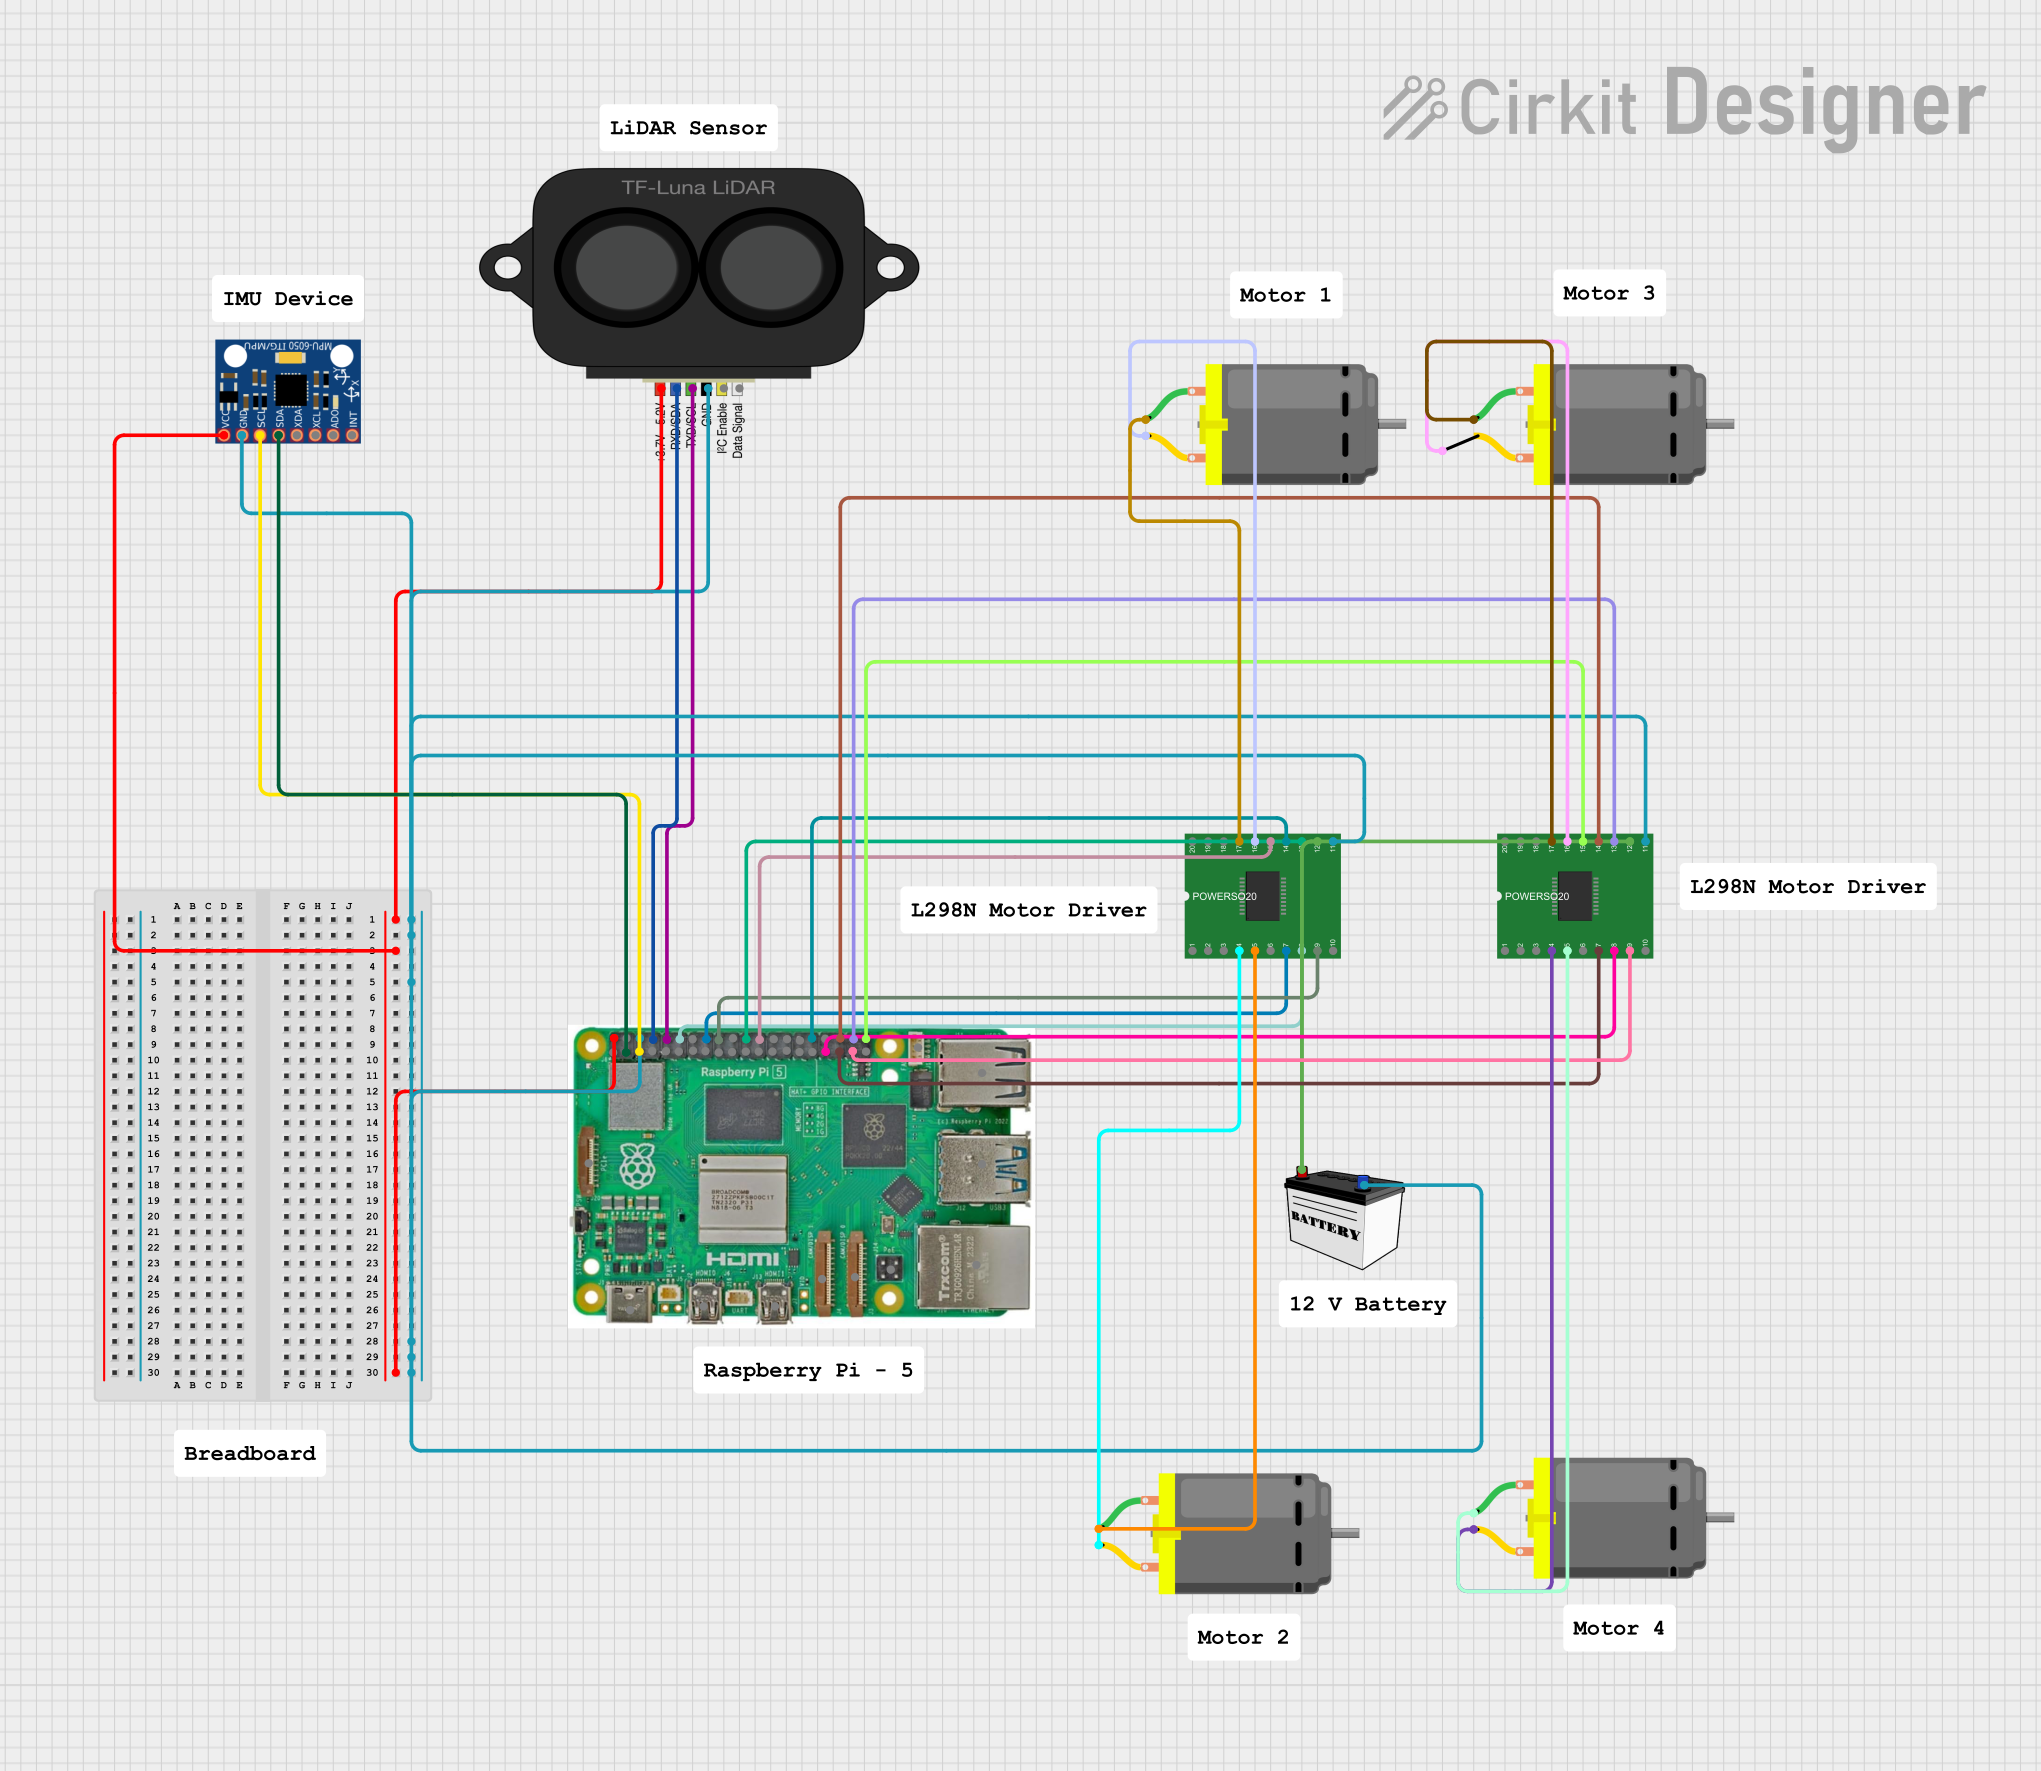

Explore Projects Built with LiDAR TF Luna
Common Applications
- Obstacle detection and avoidance in robotics and drones
- Autonomous vehicle navigation
- Geographic information systems (GIS) and 3D mapping
- Smart home automation (e.g., presence detection)
- Industrial automation and safety systems
Technical Specifications
The following table outlines the key technical details of the LiDAR TF Luna sensor:
| Parameter | Specification |
|---|---|
| Operating Voltage | 5V DC |
| Operating Current | ≤ 70mA |
| Measurement Range | 0.2m to 8m (indoor), 0.2m to 6m (outdoor) |
| Accuracy | ±6cm (0.2m to 3m), ±2% (>3m) |
| Measurement Frequency | 1Hz to 250Hz |
| Communication Interface | UART (3.3V TTL) |
| Field of View (FOV) | 2° |
| Operating Temperature | -10°C to 60°C |
| Dimensions | 35mm x 21.2mm x 12mm |
| Weight | 5g |
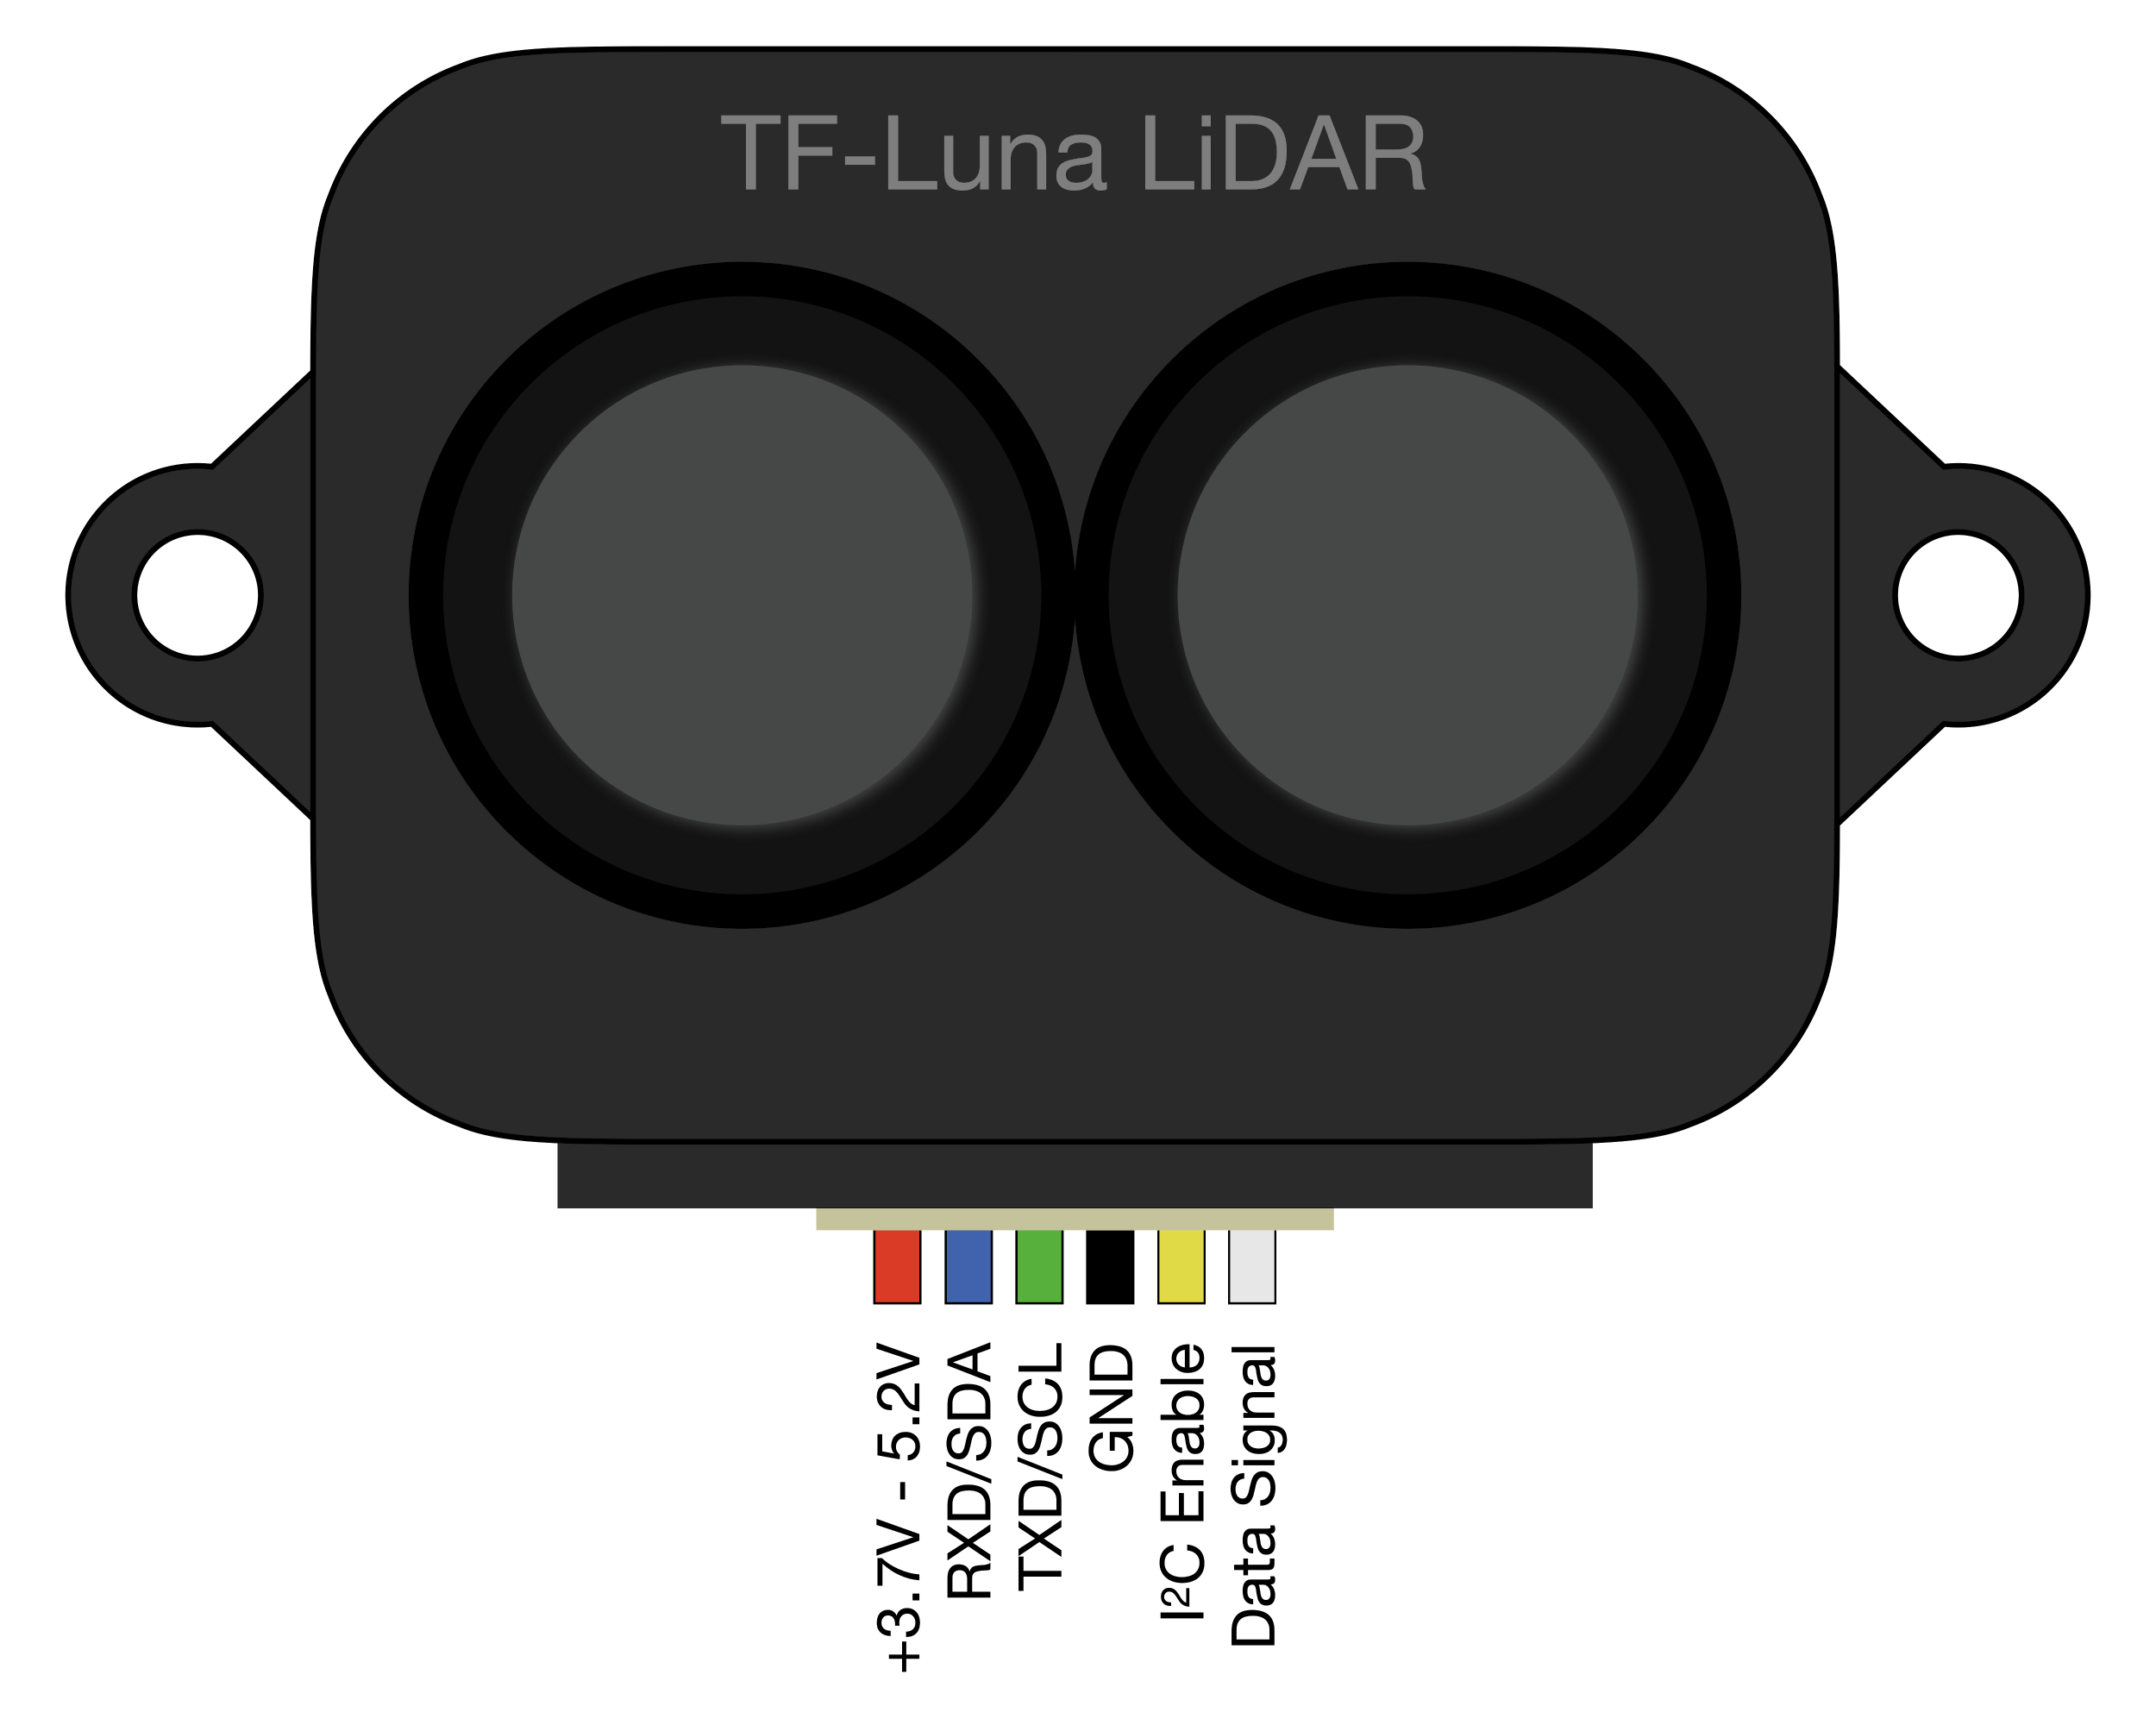
Pin Configuration
The TF Luna sensor has a 4-pin interface for power and communication. The pin configuration is as follows:
| Pin | Name | Description |
|---|---|---|
| 1 | VCC | Power supply input (5V DC) |
| 2 | GND | Ground |
| 3 | RX | UART Receive (3.3V TTL logic) |
| 4 | TX | UART Transmit (3.3V TTL logic) |
Usage Instructions
Connecting the TF Luna to an Arduino UNO
To use the TF Luna with an Arduino UNO, follow these steps:
Wiring: Connect the TF Luna sensor to the Arduino UNO as shown below:
- VCC (TF Luna) → 5V (Arduino UNO)
- GND (TF Luna) → GND (Arduino UNO)
- RX (TF Luna) → TX (Pin 1 on Arduino UNO)
- TX (TF Luna) → RX (Pin 0 on Arduino UNO)
Install Libraries: Ensure you have the Arduino IDE installed. You may need a library for UART communication, such as
SoftwareSerial, if you want to use alternate pins for communication.Upload Code: Use the following example code to read distance data from the TF Luna:
#include <SoftwareSerial.h>

// Define software serial pins for TF Luna communication
SoftwareSerial tfLunaSerial(10, 11); // RX, TX

void setup() {
  Serial.begin(9600); // Initialize serial monitor
  tfLunaSerial.begin(115200); // Initialize TF Luna UART communication

  Serial.println("TF Luna LiDAR Sensor Initialized");
}

void loop() {
  if (tfLunaSerial.available()) {
    // Read data from TF Luna
    byte data[9];
    for (int i = 0; i < 9; i++) {
      data[i] = tfLunaSerial.read();
    }

    // Validate data packet (check header and checksum)
    if (data[0] == 0x59 && data[1] == 0x59) {
      int distance = data[2] + (data[3] << 8); // Calculate distance in cm
      int strength = data[4] + (data[5] << 8); // Signal strength

      Serial.print("Distance: ");
      Serial.print(distance);
      Serial.print(" cm, Signal Strength: ");
      Serial.println(strength);
    }
  }
}
Important Considerations
- Power Supply: Ensure the sensor is powered with a stable 5V DC supply. Voltage fluctuations can affect performance.
- UART Logic Levels: The TF Luna operates at 3.3V TTL logic. If using a 5V microcontroller, use a level shifter to avoid damaging the sensor.
- Environmental Conditions: The sensor performs best indoors or in controlled lighting conditions. Outdoor performance may vary due to sunlight interference.
- Mounting: Ensure the sensor is mounted securely and aligned properly for accurate measurements.
Troubleshooting and FAQs
Common Issues
No Data Output:
- Ensure the wiring is correct, especially the RX and TX connections.
- Verify that the baud rate in the code matches the sensor's default baud rate (115200).
Inaccurate Measurements:
- Check for obstructions or reflective surfaces in the sensor's field of view.
- Ensure the sensor is operating within its specified range (0.2m to 8m).
Sensor Not Detected:
- Confirm that the sensor is receiving power (check the VCC and GND connections).
- Use a multimeter to verify the voltage levels on the sensor's pins.
FAQs
Q: Can the TF Luna measure distances beyond 8 meters?
A: No, the maximum range of the TF Luna is 8 meters indoors and 6 meters outdoors. For longer ranges, consider other LiDAR models.
Q: How do I change the baud rate of the TF Luna?
A: The baud rate can be changed using specific UART commands. Refer to the manufacturer's datasheet for detailed instructions.
Q: Can I use the TF Luna with a Raspberry Pi?
A: Yes, the TF Luna can be connected to a Raspberry Pi via its UART interface. Ensure proper voltage level shifting if necessary.
Q: Is the TF Luna waterproof?
A: No, the TF Luna is not waterproof. Avoid exposing it to water or high humidity environments.
By following this documentation, you can effectively integrate and utilize the LiDAR TF Luna sensor in your projects.