Cirkit Designer
Your all-in-one circuit design IDE
Home /
Component Documentation
How to Use DFRobot EC Sensor: Examples, Pinouts, and Specs
Introduction
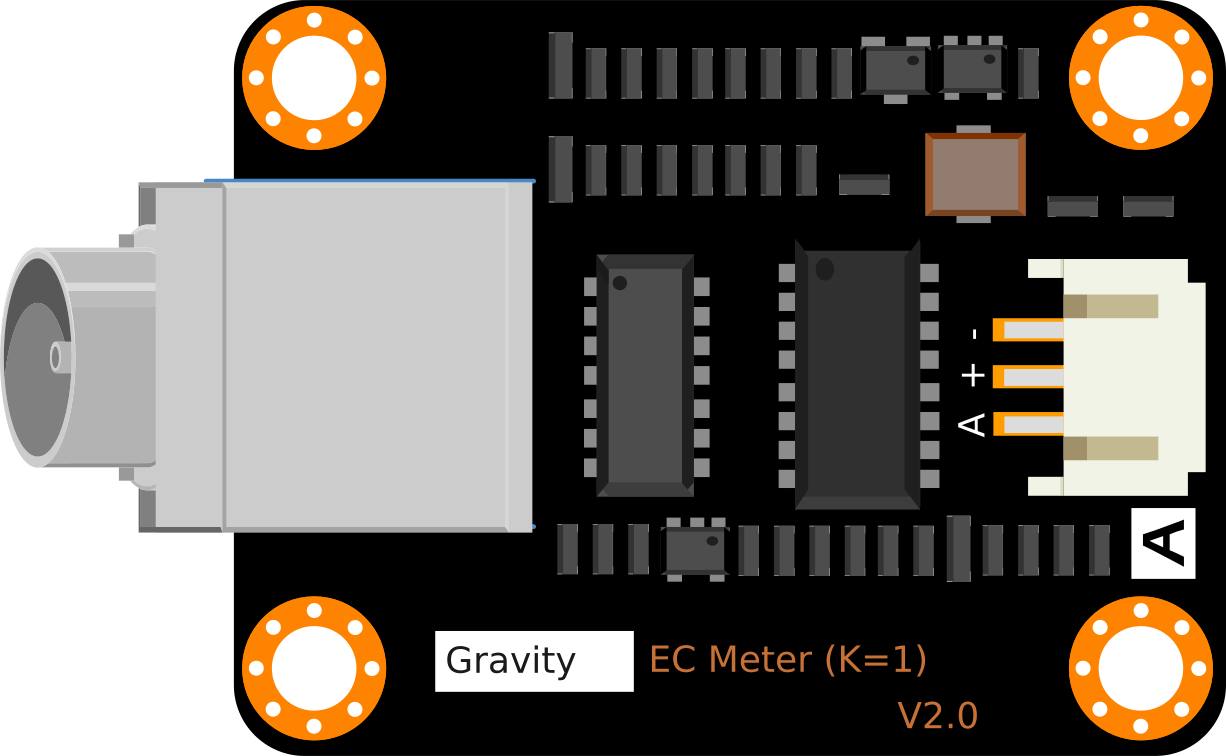
The DFRobot EC Sensor is a specialized electronic component designed to measure the electrical conductivity (EC) of a solution. This sensor is widely used in applications such as water quality monitoring, hydroponics, aquaculture, and environmental testing. By providing accurate EC measurements, it helps in determining the concentration of dissolved salts and other conductive substances in a solution, which is crucial for maintaining optimal conditions in various systems.
Explore Projects Built with DFRobot EC Sensor
Arduino UNO-Based Battery-Powered Robotic System with Ultrasonic Sensors and Magnetometer
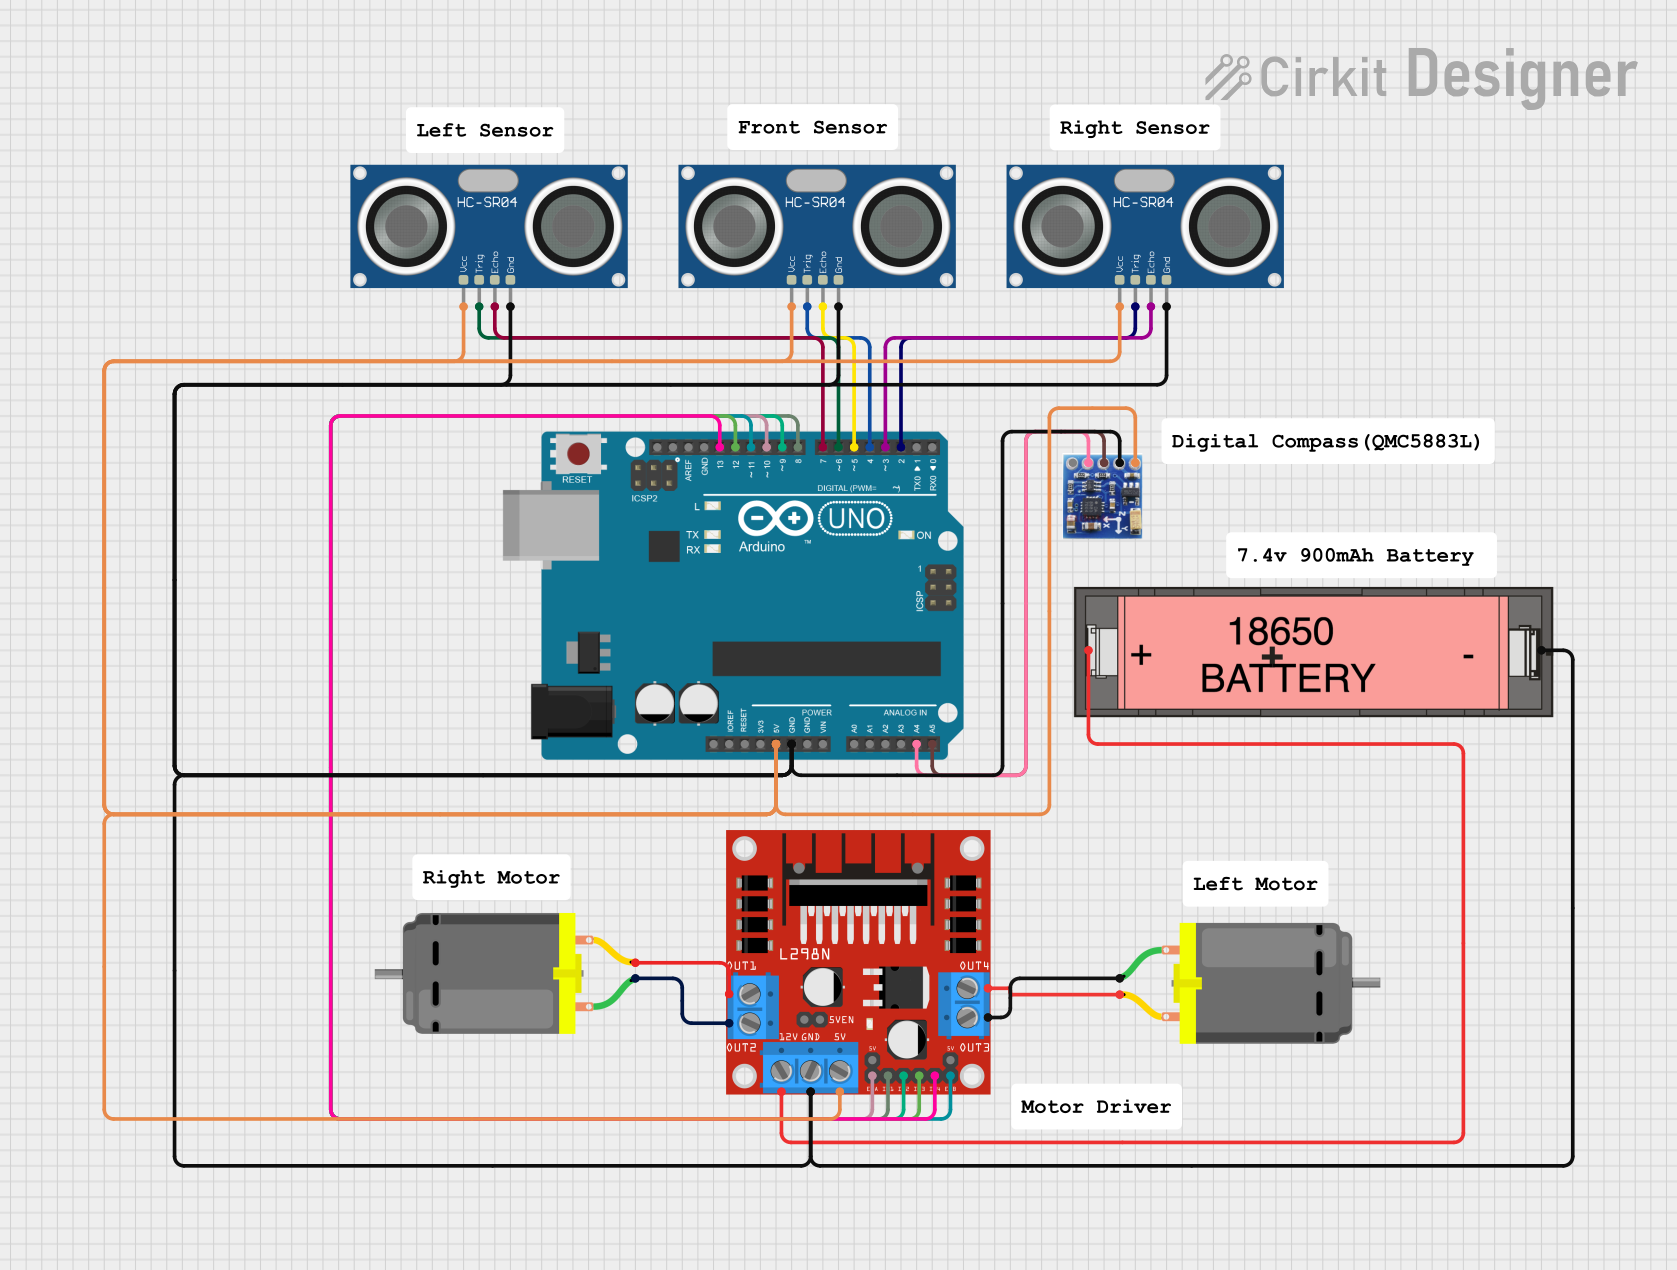
This circuit is a sensor-based robotic system controlled by an Arduino UNO. It includes three HC-SR04 ultrasonic sensors for distance measurement, a QMC5883L magnetometer for orientation detection, and an L298N motor driver to control two DC motors, all powered by a Li-ion 18650 battery.
ESP32 CAM and Ultrasonic Sensor-Based Wi-Fi Controlled Robotic Vehicle

This circuit is a robotic system that uses an ESP32 CAM for image processing, multiple IR sensors for obstacle detection, and an HC-SR04 ultrasonic sensor for distance measurement. The system is controlled by a DRIVER SHIELD L293D, which also drives several DC motors and motorized wheels, powered by a 12V battery with a rocker switch and battery indicator for power management.
ESP32-Controlled Obstacle Avoidance Robot with L298N Motor Driver and HC-SR04 Sensors
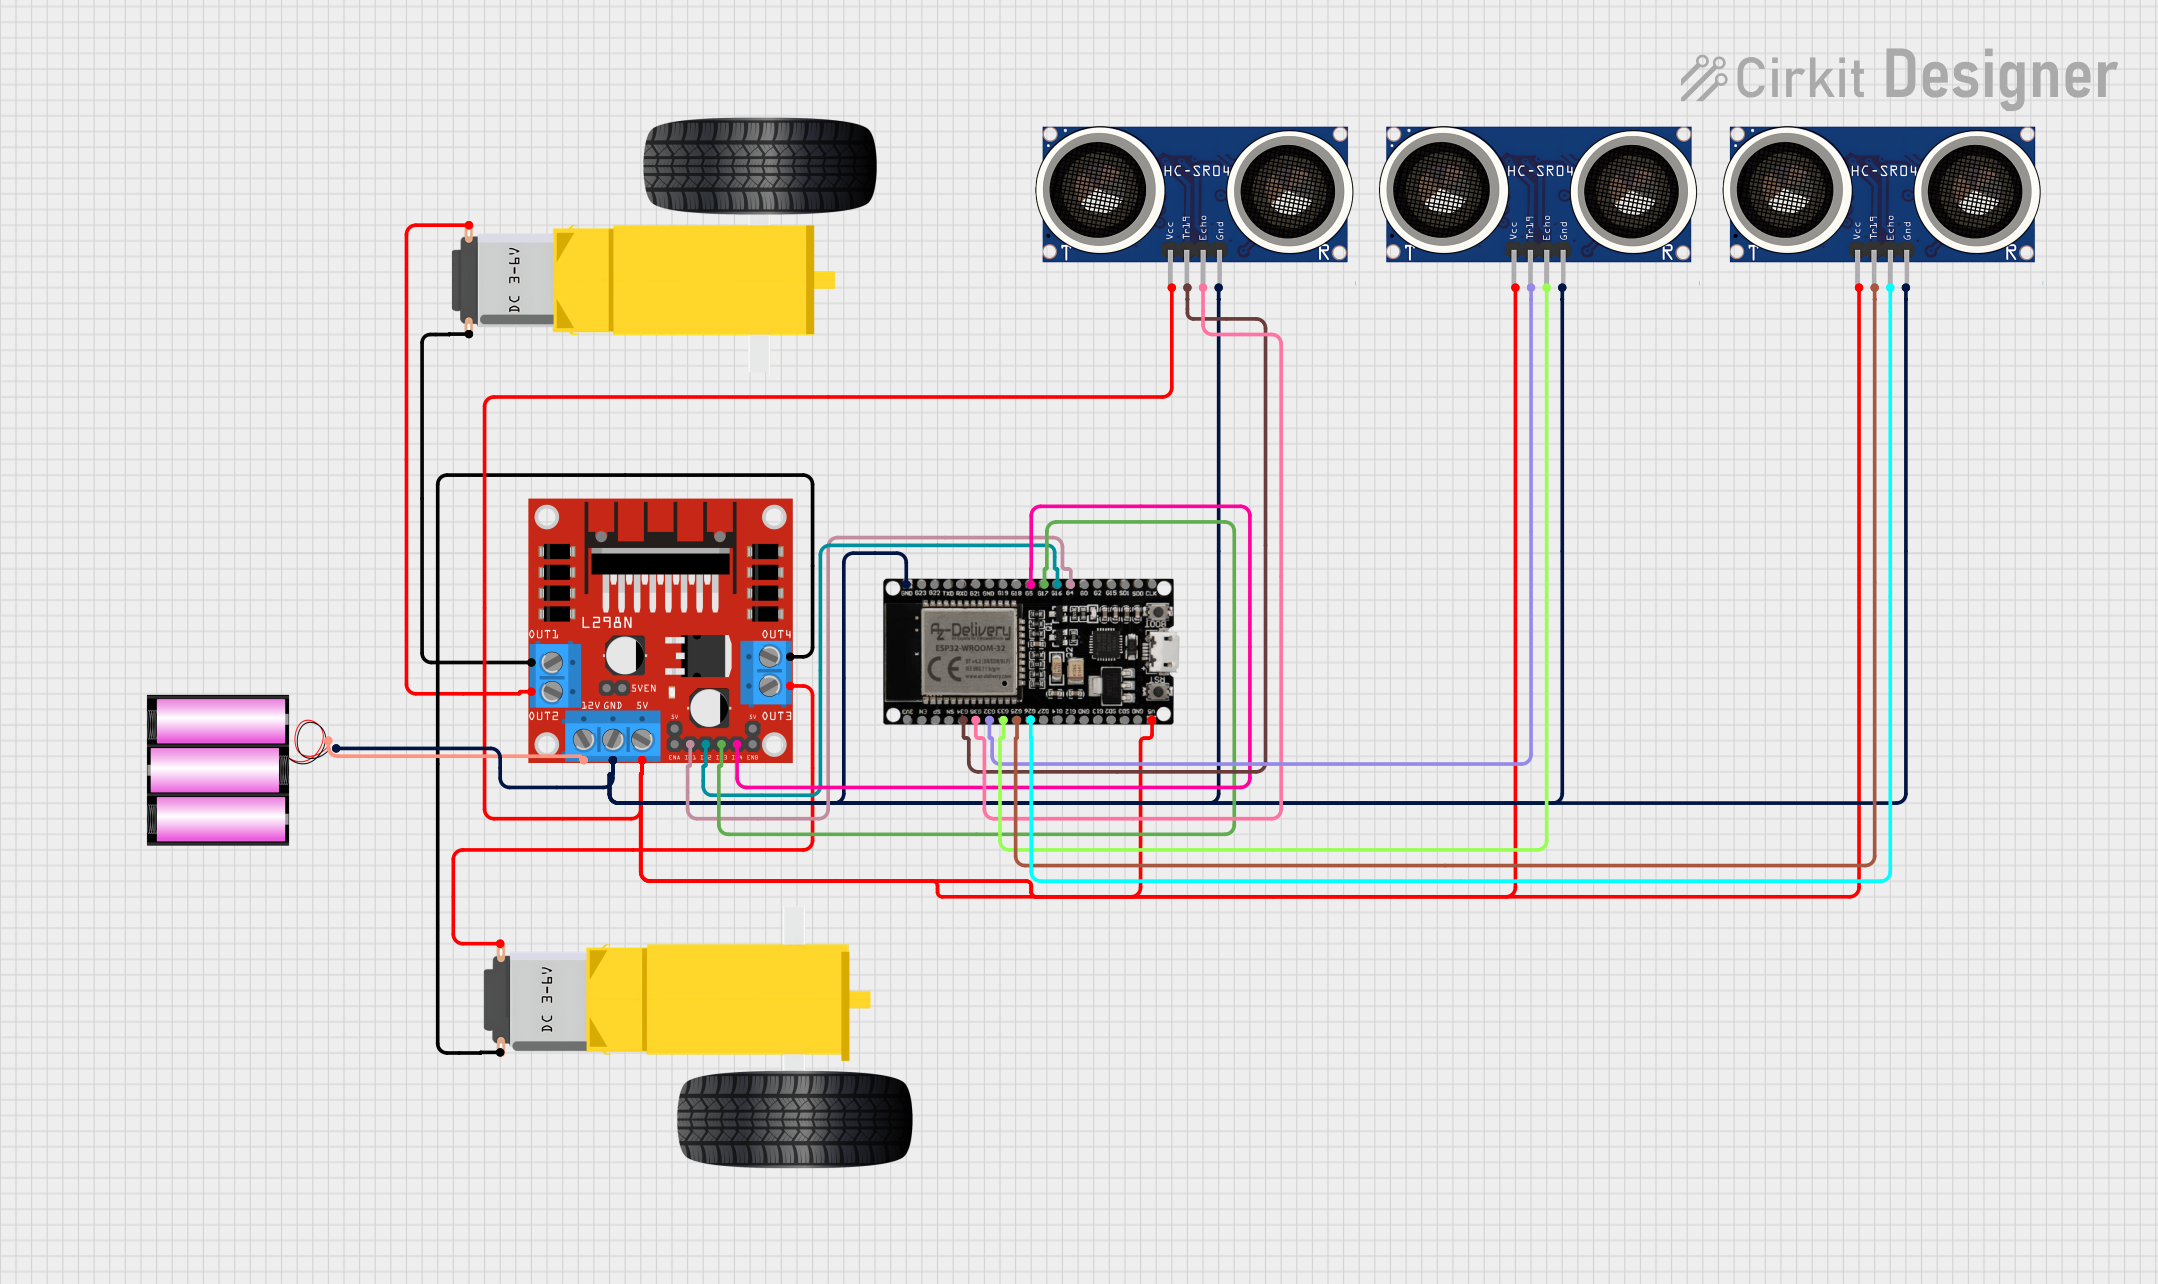
This circuit is designed for a robot with obstacle avoidance capabilities, utilizing three HC-SR04 ultrasonic sensors for detecting obstacles in front, left, and right directions. An ESP32 microcontroller processes the distance data from the sensors and controls the movement of the robot through an L298N DC motor driver, which in turn drives two gearmotors attached to the robot's wheels. The robot can move forward, backward, and turn left or right based on sensor inputs to navigate around obstacles.
Arduino Mega and ESP32 Powered Robotic Controller with Distance Sensing and Line Tracking

This circuit is designed for a mobile robot with environmental sensing and precise motor control. It features dual microcontroller architecture for complex tasks, integrating motion control, distance measurement, and surface detection, all powered by a rechargeable battery system with power management.
Explore Projects Built with DFRobot EC Sensor
Arduino UNO-Based Battery-Powered Robotic System with Ultrasonic Sensors and Magnetometer
This circuit is a sensor-based robotic system controlled by an Arduino UNO. It includes three HC-SR04 ultrasonic sensors for distance measurement, a QMC5883L magnetometer for orientation detection, and an L298N motor driver to control two DC motors, all powered by a Li-ion 18650 battery.
ESP32 CAM and Ultrasonic Sensor-Based Wi-Fi Controlled Robotic Vehicle
This circuit is a robotic system that uses an ESP32 CAM for image processing, multiple IR sensors for obstacle detection, and an HC-SR04 ultrasonic sensor for distance measurement. The system is controlled by a DRIVER SHIELD L293D, which also drives several DC motors and motorized wheels, powered by a 12V battery with a rocker switch and battery indicator for power management.
ESP32-Controlled Obstacle Avoidance Robot with L298N Motor Driver and HC-SR04 Sensors
This circuit is designed for a robot with obstacle avoidance capabilities, utilizing three HC-SR04 ultrasonic sensors for detecting obstacles in front, left, and right directions. An ESP32 microcontroller processes the distance data from the sensors and controls the movement of the robot through an L298N DC motor driver, which in turn drives two gearmotors attached to the robot's wheels. The robot can move forward, backward, and turn left or right based on sensor inputs to navigate around obstacles.
Arduino Mega and ESP32 Powered Robotic Controller with Distance Sensing and Line Tracking
This circuit is designed for a mobile robot with environmental sensing and precise motor control. It features dual microcontroller architecture for complex tasks, integrating motion control, distance measurement, and surface detection, all powered by a rechargeable battery system with power management.
Technical Specifications
Key Technical Details
| Parameter | Value |
|---|---|
| Operating Voltage | 3.3V - 5V |
| Operating Current | < 10mA |
| Measurement Range | 0 - 20 mS/cm |
| Accuracy | ± 2% |
| Temperature Range | 0°C - 60°C |
| Output Signal | Analog Voltage |
| Interface | PH2.0-3P |
Pin Configuration and Descriptions
| Pin Number | Pin Name | Description |
|---|---|---|
| 1 | VCC | Power supply (3.3V - 5V) |
| 2 | GND | Ground |
| 3 | AOUT | Analog output voltage proportional to EC value |
Usage Instructions
How to Use the Component in a Circuit
- Power Connection: Connect the VCC pin to a 3.3V or 5V power supply and the GND pin to the ground of your circuit.
- Signal Connection: Connect the AOUT pin to an analog input pin on your microcontroller (e.g., Arduino UNO).
- Calibration: Before taking measurements, calibrate the sensor using a standard solution with a known EC value.
- Measurement: Submerge the sensor probe in the solution to be measured. The analog output voltage will vary according to the EC of the solution.
Important Considerations and Best Practices
- Calibration: Regularly calibrate the sensor to ensure accurate readings.
- Temperature Compensation: EC readings can be affected by temperature. Use a temperature sensor for compensation if precise measurements are required.
- Cleaning: Clean the sensor probe after each use to prevent contamination and ensure longevity.
- Avoid Air Bubbles: Ensure there are no air bubbles on the sensor probe during measurement, as this can affect accuracy.
Example Code for Arduino UNO
// DFRobot EC Sensor Example Code for Arduino UNO
// This code reads the analog output from the EC sensor and converts it to an EC value.

const int EC_PIN = A0; // Analog pin connected to AOUT of the EC sensor
float voltage;         // Variable to store the sensor output voltage
float ecValue;         // Variable to store the calculated EC value

void setup() {
  Serial.begin(9600);  // Initialize serial communication at 9600 baud rate
  pinMode(EC_PIN, INPUT); // Set the EC_PIN as an input
}

void loop() {
  voltage = analogRead(EC_PIN) * (5.0 / 1023.0); // Convert analog reading to voltage
  ecValue = voltage * 1000; // Convert voltage to EC value (example conversion factor)

  Serial.print("Voltage: ");
  Serial.print(voltage);
  Serial.print(" V, EC Value: ");
  Serial.print(ecValue);
  Serial.println(" uS/cm");

  delay(1000); // Wait for 1 second before taking the next reading
}
Troubleshooting and FAQs
Common Issues Users Might Face
- Inaccurate Readings: The sensor may provide inaccurate readings if not calibrated properly.
- No Output Signal: If there is no output signal, check the power connections and ensure the sensor is properly connected to the microcontroller.
- Fluctuating Readings: Fluctuating readings can be caused by air bubbles on the sensor probe or electrical noise in the circuit.
Solutions and Tips for Troubleshooting
- Calibration: Ensure the sensor is calibrated using a standard solution with a known EC value.
- Check Connections: Verify all connections are secure and correct.
- Clean the Probe: Regularly clean the sensor probe to prevent contamination.
- Use Shielded Cables: To reduce electrical noise, use shielded cables for connections.
By following this documentation, users can effectively utilize the DFRobot EC Sensor in their projects, ensuring accurate and reliable EC measurements for various applications.