How to Use MAHIR 3.7: Examples, Pinouts, and Specs
Introduction
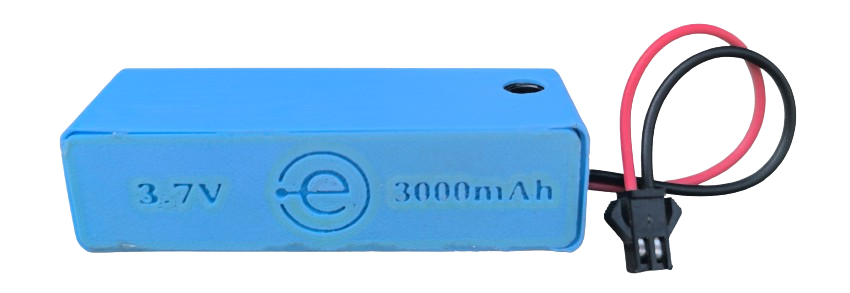
The MAHIR 3.7, manufactured by ElectroEra Pvt. Ltd. (Part ID: 01100101060406), is a versatile electronic component designed for a variety of applications. While it is not a standard circuit component, it is often used in custom or proprietary devices. This documentation provides a comprehensive guide to understanding, using, and troubleshooting the MAHIR 3.7.
Explore Projects Built with MAHIR 3.7
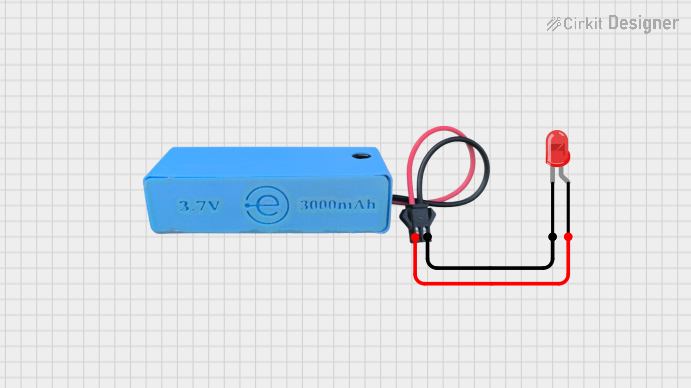
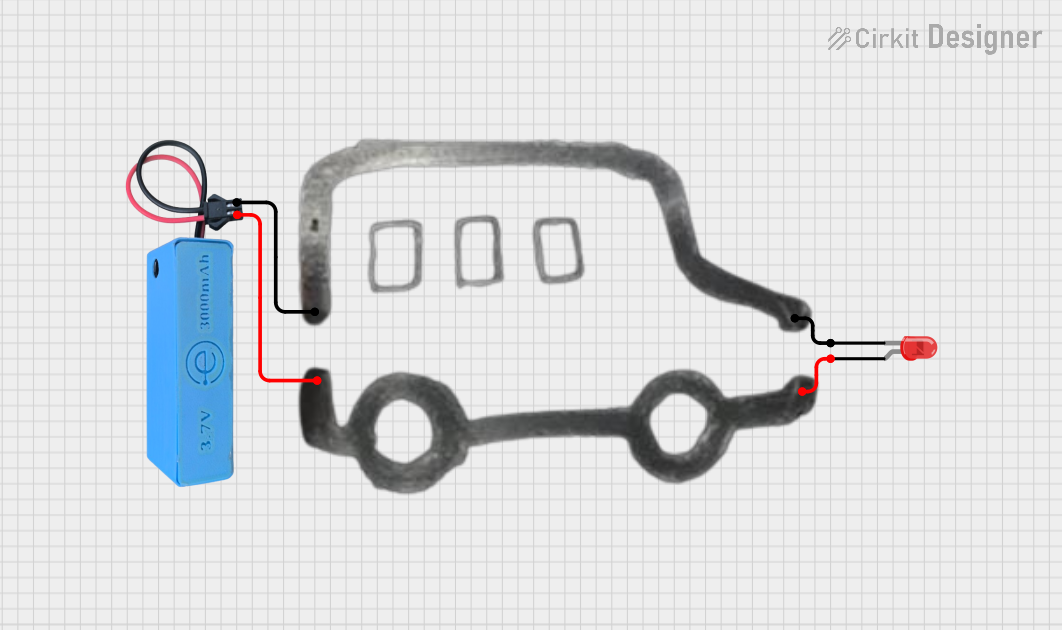

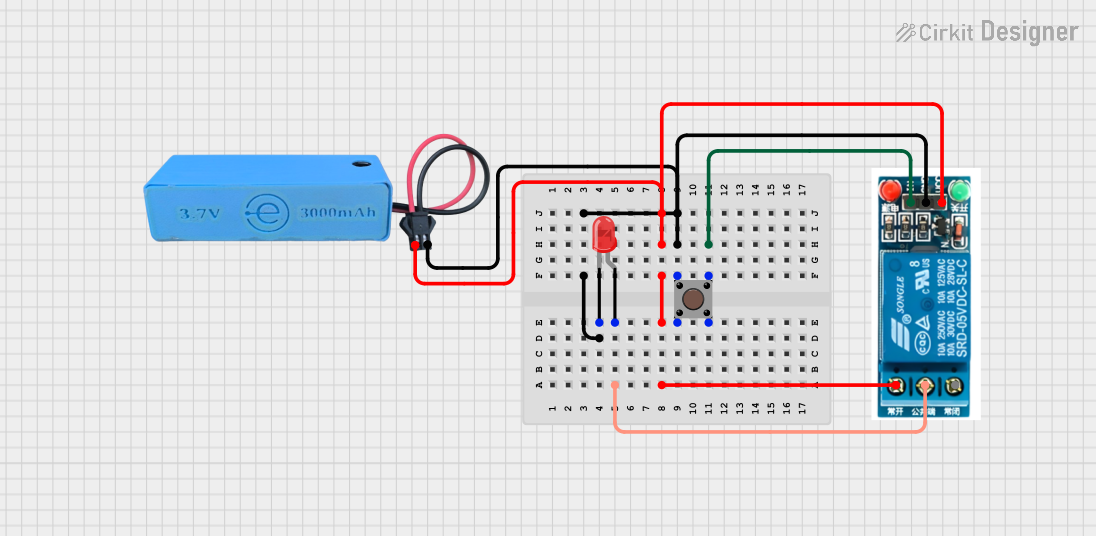
Explore Projects Built with MAHIR 3.7
Common Applications and Use Cases
- Embedded Systems: Ideal for integration into custom embedded systems.
- Prototyping: Useful for rapid prototyping of electronic devices.
- IoT Devices: Can be used in Internet of Things (IoT) applications for data collection and processing.
- Educational Projects: Suitable for educational purposes to teach electronics and programming.
Technical Specifications
The following table outlines the key technical specifications of the MAHIR 3.7:
| Parameter | Value |
|---|---|
| Voltage Rating | 3.7V |
| Current Rating | 500mA |
| Power Rating | 1.85W |
| Operating Temp. | -20°C to 70°C |
| Storage Temp. | -40°C to 85°C |
| Dimensions | 25mm x 15mm x 5mm |
| Weight | 5g |
Pin Configuration and Descriptions
The MAHIR 3.7 has a 6-pin configuration as described in the table below:
| Pin Number | Pin Name | Description |
|---|---|---|
| 1 | VCC | Power Supply (3.7V) |
| 2 | GND | Ground |
| 3 | DATA | Data Input/Output |
| 4 | CLK | Clock Input |
| 5 | RESET | Reset Signal |
| 6 | NC | Not Connected |
Usage Instructions
How to Use the Component in a Circuit
- Power Supply: Connect the VCC pin to a 3.7V power source and the GND pin to the ground.
- Data Communication: Use the DATA pin for data input/output. Ensure proper data protocols are followed.
- Clock Signal: Provide a clock signal to the CLK pin as required by your application.
- Reset Function: Connect the RESET pin to a reset mechanism if needed.
Important Considerations and Best Practices
- Voltage Regulation: Ensure that the power supply is stable and within the specified voltage range.
- Heat Dissipation: Although the component operates within a wide temperature range, ensure adequate ventilation to prevent overheating.
- Signal Integrity: Use proper shielding and grounding techniques to maintain signal integrity, especially in noisy environments.
Example: Connecting to an Arduino UNO
Here is an example of how to connect the MAHIR 3.7 to an Arduino UNO:
// Pin definitions
const int dataPin = 2;  // Data pin connected to digital pin 2
const int clkPin = 3;   // Clock pin connected to digital pin 3
const int resetPin = 4; // Reset pin connected to digital pin 4

void setup() {
  // Initialize serial communication
  Serial.begin(9600);

  // Set pin modes
  pinMode(dataPin, INPUT);
  pinMode(clkPin, OUTPUT);
  pinMode(resetPin, OUTPUT);

  // Reset the component
  digitalWrite(resetPin, HIGH);
  delay(100);
  digitalWrite(resetPin, LOW);
}

void loop() {
  // Example code to read data from the MAHIR 3.7
  int data = digitalRead(dataPin);
  Serial.println(data);

  // Generate clock signal
  digitalWrite(clkPin, HIGH);
  delay(1);
  digitalWrite(clkPin, LOW);
  delay(1);
}
Troubleshooting and FAQs
Common Issues Users Might Face
- No Power: Ensure the VCC and GND pins are properly connected.
- Data Communication Errors: Check the data protocol and ensure proper connections.
- Overheating: Verify that the component is not exposed to temperatures beyond its operating range.
Solutions and Tips for Troubleshooting
- Check Connections: Double-check all connections to ensure they are secure and correct.
- Use a Multimeter: Measure the voltage and current to ensure they are within the specified range.
- Consult the Datasheet: Refer to the manufacturer's datasheet for detailed information and guidelines.
FAQs
Q1: Can I use a power supply higher than 3.7V? A1: No, using a higher voltage can damage the component. Always use a 3.7V power supply.
Q2: What should I do if the component overheats? A2: Ensure proper ventilation and check for any short circuits or excessive current draw.
Q3: How do I reset the component? A3: Use the RESET pin to reset the component. Refer to the usage instructions for details.
This documentation aims to provide a comprehensive guide to using the MAHIR 3.7. For further assistance, please contact ElectroEra Pvt. Ltd. or refer to the official datasheet.