How to Use Adafruit 12 NeoPixel Ring: Examples, Pinouts, and Specs

 Design with Adafruit 12 NeoPixel Ring in Cirkit Designer
Introduction
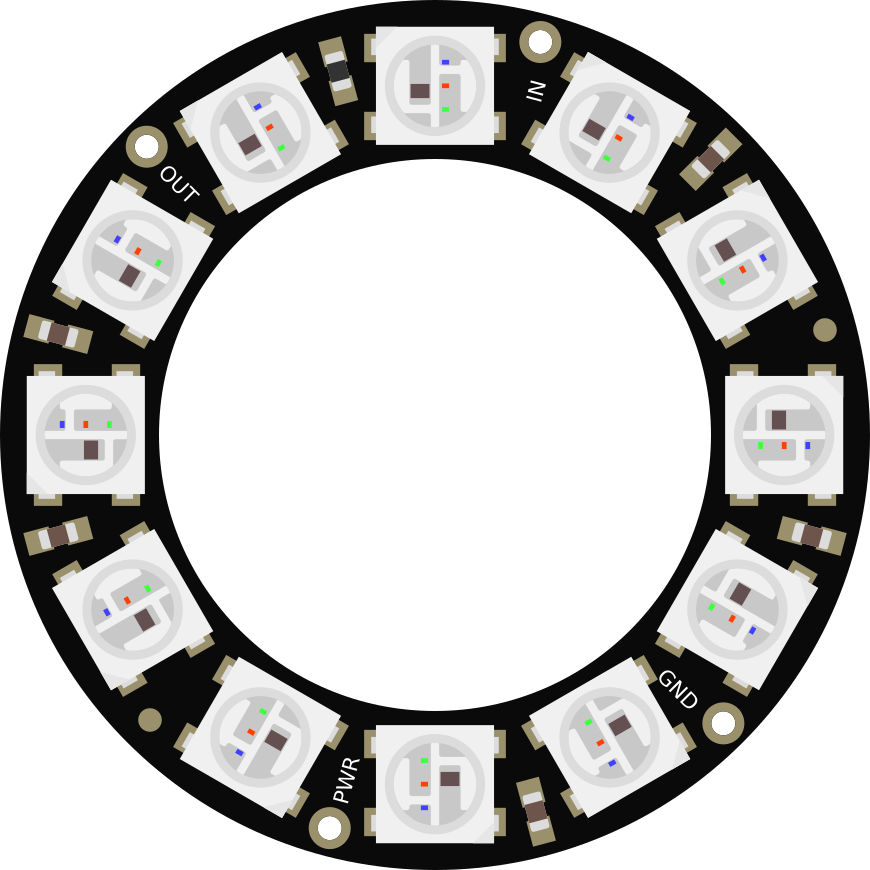
The Adafruit 12 NeoPixel Ring is a circular LED ring featuring 12 individually addressable RGB LEDs. Each LED is capable of producing a wide range of colors, allowing for vibrant and dynamic lighting effects. The NeoPixel Ring is controlled using a single data line, making it easy to integrate into microcontroller-based projects. Its compact size and versatility make it ideal for applications such as wearable electronics, decorative lighting, interactive displays, and robotics.
Explore Projects Built with Adafruit 12 NeoPixel Ring

 Open Project in Cirkit Designer
 Open Project in Cirkit Designer
 Open Project in Cirkit Designer
 Open Project in Cirkit Designer
Explore Projects Built with Adafruit 12 NeoPixel Ring

 Open Project in Cirkit Designer
 Open Project in Cirkit Designer
 Open Project in Cirkit Designer
 Open Project in Cirkit Designer
Common Applications and Use Cases
- Wearable electronics and cosplay props
- Mood lighting and decorative displays
- Interactive art installations
- Robotics and drone lighting
- Customizable indicators and status displays
Technical Specifications
- LED Count: 12 RGB LEDs
- LED Type: WS2812B (integrated driver and RGB LED)
- Input Voltage: 4.5V to 6V DC (5V recommended)
- Current Consumption: ~60mA per LED at full brightness (all colors on)
- Communication Protocol: One-wire (WS2812 protocol)
- Outer Diameter: 37mm (1.45 inches)
- Inner Diameter: 23mm (0.9 inches)
- Pin Count: 3 (Power, Ground, Data In)
Pin Configuration and Descriptions
| Pin Name | Description | Notes |
|---|---|---|
| VCC | Power supply input (4.5V to 6V DC) | Connect to 5V for optimal results |
| GND | Ground | Common ground for the circuit |
| DIN | Data input | Connect to microcontroller output |
Usage Instructions
How to Use the Component in a Circuit
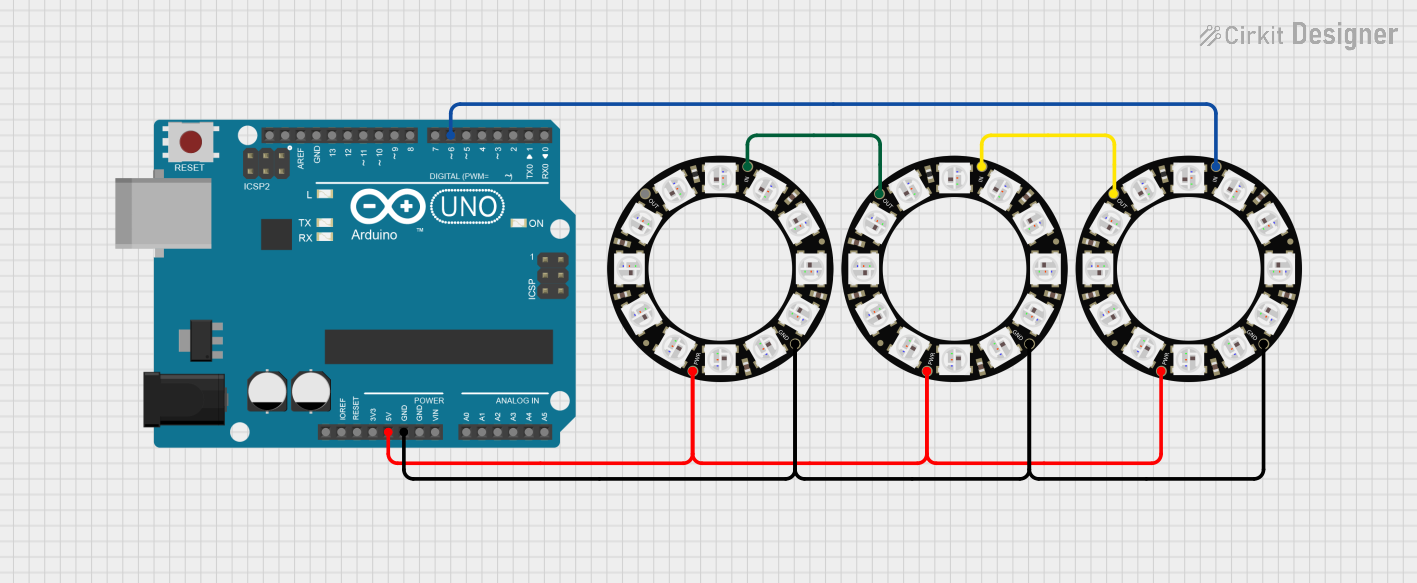
- Power Supply: Connect the VCC pin to a 5V power source and the GND pin to the ground of your circuit.
- Data Line: Connect the DIN pin to a digital output pin of your microcontroller. Use a resistor (330-500 ohms) in series with the data line to protect the LEDs.
- Capacitor: Place a 1000µF capacitor (6.3V or higher) across the VCC and GND pins to stabilize the power supply.
- Library Setup: If using an Arduino, install the Adafruit NeoPixel library for easy control of the LEDs.
Important Considerations and Best Practices
- Power Requirements: Ensure your power supply can handle the current draw. At full brightness, the ring can draw up to 720mA (60mA x 12 LEDs).
- Signal Integrity: Keep the data line as short as possible to avoid signal degradation. For longer distances, consider using a level shifter to ensure a 5V data signal.
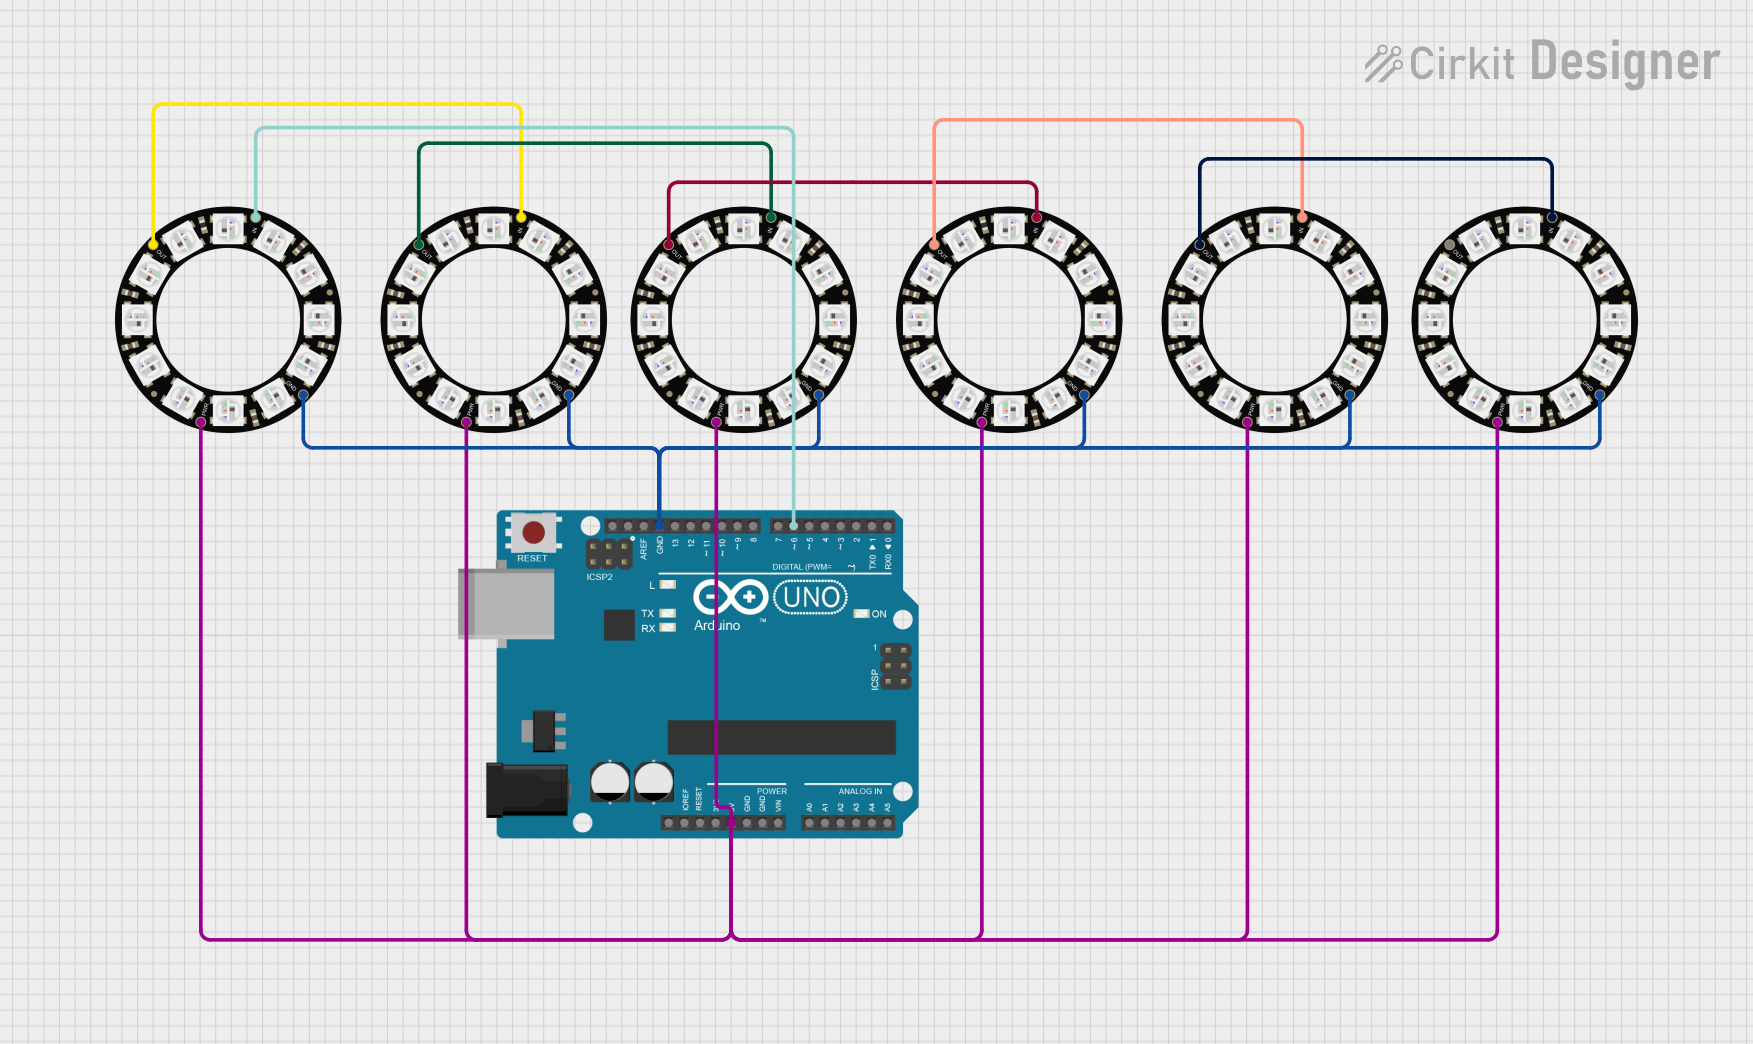
- Chaining: Multiple NeoPixel Rings can be chained together by connecting the DOUT pin of one ring to the DIN pin of the next.
Example Code for Arduino UNO
Below is an example code snippet to control the Adafruit 12 NeoPixel Ring using an Arduino UNO:
#include <Adafruit_NeoPixel.h>

// Define the pin connected to the NeoPixel Ring
#define PIN 6

// Define the number of LEDs in the ring
#define NUMPIXELS 12

// Create a NeoPixel object
Adafruit_NeoPixel pixels(NUMPIXELS, PIN, NEO_GRB + NEO_KHZ800);

void setup() {
  pixels.begin(); // Initialize the NeoPixel library
  pixels.show();  // Turn off all LEDs initially
}

void loop() {
  // Cycle through all LEDs and set them to red
  for (int i = 0; i < NUMPIXELS; i++) {
    pixels.setPixelColor(i, pixels.Color(255, 0, 0)); // Set LED to red
    pixels.show(); // Update the ring to display the color
    delay(100);    // Wait 100ms before lighting the next LED
  }

  // Turn off all LEDs
  pixels.clear();
  pixels.show();
  delay(1000); // Wait 1 second before restarting the loop
}
Notes on the Code
- The
Adafruit_NeoPixellibrary simplifies controlling the NeoPixel Ring. - The
pixels.Color()function allows you to specify RGB values for each LED. - Use
pixels.clear()to turn off all LEDs.
Troubleshooting and FAQs
Common Issues and Solutions
LEDs Not Lighting Up
- Cause: Incorrect wiring or insufficient power supply.
- Solution: Double-check all connections, ensure the power supply provides enough current, and verify the data line is connected to the correct pin.
Flickering or Unstable Colors
- Cause: Signal degradation or power instability.
- Solution: Add a 330-500 ohm resistor in series with the data line and a 1000µF capacitor across the power supply.
Only the First LED Works
- Cause: Data signal not reaching subsequent LEDs.
- Solution: Ensure the data line is securely connected and not too long. Check for soldering issues.
Library Errors in Arduino IDE
- Cause: Missing or outdated Adafruit NeoPixel library.
- Solution: Install or update the library via the Arduino Library Manager.
FAQs
Can I power the NeoPixel Ring with a battery? Yes, you can use a 5V battery pack, but ensure it can supply sufficient current for all LEDs.
Can I chain multiple NeoPixel Rings? Yes, connect the DOUT pin of one ring to the DIN pin of the next. Ensure your power supply can handle the total current draw.
What is the maximum distance for the data line? For reliable operation, keep the data line under 1 meter. Use a level shifter for longer distances.
Can I control the brightness of the LEDs? Yes, use the
setBrightness()function in the Adafruit NeoPixel library to adjust brightness levels.
This documentation provides all the essential details to get started with the Adafruit 12 NeoPixel Ring. Happy tinkering!