How to Use BRAKE PEDAL: Examples, Pinouts, and Specs

Introduction
The Brake Pedal (Manufacturer: DDD, Part ID: SS) is a mechanical device used in vehicles to slow down or stop the vehicle by applying pressure with the driver's foot. This action activates the braking system, ensuring the vehicle's safety and control. Brake pedals are essential components in automotive systems, providing the driver with the ability to manage the vehicle's speed and halt it when necessary.
Explore Projects Built with BRAKE PEDAL
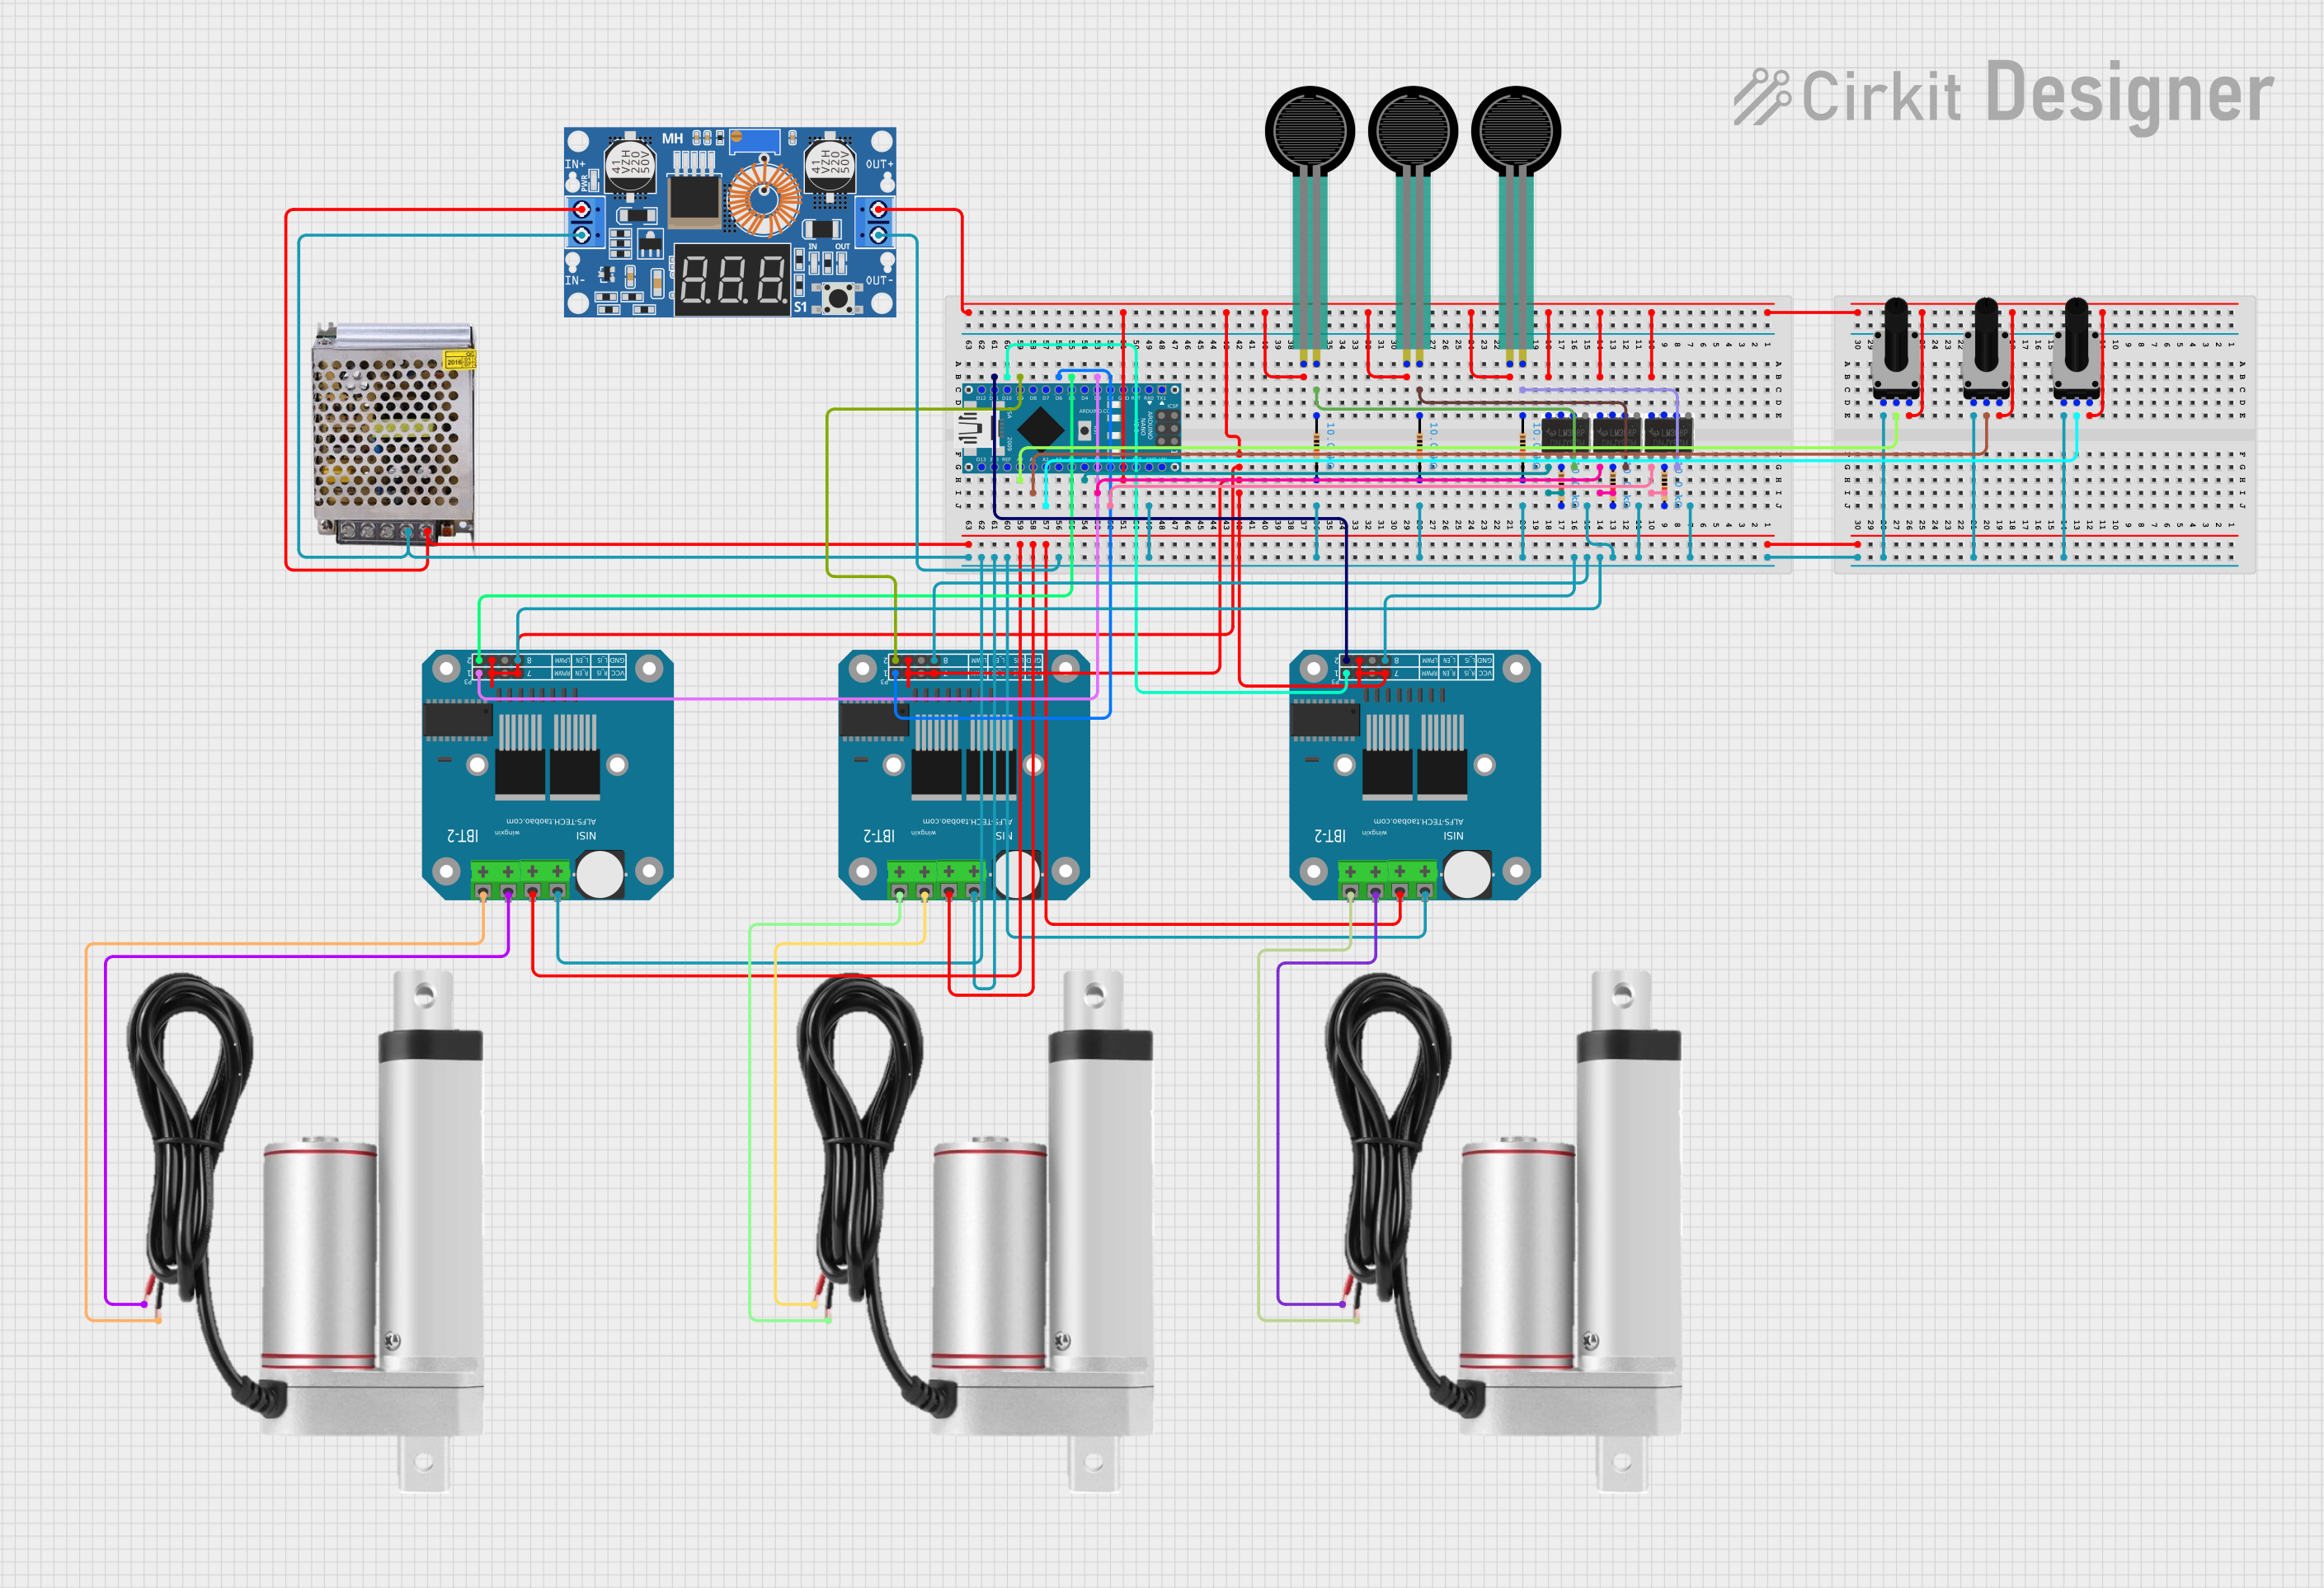


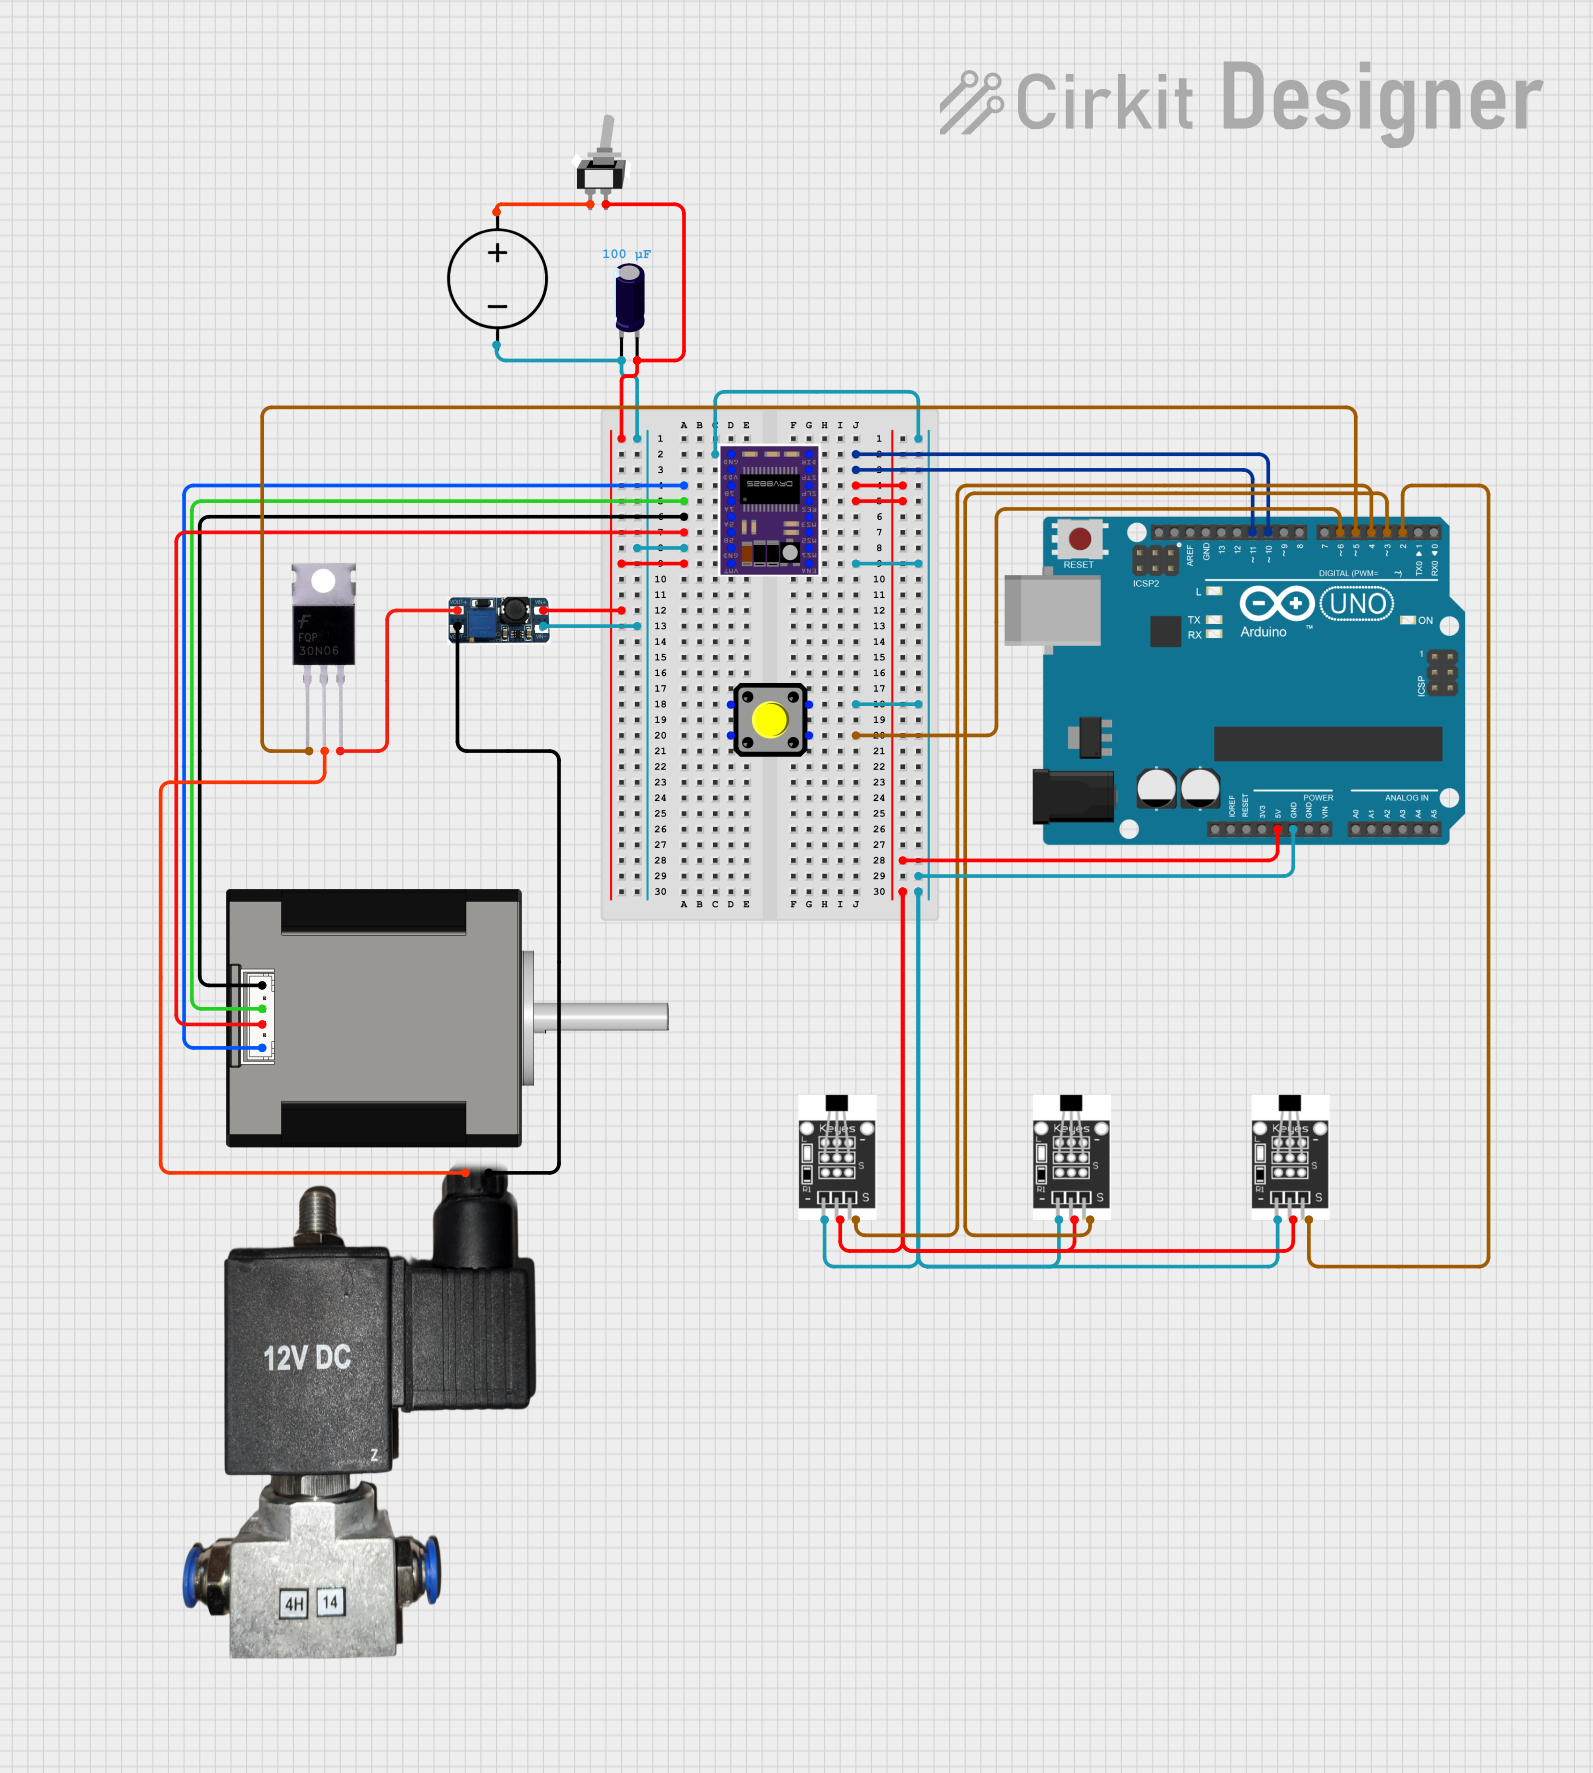
Explore Projects Built with BRAKE PEDAL
Common Applications and Use Cases
- Automobiles: Used in cars, trucks, and other vehicles to control braking.
- Motorcycles: Integrated into the braking system for safe riding.
- Heavy Machinery: Employed in construction and industrial vehicles for operational safety.
- Simulators: Used in driving simulators for training and entertainment purposes.
Technical Specifications
Key Technical Details
| Parameter | Specification |
|---|---|
| Manufacturer | DDD |
| Part ID | SS |
| Material | High-strength steel |
| Operating Force | 10-50 N |
| Pedal Travel | 50-100 mm |
| Operating Temperature | -40°C to 85°C |
| Weight | 1.2 kg |
| Dimensions | 200 mm x 80 mm x 50 mm |
Pin Configuration and Descriptions
The brake pedal itself does not have electronic pins, but it can be connected to a brake light switch or a sensor for electronic integration. Below is an example of a typical brake light switch pin configuration:
| Pin Number | Description |
|---|---|
| 1 | Ground (GND) |
| 2 | Brake Light Signal (Output) |
| 3 | Power Supply (VCC) |
Usage Instructions
How to Use the Component in a Circuit
To integrate the brake pedal with an electronic system, such as an Arduino UNO, you can use a brake light switch or a pressure sensor. Below is an example of how to connect a brake light switch to an Arduino UNO:
Connect the Ground Pin:
- Connect Pin 1 (GND) of the brake light switch to the GND pin on the Arduino UNO.
Connect the Power Supply Pin:
- Connect Pin 3 (VCC) of the brake light switch to the 5V pin on the Arduino UNO.
Connect the Brake Light Signal Pin:
- Connect Pin 2 (Output) of the brake light switch to a digital input pin (e.g., D2) on the Arduino UNO.
Important Considerations and Best Practices
- Ensure Proper Mounting: Securely mount the brake pedal to avoid any movement or instability during operation.
- Check Connections: Verify all electrical connections are secure and insulated to prevent short circuits.
- Calibrate Sensors: If using a pressure sensor, calibrate it to ensure accurate readings.
- Regular Maintenance: Periodically inspect the brake pedal and associated components for wear and tear.
Troubleshooting and FAQs
Common Issues Users Might Face
Brake Pedal Feels Loose:
- Solution: Check the mounting bolts and ensure they are tightened properly.
Brake Light Does Not Activate:
- Solution: Verify the connections between the brake light switch and the Arduino. Check the switch for any faults.
Inconsistent Sensor Readings:
- Solution: Recalibrate the sensor and ensure it is properly aligned with the brake pedal.
FAQs
Q1: Can I use the brake pedal with other microcontrollers besides Arduino?
- A1: Yes, the brake pedal can be integrated with other microcontrollers, such as Raspberry Pi, by following similar connection principles.
Q2: How do I test if the brake light switch is working?
- A2: You can use a multimeter to check the continuity between the pins when the pedal is pressed.
Q3: What should I do if the brake pedal makes a squeaking noise?
- A3: Apply a small amount of lubricant to the pivot points of the pedal to reduce friction and noise.
Example Arduino Code
Below is an example Arduino code to read the brake light switch status and turn on an LED when the brake pedal is pressed:
// Define pin connections
const int brakeSwitchPin = 2; // Brake light switch connected to digital pin 2
const int ledPin = 13;        // LED connected to digital pin 13

void setup() {
  pinMode(brakeSwitchPin, INPUT); // Set brake switch pin as input
  pinMode(ledPin, OUTPUT);        // Set LED pin as output
  Serial.begin(9600);             // Initialize serial communication
}

void loop() {
  int brakeState = digitalRead(brakeSwitchPin); // Read the brake switch state

  if (brakeState == HIGH) {
    digitalWrite(ledPin, HIGH); // Turn on LED if brake is pressed
    Serial.println("Brake Pressed");
  } else {
    digitalWrite(ledPin, LOW);  // Turn off LED if brake is not pressed
    Serial.println("Brake Released");
  }

  delay(100); // Small delay for debounce
}
This code reads the state of the brake light switch and turns on an LED when the brake pedal is pressed. It also prints the brake status to the serial monitor.
This documentation provides a comprehensive guide to understanding, using, and troubleshooting the Brake Pedal (DDD, Part ID: SS). Whether you are a beginner or an experienced user, this guide aims to assist you in effectively integrating and maintaining this essential automotive component.