
How to Use anemo: Examples, Pinouts, and Specs
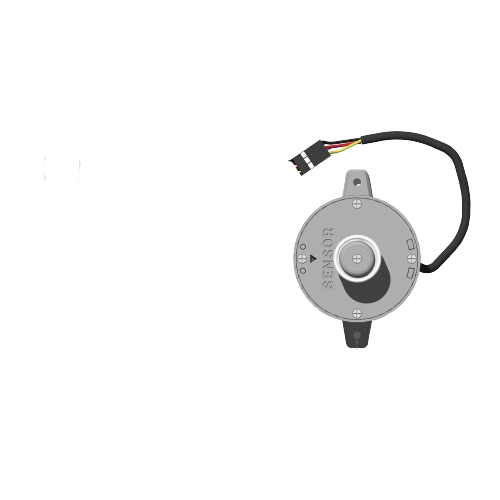
 Design with anemo in Cirkit Designer
Introduction
An anemometer, often referred to as an "anemo," is a device used to measure wind speed and, in some cases, wind direction. It is a critical tool in meteorology, aviation, and environmental monitoring, where understanding wind behavior is essential. Anemos are also widely used in renewable energy systems, such as wind turbines, to optimize performance and ensure safety.
Common applications include:
- Weather stations for monitoring wind conditions.
- Aviation systems for assessing wind speed and direction during takeoff and landing.
- Environmental monitoring for air quality and climate studies.
- Wind turbine systems for performance optimization and safety.
Explore Projects Built with anemo
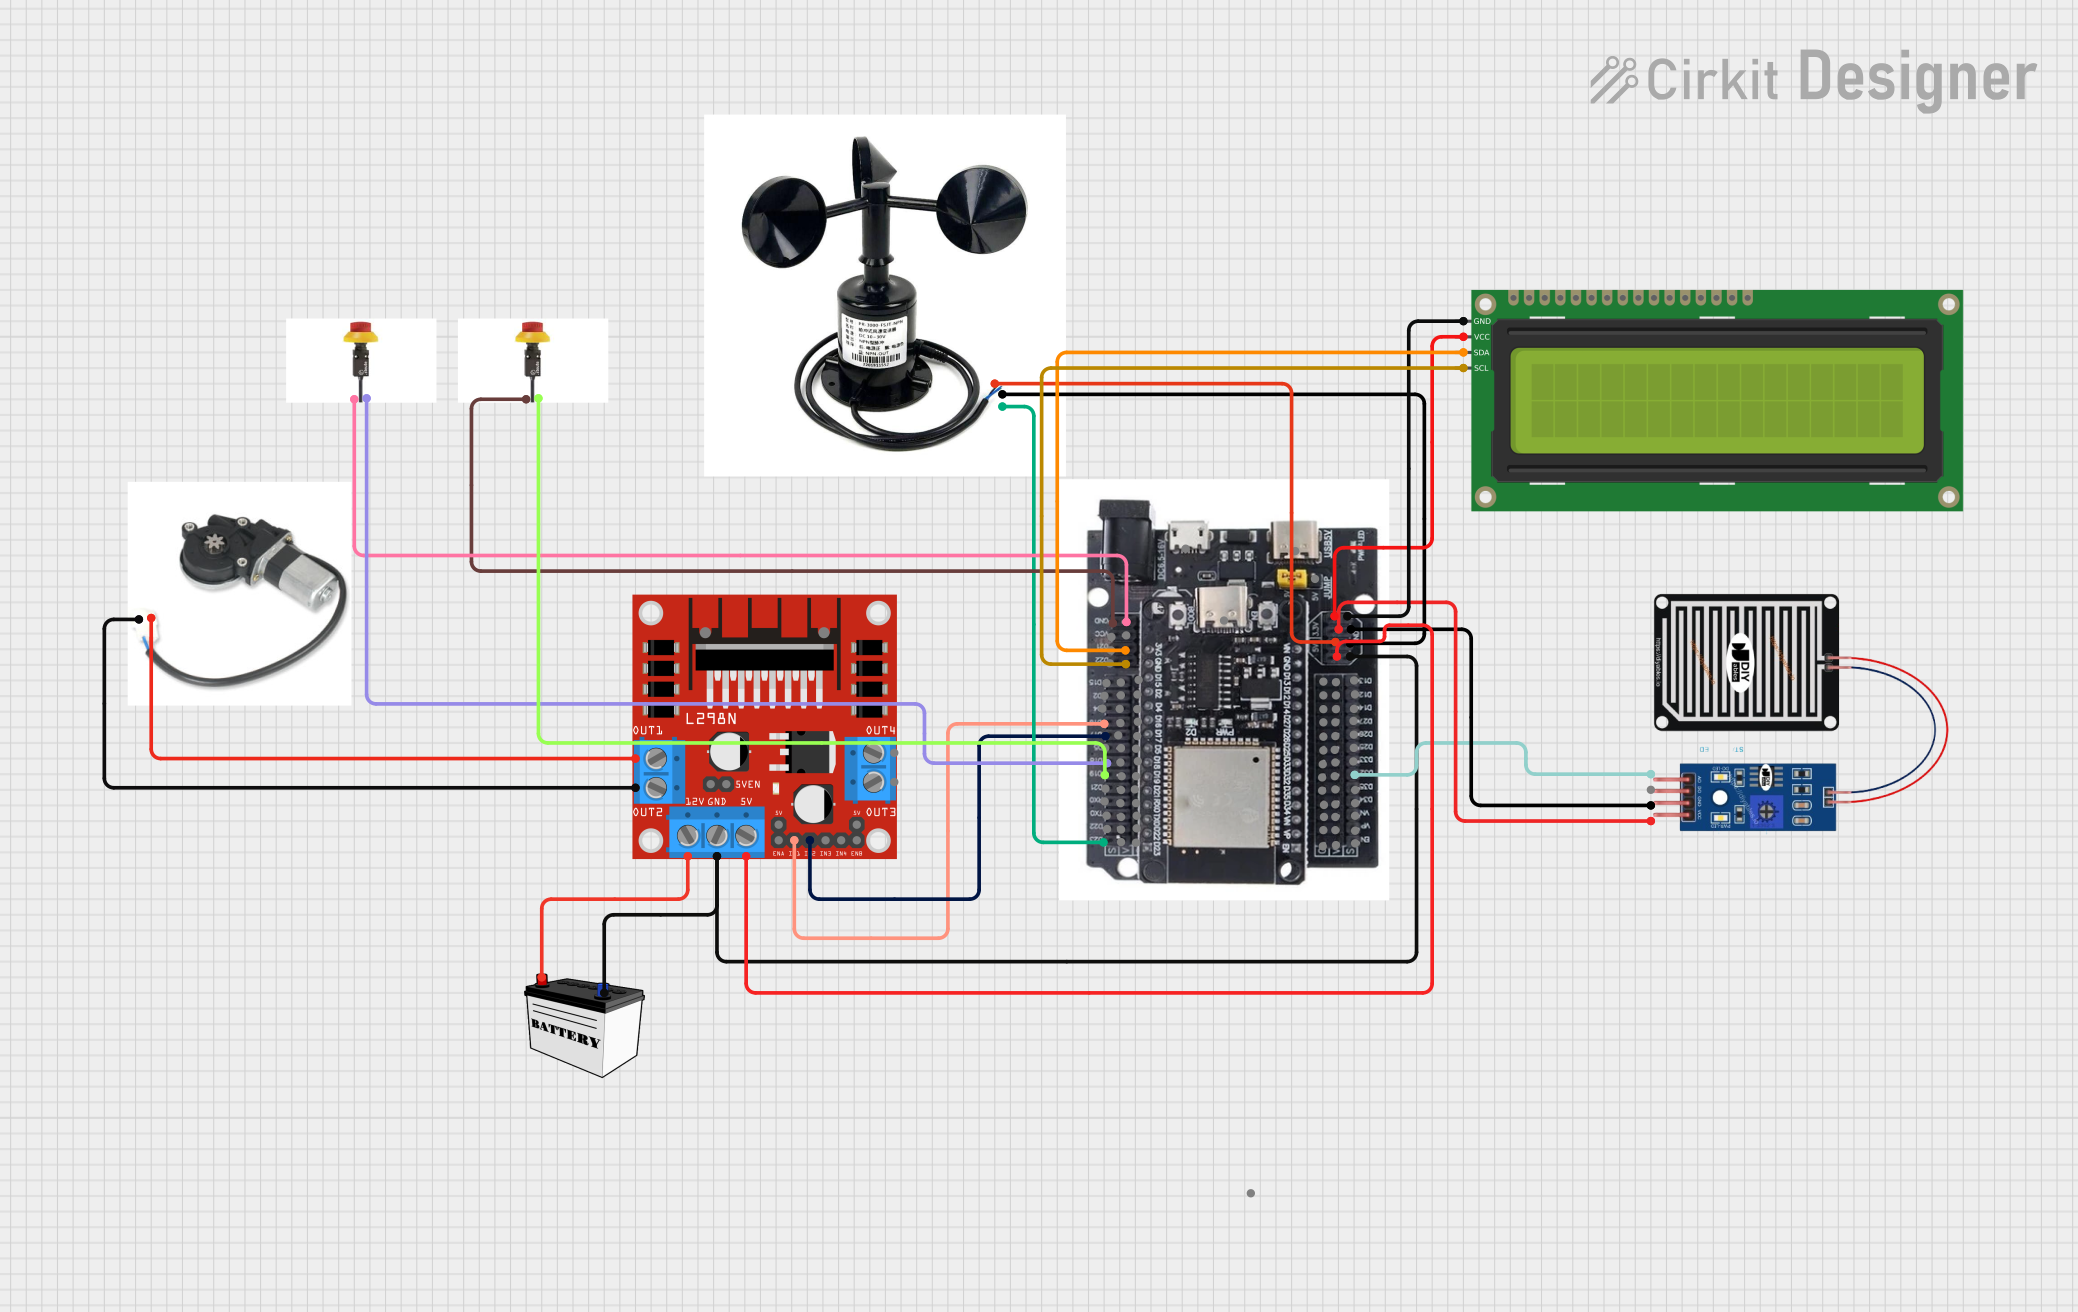
 Open Project in Cirkit Designer
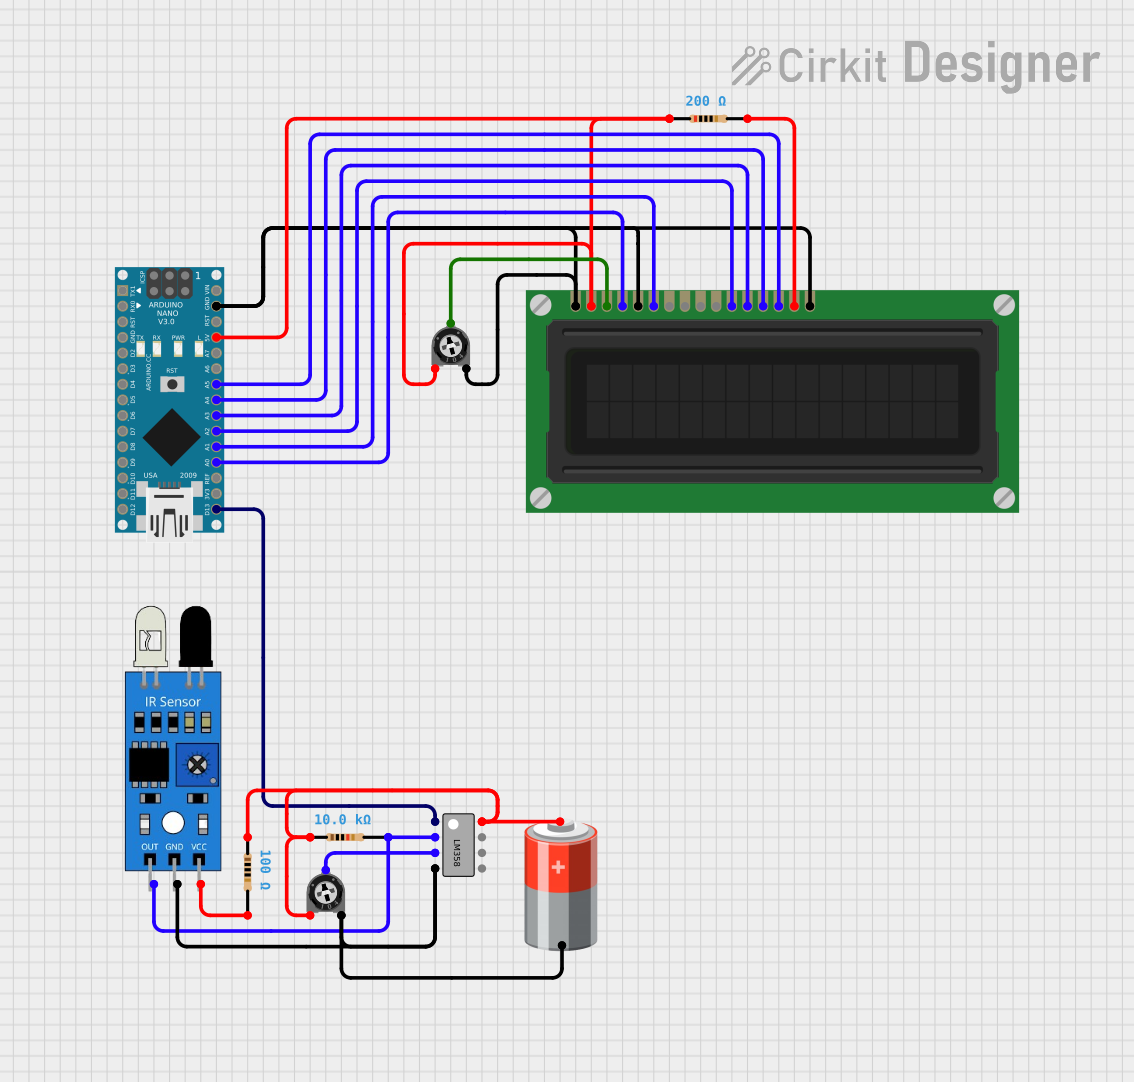
 Open Project in Cirkit Designer
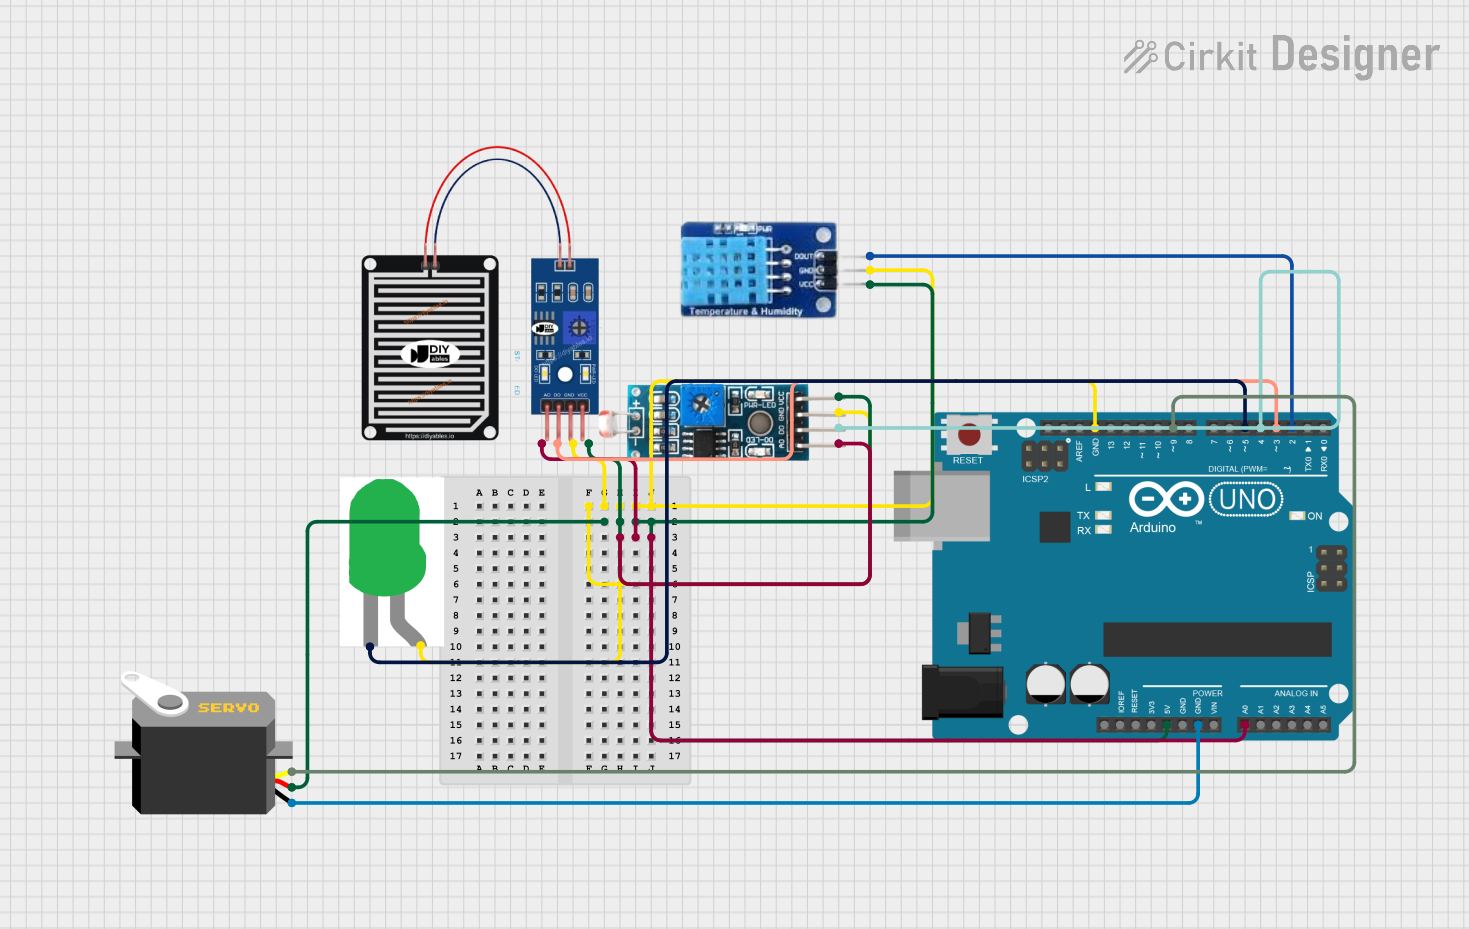
 Open Project in Cirkit Designer
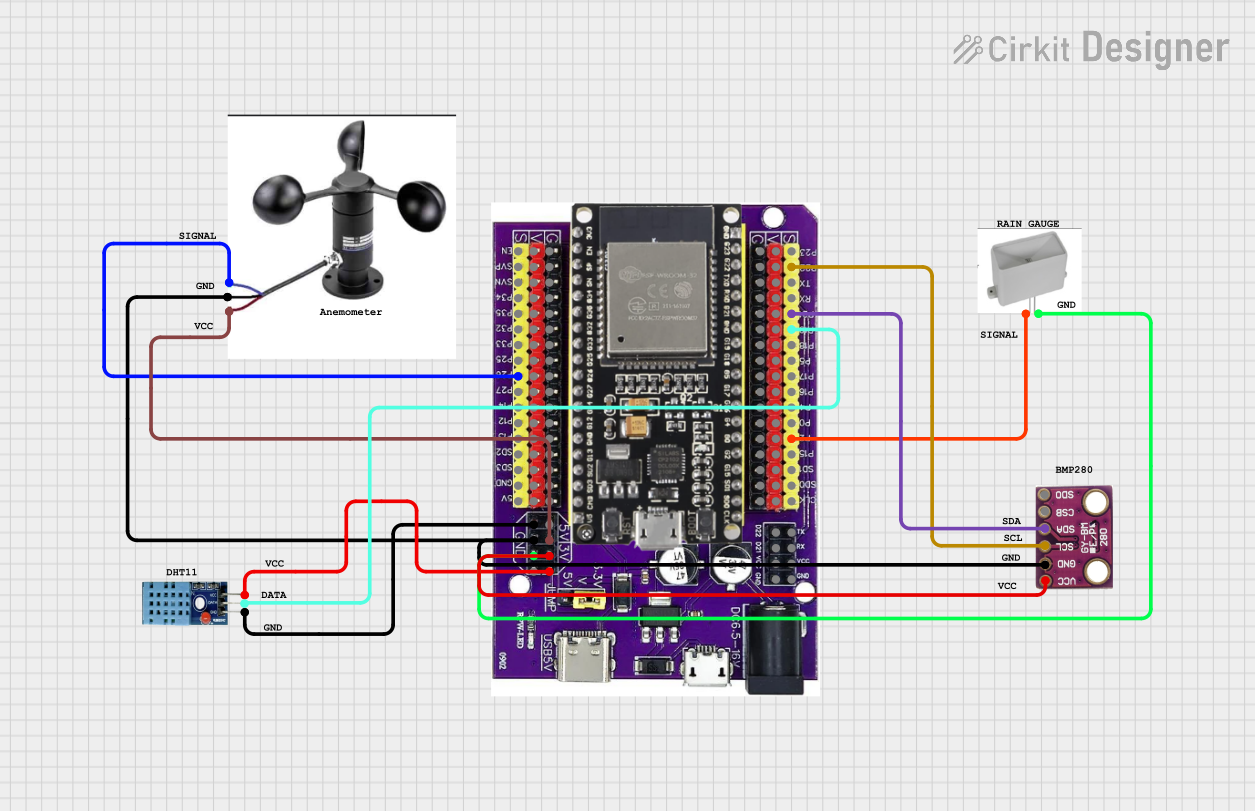
 Open Project in Cirkit Designer
Explore Projects Built with anemo

 Open Project in Cirkit Designer
 Open Project in Cirkit Designer
 Open Project in Cirkit Designer
 Open Project in Cirkit Designer
Technical Specifications
Below are the general technical specifications for a typical anemometer:
| Parameter | Value |
|---|---|
| Operating Voltage | 5V to 24V DC |
| Output Signal | Pulse (frequency proportional to wind speed) or analog voltage |
| Wind Speed Range | 0.3 m/s to 30 m/s (varies by model) |
| Wind Direction Range | 0° to 360° (for models with direction measurement) |
| Accuracy | ±3% for wind speed, ±5° for direction |
| Operating Temperature | -40°C to 80°C |
| Power Consumption | Typically < 20 mA |
Pin Configuration and Descriptions
The pin configuration for a basic 3-wire anemometer is as follows:
| Pin | Name | Description |
|---|---|---|
| 1 | VCC | Power supply input (5V to 24V DC) |
| 2 | GND | Ground connection |
| 3 | Signal | Output signal (pulse or analog voltage) |
For advanced anemometers with wind direction measurement, the pinout may include additional pins:
| Pin | Name | Description |
|---|---|---|
| 4 | Direction | Analog output for wind direction (0° to 360°) |
Usage Instructions
How to Use the Anemo in a Circuit
- Power the Anemometer: Connect the VCC pin to a 5V to 24V DC power source and the GND pin to the ground of your circuit.
- Read the Signal:
- For pulse-based anemometers, connect the Signal pin to a microcontroller's digital input pin. The frequency of the pulses corresponds to the wind speed.
- For analog output anemometers, connect the Signal pin to an analog input pin of your microcontroller.
- Optional Direction Measurement: If your anemometer includes a Direction pin, connect it to an analog input pin to read the wind direction.
Important Considerations and Best Practices
- Calibration: Ensure the anemometer is calibrated according to the manufacturer's specifications for accurate readings.
- Placement: Install the anemometer in an open area, away from obstructions that could affect wind flow.
- Weatherproofing: Most anemometers are designed for outdoor use, but verify the IP rating to ensure it can withstand your environmental conditions.
- Debouncing: For pulse-based anemometers, implement software debouncing to filter out noise in the signal.
Example: Connecting an Anemo to an Arduino UNO
Below is an example of how to connect a pulse-based anemometer to an Arduino UNO and read wind speed:
// Define the pin connected to the anemometer signal
const int anemometerPin = 2;

// Variables to store wind speed data
volatile int pulseCount = 0;
unsigned long lastMillis = 0;
float windSpeed = 0.0;

// Interrupt service routine to count pulses
void countPulses() {
  pulseCount++;
}

void setup() {
  // Initialize serial communication for debugging
  Serial.begin(9600);

  // Set up the anemometer pin as an input
  pinMode(anemometerPin, INPUT_PULLUP);

  // Attach an interrupt to the anemometer pin
  attachInterrupt(digitalPinToInterrupt(anemometerPin), countPulses, RISING);

  // Initialize the lastMillis variable
  lastMillis = millis();
}

void loop() {
  // Calculate wind speed every second
  if (millis() - lastMillis >= 1000) {
    // Convert pulse count to wind speed (example: 1 pulse = 1.2 m/s)
    windSpeed = pulseCount * 1.2;

    // Print the wind speed to the serial monitor
    Serial.print("Wind Speed: ");
    Serial.print(windSpeed);
    Serial.println(" m/s");

    // Reset pulse count and lastMillis
    pulseCount = 0;
    lastMillis = millis();
  }
}
Notes:
- Replace the conversion factor (
1.2) with the appropriate value for your anemometer model. - Ensure the anemometer is securely mounted and aligned for accurate readings.
Troubleshooting and FAQs
Common Issues and Solutions
No Signal Output:
- Check the power supply voltage and connections.
- Verify that the Signal pin is properly connected to the microcontroller.
- Ensure the anemometer is not physically obstructed or damaged.
Inaccurate Wind Speed Readings:
- Confirm the calibration factor is correct for your anemometer model.
- Check for obstructions or turbulence near the anemometer's installation site.
Intermittent Signal:
- Inspect the wiring for loose connections or damage.
- Implement software debouncing to filter out noise in the signal.
Wind Direction Not Detected:
- Ensure the Direction pin is connected to an analog input.
- Verify the anemometer's specifications to confirm it supports direction measurement.
FAQs
Q: Can I use the anemometer indoors?
A: While anemometers are designed for outdoor use, they can be used indoors for controlled experiments. However, ensure there is sufficient airflow for accurate readings.
Q: How do I clean and maintain the anemometer?
A: Periodically clean the anemometer's cups or blades with a soft cloth to remove dirt and debris. Avoid using harsh chemicals that could damage the device.
Q: What is the lifespan of an anemometer?
A: The lifespan depends on the model and environmental conditions. Most anemometers last several years with proper maintenance.
Q: Can I use the anemometer with other microcontrollers?
A: Yes, anemometers can be used with various microcontrollers, such as ESP32, Raspberry Pi, or STM32, as long as the voltage and input requirements are compatible.
By following this documentation, you can effectively integrate and use an anemometer in your projects for accurate wind speed and direction measurements.