
How to Use Servo MG996R: Examples, Pinouts, and Specs
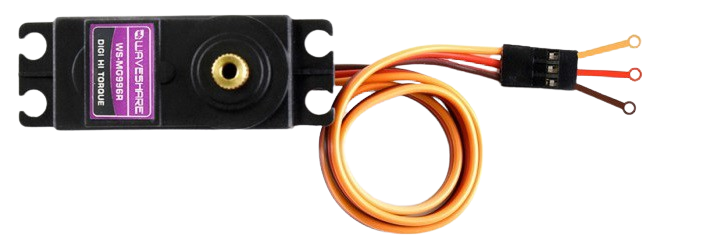
 Design with Servo MG996R in Cirkit Designer
Introduction
The MG996R is a high-torque servo motor widely used in robotics, automation, and remote-controlled systems. It is known for its robust metal gear design, which ensures durability and reliability even under high-stress conditions. The servo provides precise control of angular position, making it ideal for applications requiring accurate and repeatable movement. With its wide operating voltage range and high torque output, the MG996R is a versatile choice for hobbyists and professionals alike.
Explore Projects Built with Servo MG996R
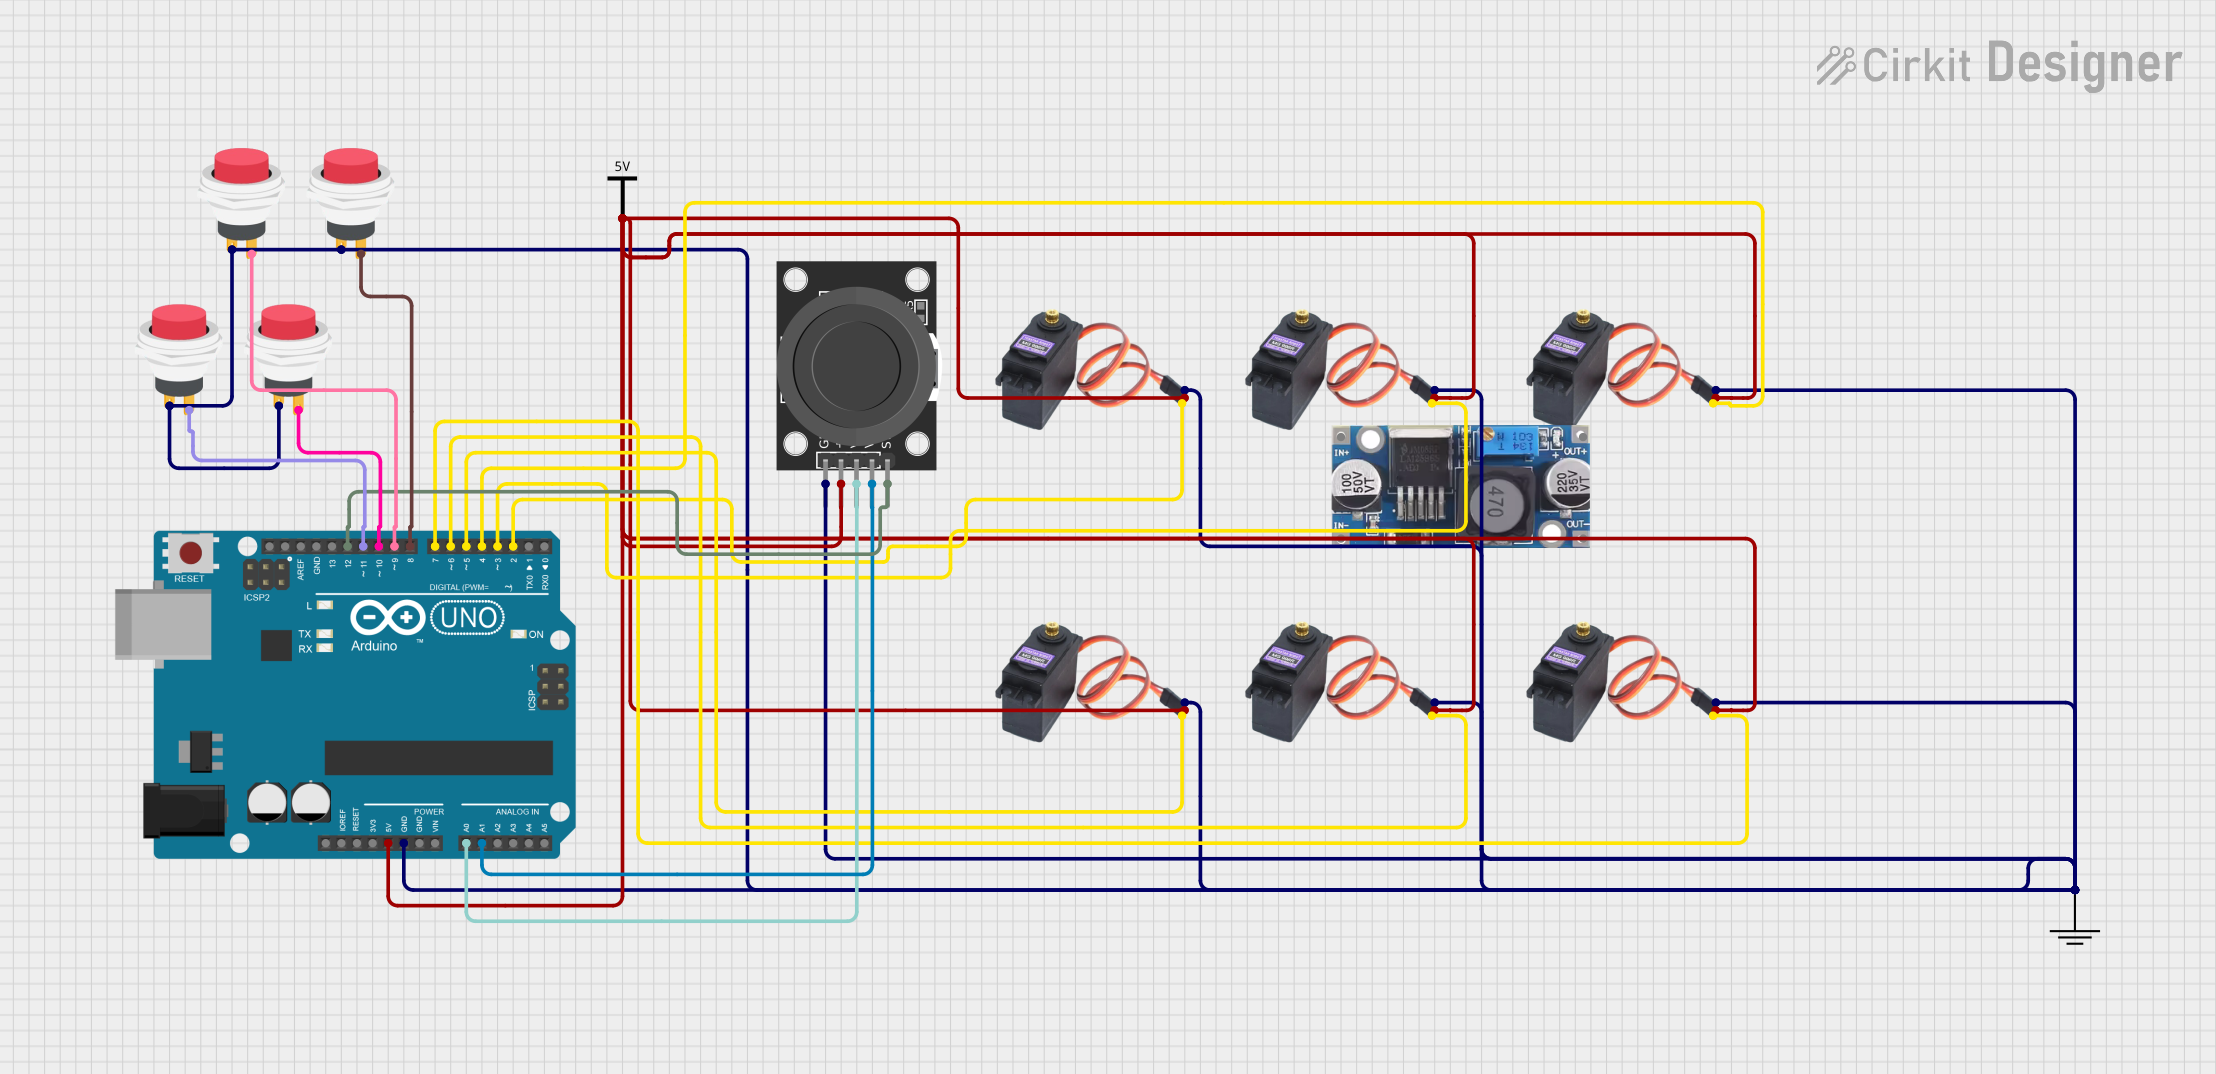 Open Project in Cirkit Designer
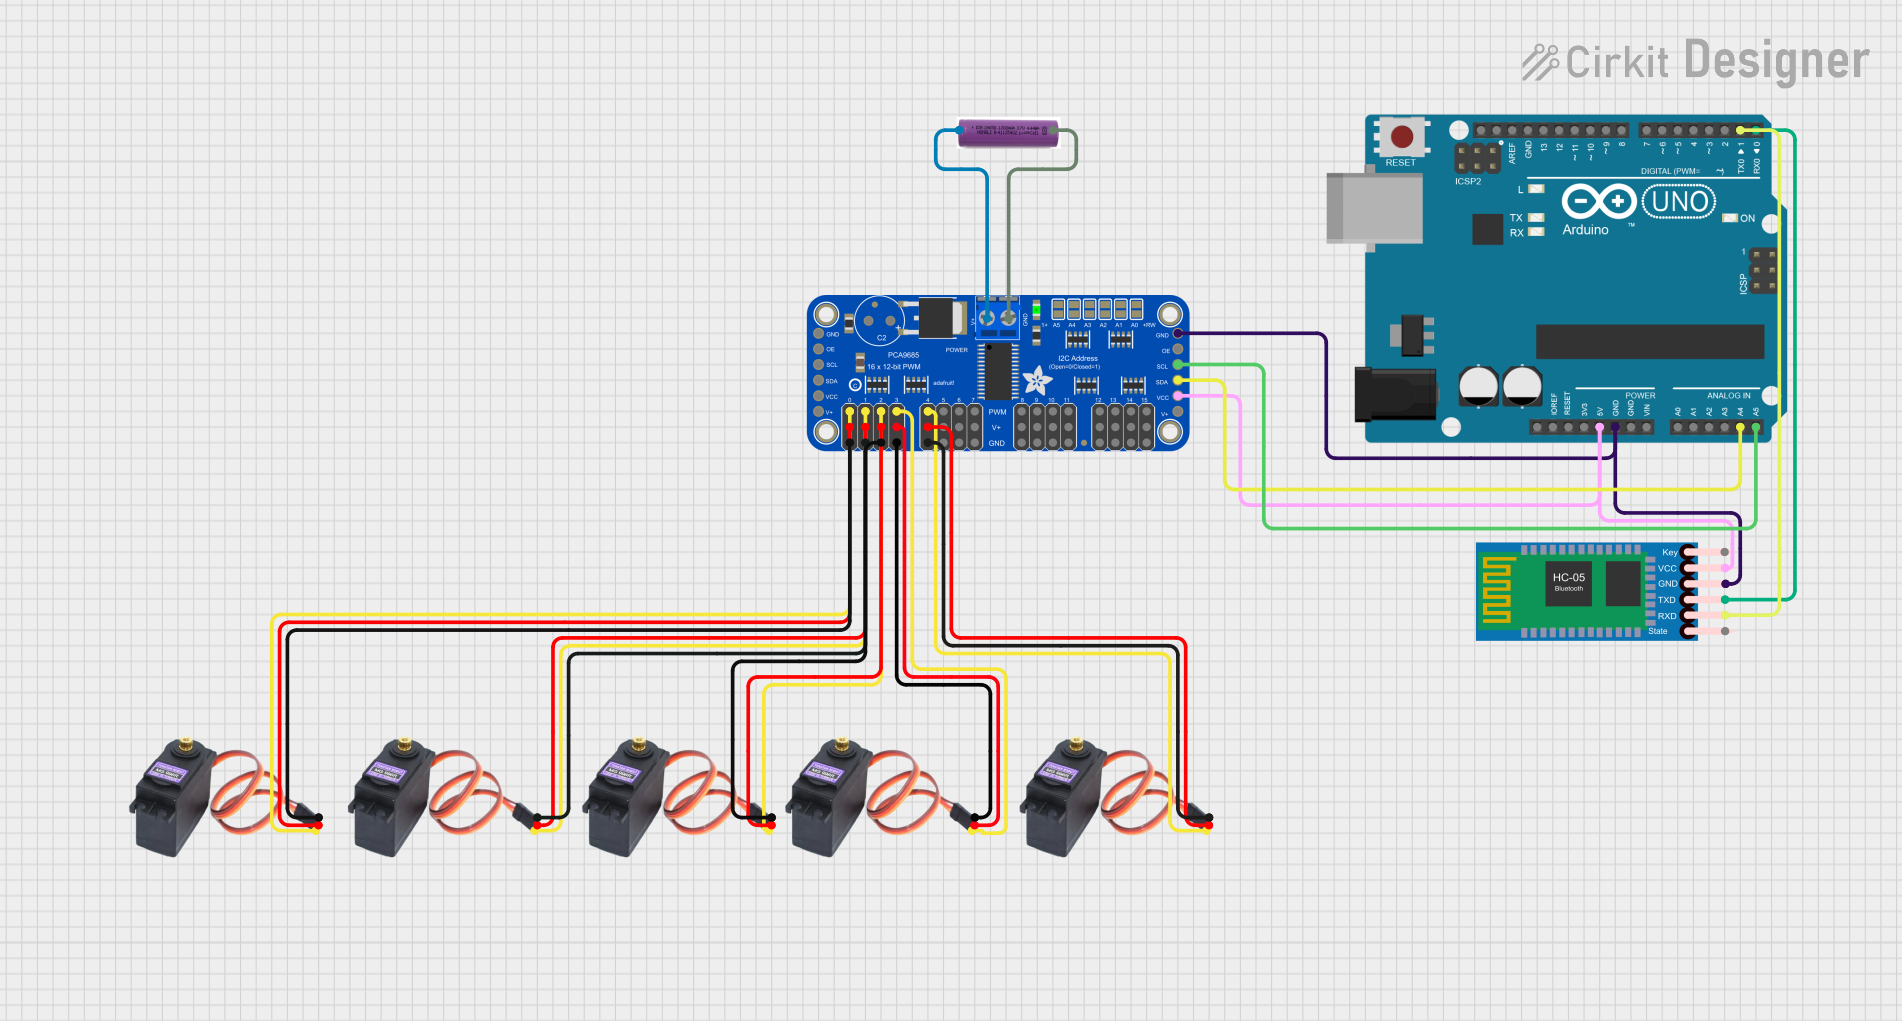 Open Project in Cirkit Designer
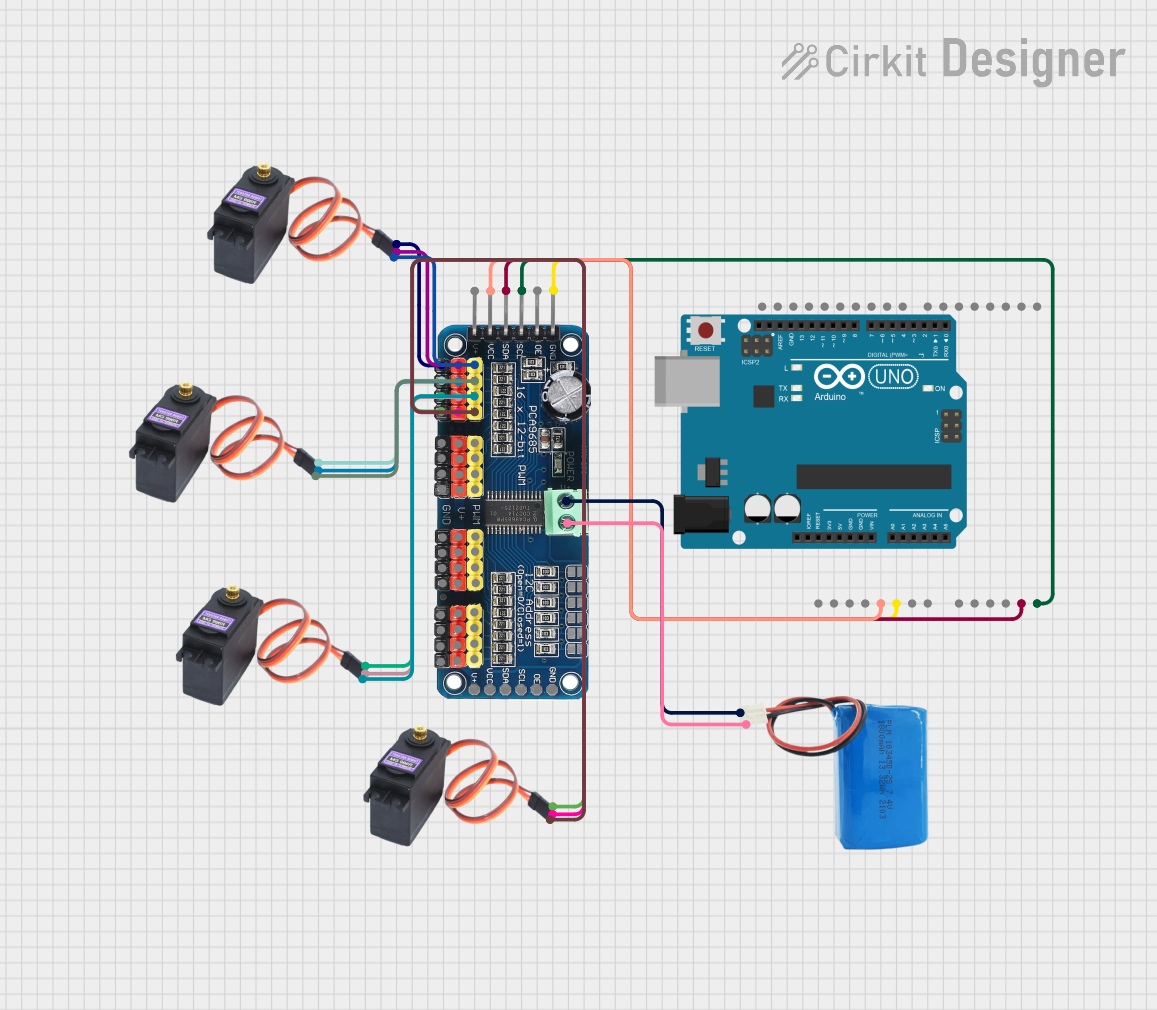 Open Project in Cirkit Designer
 Open Project in Cirkit Designer
Explore Projects Built with Servo MG996R
Open Project in Cirkit DesignerOpen Project in Cirkit DesignerOpen Project in Cirkit DesignerOpen Project in Cirkit DesignerCommon Applications
- Robotic arms and grippers
- RC vehicles (cars, boats, planes)
- Pan-tilt camera systems
- Automated mechanisms and actuators
- DIY projects requiring precise angular control
Technical Specifications
Below are the key technical details of the MG996R servo motor:
| Parameter | Value |
|---|---|
| Operating Voltage | 4.8V to 7.2V |
| Stall Torque | 9.4 kg·cm (4.8V), 11 kg·cm (6V) |
| Operating Speed | 0.19 sec/60° (4.8V), 0.14 sec/60° (6V) |
| Gear Type | Metal |
| Weight | 55g |
| Dimensions | 40.7mm x 19.7mm x 42.9mm |
| Control Signal | PWM (Pulse Width Modulation) |
| PWM Pulse Range | 500µs to 2500µs |
| Rotation Angle | 0° to 180° |
| Connector Type | 3-pin female header (GND, VCC, Signal) |
Pin Configuration
The MG996R servo motor has a 3-pin connector. Below is the pin configuration:
| Pin | Wire Color | Description |
|---|---|---|
| 1 | Brown | Ground (GND) |
| 2 | Red | Power Supply (VCC) |
| 3 | Orange | Signal (PWM control input) |
Usage Instructions
Connecting the MG996R to a Circuit
- Power Supply: Connect the red wire to a power source (4.8V to 7.2V). Ensure the power supply can provide sufficient current (at least 2A) to handle the servo's peak load.
- Ground: Connect the brown wire to the ground (GND) of your circuit.
- Signal: Connect the orange wire to the PWM output pin of your microcontroller (e.g., Arduino).
Important Considerations
- Power Requirements: The MG996R can draw significant current, especially under load. Use a dedicated power supply or a capacitor to stabilize the voltage.
- PWM Signal: The servo expects a PWM signal with a pulse width between 500µs (0°) and 2500µs (180°). Ensure your microcontroller can generate this signal.
- Avoid Overloading: Do not exceed the torque rating to prevent damage to the motor or gears.
- Heat Management: Prolonged use under heavy load may cause the servo to heat up. Allow it to cool periodically.
Example: Controlling the MG996R with Arduino UNO
Below is an example code to control the MG996R servo motor using an Arduino UNO:
#include <Servo.h> // Include the Servo library

Servo myServo; // Create a Servo object to control the MG996R

void setup() {
  myServo.attach(9); // Attach the servo to pin 9 on the Arduino
}

void loop() {
  myServo.write(0); // Move the servo to 0 degrees
  delay(1000); // Wait for 1 second

  myServo.write(90); // Move the servo to 90 degrees
  delay(1000); // Wait for 1 second

  myServo.write(180); // Move the servo to 180 degrees
  delay(1000); // Wait for 1 second
}
Notes on the Code
- The
Servolibrary simplifies PWM signal generation for servo control. - The
myServo.write(angle)function sets the servo to a specific angle (0° to 180°). - Ensure the servo is powered by a stable power source to avoid erratic behavior.
Troubleshooting and FAQs
Common Issues
Servo Not Moving
- Cause: Insufficient power supply or incorrect wiring.
- Solution: Verify the power source provides 4.8V to 7.2V and check all connections.
Erratic Movement
- Cause: Noise or instability in the power supply.
- Solution: Use a capacitor (e.g., 1000µF) across the power and ground lines to stabilize the voltage.
Overheating
- Cause: Prolonged operation under heavy load.
- Solution: Reduce the load or allow the servo to cool periodically.
Limited Rotation
- Cause: PWM signal out of range.
- Solution: Ensure the PWM pulse width is between 500µs and 2500µs.
FAQs
Q: Can the MG996R rotate continuously?
A: No, the MG996R is a standard servo with a rotation range of 0° to 180°. For continuous rotation, use a continuous rotation servo.
Q: Can I power the MG996R directly from the Arduino?
A: It is not recommended. The MG996R can draw more current than the Arduino can supply, especially under load. Use an external power source.
Q: How do I increase the torque of the MG996R?
A: The torque is determined by the servo's design and operating voltage. To achieve maximum torque, use a 6V power supply and ensure the servo is not overloaded.
Q: Can I use the MG996R with a Raspberry Pi?
A: Yes, but since the Raspberry Pi does not have hardware PWM on all pins, you may need a PWM driver (e.g., PCA9685) for precise control.
By following this documentation, you can effectively integrate the MG996R servo motor into your projects and troubleshoot common issues.