How to Use Adafruit MAX4466 Electret Microphone Amplifier: Examples, Pinouts, and Specs
Introduction
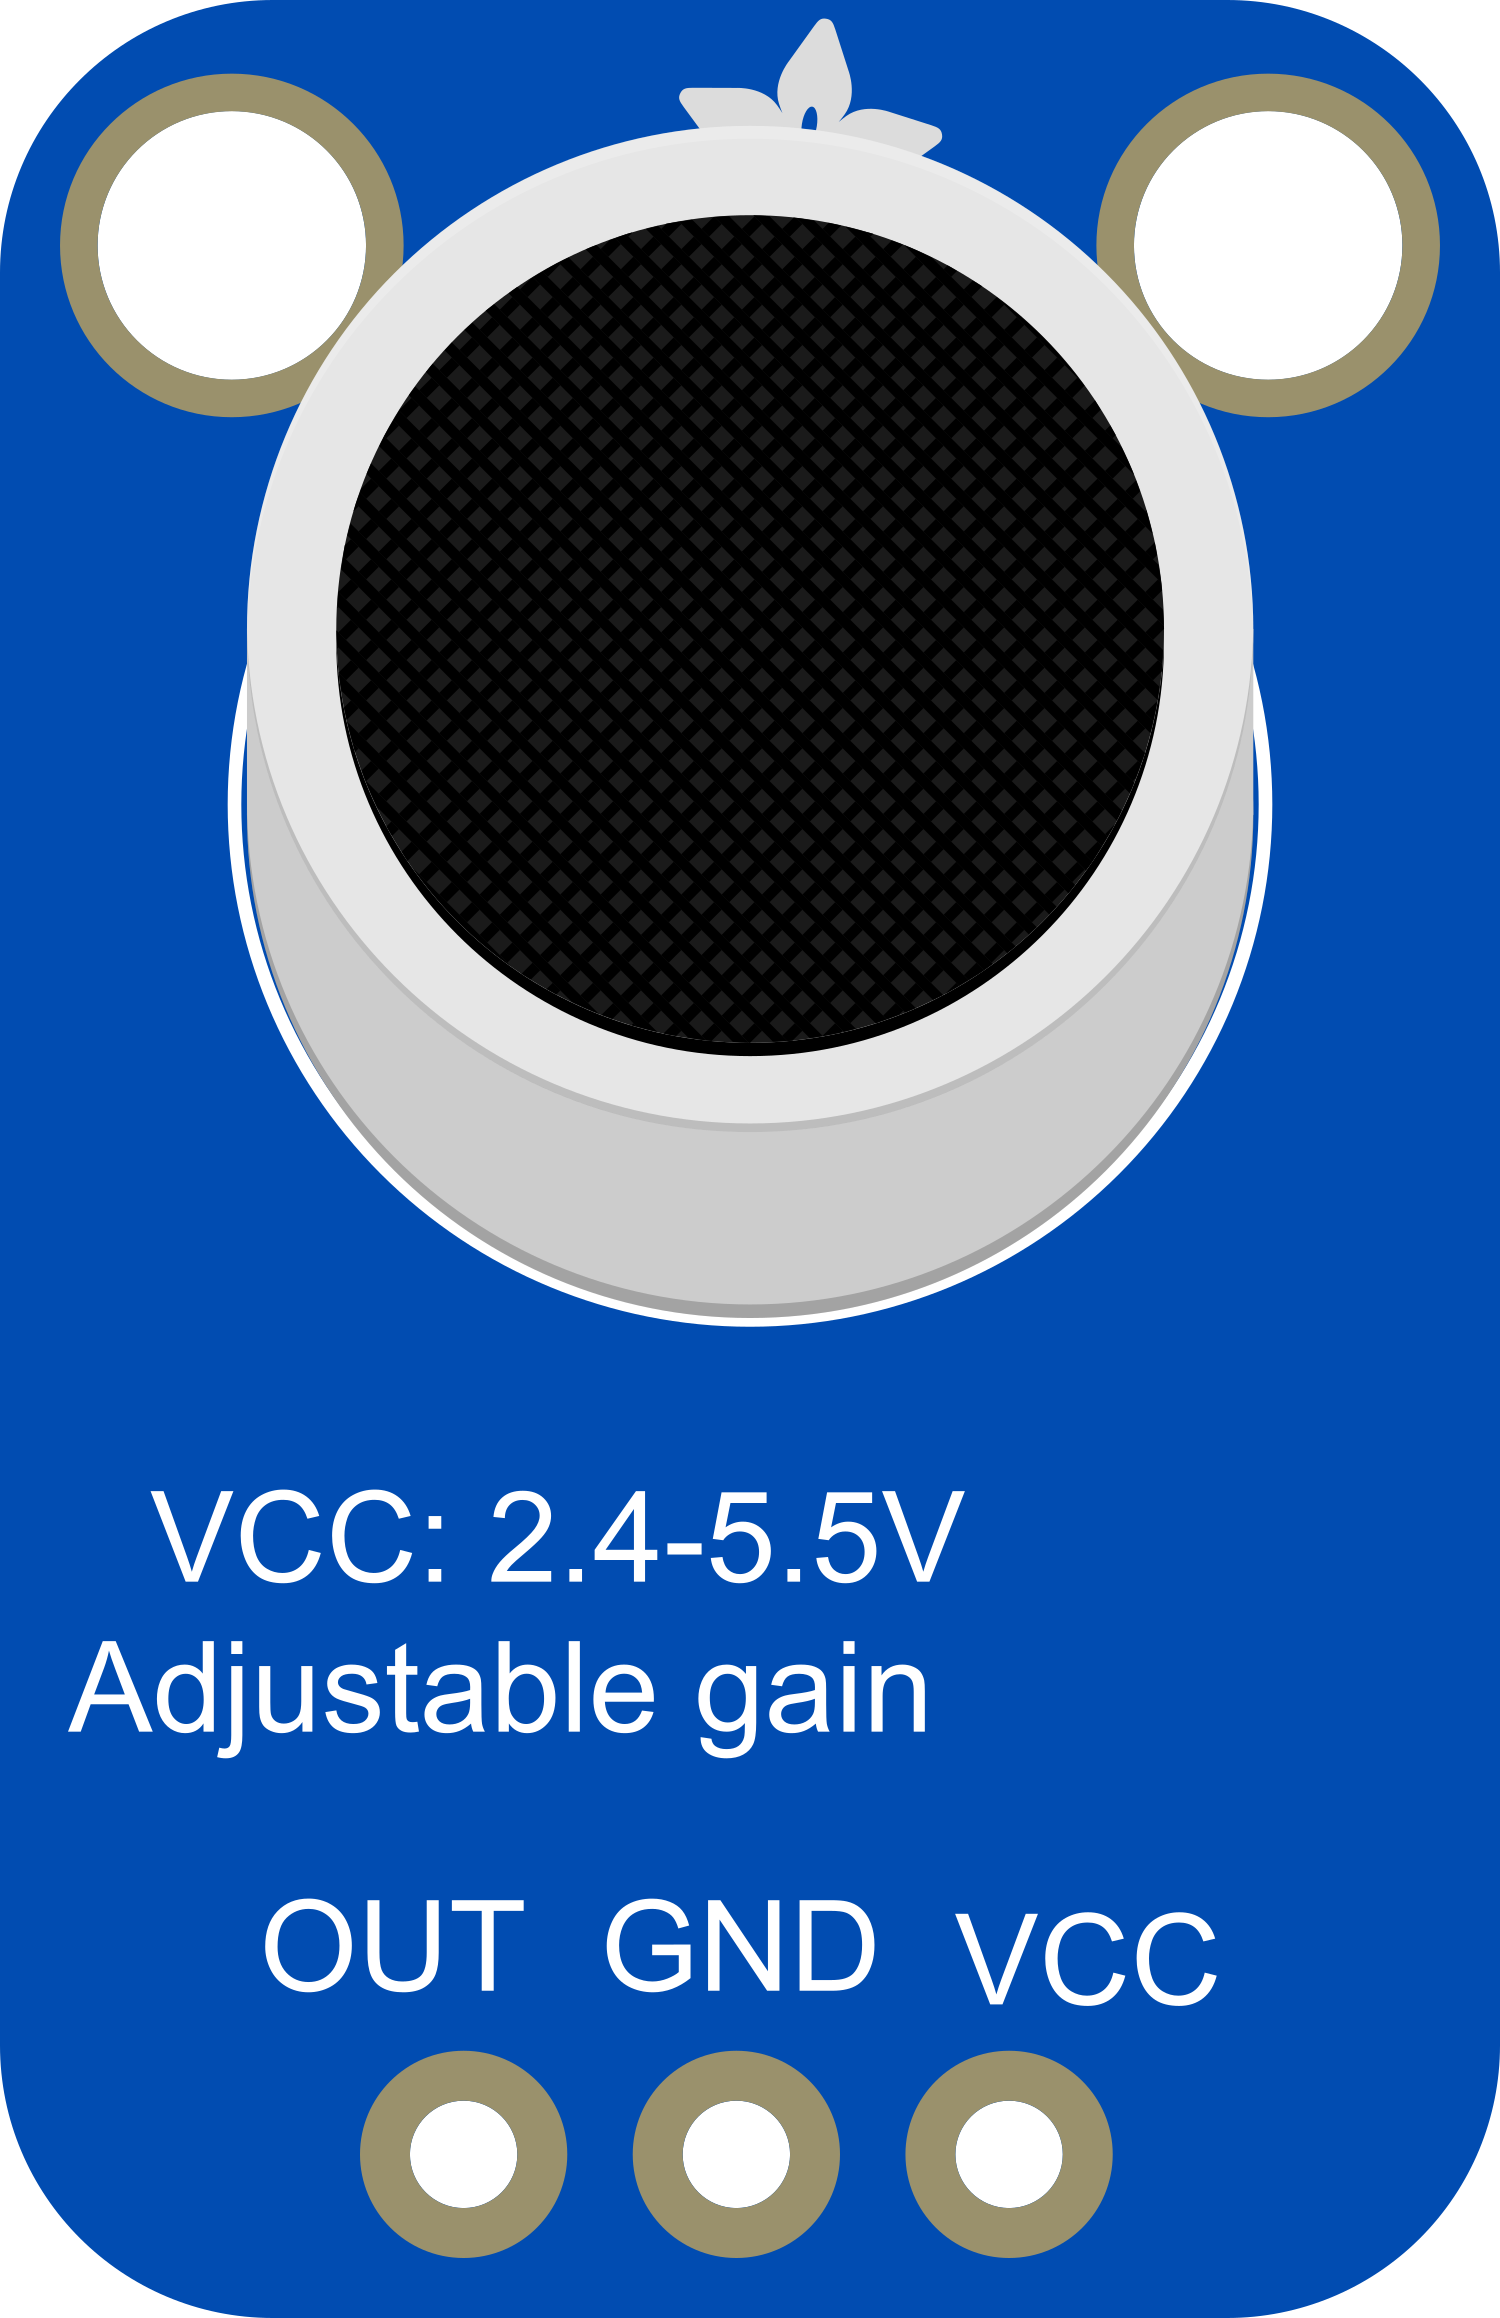
The Adafruit MAX4466 Electret Microphone Amplifier is a compact, high-performance audio amplification module designed for use with electret microphones. It is capable of providing clear and robust amplification of audio signals, making it an ideal choice for projects involving audio recording, voice recognition, and sound detection. The module's adjustable gain and low-noise output make it versatile for a wide range of applications, from hobbyist projects to professional audio equipment.
Explore Projects Built with Adafruit MAX4466 Electret Microphone Amplifier
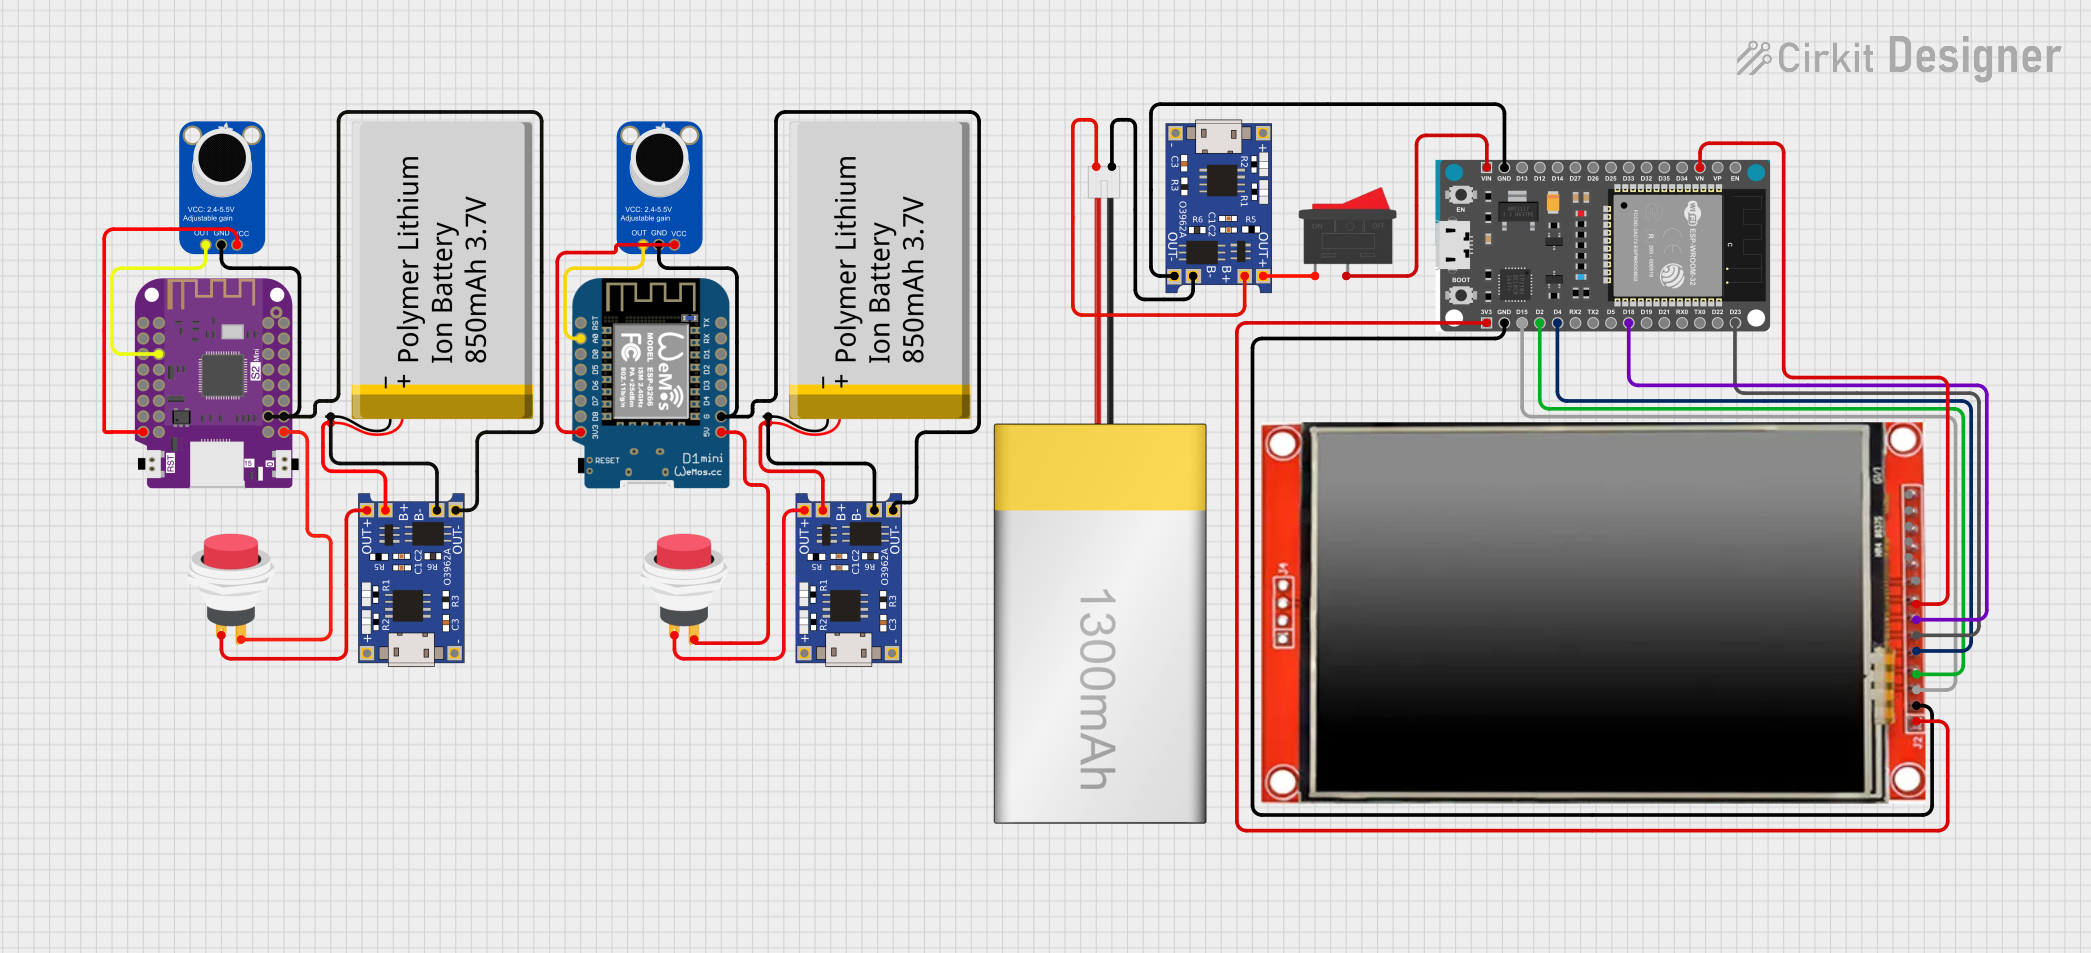

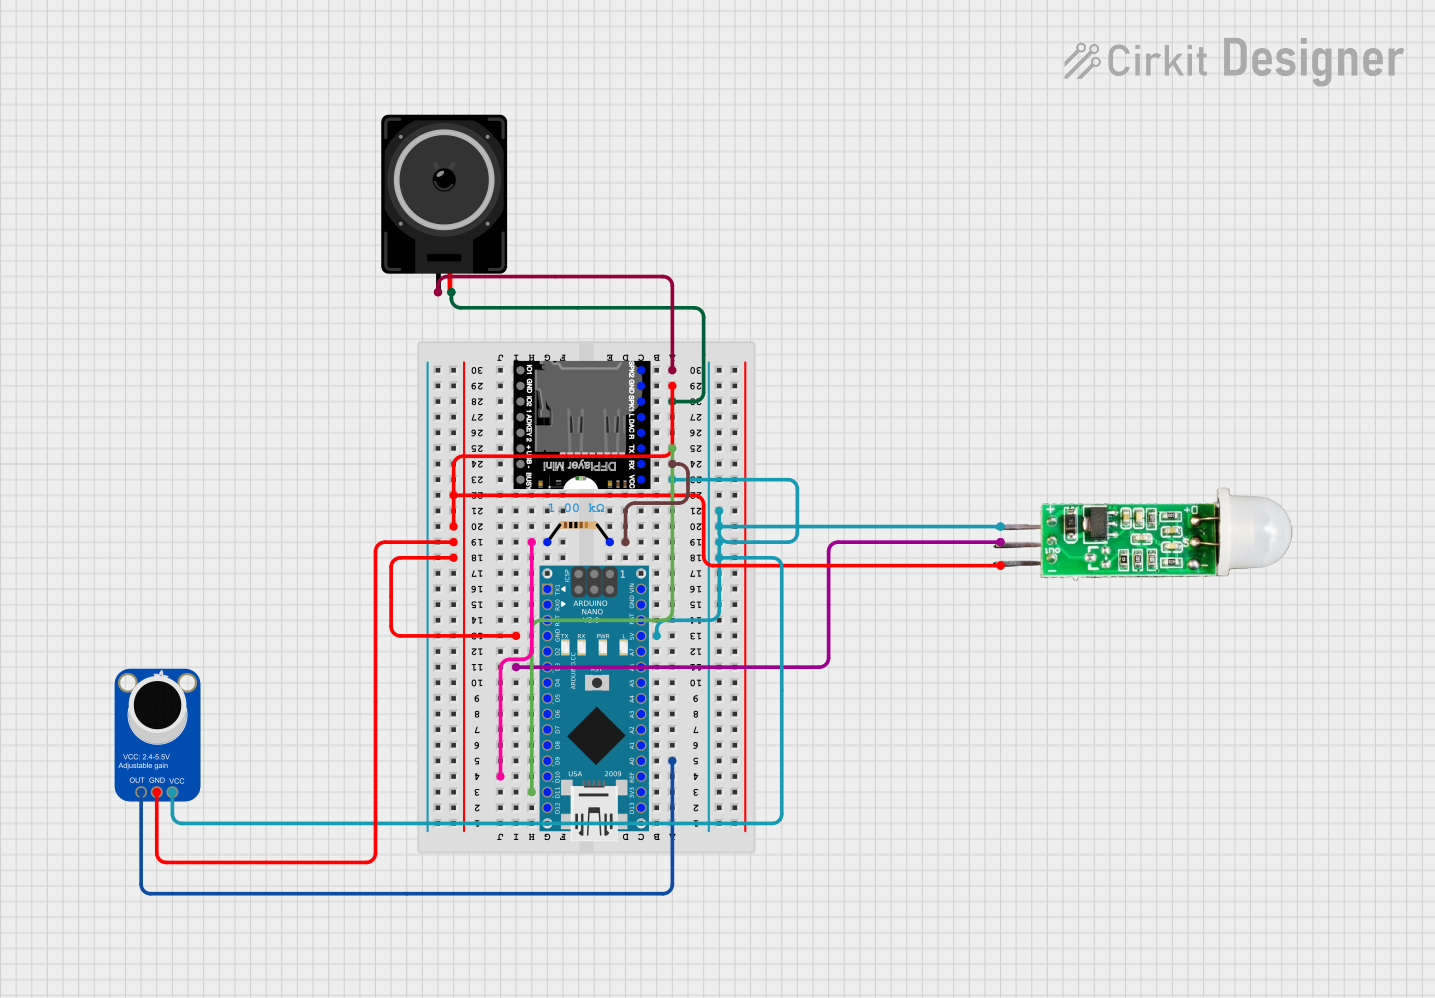
Explore Projects Built with Adafruit MAX4466 Electret Microphone Amplifier
Technical Specifications
Key Technical Details
- Supply Voltage (Vcc): 2.4V to 5.5V
- Output Voltage Gain: Adjustable from 25x to 125x
- Input Voltage (Vin): 1.25Vpp max
- Output:
- Rail-to-rail
- 1.25V DC bias
- Quiescent Current: 24uA
- Frequency Response: 20Hz - 20kHz
- THD+N (Total Harmonic Distortion + Noise): 0.04% (typical at 1kHz)
- S/N Ratio (Signal to Noise Ratio): 62dB typical
Pin Configuration and Descriptions
| Pin Number | Name | Description |
|---|---|---|
| 1 | Vcc | Power supply (2.4V to 5.5V) |
| 2 | GND | Ground connection |
| 3 | OUT | Output signal (AC coupled) |
| 4 | Gain | Gain control (connect to GND or leave open) |
Usage Instructions
Integrating with a Circuit
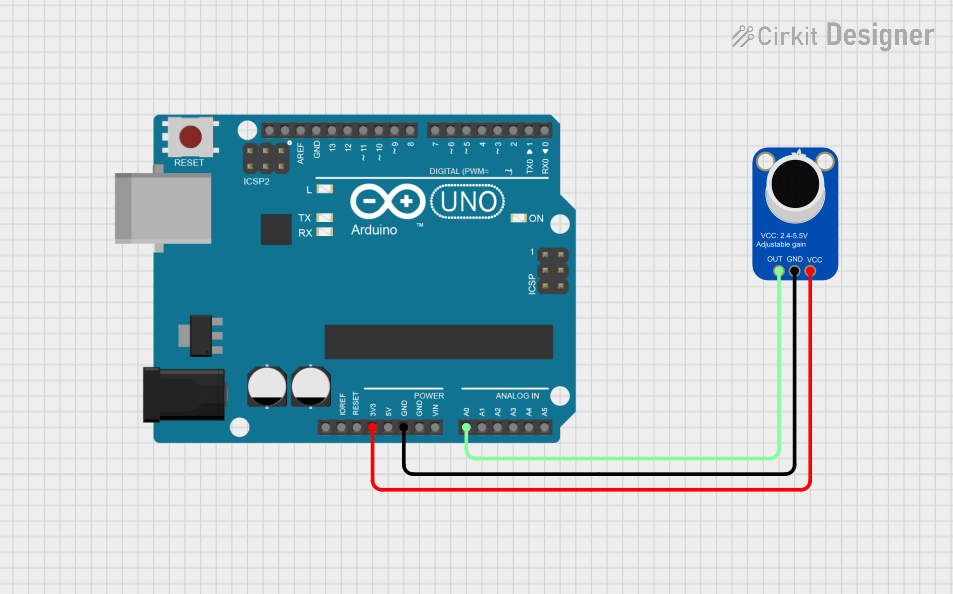
- Power Supply: Connect the Vcc pin to a clean power supply between 2.4V and 5.5V.
- Ground: Connect the GND pin to the system ground.
- Output: Connect the OUT pin to the input of your audio processing system.
- Gain Control: For maximum gain (125x), leave the Gain pin open. For the minimum gain (25x), connect the Gain pin to GND.
Best Practices
- Use a clean power supply to minimize noise.
- Keep audio signal paths as short as possible to reduce potential interference.
- If adjustable gain is required, a potentiometer can be connected to the Gain pin for variable control.
- Place the microphone as close as possible to the sound source for best results.
Example Arduino UNO Connection and Code
// Connect Vcc to 5V, GND to GND, and OUT to A0 on the Arduino UNO.

const int micPin = A0; // Microphone output connected to analog pin A0
int micValue = 0;      // Variable to store the microphone value

void setup() {
  Serial.begin(9600);  // Start serial communication at 9600 baud
}

void loop() {
  micValue = analogRead(micPin); // Read the microphone value
  Serial.println(micValue);      // Print the value to the serial monitor
  delay(10);                     // Short delay for stability
}
Troubleshooting and FAQs
Common Issues
- Low Volume Output: Ensure the Gain pin is not inadvertently connected to GND if higher gain is required.
- High Noise Levels: Check the power supply for stability and noise. Use a decoupling capacitor if necessary.
- No Output Signal: Verify all connections, especially the microphone connection to the amplifier.
Solutions and Tips
- Improving Signal Quality: Use shielded cables for connections and keep the amplifier away from high-noise sources like motors and power supplies.
- Adjusting Gain: If a fixed gain setting is not suitable, consider adding a potentiometer to the Gain pin for variable gain control.
FAQs
Q: Can I use this amplifier with a dynamic microphone? A: No, the MAX4466 is specifically designed for electret microphones.
Q: What is the purpose of the DC bias on the output? A: The DC bias allows for AC coupling of the output signal, which is typical in audio signal processing.
Q: How can I connect this to a microcontroller with a 3.3V logic level? A: The MAX4466 can operate down to 2.4V, so it can be powered by 3.3V. However, ensure that the microcontroller's analog input can handle the output voltage range.
Remember to always consult the MAX4466 datasheet for comprehensive details and specifications.