How to Use ESP32-C6: Examples, Pinouts, and Specs
Introduction
The ESP32-C6, manufactured by Sparkfun, is a low-power, dual-core microcontroller designed for Internet of Things (IoT) applications. It features a 32-bit RISC-V architecture and integrates both Wi-Fi 6 and Bluetooth 5.0 capabilities, making it a versatile choice for smart devices and connected systems. With its robust processing power, energy efficiency, and support for various peripherals, the ESP32-C6 is ideal for applications such as home automation, wearable devices, industrial IoT, and wireless sensor networks.
Explore Projects Built with ESP32-C6


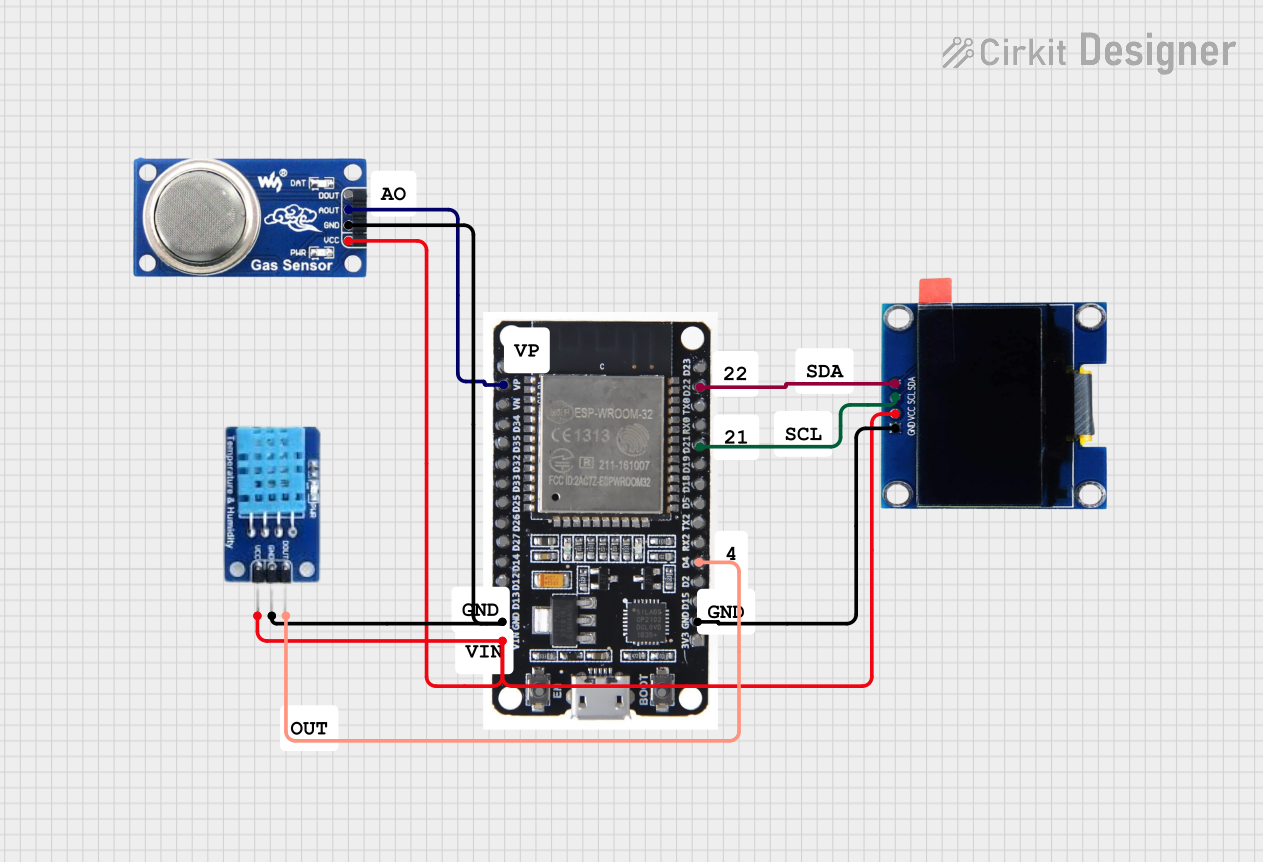
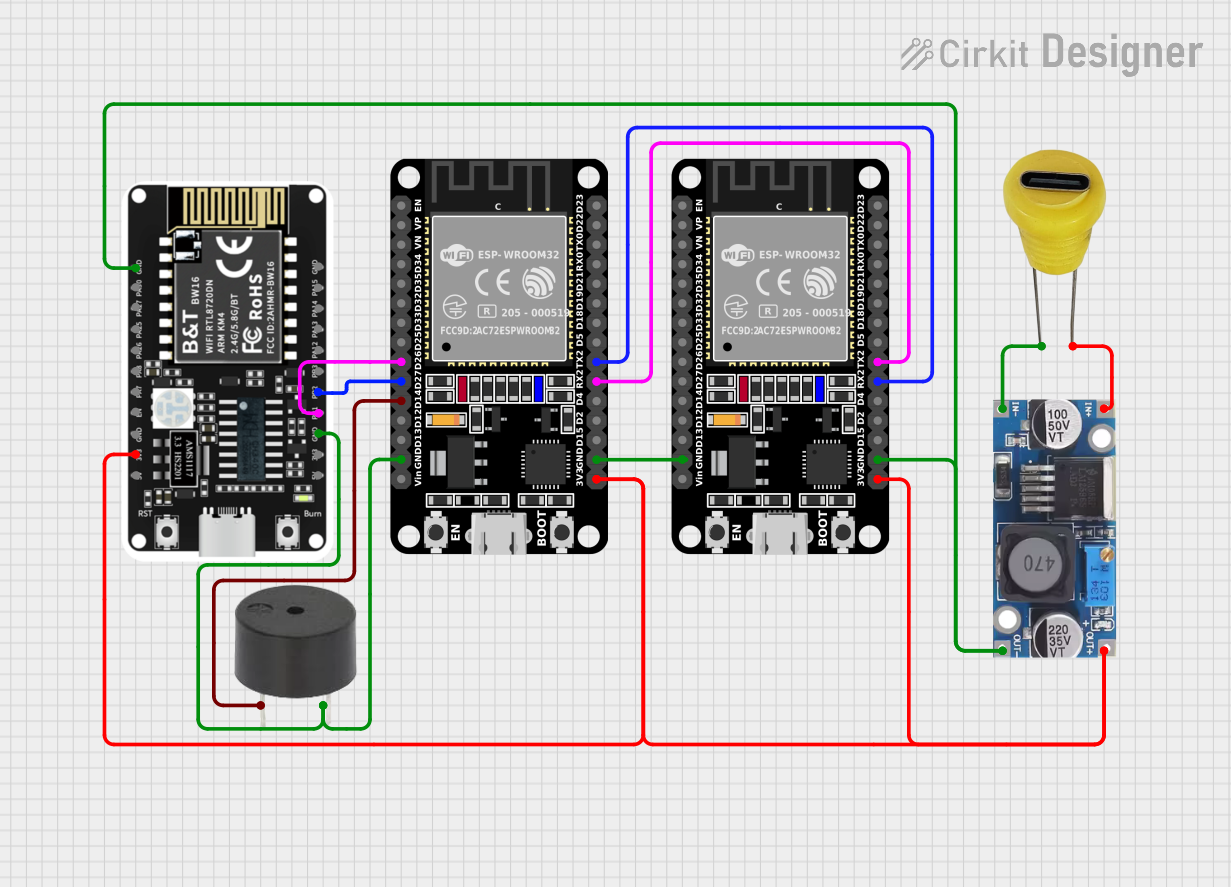
Explore Projects Built with ESP32-C6
Technical Specifications
The ESP32-C6 offers a range of features and specifications that make it suitable for diverse applications. Below are the key technical details:
General Specifications
- Architecture: 32-bit RISC-V
- Cores: Dual-core
- Clock Speed: Up to 160 MHz
- Flash Memory: Up to 4 MB
- SRAM: 512 KB
- Wireless Connectivity:
- Wi-Fi 6 (802.11ax) with 2.4 GHz support
- Bluetooth 5.0 (LE and Mesh)
- Operating Voltage: 3.0V to 3.6V
- Power Consumption: Ultra-low power in deep sleep mode (<10 µA)
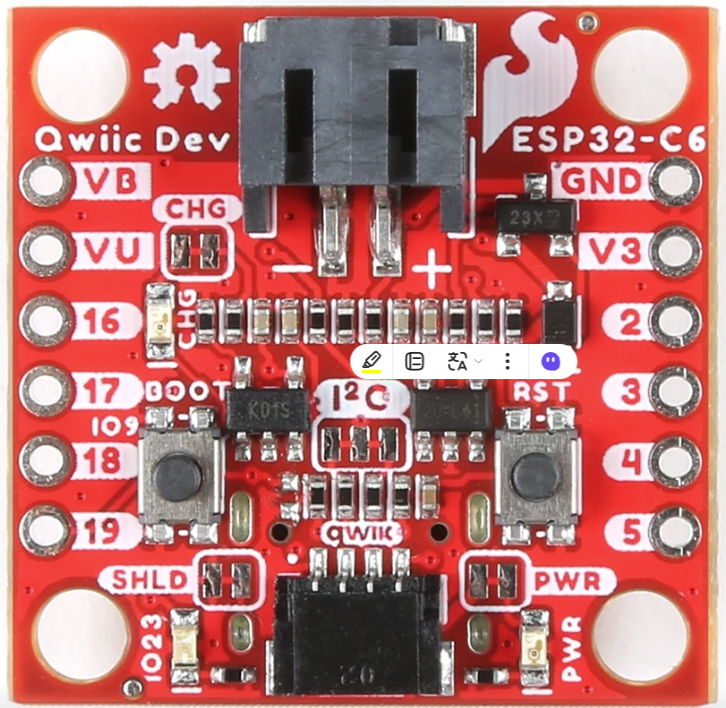
Pin Configuration and Descriptions
The ESP32-C6 comes in a compact package with multiple GPIO pins and peripheral interfaces. Below is the pin configuration:
| Pin Name | Type | Description |
|---|---|---|
| GPIO0 | Digital I/O | General-purpose input/output; can be used for boot mode selection. |
| GPIO1 | Digital I/O | General-purpose input/output. |
| GPIO2 | Digital I/O | General-purpose input/output; supports ADC and PWM. |
| GPIO3 | Digital I/O | General-purpose input/output; supports ADC and PWM. |
| GPIO4 | Digital I/O | General-purpose input/output; supports ADC, PWM, and touch sensing. |
| GPIO5 | Digital I/O | General-purpose input/output; supports ADC and PWM. |
| TXD0 | UART TX | UART0 transmit pin for serial communication. |
| RXD0 | UART RX | UART0 receive pin for serial communication. |
| EN | Enable | Chip enable pin; active high to power up the chip. |
| GND | Ground | Ground connection. |
| 3V3 | Power | 3.3V power supply input. |
Note: The ESP32-C6 supports additional peripherals such as SPI, I2C, and I2S, which can be configured on specific GPIO pins.
Usage Instructions
The ESP32-C6 is a versatile microcontroller that can be used in a variety of circuits. Below are the steps and best practices for using the ESP32-C6:
Basic Setup
- Power Supply: Ensure the ESP32-C6 is powered with a stable 3.3V source. Avoid exceeding 3.6V to prevent damage.
- Boot Mode: To enter bootloader mode for programming, connect GPIO0 to GND during power-up.
- Connections:
- Connect the EN pin to 3.3V to enable the chip.
- Use UART pins (TXD0 and RXD0) for serial communication with a computer or other devices.
Programming with Arduino IDE
The ESP32-C6 can be programmed using the Arduino IDE. Follow these steps:
- Install the ESP32 board package in the Arduino IDE:
- Go to File > Preferences and add the following URL to the "Additional Board Manager URLs" field:
https://dl.espressif.com/dl/package_esp32_index.json - Open Tools > Board > Boards Manager, search for "ESP32," and install the package.
- Go to File > Preferences and add the following URL to the "Additional Board Manager URLs" field:
- Select the ESP32-C6 board from Tools > Board.
- Connect the ESP32-C6 to your computer via a USB-to-serial adapter.
- Write and upload your code.
Example Code: Blinking an LED
The following example demonstrates how to blink an LED connected to GPIO2:
// Define the GPIO pin where the LED is connected
#define LED_PIN 2

void setup() {
  // Set the LED pin as an output
  pinMode(LED_PIN, OUTPUT);
}

void loop() {
  // Turn the LED on
  digitalWrite(LED_PIN, HIGH);
  delay(1000); // Wait for 1 second

  // Turn the LED off
  digitalWrite(LED_PIN, LOW);
  delay(1000); // Wait for 1 second
}
Best Practices
- Use decoupling capacitors (e.g., 0.1 µF) near the power pins to reduce noise.
- Avoid leaving unused GPIO pins floating; connect them to GND or VCC through pull-up or pull-down resistors.
- Use level shifters if interfacing with 5V logic devices.
Troubleshooting and FAQs
Common Issues
ESP32-C6 Not Detected by Computer:
- Ensure the USB-to-serial adapter drivers are installed.
- Check the connections and ensure the EN pin is high.
Program Upload Fails:
- Verify that GPIO0 is connected to GND during boot.
- Check the selected COM port and board in the Arduino IDE.
Wi-Fi or Bluetooth Not Working:
- Ensure the antenna is not obstructed.
- Verify the Wi-Fi credentials or Bluetooth pairing settings in your code.
FAQs
Q: Can the ESP32-C6 operate on 5V?
A: No, the ESP32-C6 operates on 3.3V. Using 5V can damage the chip.
Q: How do I reduce power consumption?
A: Use the deep sleep mode in your code to minimize power usage. Ensure peripherals are disabled when not in use.
Q: Can I use the ESP32-C6 with other IoT platforms?
A: Yes, the ESP32-C6 supports MQTT, HTTP, and other protocols, making it compatible with platforms like AWS IoT, Google Cloud IoT, and more.
By following this documentation, you can effectively utilize the ESP32-C6 in your IoT projects.