How to Use HTU31D: Examples, Pinouts, and Specs
Introduction
The HTU31D is a digital humidity and temperature sensor designed to deliver precise measurements of relative humidity and temperature. It operates using an I2C interface, making it easy to integrate into microcontroller-based systems. Known for its low power consumption and high accuracy, the HTU31D is ideal for applications such as weather monitoring, HVAC systems, industrial automation, and IoT devices.
Explore Projects Built with HTU31D
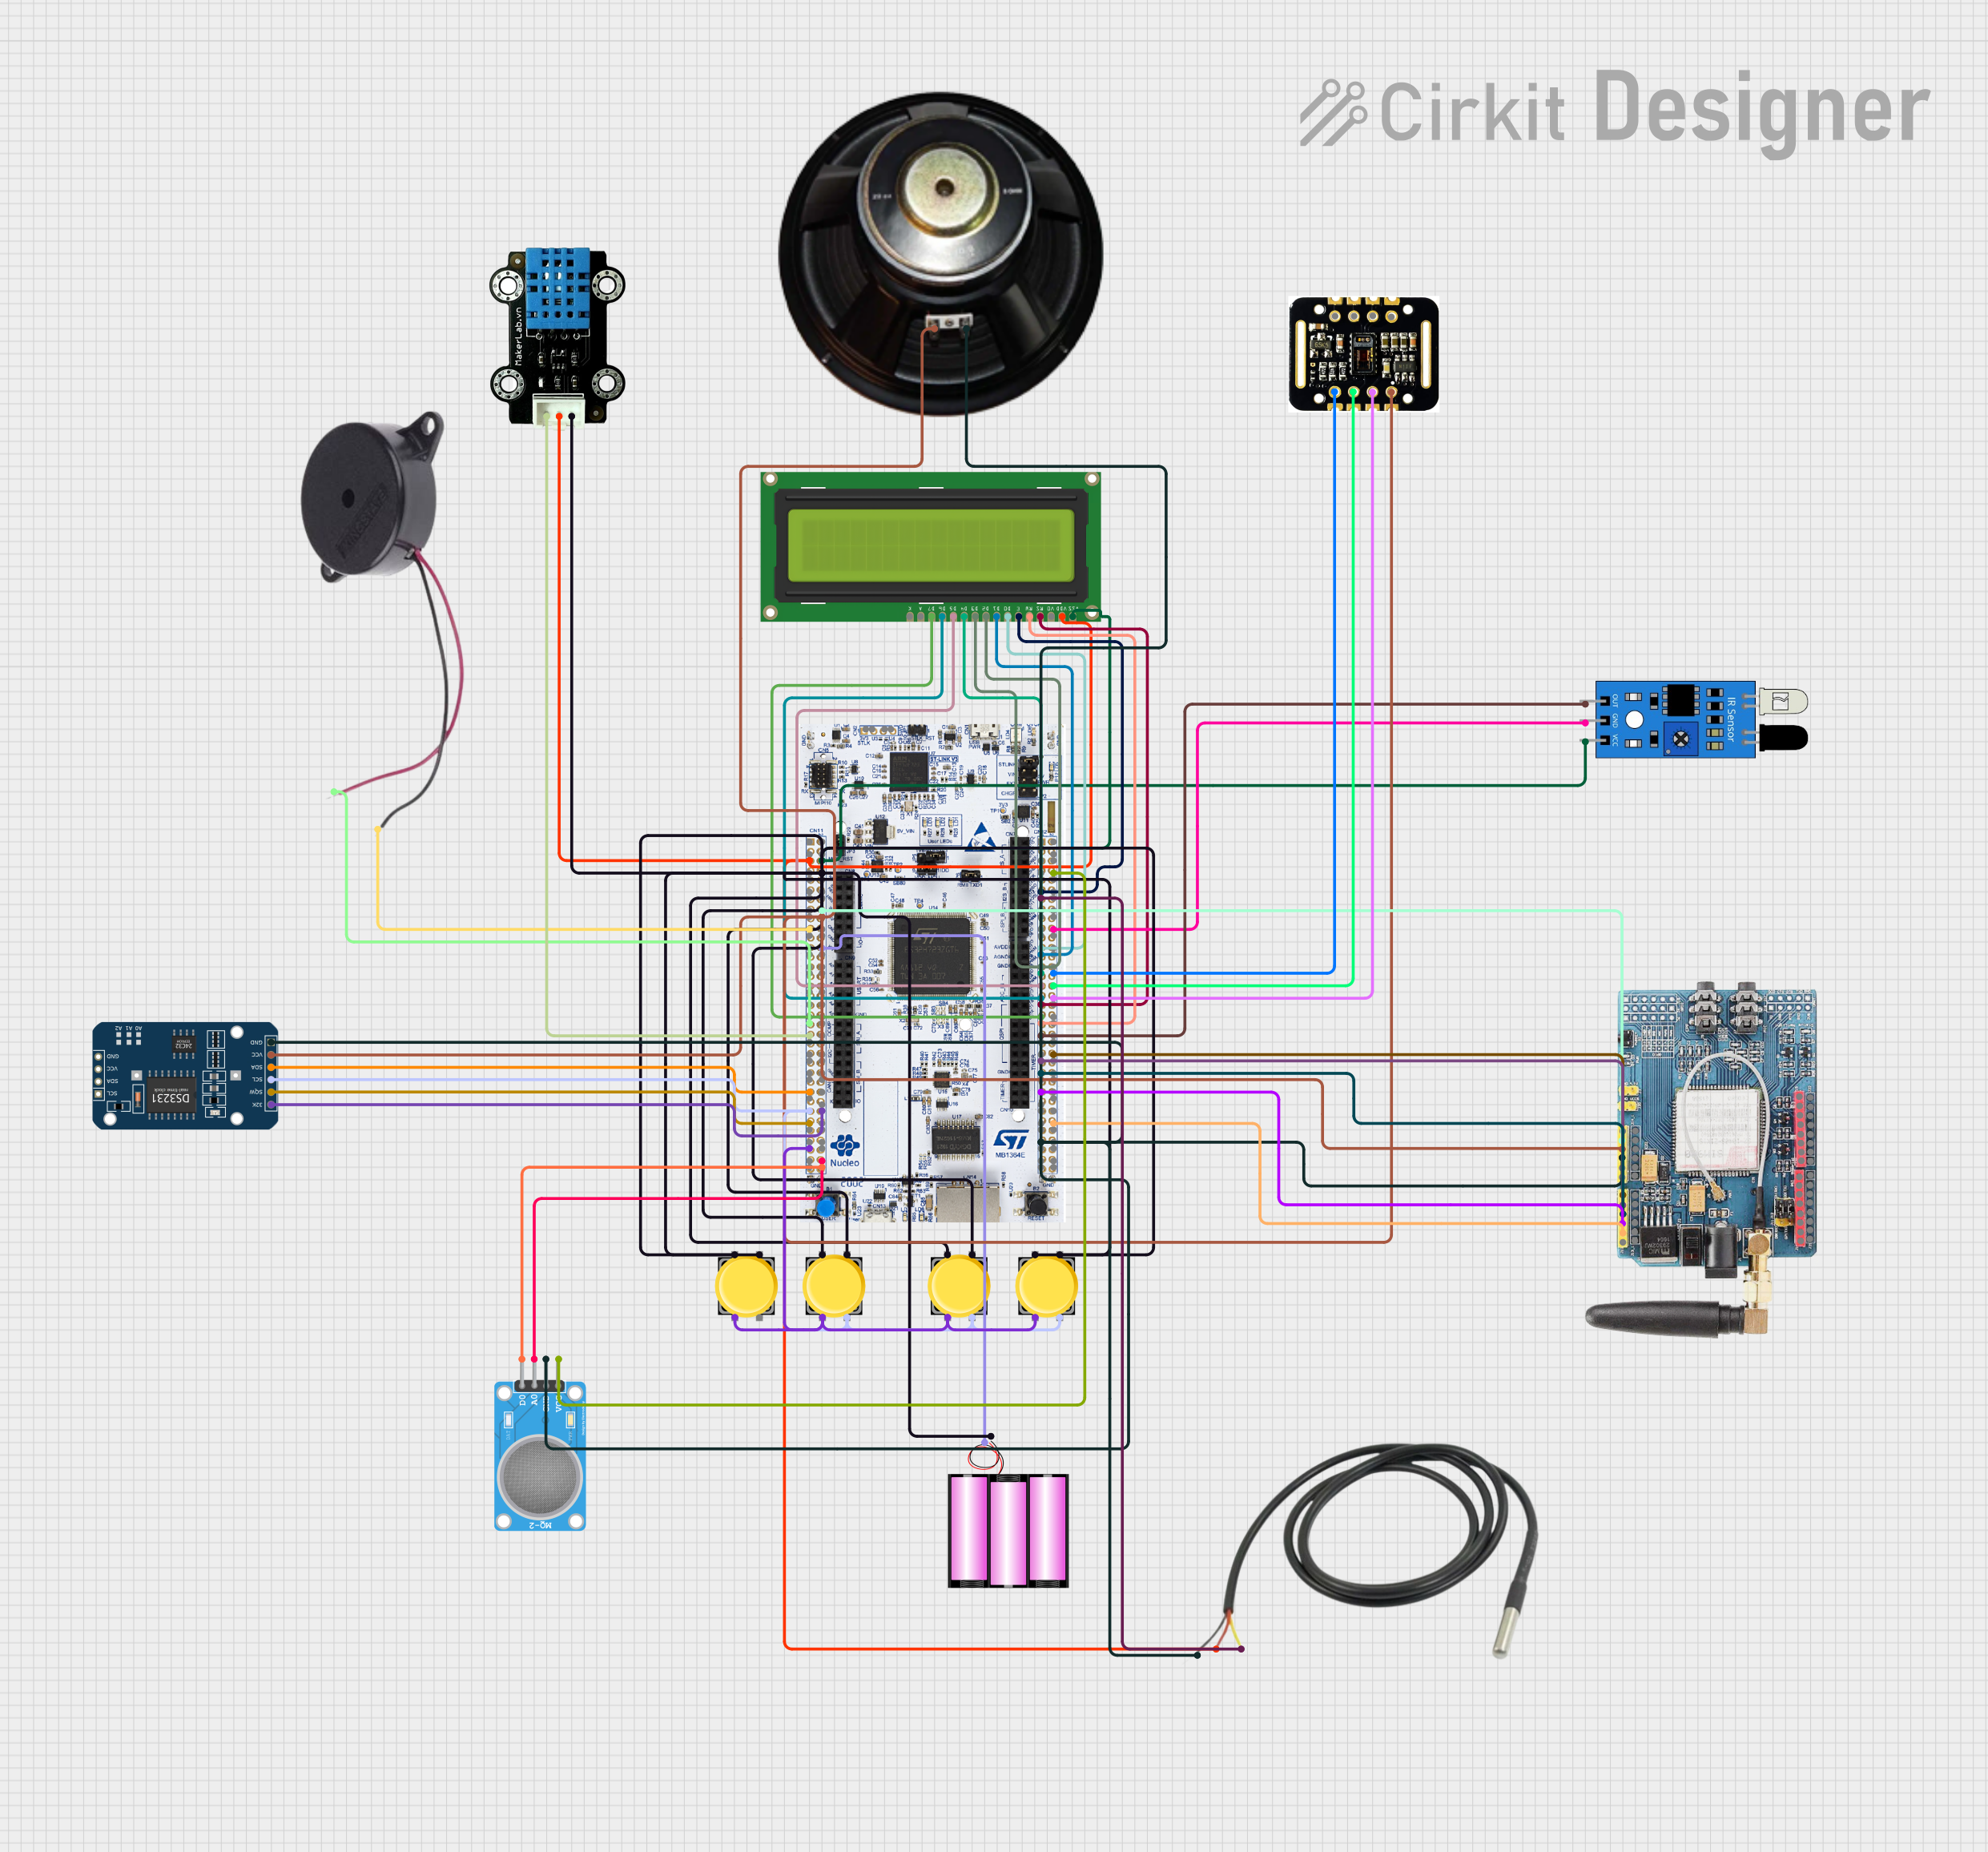

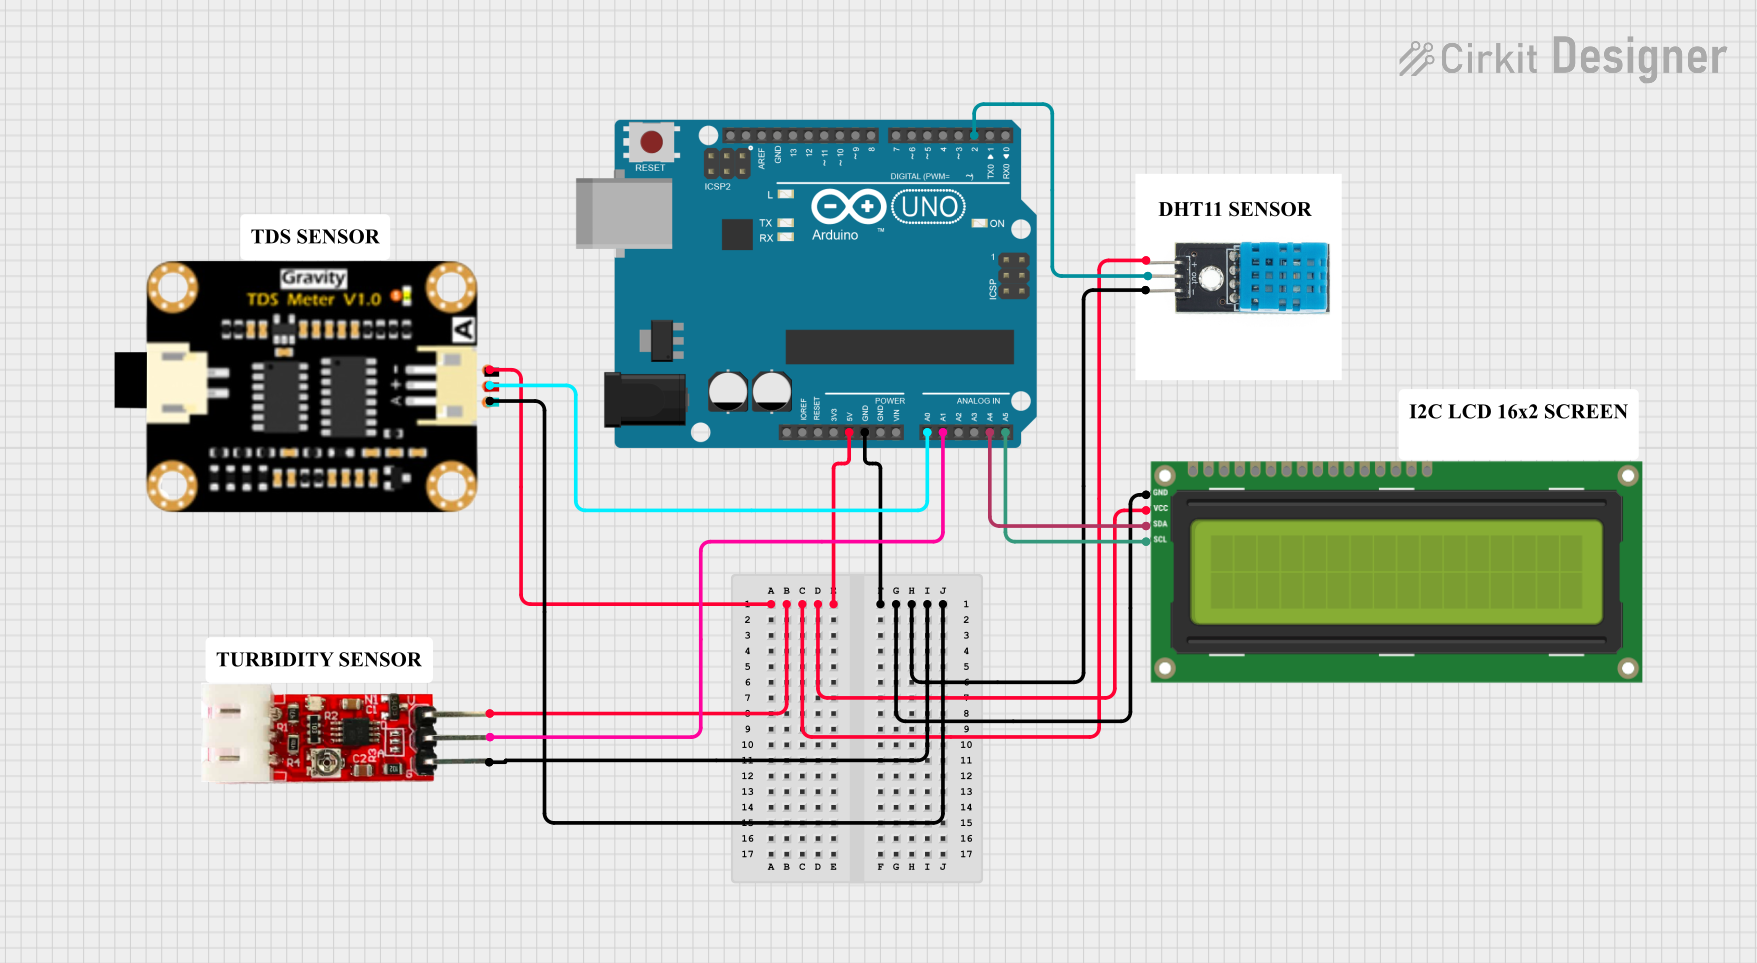

Explore Projects Built with HTU31D
Common Applications:
- Environmental monitoring systems
- Smart home devices
- HVAC (Heating, Ventilation, and Air Conditioning) systems
- Industrial process control
- IoT-based weather stations
Technical Specifications
The HTU31D sensor offers the following key technical details:
| Parameter | Value |
|---|---|
| Supply Voltage (VDD) | 2.4V to 5.5V |
| Average Current Consumption | 0.7 µA (at 1 Hz measurement rate) |
| Humidity Accuracy | ±2% RH (20% to 80% RH range) |
| Temperature Accuracy | ±0.2°C (0°C to 60°C range) |
| Operating Temperature Range | -40°C to +125°C |
| Communication Interface | I2C |
| I2C Address | 0x40 (default) |
| Measurement Resolution | 16-bit |
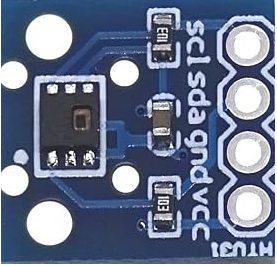
Pin Configuration
The HTU31D sensor has four pins, as described in the table below:
| Pin Name | Description |
|---|---|
| VDD | Power supply (2.4V to 5.5V) |
| GND | Ground |
| SDA | I2C data line |
| SCL | I2C clock line |
Usage Instructions
Connecting the HTU31D to a Circuit
- Power Supply: Connect the VDD pin to a 3.3V or 5V power source and the GND pin to ground.
- I2C Interface: Connect the SDA and SCL pins to the corresponding I2C pins on your microcontroller. Use pull-up resistors (typically 4.7kΩ) on both SDA and SCL lines if not already present on your board.
- Address Selection: The HTU31D has a default I2C address of
0x40. Ensure no other devices on the I2C bus share this address.
Important Considerations
- Avoid exposing the sensor to extreme humidity or temperature conditions beyond its operating range.
- Place the sensor in a location with good airflow for accurate readings.
- Minimize exposure to contaminants such as dust, oils, or chemicals, which can affect sensor performance.
Example Code for Arduino UNO
Below is an example of how to interface the HTU31D with an Arduino UNO using the I2C protocol:
#include <Wire.h>

// HTU31D I2C address
#define HTU31D_ADDRESS 0x40

void setup() {
  Wire.begin(); // Initialize I2C communication
  Serial.begin(9600); // Start serial communication for debugging

  // Send a soft reset command to the HTU31D
  Wire.beginTransmission(HTU31D_ADDRESS);
  Wire.write(0x1E); // Soft reset command
  Wire.endTransmission();
  delay(15); // Wait for the reset to complete
}

void loop() {
  float temperature, humidity;

  // Request a measurement from the HTU31D
  Wire.beginTransmission(HTU31D_ADDRESS);
  Wire.write(0x00); // Trigger measurement command
  Wire.endTransmission();
  delay(50); // Wait for measurement to complete

  // Read the measurement data (6 bytes: temp MSB, temp LSB, CRC, hum MSB, hum LSB, CRC)
  Wire.requestFrom(HTU31D_ADDRESS, 6);
  if (Wire.available() == 6) {
    uint16_t tempRaw = (Wire.read() << 8) | Wire.read();
    Wire.read(); // Skip temperature CRC
    uint16_t humRaw = (Wire.read() << 8) | Wire.read();
    Wire.read(); // Skip humidity CRC

    // Convert raw data to temperature and humidity
    temperature = -40.0 + 165.0 * (tempRaw / 65535.0);
    humidity = 100.0 * (humRaw / 65535.0);

    // Print the results
    Serial.print("Temperature: ");
    Serial.print(temperature);
    Serial.println(" °C");
    Serial.print("Humidity: ");
    Serial.print(humidity);
    Serial.println(" %");
  } else {
    Serial.println("Error: Failed to read data from HTU31D.");
  }

  delay(2000); // Wait 2 seconds before the next measurement
}
Notes:
- Ensure the Arduino UNO is powered with a stable 5V supply.
- Use appropriate pull-up resistors on the I2C lines if required.
Troubleshooting and FAQs
Common Issues
No Data from Sensor:
- Ensure the sensor is powered correctly (check VDD and GND connections).
- Verify the I2C address (
0x40) matches the one used in your code. - Check for proper pull-up resistors on the SDA and SCL lines.
Inaccurate Readings:
- Ensure the sensor is not exposed to contaminants or extreme environmental conditions.
- Verify the sensor is placed in a location with good airflow.
I2C Communication Errors:
- Check the wiring between the sensor and the microcontroller.
- Ensure no other devices on the I2C bus conflict with the HTU31D's address.
FAQs
Q: Can the HTU31D operate at 5V?
A: Yes, the HTU31D supports a supply voltage range of 2.4V to 5.5V.
Q: Do I need to calibrate the HTU31D?
A: No, the HTU31D is factory-calibrated and does not require additional calibration.
Q: What is the maximum I2C clock speed supported?
A: The HTU31D supports I2C clock speeds up to 1 MHz (Fast Mode Plus).
Q: How do I protect the sensor from contaminants?
A: Use a protective cover or enclosure that allows airflow but prevents dust, oils, or chemicals from reaching the sensor.
By following this documentation, you can effectively integrate the HTU31D into your projects for reliable humidity and temperature measurements.