
How to Use Adafruit MAX98357A I2S 3W Class D Amplifier: Examples, Pinouts, and Specs
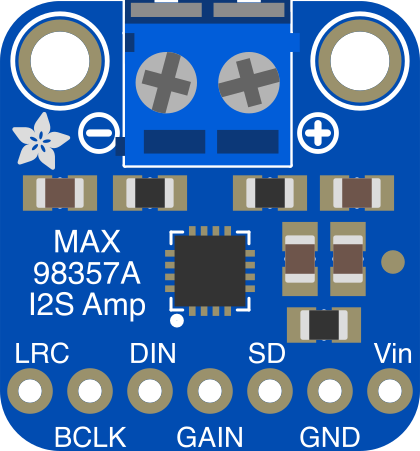
 Design with Adafruit MAX98357A I2S 3W Class D Amplifier in Cirkit Designer
Introduction
The Adafruit MAX98357A (Part ID: 3006) is a highly efficient, digital audio amplifier designed to drive speakers with up to 3 watts of power. It utilizes an I2S (Inter-IC Sound) digital audio interface, making it an excellent choice for compact audio applications where high-quality sound output is required. This amplifier is particularly well-suited for projects involving microcontrollers, single-board computers, or other digital audio sources.
Explore Projects Built with Adafruit MAX98357A I2S 3W Class D Amplifier
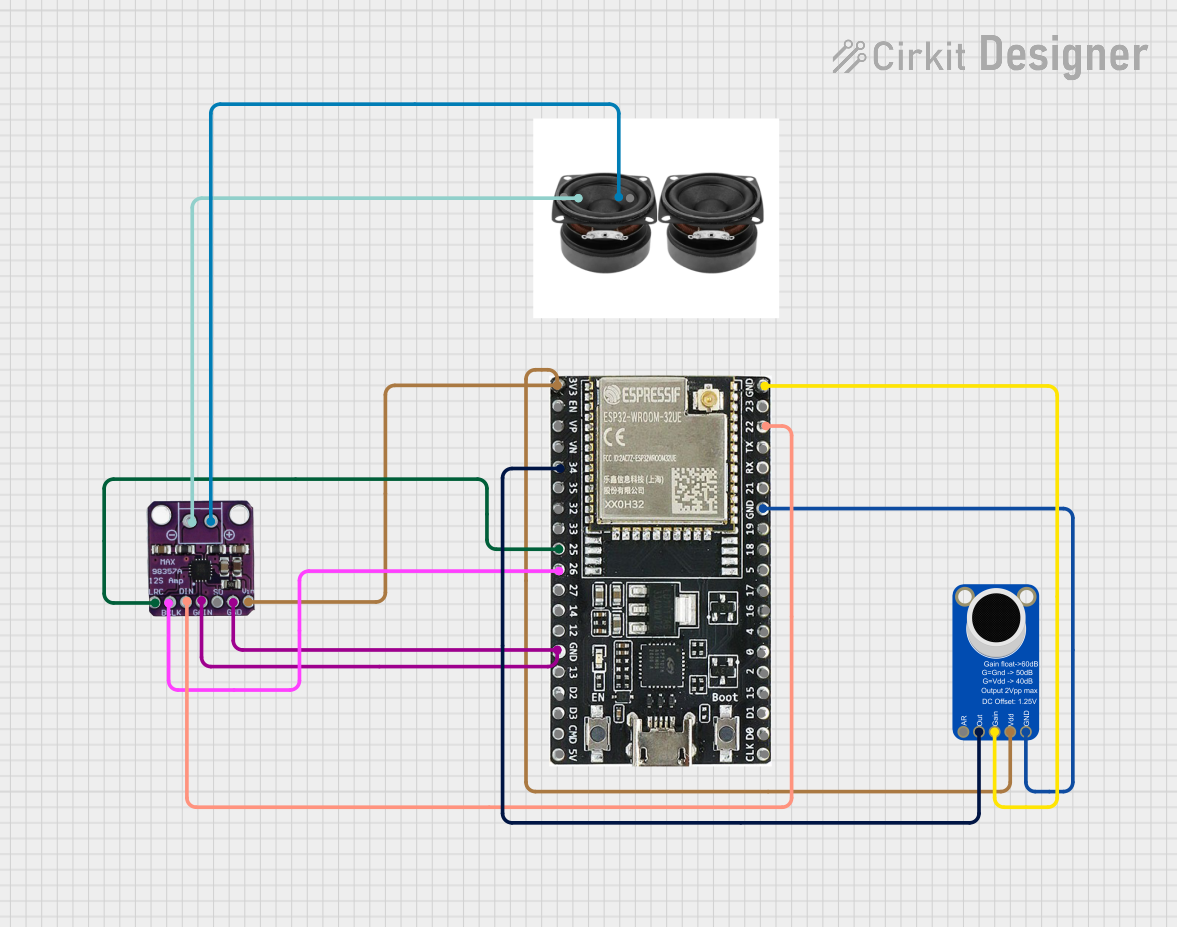 Open Project in Cirkit Designer
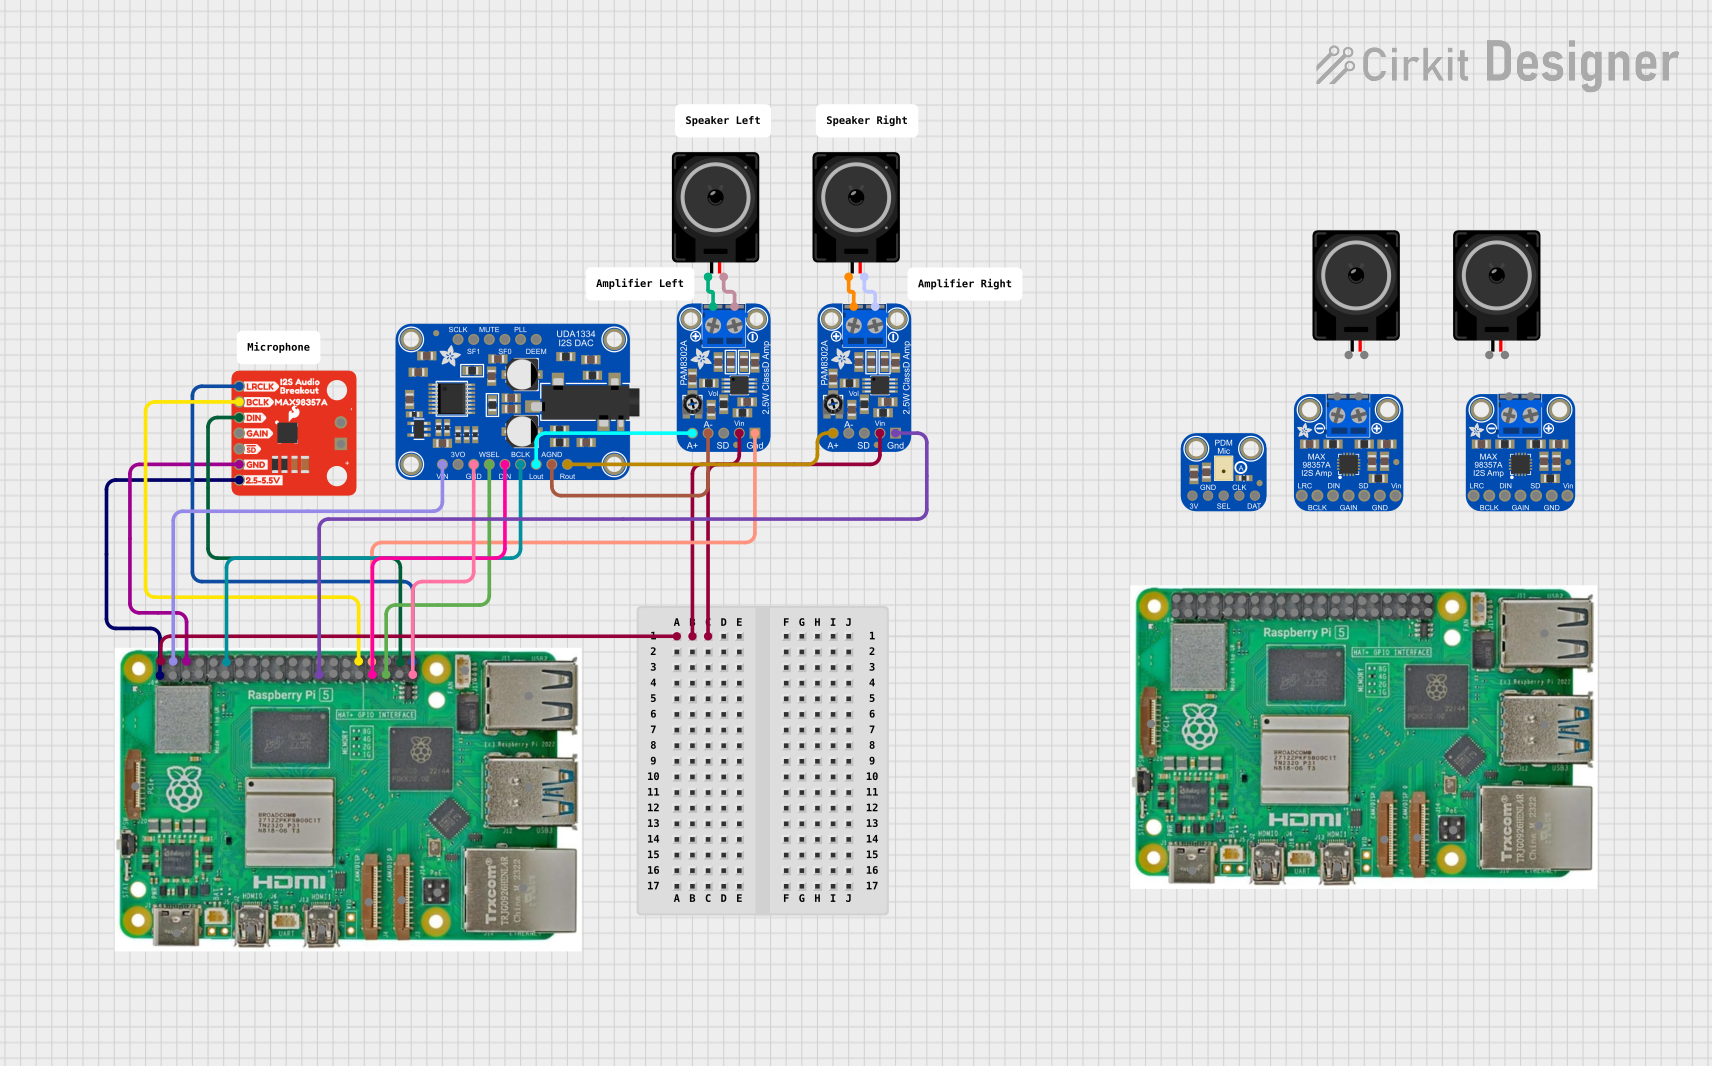 Open Project in Cirkit Designer
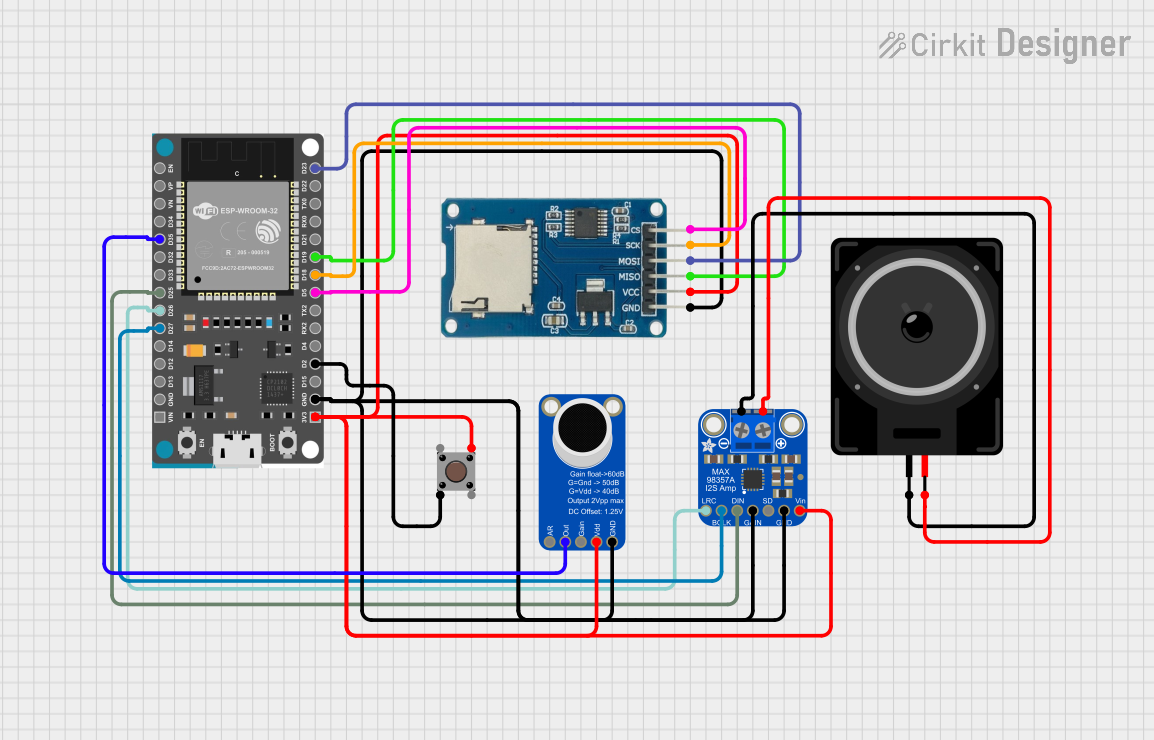 Open Project in Cirkit Designer
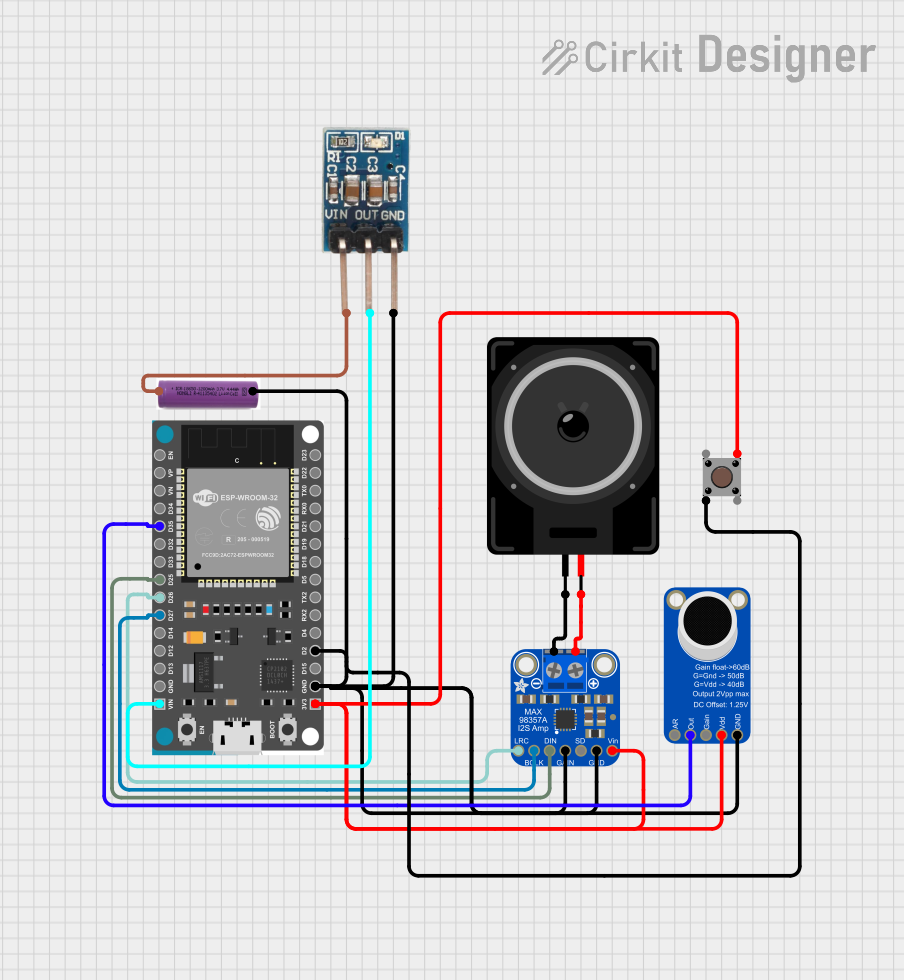 Open Project in Cirkit Designer
Explore Projects Built with Adafruit MAX98357A I2S 3W Class D Amplifier
Open Project in Cirkit DesignerOpen Project in Cirkit DesignerOpen Project in Cirkit DesignerOpen Project in Cirkit DesignerCommon Applications and Use Cases
- Portable audio systems
- Smart home devices (e.g., voice assistants)
- DIY audio projects
- Embedded systems requiring compact audio output
- Educational projects involving digital audio processing
Technical Specifications
The following table outlines the key technical details of the Adafruit MAX98357A:
| Parameter | Value |
|---|---|
| Input Type | I2S (Inter-IC Sound) |
| Output Power | Up to 3W (at 4Ω, 10% THD) |
| Operating Voltage | 3.3V to 5.5V |
| Efficiency | Up to 92% |
| Supported Audio Formats | 16-bit, 24-bit, 32-bit PCM |
| Sampling Rates | 8 kHz to 96 kHz |
| Speaker Impedance | 4Ω to 8Ω |
| Shutdown Current | < 1 µA |
| Dimensions | 20mm x 17mm x 3mm |
Pin Configuration and Descriptions
The MAX98357A features a simple pinout for easy integration into your projects. The table below describes each pin:
| Pin Name | Type | Description |
|---|---|---|
| VIN | Power Input | Power supply input (3.3V to 5.5V). Connect to your power source. |
| GND | Ground | Ground connection. |
| DIN | Digital Input | I2S data input. Connect to the data output of your microcontroller or SBC. |
| BCLK | Digital Input | I2S bit clock input. |
| LRCLK | Digital Input | I2S left-right clock input. |
| SD | Digital Input | Shutdown pin. Pull low to disable the amplifier. Leave floating for normal use. |
| GAIN | Digital Input | Gain control pin. Connect to GND for 9dB gain or leave floating for 15dB gain. |
| OUT+ | Output | Positive speaker output. |
| OUT- | Output | Negative speaker output. |
Usage Instructions
How to Use the MAX98357A in a Circuit
- Power Supply: Connect the VIN pin to a 3.3V or 5V power source and the GND pin to ground.
- I2S Connections:
- Connect the
DINpin to the I2S data output of your microcontroller or SBC. - Connect the
BCLKpin to the I2S bit clock output. - Connect the
LRCLKpin to the I2S left-right clock output.
- Connect the
- Speaker Connection: Attach a 4Ω or 8Ω speaker to the
OUT+andOUT-pins. - Gain Control:
- Leave the
GAINpin floating for a default gain of 15dB. - Connect the
GAINpin to GND for a reduced gain of 9dB.
- Leave the
- Shutdown Control: Leave the
SDpin floating for normal operation. Pull it low to disable the amplifier.
Important Considerations and Best Practices
- Ensure that your power supply can provide sufficient current for the amplifier and speaker.
- Use short, thick wires for the speaker connections to minimize resistance and power loss.
- Avoid connecting the amplifier to speakers with an impedance lower than 4Ω, as this may damage the device.
- If using an Arduino or similar microcontroller, ensure that the I2S pins are correctly configured in your code.
Example Code for Arduino UNO
The Arduino UNO does not natively support I2S, but you can use an ESP32 or other microcontrollers with I2S capabilities. Below is an example code snippet for an ESP32:
#include <I2S.h>

// Define I2S pins
#define I2S_BCLK  26  // Bit clock pin
#define I2S_LRCLK 25  // Left-right clock pin
#define I2S_DOUT  22  // Data output pin

void setup() {
  // Configure I2S
  if (!I2S.begin(I2S_PHILIPS_MODE, 44100, 16)) {
    Serial.println("Failed to initialize I2S!");
    while (1); // Halt if I2S initialization fails
  }

  // Set I2S pins
  I2S.setPins(I2S_BCLK, I2S_LRCLK, I2S_DOUT);
  Serial.println("I2S initialized successfully.");
}

void loop() {
  // Example: Send a sine wave to the amplifier
  for (int i = 0; i < 360; i++) {
    int16_t sample = 32767 * sin(i * PI / 180); // Generate sine wave sample
    I2S.write((uint8_t *)&sample, sizeof(sample)); // Send sample to I2S
  }
}
Troubleshooting and FAQs
Common Issues and Solutions
No Sound Output:
- Verify that the I2S connections (DIN, BCLK, LRCLK) are correctly wired.
- Ensure the
SDpin is not pulled low. - Check the power supply voltage and current ratings.
Distorted Audio:
- Ensure the speaker impedance is within the supported range (4Ω to 8Ω).
- Verify that the I2S audio format and sampling rate match the amplifier's specifications.
Amplifier Overheating:
- Check for short circuits in the speaker wiring.
- Ensure the speaker impedance is not lower than 4Ω.
Low Volume:
- Verify the
GAINpin configuration. Leave it floating for maximum gain (15dB). - Check the audio source's output levels.
- Verify the
FAQs
Q: Can I use the MAX98357A with a Raspberry Pi?
A: Yes, the MAX98357A is compatible with the Raspberry Pi's I2S interface. Ensure that the I2S pins are enabled in the Raspberry Pi's configuration.
Q: What is the maximum speaker power supported?
A: The amplifier can drive up to 3W into a 4Ω speaker at 10% THD.
Q: Can I use this amplifier with a 3.3V power supply?
A: Yes, the MAX98357A operates with a supply voltage between 3.3V and 5.5V.
Q: Is it possible to use stereo output with this amplifier?
A: No, the MAX98357A is a mono amplifier. For stereo output, you will need two amplifiers and two speakers.