How to Use 3PIN Header (for RS26-part2): Examples, Pinouts, and Specs

Introduction
The 3PIN Header (for RS26-part2) is a versatile 3-pin connector designed for establishing reliable connections in electronic circuits. It is commonly used for signal or power connections, allowing easy interfacing between components, modules, or external devices. This header is widely utilized in prototyping, PCB designs, and embedded systems due to its simplicity and compatibility with standard connectors.
Explore Projects Built with 3PIN Header (for RS26-part2)


Explore Projects Built with 3PIN Header (for RS26-part2)
Common Applications and Use Cases
- Connecting sensors, modules, or peripherals to microcontrollers
- Power distribution in low-current circuits
- Signal transmission in prototyping and development boards
- Interfacing with external devices in robotics and IoT projects
Technical Specifications
The following table outlines the key technical details of the 3PIN Header (for RS26-part2):
| Parameter | Specification |
|---|---|
| Number of Pins | 3 |
| Pin Pitch | 2.54 mm (standard spacing) |
| Rated Voltage | 250 V |
| Rated Current | 3 A |
| Contact Resistance | ≤ 20 mΩ |
| Insulation Resistance | ≥ 1000 MΩ |
| Operating Temperature | -40°C to +105°C |
| Material (Contacts) | Phosphor Bronze with Tin Plating |
| Material (Housing) | Thermoplastic, UL94V-0 (Flame Retardant) |
Pin Configuration and Descriptions
The 3PIN Header has three pins arranged in a single row with a standard 2.54 mm pitch. The pin configuration is as follows:
| Pin Number | Description | Typical Use |
|---|---|---|
| Pin 1 | Signal/Power (VCC) | Positive voltage or signal input |
| Pin 2 | Ground (GND) | Ground connection |
| Pin 3 | Signal/Power (OUT) | Signal output or secondary power |
Usage Instructions
How to Use the 3PIN Header in a Circuit
- Soldering the Header:
- Align the 3PIN Header with the PCB holes matching the 2.54 mm pitch.
- Solder each pin securely to ensure a reliable connection.
- Connecting Wires or Cables:
- Use compatible female connectors or jumper wires to connect to the header.
- Ensure proper polarity and pin alignment to avoid incorrect connections.
- Power and Signal Connections:
- Use Pin 1 for the positive voltage or input signal.
- Connect Pin 2 to the ground (GND) of the circuit.
- Use Pin 3 for the output signal or secondary power connection.
Important Considerations and Best Practices
- Avoid Overloading: Ensure the current and voltage do not exceed the rated specifications (3 A, 250 V).
- Secure Connections: Use locking connectors or heat-shrink tubing to prevent accidental disconnections.
- Minimize Noise: For signal connections, keep wires short and avoid running them parallel to high-power lines to reduce interference.
- Check Polarity: Always verify the pinout before connecting power or signals to prevent damage to components.
Example: Connecting to an Arduino UNO
The 3PIN Header can be used to connect a sensor or module to an Arduino UNO. Below is an example of connecting a temperature sensor with a 3-pin interface:
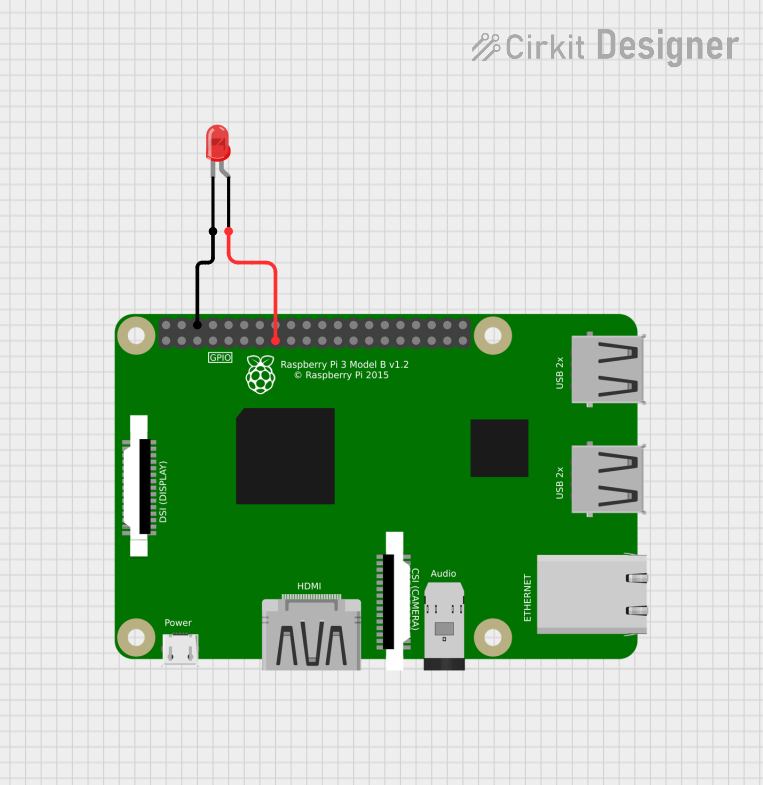
Circuit Diagram
- Pin 1 (VCC): Connect to the Arduino's 5V pin.
- Pin 2 (GND): Connect to the Arduino's GND pin.
- Pin 3 (Signal): Connect to an analog input pin (e.g., A0).
Arduino Code Example
// Example code for reading a sensor connected via a 3PIN Header
const int sensorPin = A0; // Signal pin connected to Arduino analog pin A0
int sensorValue = 0;      // Variable to store the sensor reading

void setup() {
  Serial.begin(9600); // Initialize serial communication at 9600 baud
}

void loop() {
  sensorValue = analogRead(sensorPin); // Read the sensor value
  Serial.print("Sensor Value: ");      // Print the sensor value to the Serial Monitor
  Serial.println(sensorValue);
  delay(1000); // Wait for 1 second before the next reading
}
Troubleshooting and FAQs
Common Issues Users Might Face
Loose Connections:
- Problem: The wires or connectors are not securely attached to the header.
- Solution: Ensure the connectors are firmly seated and consider using locking connectors or soldering for a more permanent connection.
Incorrect Pinout:
- Problem: The pins are connected incorrectly, causing the circuit to malfunction.
- Solution: Double-check the pin configuration and ensure proper polarity before powering the circuit.
Signal Interference:
- Problem: Noise or interference affects the signal quality.
- Solution: Use shielded cables or keep signal wires away from high-power lines.
Overheating:
- Problem: The header overheats due to excessive current.
- Solution: Ensure the current does not exceed the 3 A rating and use appropriate heat dissipation methods if necessary.
FAQs
Q1: Can the 3PIN Header be used for high-frequency signals?
A1: Yes, but for high-frequency signals, ensure the connections are short and use proper shielding to minimize interference.
Q2: Is the 3PIN Header compatible with breadboards?
A2: Yes, the 2.54 mm pin pitch makes it compatible with standard breadboards and prototyping boards.
Q3: Can I use the 3PIN Header for power connections in a high-current circuit?
A3: The header is rated for a maximum current of 3 A. For higher currents, consider using connectors with a higher current rating.
Q4: What tools are recommended for soldering the 3PIN Header?
A4: Use a fine-tip soldering iron, solder wire, and flux for precise and clean soldering. A soldering jig can help hold the header in place during soldering.