How to Use 5V Water Pump: Examples, Pinouts, and Specs

Introduction
The 5V Water Pump is a compact and efficient electric pump designed to move water or other liquids. Powered by a 5V DC supply, this pump is ideal for low-power applications and is commonly used in aquariums, hydroponics, small-scale irrigation systems, and DIY electronics projects. Its small size and low voltage requirements make it a popular choice for hobbyists and professionals alike.
Explore Projects Built with 5V Water Pump
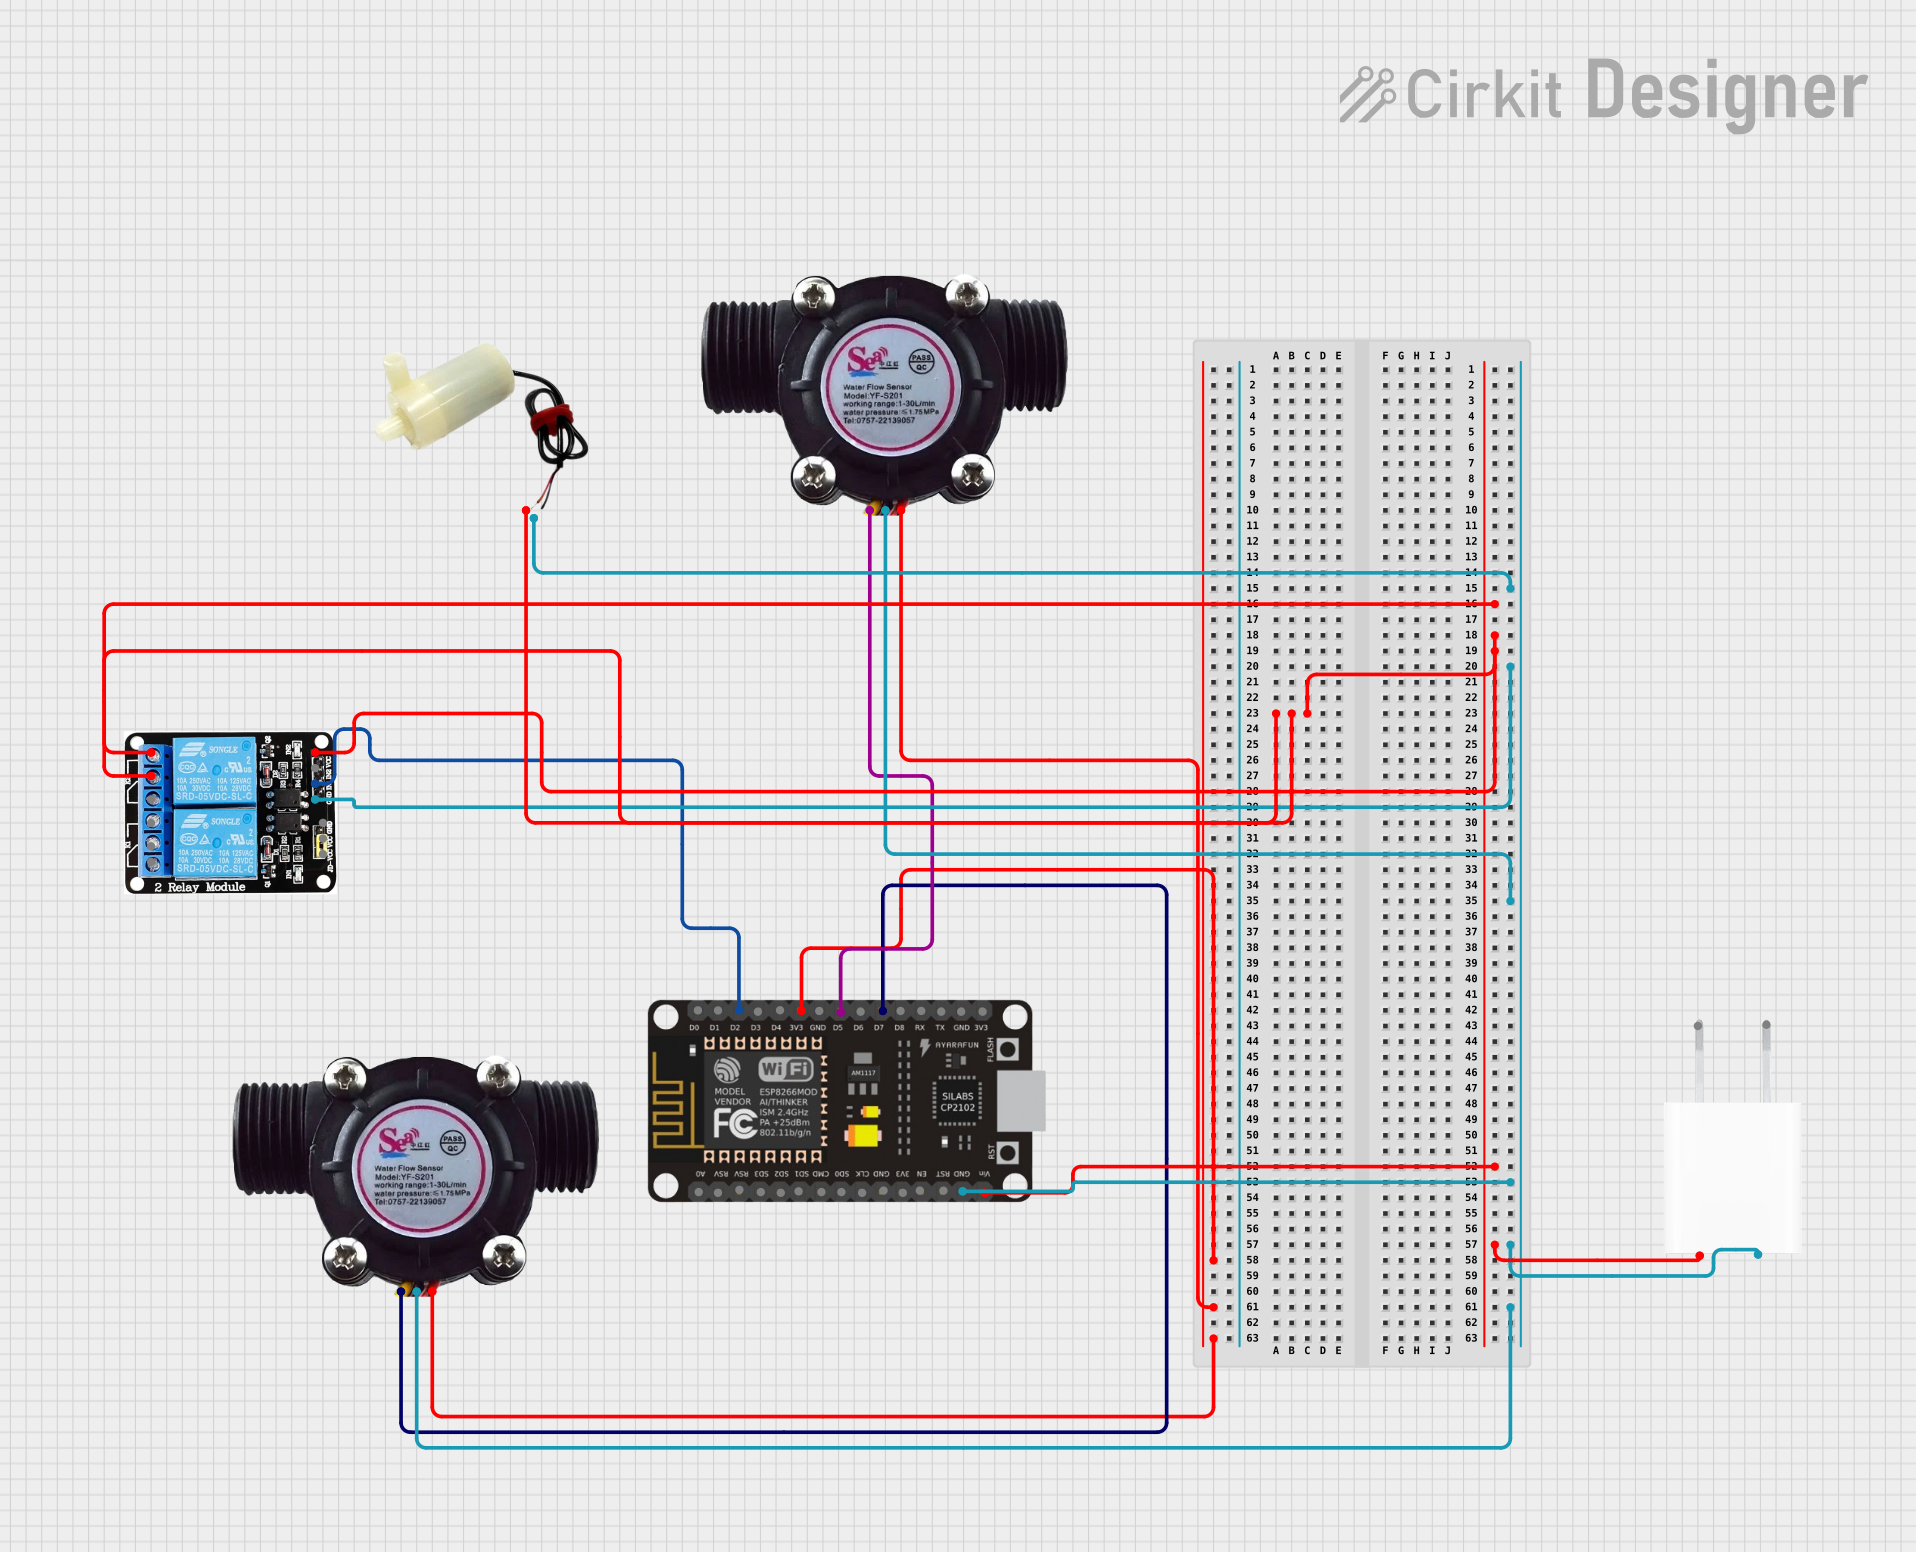
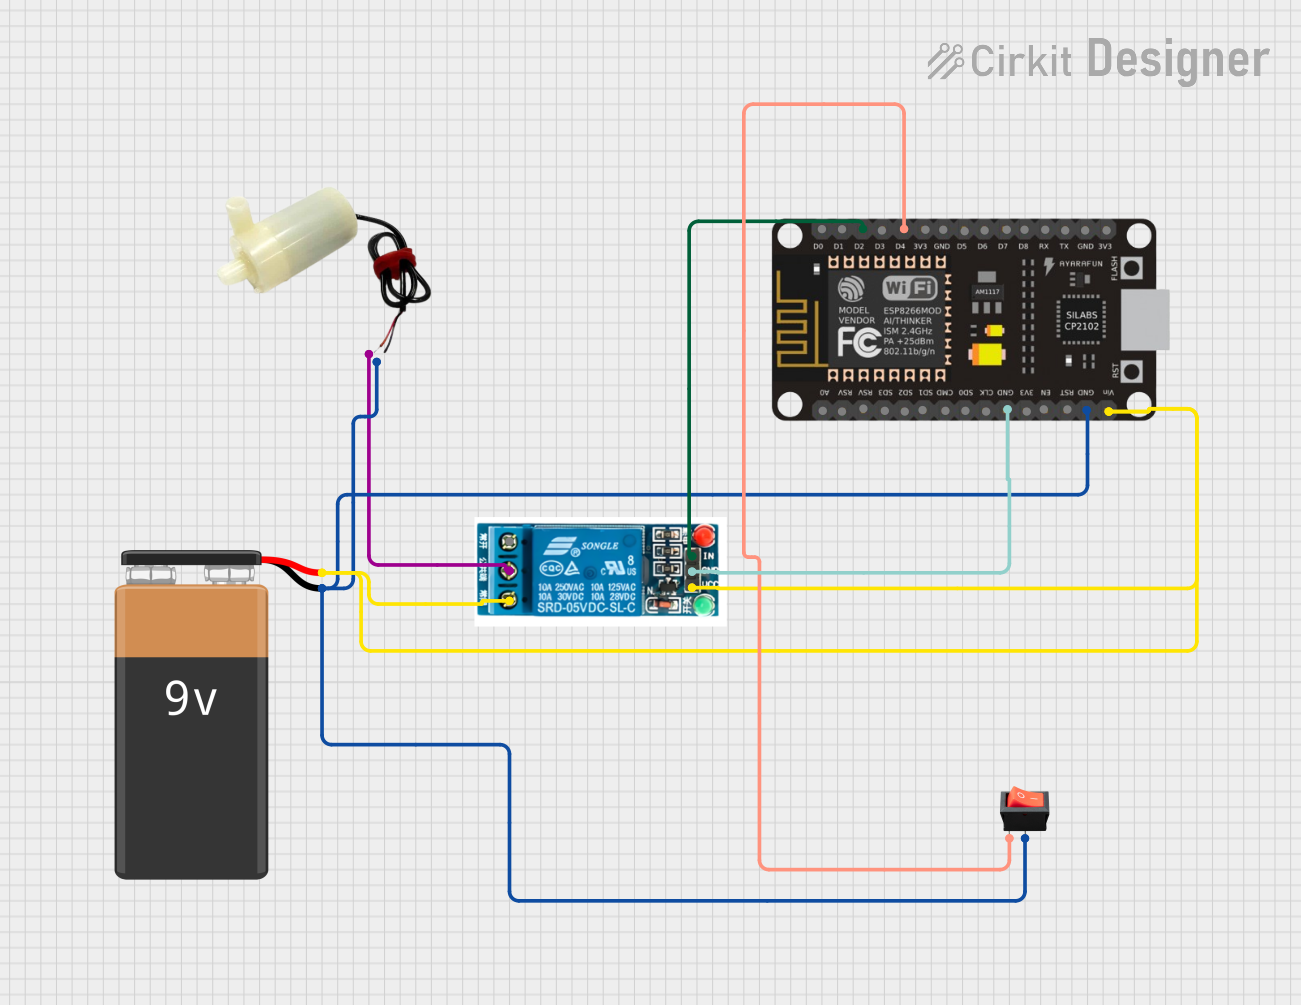
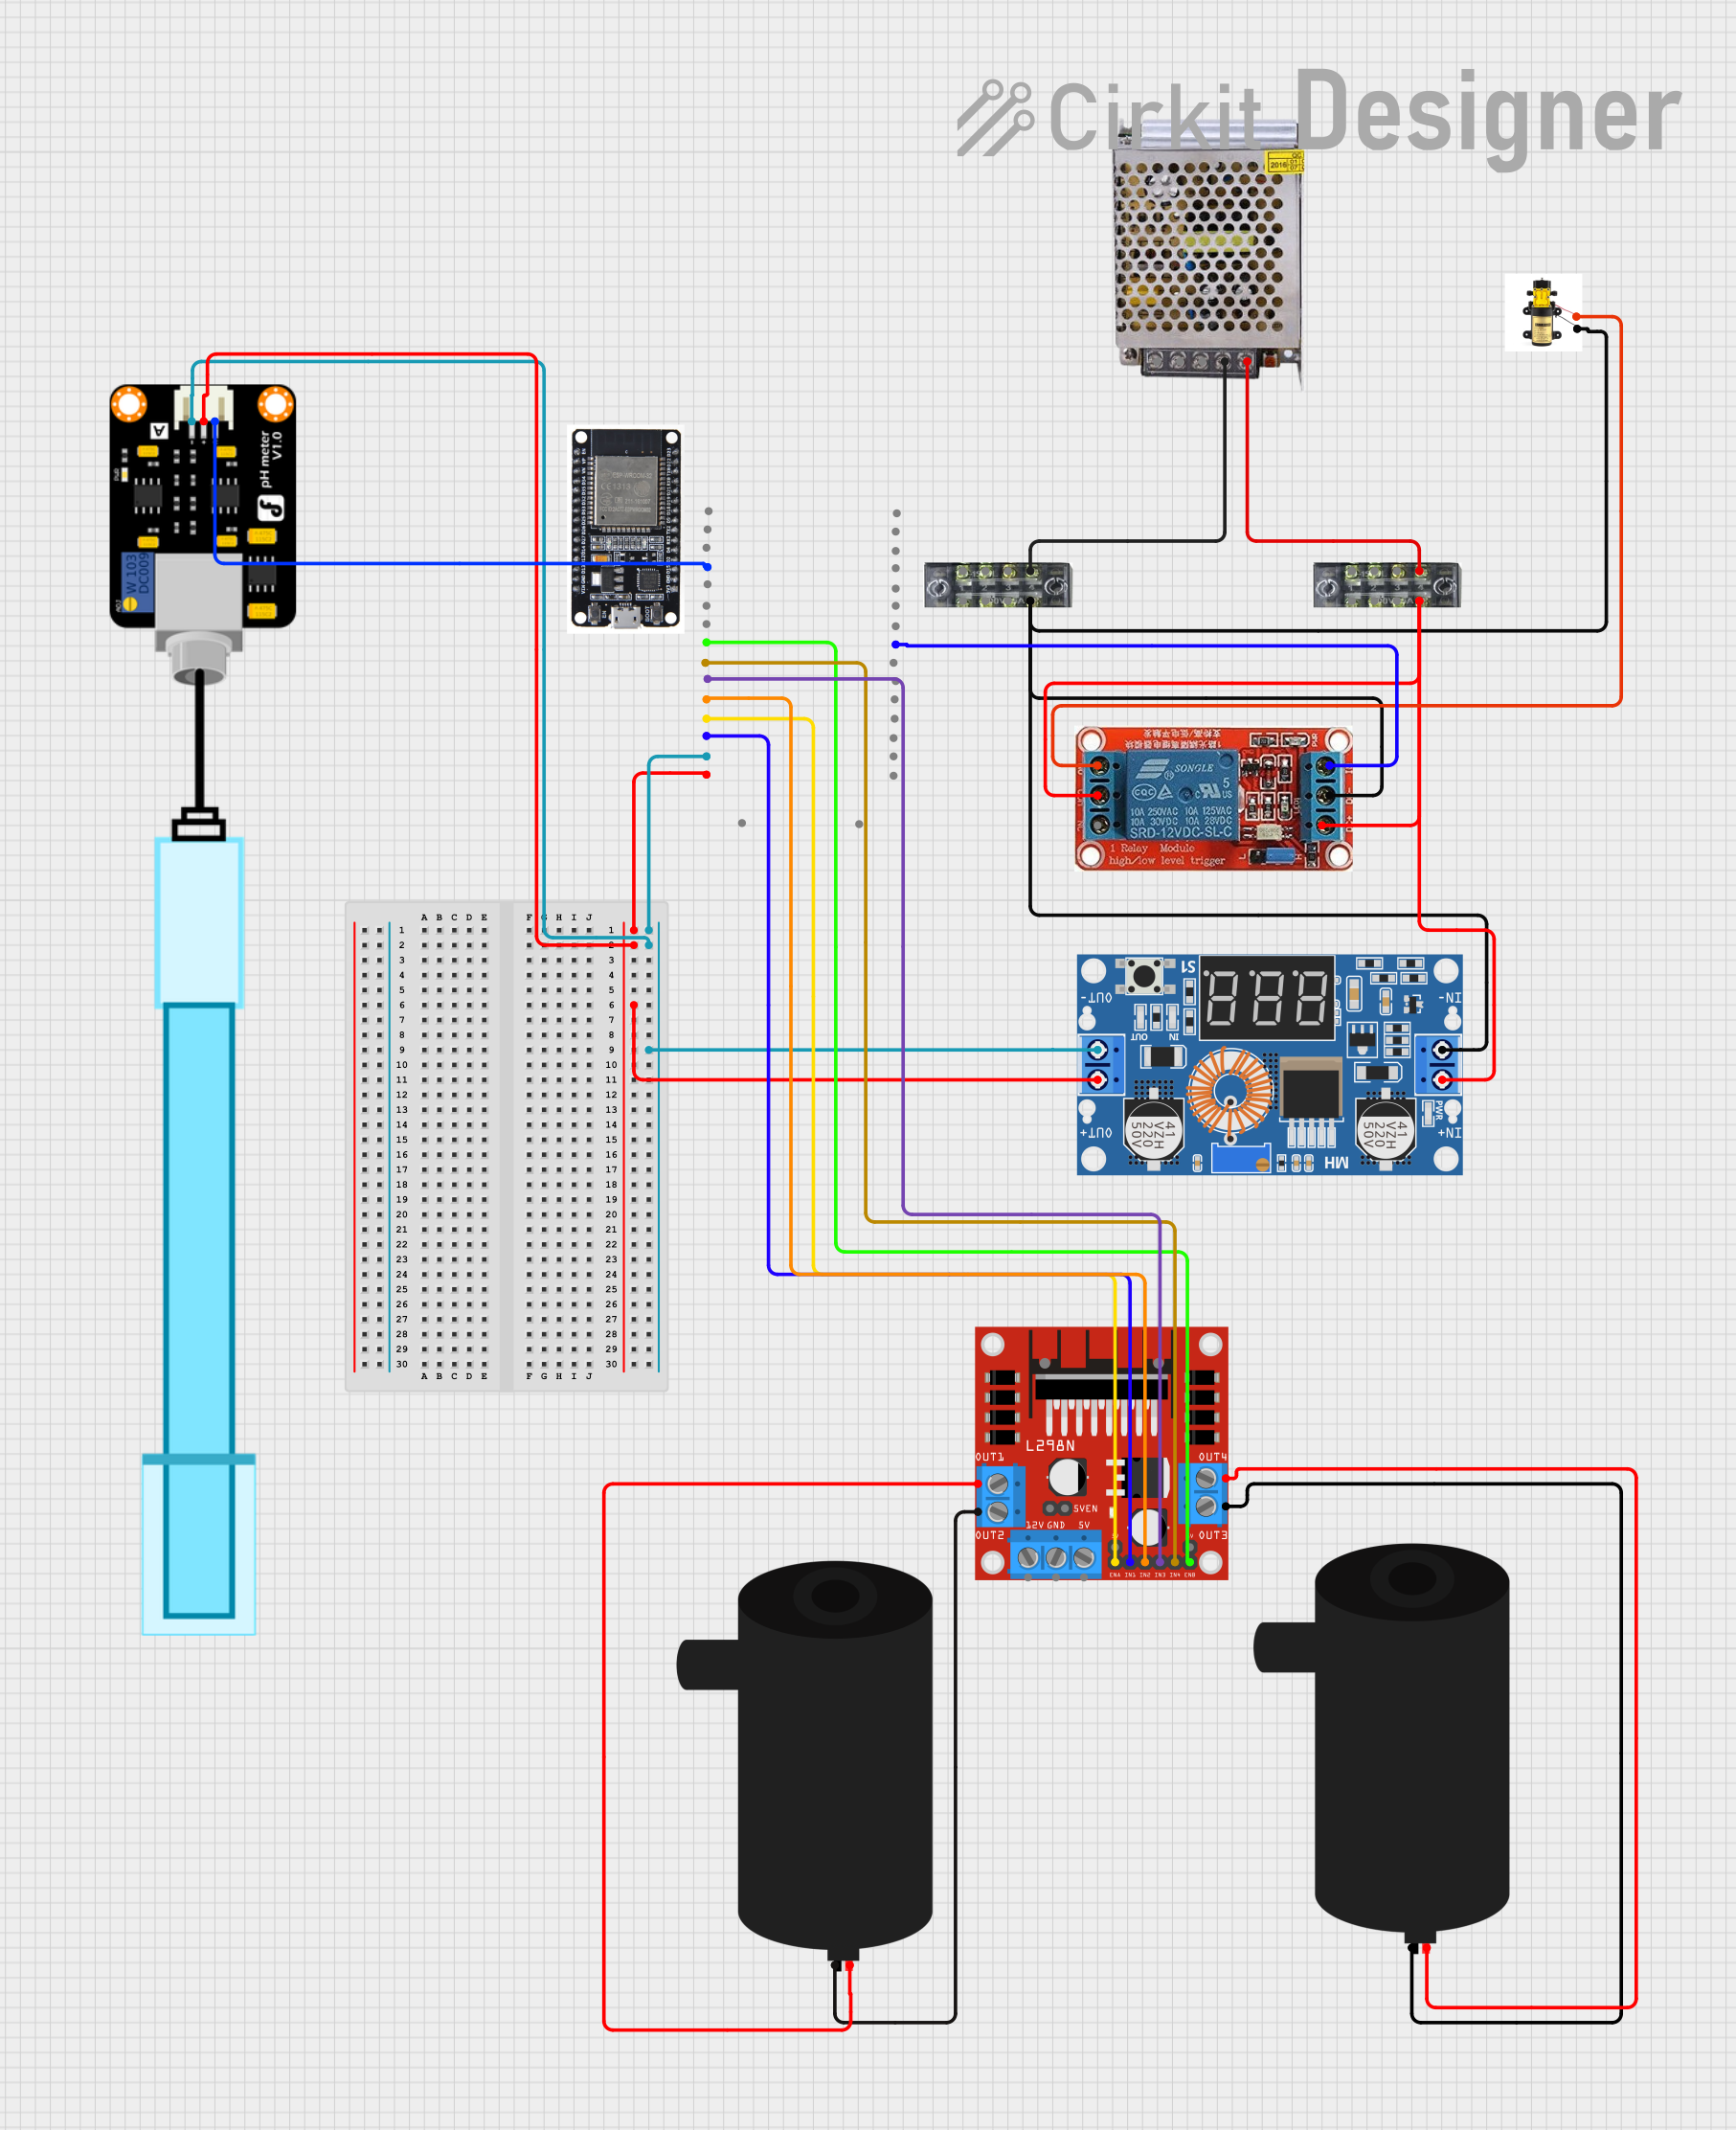
Explore Projects Built with 5V Water Pump
Common Applications:
- Aquarium water circulation
- Hydroponic nutrient delivery systems
- Small-scale irrigation for plants
- DIY water fountains or cooling systems
- Liquid transfer in small containers
Technical Specifications
Below are the key technical details of the 5V Water Pump:
| Parameter | Specification |
|---|---|
| Operating Voltage | 5V DC |
| Operating Current | 100-300 mA (depending on load) |
| Power Consumption | ~1.5W |
| Maximum Flow Rate | ~120 L/h (liters per hour) |
| Maximum Lift Height | ~0.7 meters |
| Pump Type | Submersible |
| Material | Plastic (ABS or similar) |
| Dimensions | ~45mm x 24mm x 30mm |
| Weight | ~30 grams |
| Operating Temperature | 0°C to 50°C |
Pin Configuration and Descriptions
The 5V Water Pump typically has two wires for connection:
| Wire Color | Function | Description |
|---|---|---|
| Red | Positive (+) | Connect to the 5V DC power supply or control circuit. |
| Black | Ground (-) | Connect to the ground of the power supply or circuit. |
Usage Instructions
How to Use the 5V Water Pump in a Circuit
- Power Supply: Ensure you have a stable 5V DC power source capable of supplying at least 300 mA of current.
- Connection:
- Connect the red wire to the positive terminal of the power supply.
- Connect the black wire to the ground terminal of the power supply.
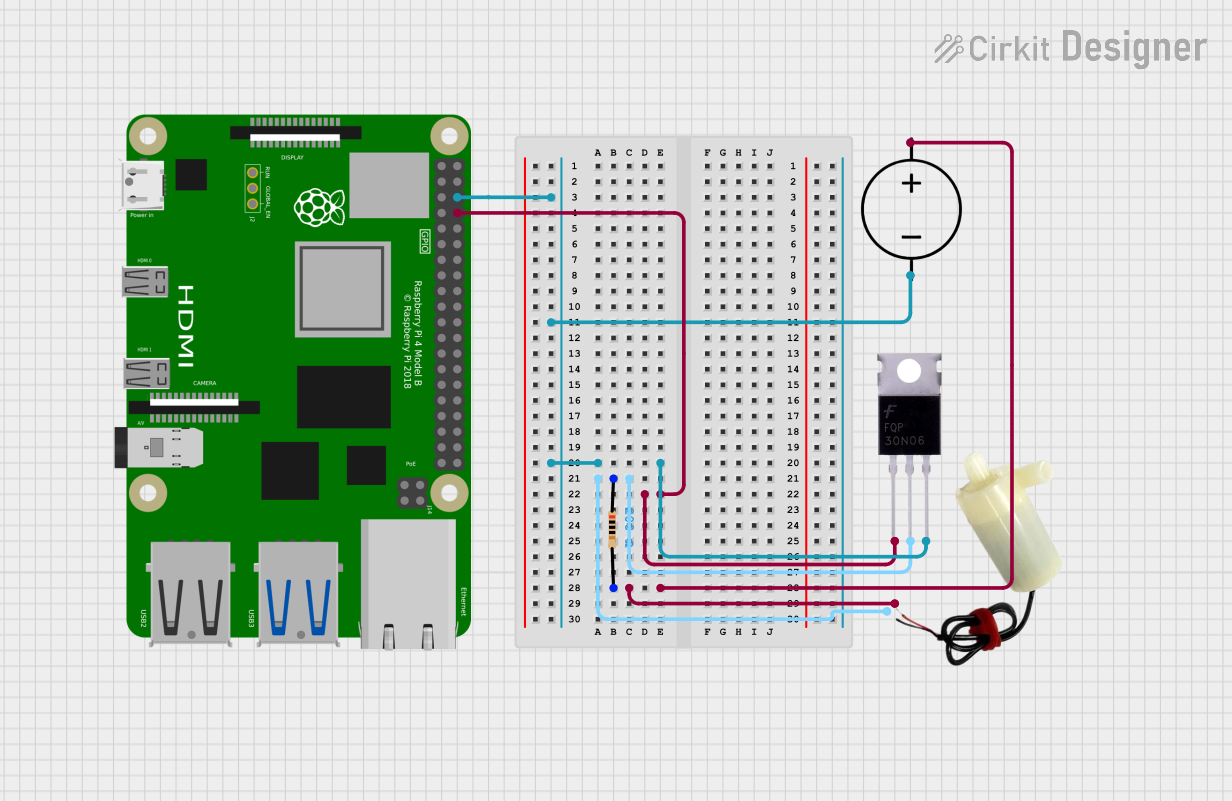
- Control with Microcontroller (Optional):
- Use a transistor or relay module to control the pump with a microcontroller like an Arduino UNO.
- Ensure the pump is powered through an external power source, as the Arduino cannot supply sufficient current directly.
Example: Controlling the Pump with an Arduino UNO
Below is an example of how to control the 5V Water Pump using an Arduino UNO and a transistor:
Circuit Components:
- 5V Water Pump
- NPN Transistor (e.g., 2N2222)
- 1 kΩ Resistor
- Diode (e.g., 1N4007) for flyback protection
- External 5V power supply
- Arduino UNO
Circuit Diagram:
- Connect the pump's red wire to the collector of the NPN transistor.
- Connect the pump's black wire to the ground of the external power supply.
- Connect the emitter of the transistor to the ground of the Arduino and power supply.
- Place the diode across the pump terminals (cathode to red wire, anode to black wire).
- Connect a 1 kΩ resistor between the Arduino digital pin (e.g., pin 9) and the base of the transistor.
Arduino Code:
// Define the pin connected to the transistor base
const int pumpPin = 9;

void setup() {
  pinMode(pumpPin, OUTPUT); // Set the pump control pin as an output
}

void loop() {
  digitalWrite(pumpPin, HIGH); // Turn the pump ON
  delay(5000);                 // Keep the pump ON for 5 seconds
  digitalWrite(pumpPin, LOW);  // Turn the pump OFF
  delay(5000);                 // Keep the pump OFF for 5 seconds
}
Important Considerations:
- Power Supply: Always use a power supply that matches the pump's voltage and current requirements.
- Waterproofing: Ensure the pump is fully submerged in water during operation to prevent overheating.
- Polarity: Double-check the wire connections to avoid damaging the pump.
- Flyback Diode: Always use a flyback diode to protect your circuit from voltage spikes caused by the pump's motor.
Troubleshooting and FAQs
Common Issues and Solutions:
Pump Does Not Start:
- Cause: Insufficient power supply or incorrect wiring.
- Solution: Verify the power supply voltage and current. Check the wire connections.
Pump Runs Intermittently:
- Cause: Loose connections or unstable power supply.
- Solution: Secure all connections and ensure the power supply is stable.
Pump Overheats:
- Cause: Running the pump dry or exceeding its operating voltage.
- Solution: Always keep the pump submerged in water and use a 5V power supply.
Low Water Flow:
- Cause: Blocked inlet or insufficient power.
- Solution: Clean the pump inlet and ensure the power supply meets the pump's requirements.
FAQs:
Can the pump be used with liquids other than water?
- Yes, but ensure the liquid is non-corrosive and does not exceed the pump's operating temperature range.
Can I run the pump continuously?
- Yes, as long as the pump is submerged in water and does not overheat.
How do I control the pump speed?
- The pump speed cannot be directly controlled, but you can use PWM (Pulse Width Modulation) with a transistor to simulate speed control.
Is the pump safe for outdoor use?
- The pump is water-resistant but not fully waterproof for outdoor exposure. Use additional waterproofing if needed.
By following this documentation, you can effectively integrate the 5V Water Pump into your projects and troubleshoot common issues with ease.