Introduction
The 18650 Li-ion Battery is a standard size rechargeable cylindrical cell, renowned for its balance between energy capacity and power delivery. This battery type is widely used in various electronic devices such as laptops, flashlights, portable power banks, and even in electric vehicles due to its high energy density and longevity. Its name, "18650," refers to its dimensions: approximately 18mm in diameter and 65mm in length.
Technical Specifications
Key Technical Details
- Nominal Voltage: 3.6V - 3.7V
- Fully Charged Voltage: 4.2V
- Discharge Cut-off Voltage: 2.5V - 3.0V
- Typical Capacity: 1800mAh - 3500mAh (varies by manufacturer)
- Max Charging Current: 0.5C - 1C (C = Battery Capacity in Ah)
- Max Discharge Current: Varies by model and manufacturer (commonly 1C - 20C)
- Chemistry: Lithium-ion
- Cycle Life: Typically 300-500 cycles (depends on usage and charging method)
Pin Configuration and Descriptions
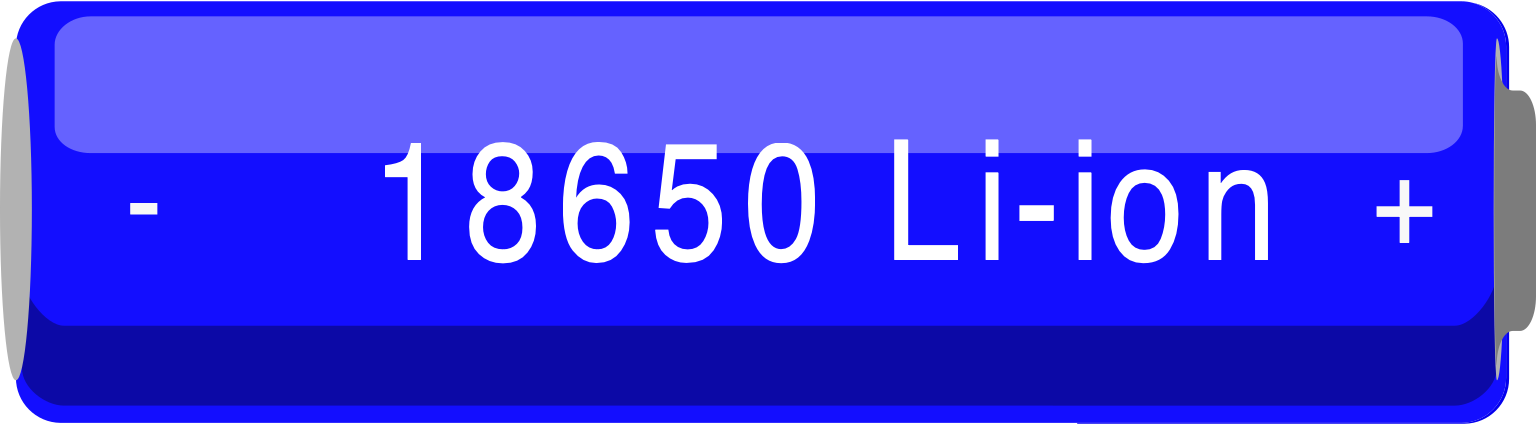
Since the 18650 battery is a cylindrical cell, it does not have a traditional "pin" configuration. Instead, it has two terminals:
Usage Instructions
Incorporating into a Circuit
To use an 18650 Li-ion battery in a circuit, follow these steps:
- Battery Holder: Use a compatible 18650 battery holder or a custom battery mount that provides secure mechanical support and electrical contacts.
- Voltage Regulation: Ensure that the device you are powering can handle the voltage range of the battery. If not, incorporate a voltage regulator.
- Charging Circuit: Never charge the battery without a dedicated charging circuit designed for Li-ion cells. This circuit should include overcharge protection, temperature monitoring, and current control.
- Discharge Protection: Include a protection circuit to prevent over-discharge, which can damage the battery.
- Thermal Management: Provide adequate ventilation or thermal management to prevent overheating during operation or charging.
Best Practices
- Always charge and discharge the battery within the manufacturer's recommended rates.
- Store batteries in a cool, dry place at approximately 40%-60% charge when not in use for extended periods.
- Avoid physical damage to the battery, which can lead to dangerous leaks or short circuits.
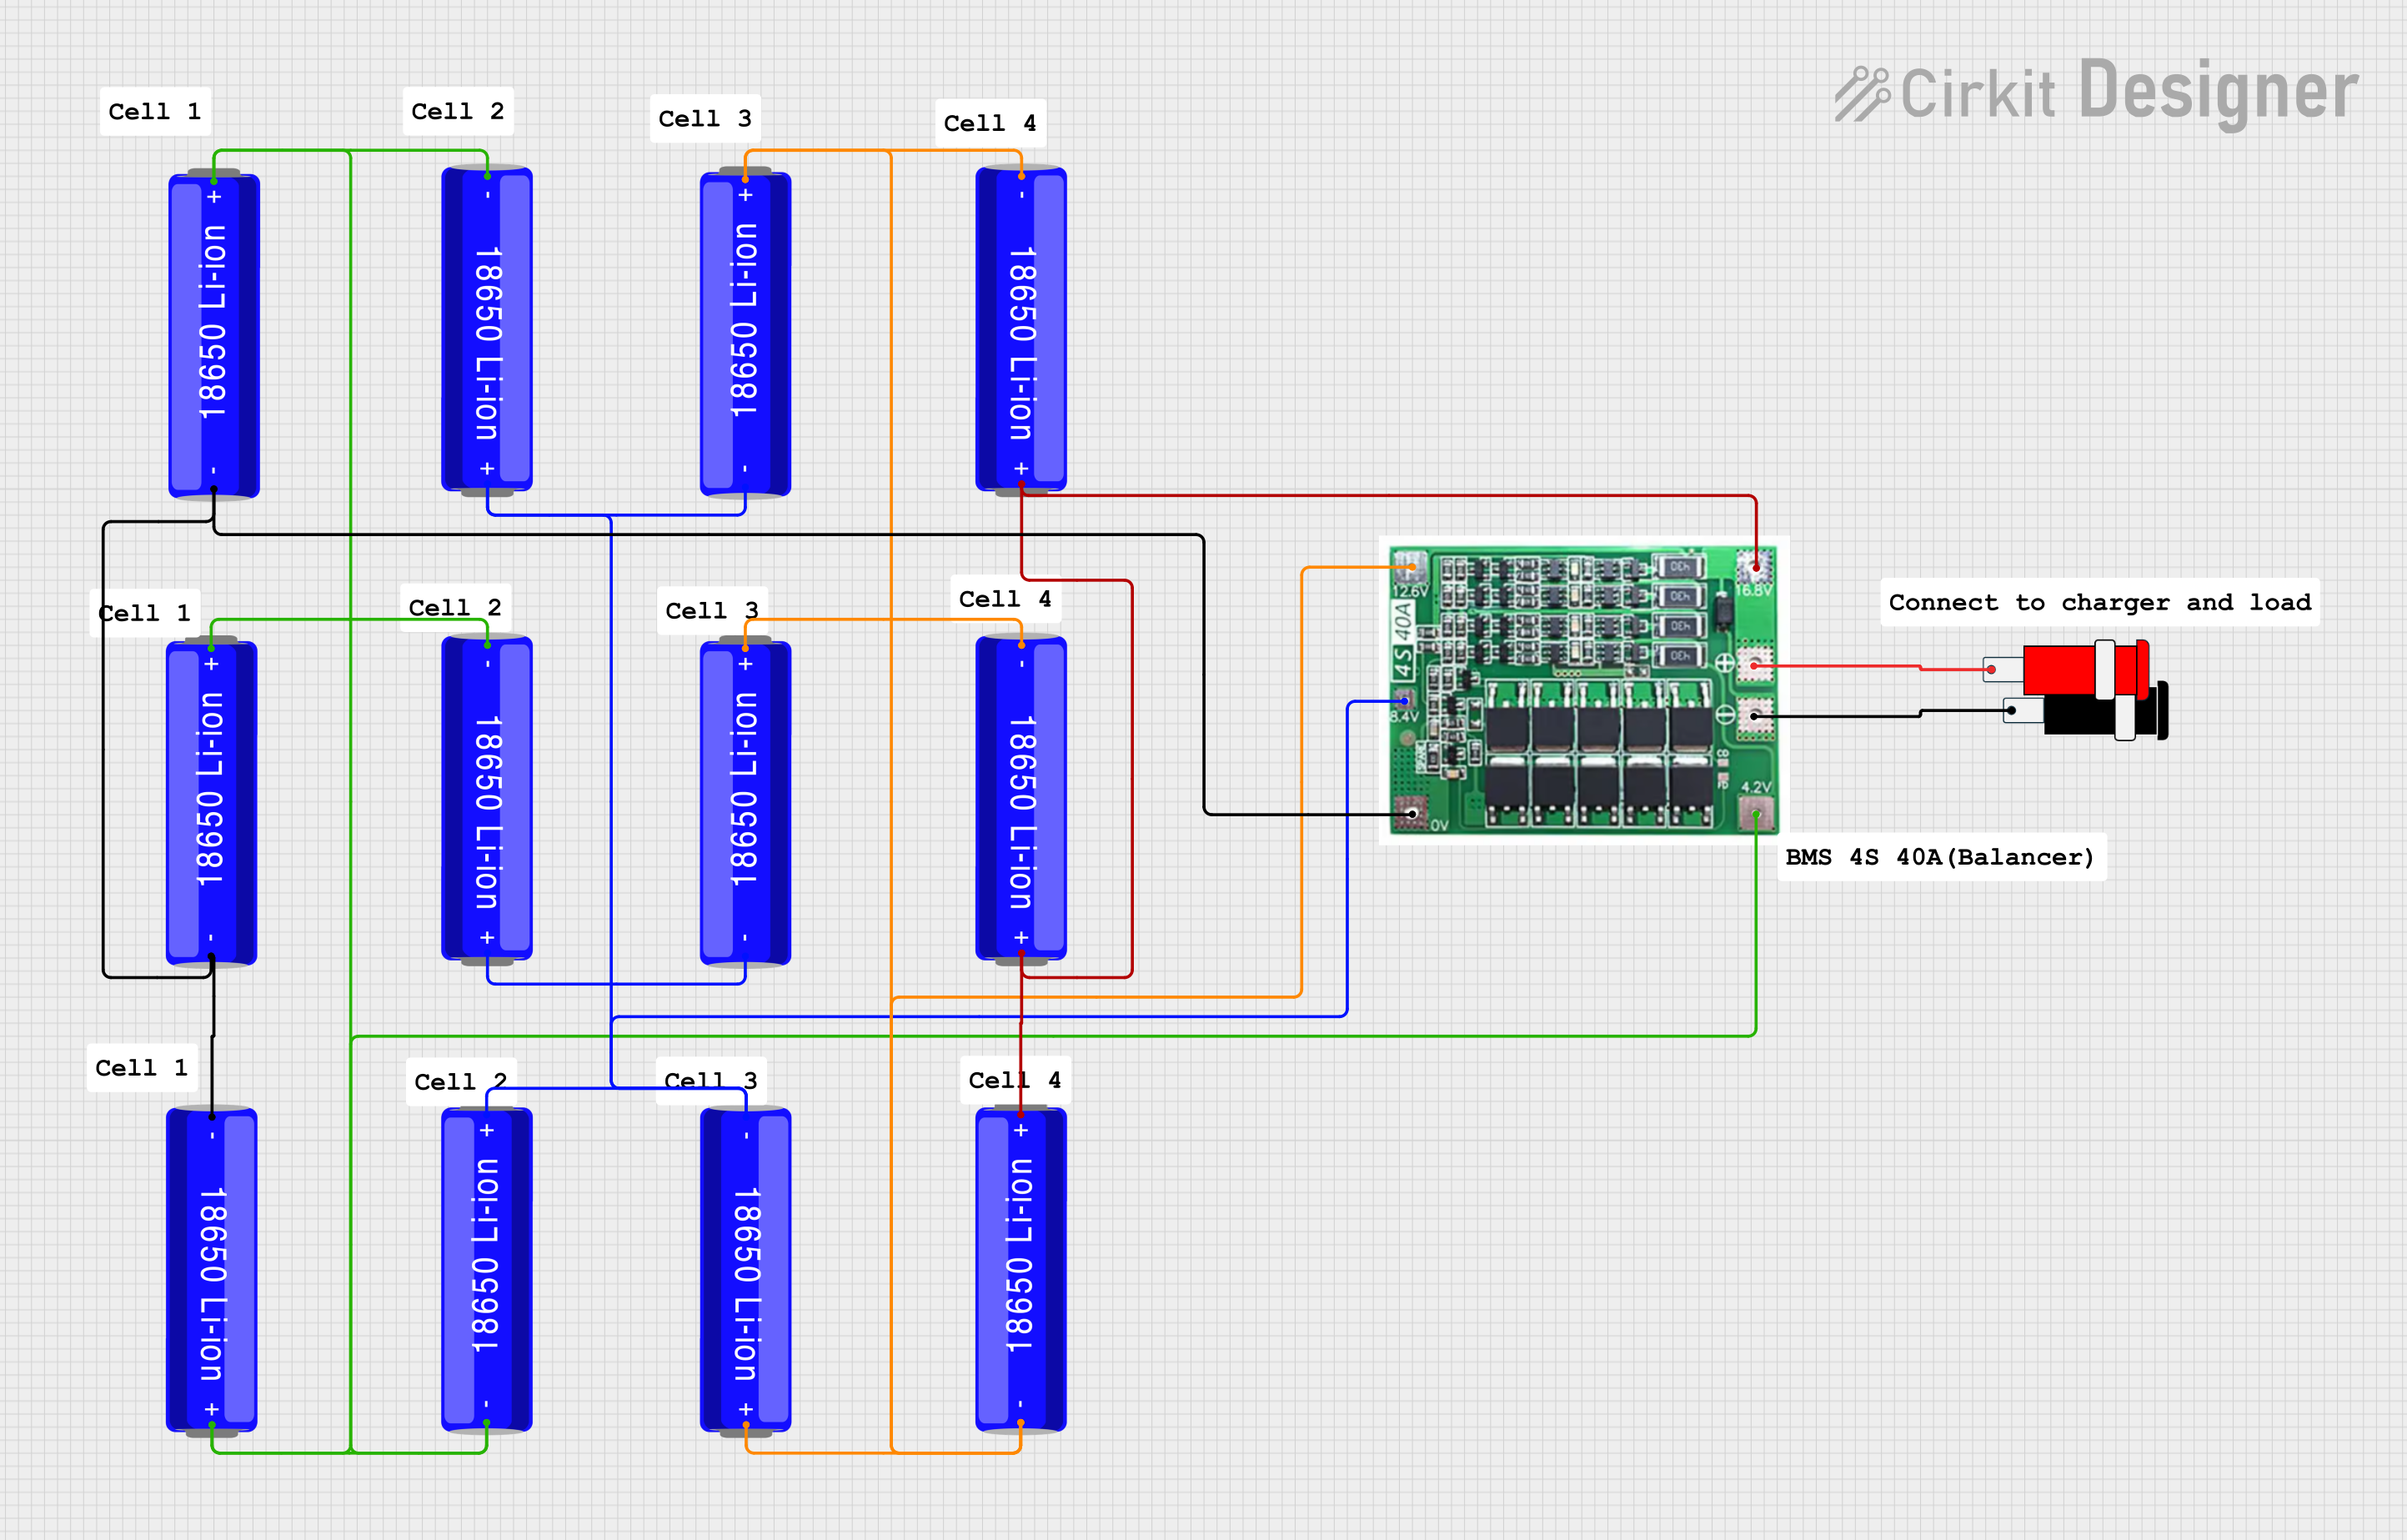
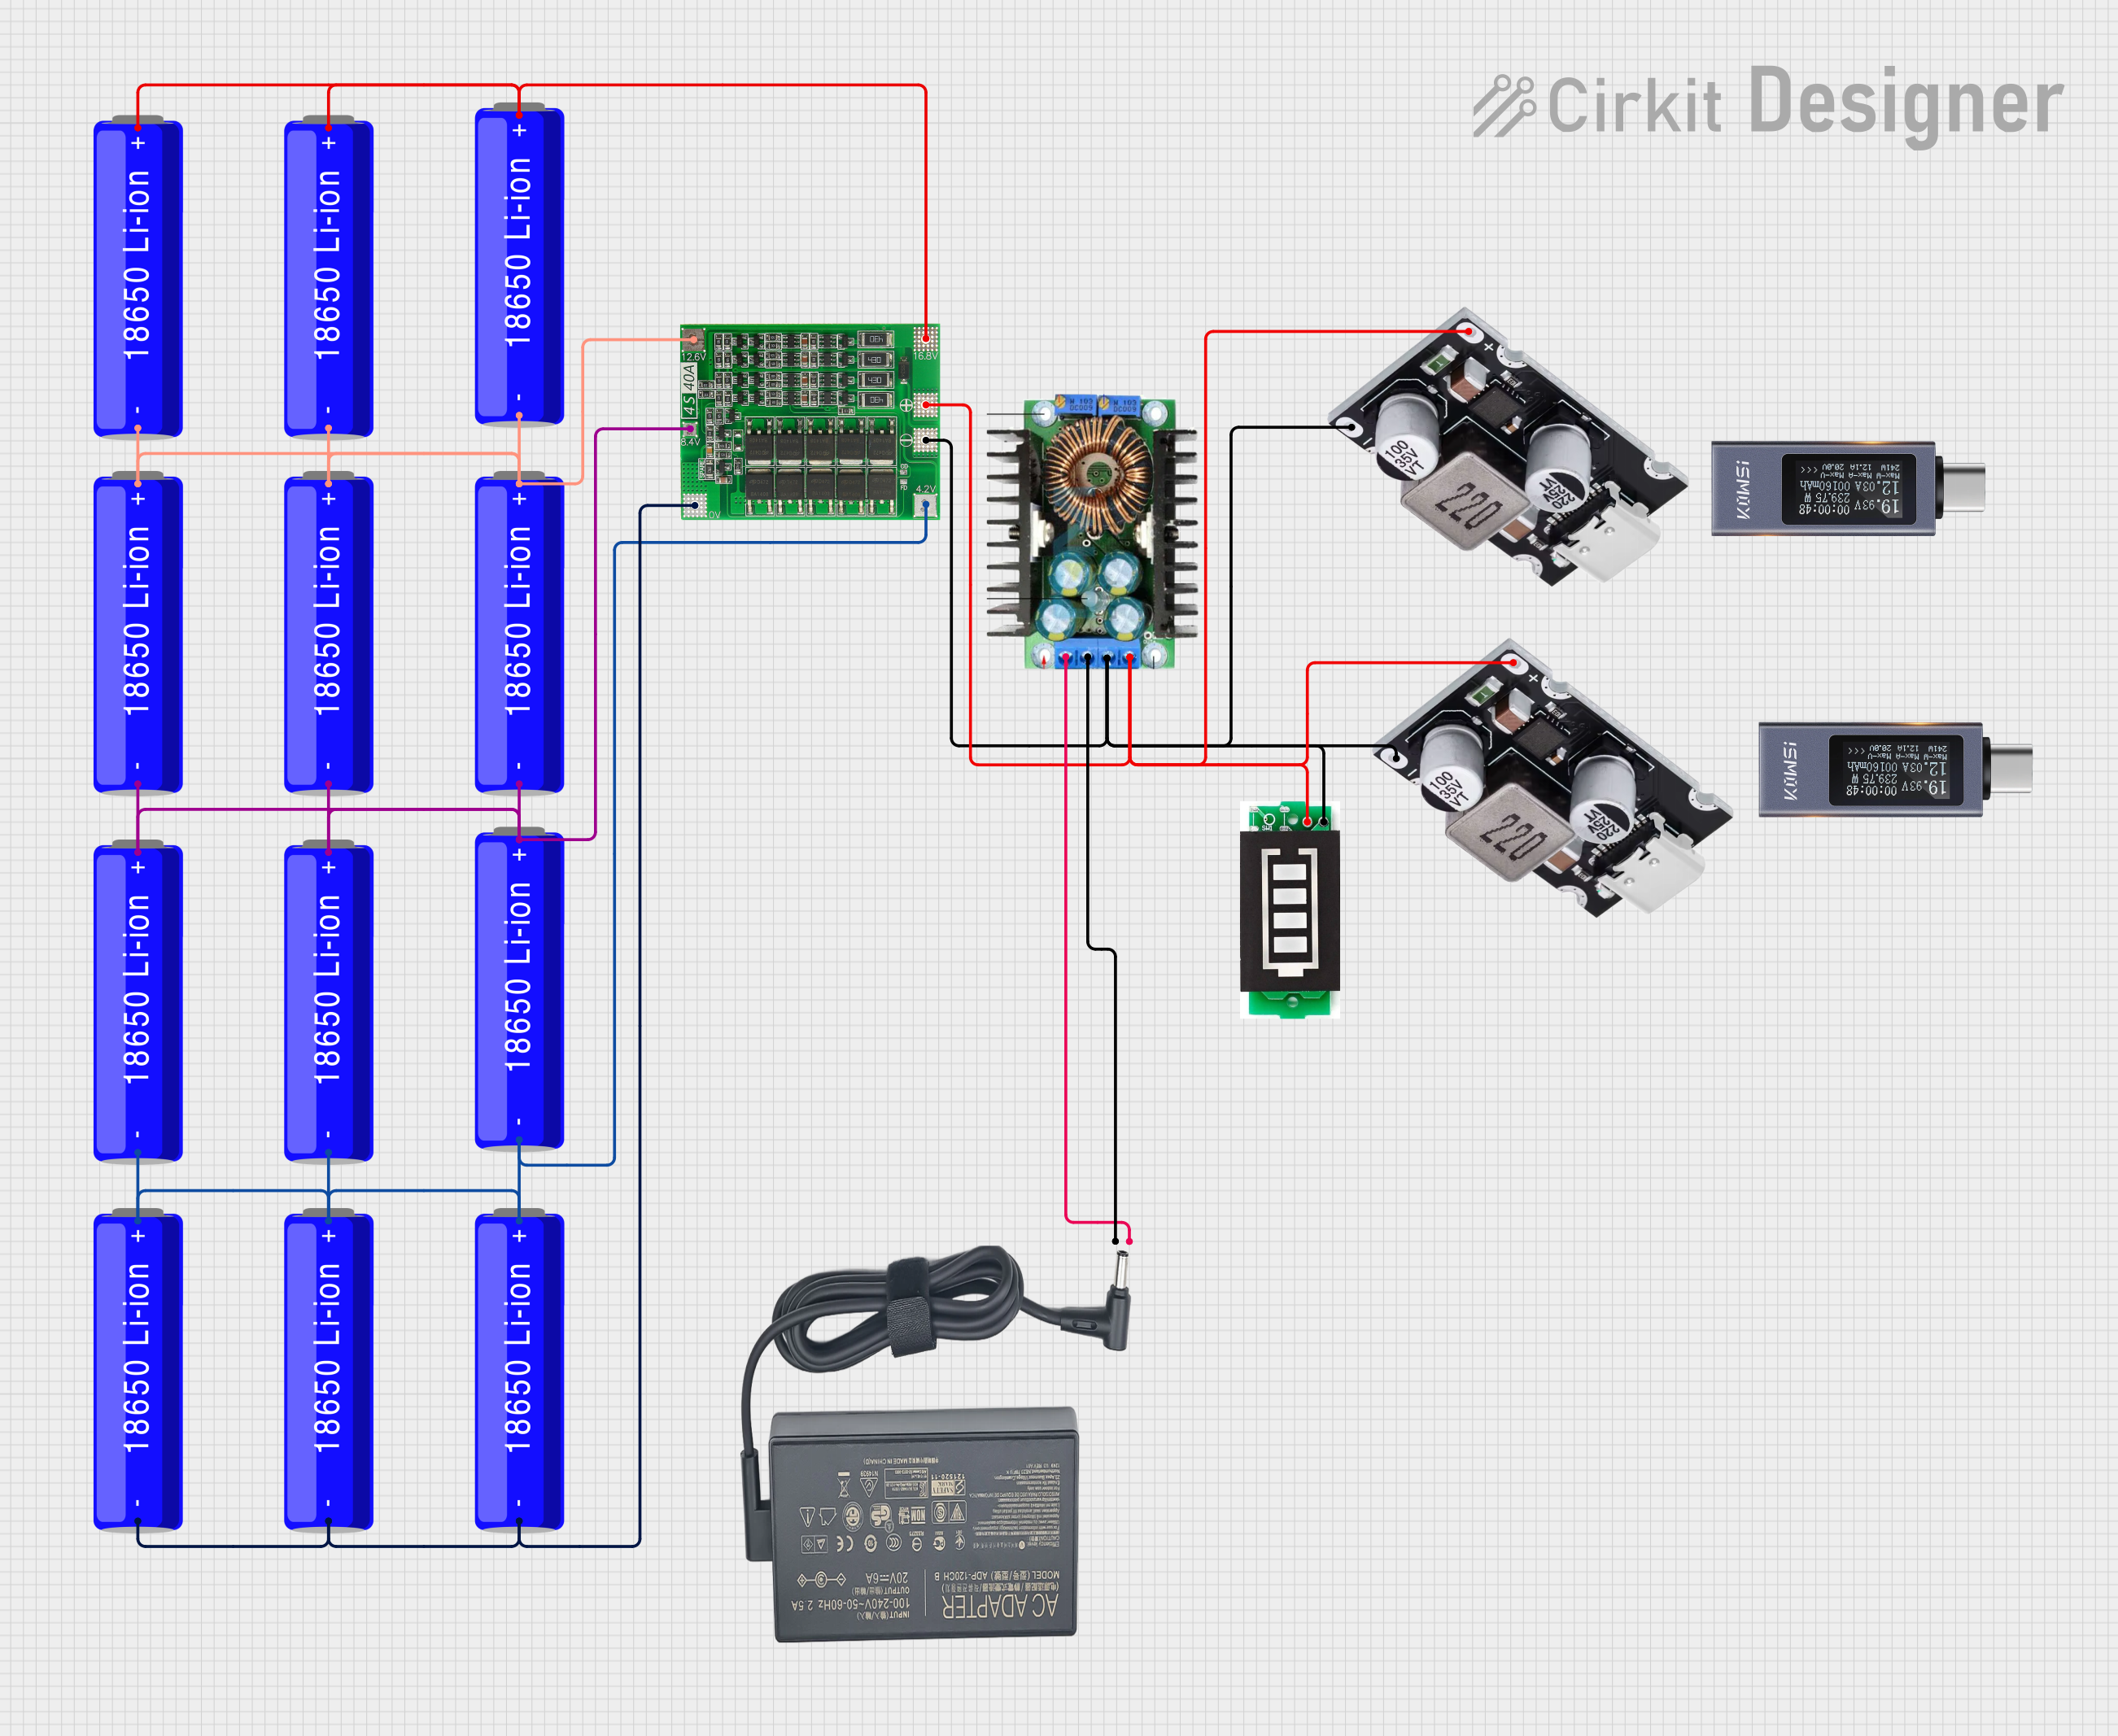
- Use a battery management system (BMS) for applications involving multiple batteries in series or parallel to ensure balanced charging and discharging.
Troubleshooting and FAQs
Common Issues
- Battery won't charge: Ensure the charger is functioning and compatible with Li-ion chemistry. Check the battery contacts and the charging circuit.
- Reduced capacity: Li-ion batteries degrade over time and with use. If the battery doesn't hold a charge as it used to, it may be nearing the end of its life cycle.
- Overheating during use or charging: This could indicate a faulty battery or charging circuit. Stop using the battery immediately and consult a professional.
FAQs
Q: Can I charge an 18650 battery with a standard AA battery charger?
A: No, you must use a charger specifically designed for Li-ion batteries to ensure safe and efficient charging.
Q: How do I dispose of 18650 batteries?
A: Do not throw them in the trash. Take them to a battery recycling center or a designated disposal facility.
Q: Is it safe to carry 18650 batteries in my pocket?
A: Carrying batteries in your pocket without protection can lead to short circuits and is not recommended. Use a protective case.
Q: Can I use any 18650 battery for my device?
A: Check your device's voltage and current requirements. Use a battery that matches these specifications and has the necessary protection circuits.
Example Code for Arduino UNO
If you're using an 18650 battery to power an Arduino UNO, ensure you have a voltage regulator to bring the voltage down to 5V. Here's an example of how to read the battery voltage using an Arduino:
const int analogPin = A0; // Pin connected to voltage divider output
const float referenceVoltage = 5.0; // Reference voltage for Arduino (5V)
const float dividerRatio = 2.0; // Voltage divider ratio (if used)

void setup() {
  Serial.begin(9600);
}

void loop() {
  int sensorValue = analogRead(analogPin); // Read the analog value
  float batteryVoltage = (sensorValue * referenceVoltage / 1023.0) * dividerRatio;
  Serial.print("Battery Voltage: ");
  Serial.println(batteryVoltage);
  delay(1000); // Wait for 1 second before the next reading
}
Note: This code assumes you're using a voltage divider to step down the voltage to a safe level for the Arduino analog input. Adjust dividerRatio according to your specific voltage divider.
Remember to comment your code adequately, keeping line lengths within 80 characters for readability.

 Open Project in Cirkit Designer