
How to Use LilyPad Arduino Simple Board: Examples, Pinouts, and Specs
 Design with LilyPad Arduino Simple Board in Cirkit Designer
Introduction
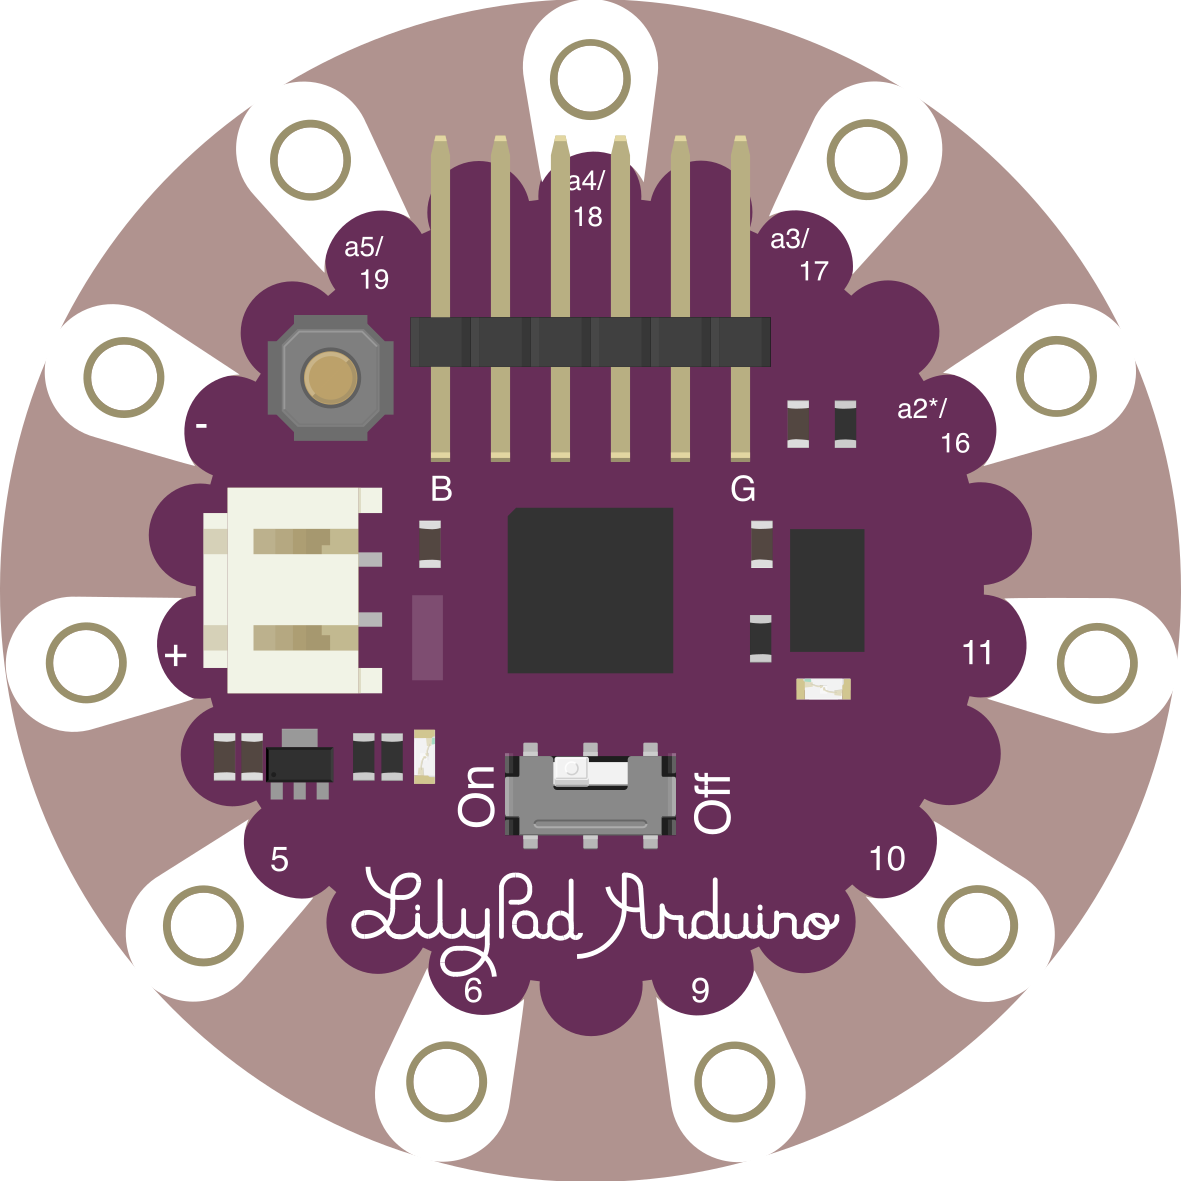
The LilyPad Arduino Simple Board is a microcontroller board specifically designed for wearable electronics and e-textile projects. Its compact, circular design and sewable connection pads make it ideal for embedding into clothing or fabric-based projects. The board is fully compatible with the Arduino IDE, allowing users to program it with ease. It is powered by an ATmega328P microcontroller and includes onboard power management for lithium polymer (LiPo) batteries.
Explore Projects Built with LilyPad Arduino Simple Board
 Open Project in Cirkit Designer
 Open Project in Cirkit Designer
 Open Project in Cirkit Designer
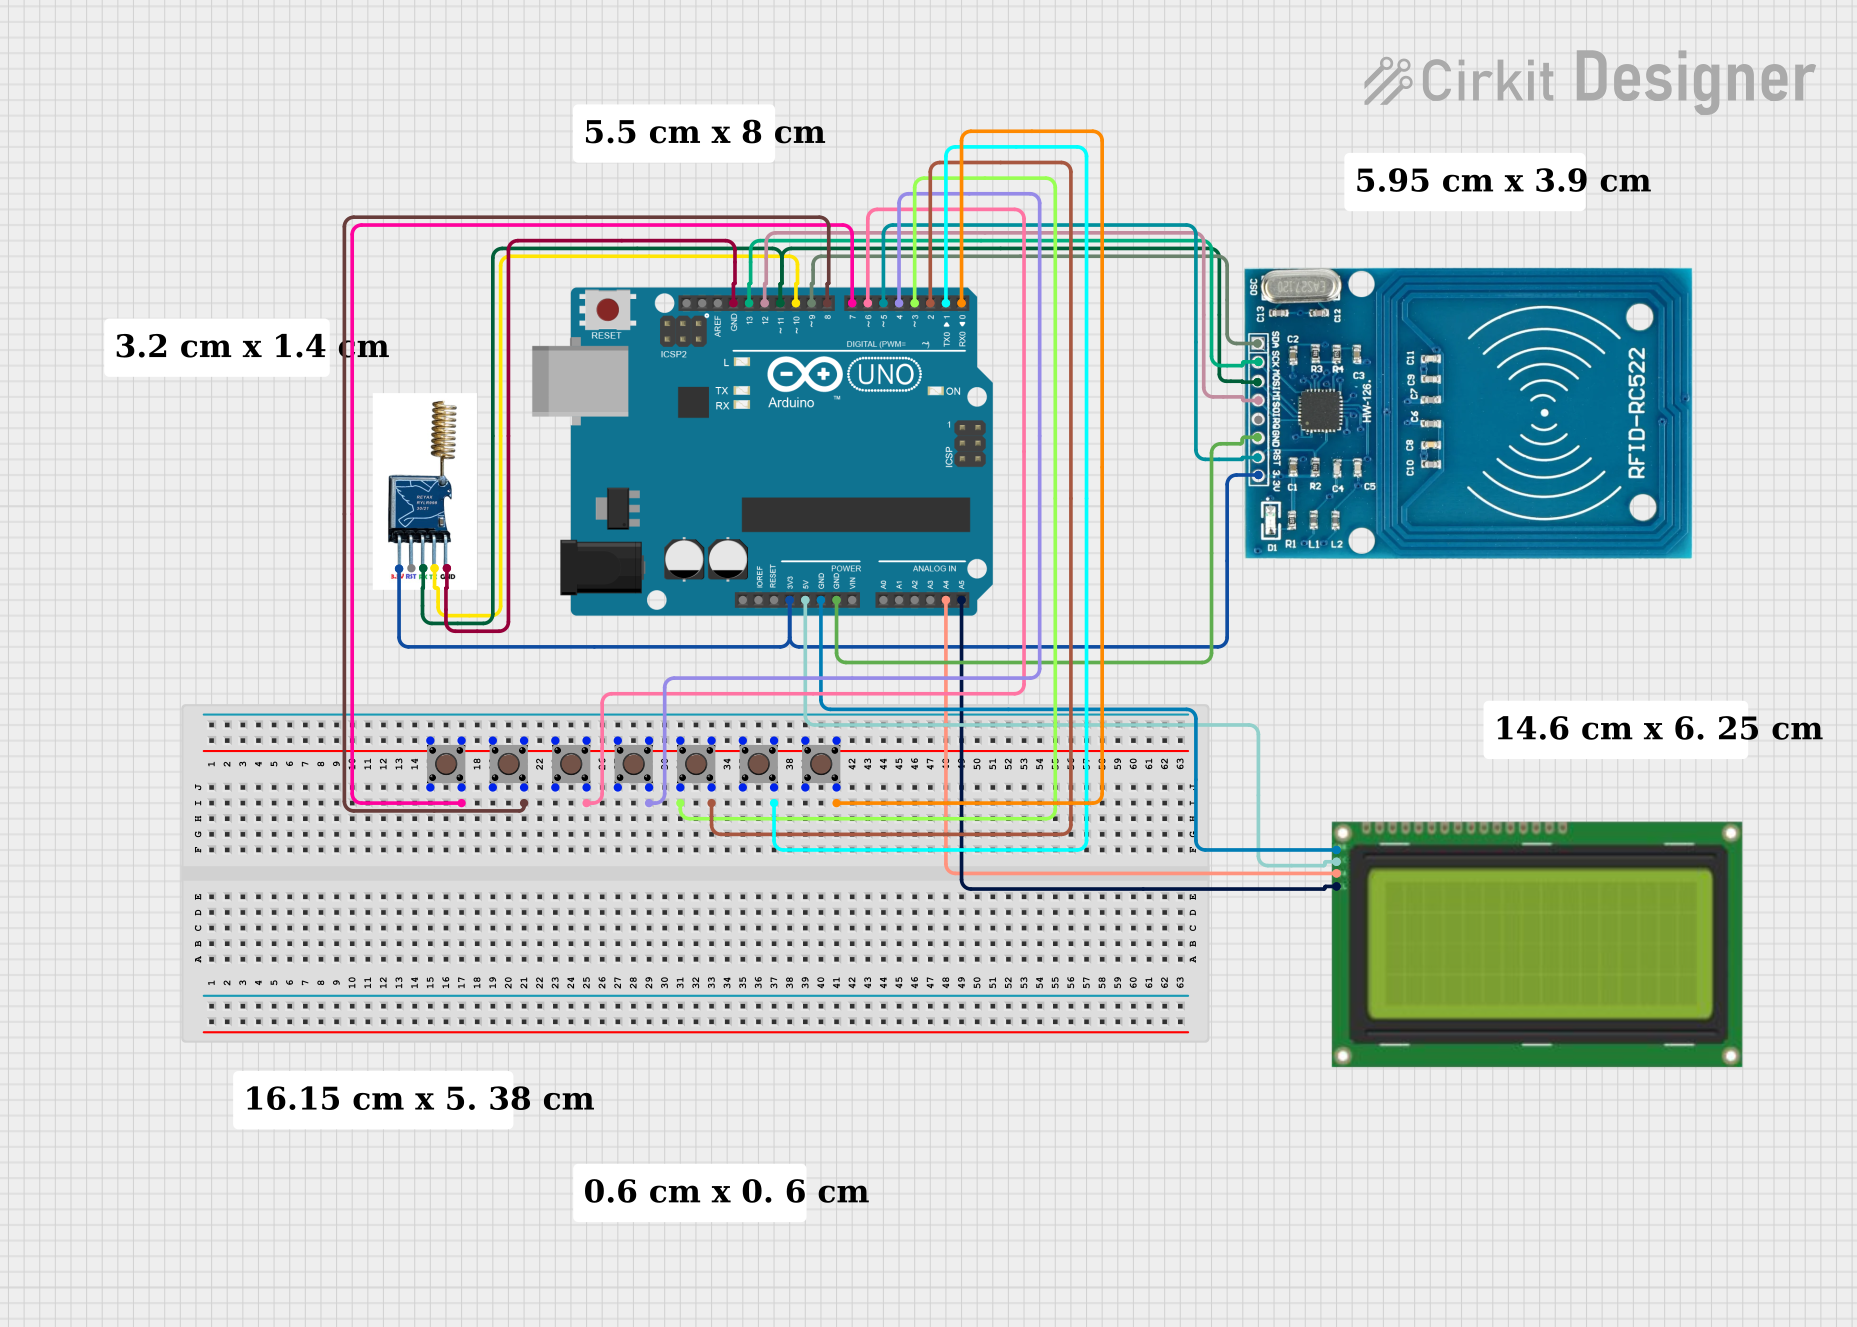 Open Project in Cirkit Designer
Explore Projects Built with LilyPad Arduino Simple Board
Open Project in Cirkit DesignerOpen Project in Cirkit DesignerOpen Project in Cirkit DesignerOpen Project in Cirkit DesignerCommon Applications and Use Cases
- Wearable technology (e.g., interactive clothing, fitness trackers)
- E-textiles and smart fabrics
- Light-up costumes and accessories
- Prototyping for small, portable, or flexible electronics
- Educational projects in electronics and programming
Technical Specifications
The LilyPad Arduino Simple Board is designed to balance functionality and simplicity, making it accessible for beginners while still offering features for advanced users.
Key Technical Details
- Microcontroller: ATmega328P
- Operating Voltage: 2.7V - 5.5V
- Input Voltage: 3.7V (via LiPo battery) or 5V (via USB)
- Digital I/O Pins: 9 (of which 4 support PWM output)
- Analog Input Pins: 4
- Flash Memory: 32 KB (2 KB used by bootloader)
- SRAM: 2 KB
- EEPROM: 1 KB
- Clock Speed: 8 MHz
- Dimensions: 50 mm diameter
- Weight: 5 g
Pin Configuration and Descriptions
The LilyPad Arduino Simple Board features sewable connection pads for easy integration into fabric-based projects. Below is a table describing the pin configuration:
| Pin | Type | Description |
|---|---|---|
| 0 | Digital I/O | General-purpose digital pin; can be used for input or output. |
| 1 | Digital I/O | General-purpose digital pin; can be used for input or output. |
| 2 | Digital I/O | Supports PWM output; can be used for dimming LEDs or motor control. |
| 3 | Digital I/O | Supports PWM output; can be used for dimming LEDs or motor control. |
| 4 | Digital I/O | General-purpose digital pin; can be used for input or output. |
| 5 | Digital I/O | Supports PWM output; can be used for dimming LEDs or motor control. |
| 6 | Digital I/O | Supports PWM output; can be used for dimming LEDs or motor control. |
| A0-A3 | Analog Input | Analog pins for reading sensor data (e.g., temperature, light, or pressure). |
| + | Power | Positive power connection for external components (e.g., sensors, LEDs). |
| - | Ground | Ground connection for external components. |
Usage Instructions
The LilyPad Arduino Simple Board is easy to use and program, making it a great choice for wearable electronics projects. Below are the steps and best practices for using the board.
How to Use the Component in a Circuit
- Power the Board:
- Connect a 3.7V LiPo battery to the JST connector on the board.
- Alternatively, connect the board to your computer via a USB-to-serial adapter for programming and power.
- Connect Components:
- Use conductive thread to sew components (e.g., LEDs, sensors) to the sewable pads on the board.
- Ensure proper connections to the power (+) and ground (-) pads.
- Program the Board:
- Open the Arduino IDE on your computer.
- Select "LilyPad Arduino" as the board type under Tools > Board.
- Write your code and upload it to the board using a USB-to-serial adapter.
Important Considerations and Best Practices
- Conductive Thread: Use high-quality conductive thread to ensure reliable electrical connections. Avoid crossing threads to prevent short circuits.
- Battery Safety: Only use compatible 3.7V LiPo batteries. Do not overcharge or puncture the battery.
- Component Placement: Plan your circuit layout carefully to minimize the length of conductive thread and avoid accidental shorts.
- Programming: Use a USB-to-serial adapter with a 6-pin header to upload code to the board. Ensure the adapter is properly aligned with the board's programming header.
Example Code
The following example demonstrates how to blink an LED connected to pin 5 of the LilyPad Arduino Simple Board:
// Blink an LED connected to pin 5 of the LilyPad Arduino Simple Board
// The LED will turn on for 1 second, then off for 1 second, repeatedly.

const int ledPin = 5; // Define the pin number for the LED

void setup() {
  pinMode(ledPin, OUTPUT); // Set pin 5 as an output
}

void loop() {
  digitalWrite(ledPin, HIGH); // Turn the LED on
  delay(1000);               // Wait for 1 second
  digitalWrite(ledPin, LOW);  // Turn the LED off
  delay(1000);               // Wait for 1 second
}
Troubleshooting and FAQs
Common Issues Users Might Face
- The board is not recognized by the Arduino IDE:
- Ensure the correct board type ("LilyPad Arduino") is selected in the IDE.
- Check the USB-to-serial adapter connection and drivers.
- Components are not working as expected:
- Verify that the conductive thread connections are secure and not shorted.
- Check the polarity of components like LEDs and sensors.
- The board does not power on:
- Ensure the LiPo battery is charged and properly connected.
- Check for loose or broken connections.
Solutions and Tips for Troubleshooting
- Inspect Connections: Use a multimeter to check continuity and ensure proper connections between the board and components.
- Test with Simple Code: Upload a basic sketch (e.g., blinking an LED) to verify that the board is functioning correctly.
- Avoid Overloading Pins: Do not exceed the current limits of the I/O pins (40 mA per pin) to prevent damage to the board.
By following this documentation, you can effectively use the LilyPad Arduino Simple Board to create innovative and interactive wearable electronics projects.