
How to Use 1.47" Touch LCD Display Module: Examples, Pinouts, and Specs
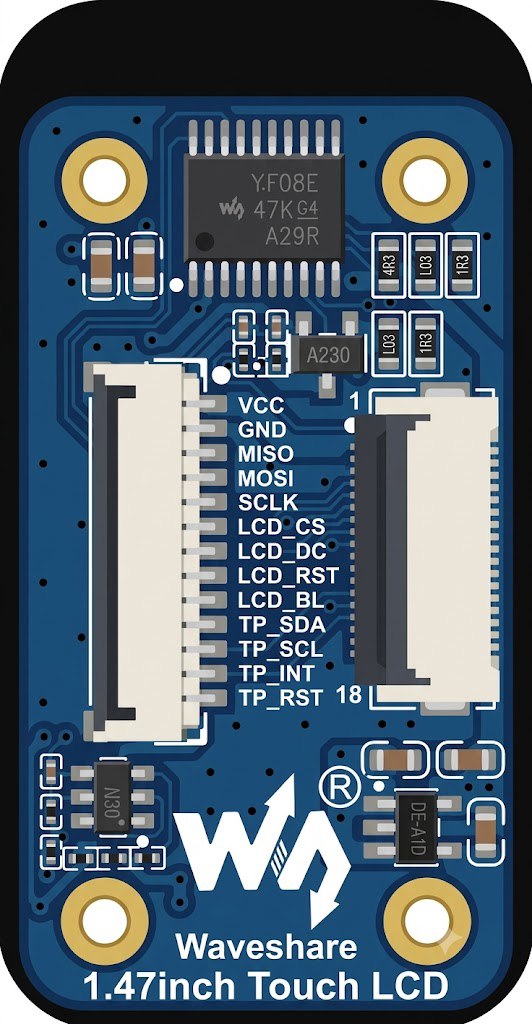
 Design with 1.47" Touch LCD Display Module in Cirkit Designer
Introduction
The 1.47" Touch LCD Display Module (Manufacturer: Waveshare, Part ID: 1.47inch Touch LCD) is a compact and versatile display module featuring a 1.47-inch diagonal screen with touch capability. This module is designed for applications requiring a small, interactive display, making it ideal for projects involving microcontrollers, such as the Arduino UNO, Raspberry Pi, or other embedded systems.
With its vibrant color display and touch functionality, this module is perfect for creating user interfaces, displaying sensor data, or controlling devices in real-time. Its compact size and ease of integration make it suitable for portable devices, IoT projects, and educational purposes.
Explore Projects Built with 1.47" Touch LCD Display Module
 Open Project in Cirkit Designer
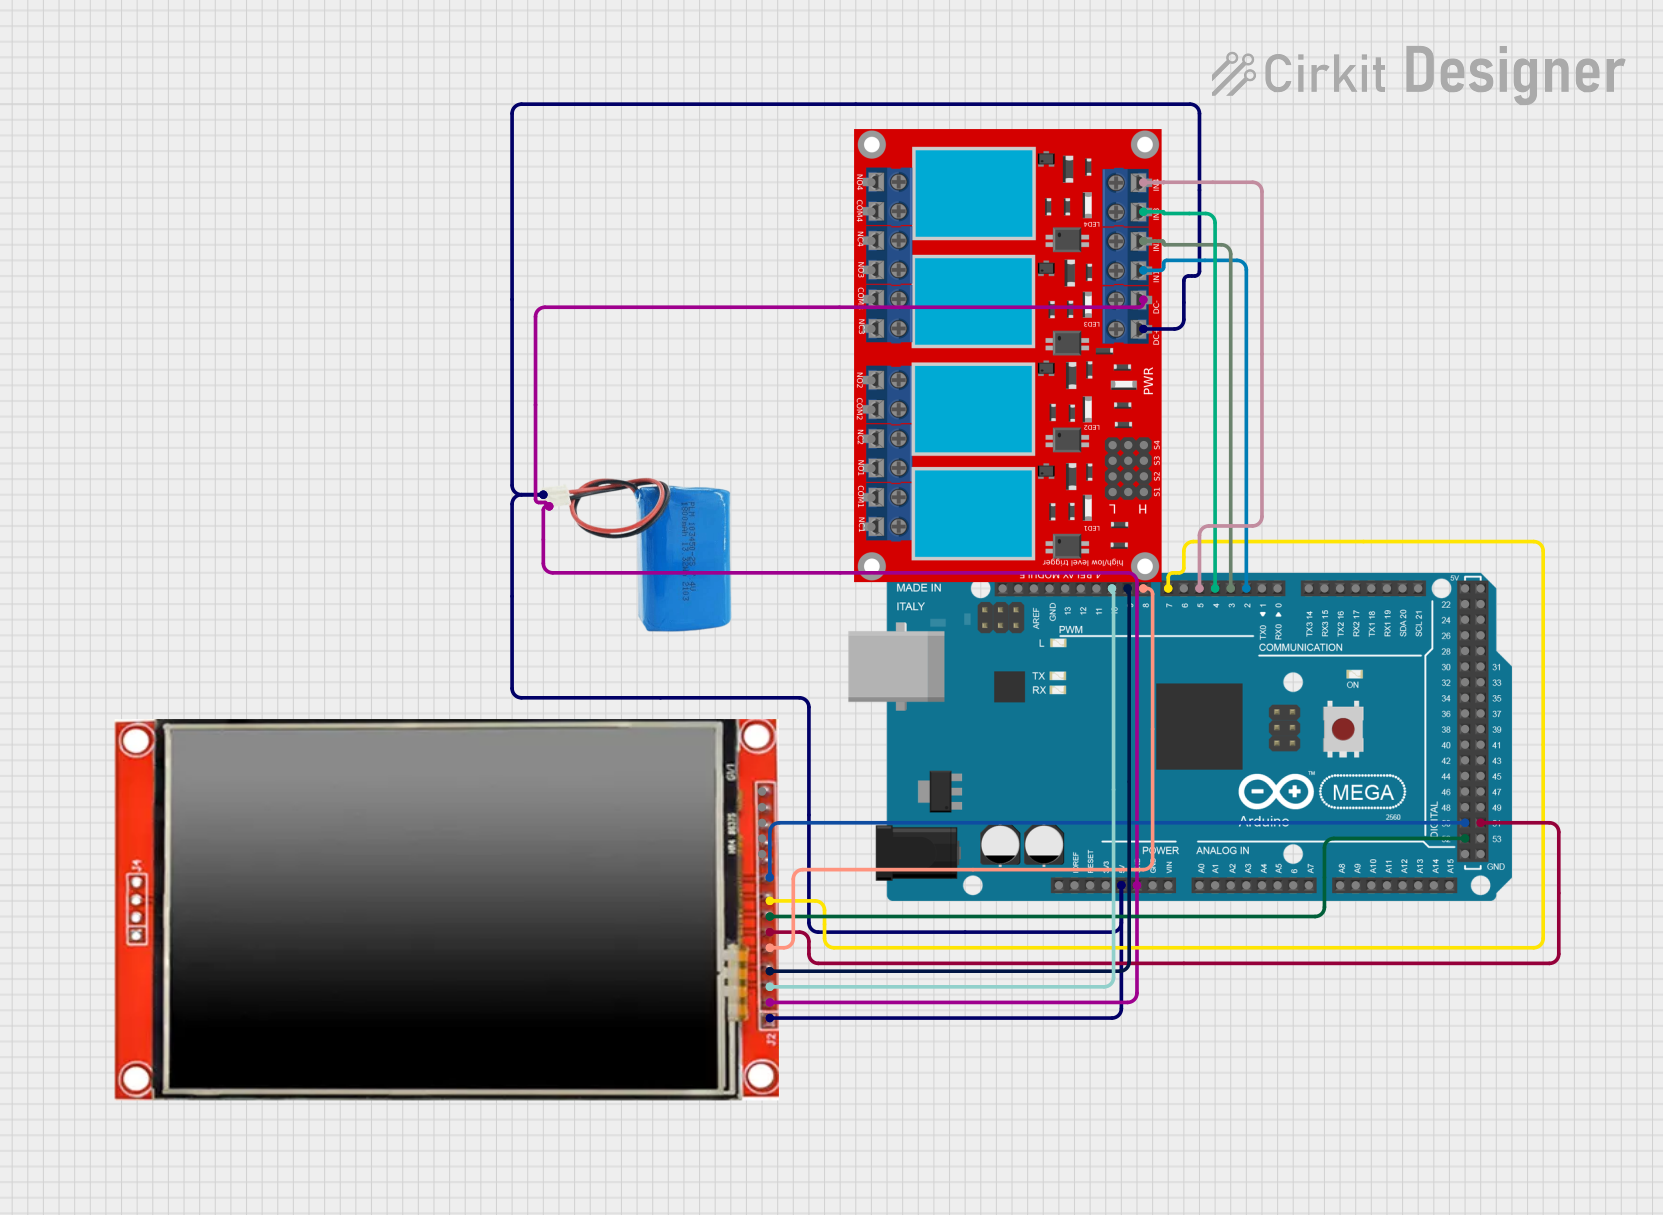 Open Project in Cirkit Designer
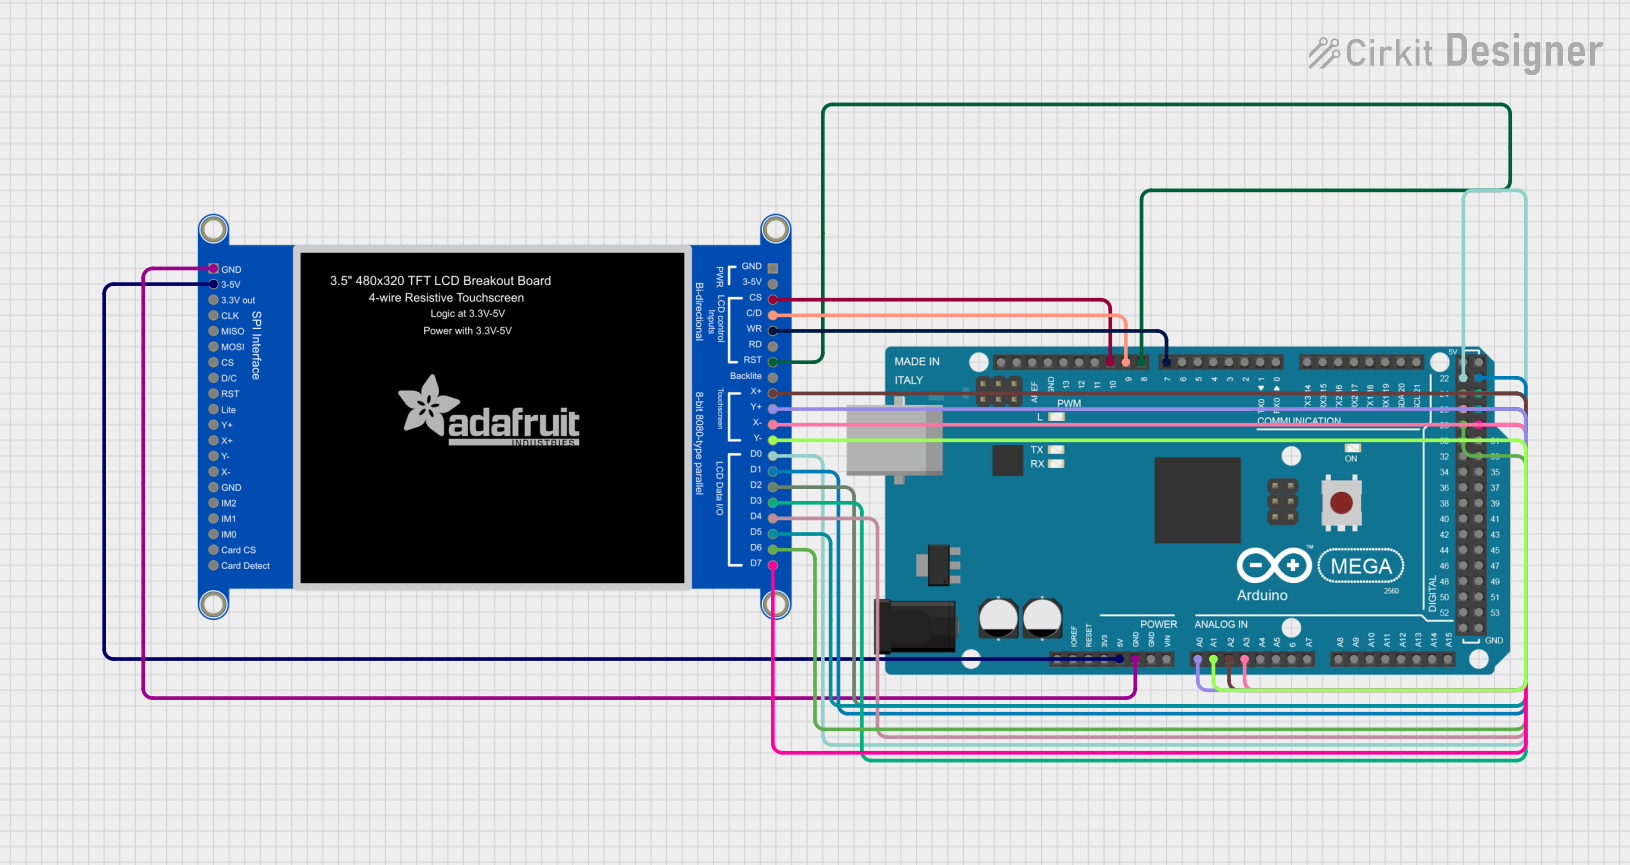 Open Project in Cirkit Designer
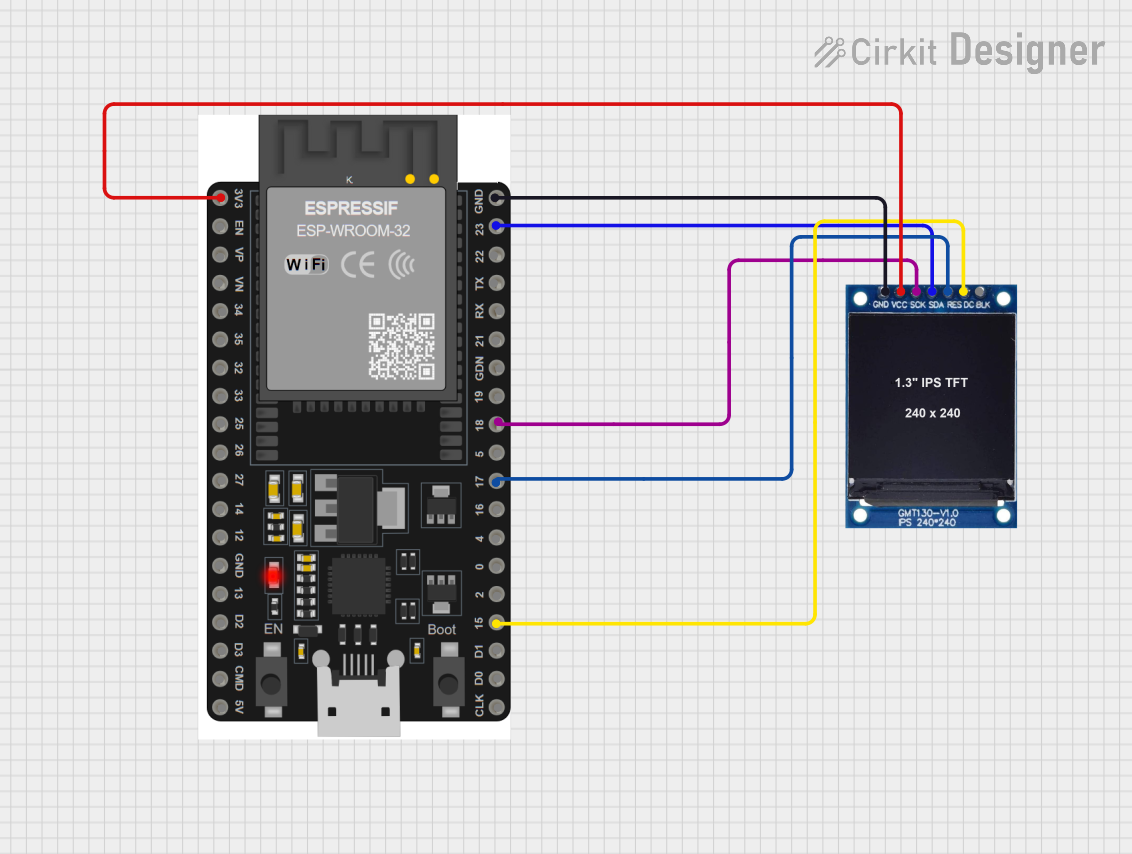 Open Project in Cirkit Designer
Explore Projects Built with 1.47" Touch LCD Display Module
Open Project in Cirkit DesignerOpen Project in Cirkit DesignerOpen Project in Cirkit DesignerOpen Project in Cirkit DesignerCommon Applications
- Portable devices with graphical user interfaces
- IoT dashboards and control panels
- Educational projects and prototyping
- Sensor data visualization
- Embedded systems requiring touch input
Technical Specifications
Key Technical Details
| Parameter | Specification |
|---|---|
| Display Type | TFT LCD with capacitive touch |
| Screen Size | 1.47 inches (diagonal) |
| Resolution | 172 × 320 pixels |
| Touch Type | Capacitive |
| Interface | SPI |
| Operating Voltage | 3.3V / 5V |
| Operating Temperature | -20°C to 70°C |
| Dimensions | 35.5mm × 23.5mm |
| Backlight | LED |
| Manufacturer Part ID | 1.47inch Touch LCD |
Pin Configuration and Descriptions
The module features a standard SPI interface with the following pinout:
| Pin Name | Pin Number | Description |
|---|---|---|
| VCC | 1 | Power supply input (3.3V or 5V) |
| GND | 2 | Ground connection |
| DIN | 3 | SPI data input (MOSI) |
| CLK | 4 | SPI clock input |
| CS | 5 | Chip select (active low) |
| DC | 6 | Data/Command control pin (High for data, Low for command) |
| RST | 7 | Reset pin (active low) |
| T_IRQ | 8 | Touch interrupt output (active low, optional for touch functionality) |
Usage Instructions
How to Use the Component in a Circuit
- Power Supply: Connect the
VCCpin to a 3.3V or 5V power source and theGNDpin to ground. - SPI Interface: Connect the
DIN,CLK, andCSpins to the corresponding SPI pins on your microcontroller. - Control Pins:
- Use the
DCpin to differentiate between data and command signals. - Connect the
RSTpin to a GPIO pin for resetting the display.
- Use the
- Touch Functionality: If touch input is required, connect the
T_IRQpin to a GPIO pin configured as an interrupt input.
Important Considerations and Best Practices
- Ensure the power supply voltage matches the module's requirements (3.3V or 5V).
- Use level shifters if interfacing with a 5V microcontroller to avoid damaging the module.
- Keep SPI connections as short as possible to minimize signal degradation.
- Use appropriate pull-up or pull-down resistors on control lines if necessary.
- Handle the module carefully to avoid damaging the touch panel or display.
Example Code for Arduino UNO
Below is an example of how to interface the 1.47" Touch LCD Display Module with an Arduino UNO using the SPI interface. This example uses the popular Adafruit_GFX and Adafruit_ST7735 libraries for display control.
#include <Adafruit_GFX.h>      // Graphics library for displays
#include <Adafruit_ST7735.h>   // Library for ST7735-based displays

// Define pin connections
#define TFT_CS   10  // Chip select pin
#define TFT_RST  9   // Reset pin
#define TFT_DC   8   // Data/Command pin

// Initialize the display object
Adafruit_ST7735 tft = Adafruit_ST7735(TFT_CS, TFT_DC, TFT_RST);

void setup() {
  // Initialize serial communication for debugging
  Serial.begin(9600);
  Serial.println("1.47\" Touch LCD Display Test");

  // Initialize the display
  tft.initR(INITR_BLACKTAB);  // Initialize with ST7735 settings
  tft.setRotation(1);        // Set display orientation (1 = landscape)

  // Clear the screen with a black background
  tft.fillScreen(ST77XX_BLACK);

  // Display a welcome message
  tft.setTextColor(ST77XX_WHITE);
  tft.setTextSize(2);
  tft.setCursor(10, 10);
  tft.println("Hello, World!");
}

void loop() {
  // Example: Draw a red rectangle
  tft.fillRect(20, 50, 100, 50, ST77XX_RED);

  // Pause for 2 seconds
  delay(2000);

  // Clear the rectangle
  tft.fillRect(20, 50, 100, 50, ST77XX_BLACK);

  // Pause for 2 seconds
  delay(2000);
}
Note: Install the Adafruit_GFX and Adafruit_ST7735 libraries via the Arduino Library Manager before running the code.
Troubleshooting and FAQs
Common Issues
No Display Output:
- Verify all connections, especially the SPI pins.
- Ensure the
VCCandGNDpins are properly connected. - Check if the
RSTpin is correctly initialized in the code.
Touch Functionality Not Working:
- Ensure the
T_IRQpin is connected to a GPIO pin configured as an interrupt. - Verify that the touch library (if used) is correctly installed and initialized.
- Ensure the
Flickering or Unstable Display:
- Check for loose connections or poor soldering.
- Ensure the power supply is stable and provides sufficient current.
Incorrect Colors or Orientation:
- Verify the initialization settings in the code (e.g.,
INITR_BLACKTAB). - Use the
setRotation()function to adjust the display orientation.
- Verify the initialization settings in the code (e.g.,
Tips for Troubleshooting
- Use a multimeter to check for continuity and proper voltage levels.
- Test the module with a simple example sketch to isolate issues.
- Refer to the manufacturer's datasheet for detailed electrical and timing requirements.
This documentation provides a comprehensive guide to using the 1.47" Touch LCD Display Module. By following the instructions and best practices outlined above, users can successfully integrate this module into their projects.