Cirkit Designer Logo
Cirkit Designer
Your all-in-one circuit design IDE
Home / 
Component Documentation

How to Use Adafruit AS7262 Visible Spectral Sensor: Examples, Pinouts, and Specs

Image of Adafruit AS7262 Visible Spectral Sensor
Cirkit Designer LogoDesign with Adafruit AS7262 Visible Spectral Sensor in Cirkit Designer

Introduction

The Adafruit AS7262 is a sophisticated spectral sensor module capable of detecting visible light across six distinct channels. It provides precise measurement and analysis of light wavelengths ranging from approximately 410nm to 675nm. This sensor is particularly useful in a variety of applications, including color sensing, material identification, and light source characterization. Its versatility makes it an ideal component for hobbyists, researchers, and professionals working in fields such as environmental monitoring, quality control, and health-related technologies.

Explore Projects Built with Adafruit AS7262 Visible Spectral Sensor

Use Cirkit Designer to design, explore, and prototype these projects online. Some projects support real-time simulation. Click "Open Project" to start designing instantly!
Arduino UNO and AS7262 Color Change Detection System with Bluetooth and OLED Display
Image of CAR project: A project utilizing Adafruit AS7262 Visible Spectral Sensor in a practical application
This circuit is designed to detect color changes in a solution using a spectral sensor, time the change, provide a sound cue via a piezo buzzer, and send the timing data to a computer via a Bluetooth module. The Arduino UNO microcontroller coordinates the sensor readings, timing, and communication, while an OLED display and NeoPixel ring provide visual feedback.
Cirkit Designer LogoOpen Project in Cirkit Designer
STM32F103C8T6-Based Spectral Sensor with ST7735S Display and Pushbutton Control
Image of ColorSensor: A project utilizing Adafruit AS7262 Visible Spectral Sensor in a practical application
This circuit features an STM32F103C8T6 microcontroller interfaced with a China ST7735S 160x128 display and two spectral sensors (Adafruit AS7262 and AS7261). It also includes two pushbuttons for user input, with the microcontroller managing the display and sensor data processing.
Cirkit Designer LogoOpen Project in Cirkit Designer
Battery-Powered Arduino Nano Spectroscopy Sensor
Image of NIRS: A project utilizing Adafruit AS7262 Visible Spectral Sensor in a practical application
This circuit consists of an Arduino Nano microcontroller connected to a SparkFun Triad Spectroscopy Sensor for spectral analysis. The Arduino is powered by a 4 x AAA battery pack and communicates with the sensor via I2C protocol, with additional connections for reset and interrupt signals.
Cirkit Designer LogoOpen Project in Cirkit Designer
Arduino Mega 2560-Based Sensor Data Logger with ESP32-CAM and LCD Interface
Image of DA_Schema: A project utilizing Adafruit AS7262 Visible Spectral Sensor in a practical application
This is a multifunctional sensor system with visual feedback and control interfaces. It utilizes an Arduino Mega 2560 to process data from an accelerometer, ultrasonic sensor, and camera module, and displays information on an LCD screen. User inputs can be provided through toggle and DIP switches, while LEDs indicate system status.
Cirkit Designer LogoOpen Project in Cirkit Designer

Explore Projects Built with Adafruit AS7262 Visible Spectral Sensor

Use Cirkit Designer to design, explore, and prototype these projects online. Some projects support real-time simulation. Click "Open Project" to start designing instantly!
Image of CAR project: A project utilizing Adafruit AS7262 Visible Spectral Sensor in a practical application
Arduino UNO and AS7262 Color Change Detection System with Bluetooth and OLED Display
This circuit is designed to detect color changes in a solution using a spectral sensor, time the change, provide a sound cue via a piezo buzzer, and send the timing data to a computer via a Bluetooth module. The Arduino UNO microcontroller coordinates the sensor readings, timing, and communication, while an OLED display and NeoPixel ring provide visual feedback.
Cirkit Designer LogoOpen Project in Cirkit Designer
Image of ColorSensor: A project utilizing Adafruit AS7262 Visible Spectral Sensor in a practical application
STM32F103C8T6-Based Spectral Sensor with ST7735S Display and Pushbutton Control
This circuit features an STM32F103C8T6 microcontroller interfaced with a China ST7735S 160x128 display and two spectral sensors (Adafruit AS7262 and AS7261). It also includes two pushbuttons for user input, with the microcontroller managing the display and sensor data processing.
Cirkit Designer LogoOpen Project in Cirkit Designer
Image of NIRS: A project utilizing Adafruit AS7262 Visible Spectral Sensor in a practical application
Battery-Powered Arduino Nano Spectroscopy Sensor
This circuit consists of an Arduino Nano microcontroller connected to a SparkFun Triad Spectroscopy Sensor for spectral analysis. The Arduino is powered by a 4 x AAA battery pack and communicates with the sensor via I2C protocol, with additional connections for reset and interrupt signals.
Cirkit Designer LogoOpen Project in Cirkit Designer
Image of DA_Schema: A project utilizing Adafruit AS7262 Visible Spectral Sensor in a practical application
Arduino Mega 2560-Based Sensor Data Logger with ESP32-CAM and LCD Interface
This is a multifunctional sensor system with visual feedback and control interfaces. It utilizes an Arduino Mega 2560 to process data from an accelerometer, ultrasonic sensor, and camera module, and displays information on an LCD screen. User inputs can be provided through toggle and DIP switches, while LEDs indicate system status.
Cirkit Designer LogoOpen Project in Cirkit Designer

Technical Specifications

Key Features

  • Six-channel visible light sensor with spectral response from 410nm to 675nm
  • 16-bit digital output per channel via an I2C interface
  • Programmable LED drivers for light source control
  • Onboard temperature sensor for calibration
  • 3.3V power supply with low power consumption

Pin Configuration and Descriptions

Pin Number Name Description
1 VIN Supply voltage (3.3V - 5V)
2 GND Ground connection
3 SCL I2C clock line
4 SDA I2C data line
5 INT Interrupt output (active low)
6 RST Reset input (active low)

Usage Instructions

Integration with a Circuit

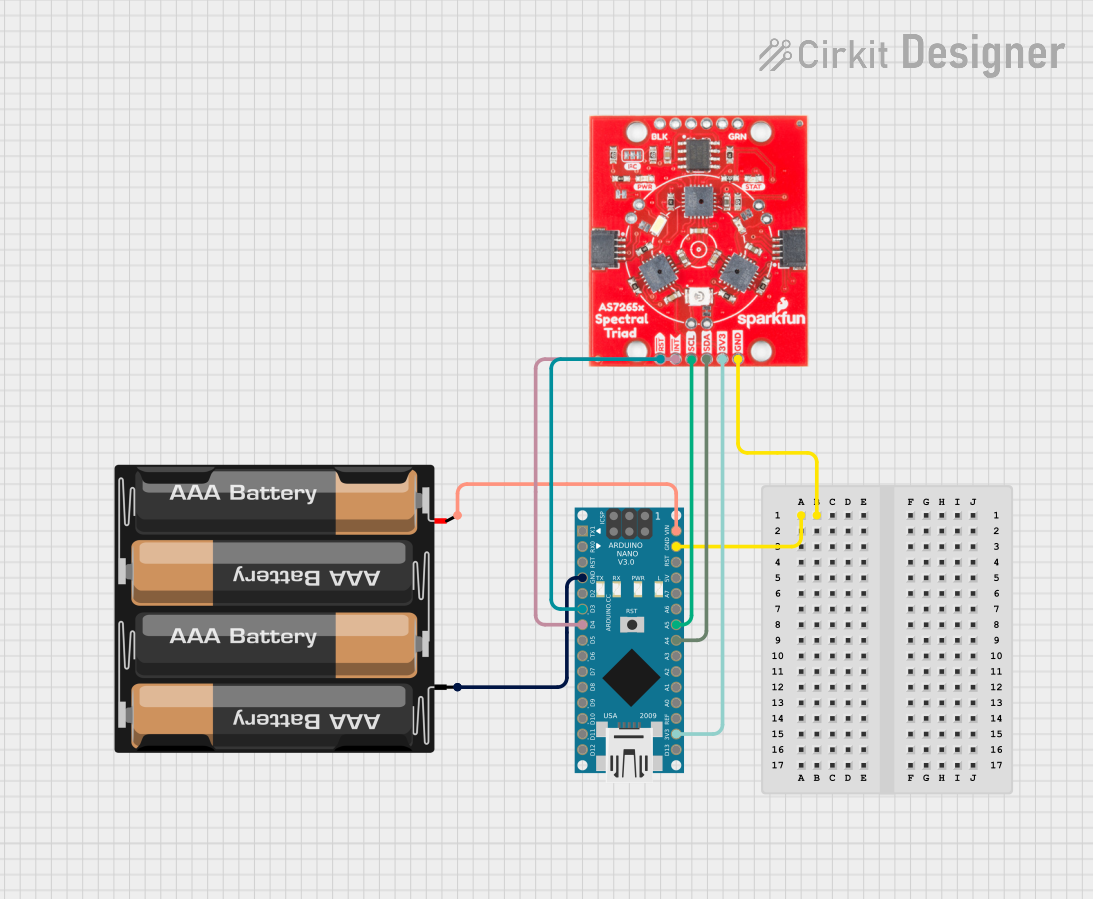
To use the AS7262 sensor in a circuit, connect the VIN pin to a 3.3V or 5V power supply, and the GND pin to the common ground. The SCL and SDA pins should be connected to the corresponding I2C clock and data lines on your microcontroller, such as an Arduino UNO. If you wish to use the interrupt or reset features, connect the INT and RST pins to available digital pins on your microcontroller.

Best Practices

  • Ensure that the power supply is stable and within the specified voltage range.
  • Use pull-up resistors on the I2C lines if they are not already present on your microcontroller board.
  • Avoid exposing the sensor to direct sunlight or high-intensity light sources that could saturate the sensor.
  • Calibrate the sensor using the onboard temperature sensor to account for environmental variations.

Example Code for Arduino UNO

#include <Wire.h>
#include <Adafruit_AS726x.h>

Adafruit_AS726x as7262;

void setup() {
  Serial.begin(115200);
  // Wait for serial monitor to open
  while (!Serial) { delay(10); }

  Serial.println("AS7262 Test");

  if (!as7262.begin()) {
    Serial.println("Failed to initialize sensor.");
    while (1);
  }
}

void loop() {
  // Take measurements
  as7262.takeMeasurements();

  // Print out the values
  Serial.print("Channel 1 (410nm): "); Serial.println(as7262.getViolet());
  Serial.print("Channel 2 (435nm): "); Serial.println(as7262.getBlue());
  Serial.print("Channel 3 (460nm): "); Serial.println(as7262.getGreen());
  Serial.print("Channel 4 (510nm): "); Serial.println(as7262.getYellow());
  Serial.print("Channel 5 (550nm): "); Serial.println(as7262.getOrange());
  Serial.print("Channel 6 (570nm): "); Serial.println(as7262.getRed());

  // Wait a bit before taking new measurements
  delay(1000);
}

Troubleshooting and FAQs

Common Issues

  • Sensor Not Responding: Ensure that the sensor is properly powered and that the I2C connections are correct. Check for the presence of pull-up resistors on the I2C lines.
  • Inaccurate Readings: Verify that the sensor is not exposed to intense light that could saturate the channels. Calibrate the sensor using the onboard temperature sensor.
  • I2C Communication Errors: Confirm that the I2C address is correct and that there are no conflicts with other devices on the I2C bus.

FAQs

Q: Can the AS7262 sensor be used with a 5V microcontroller like the Arduino UNO?

A: Yes, the AS7262 can be interfaced with a 5V microcontroller. However, ensure that the I2C lines are level-shifted to be compatible with the sensor's voltage levels.

Q: How can I calibrate the sensor for accurate readings?

A: Use the onboard temperature sensor to calibrate the AS7262. The Adafruit AS726x library provides functions to facilitate this process.

Q: What is the maximum I2C speed the AS7262 can handle?

A: The AS7262 supports standard (100kHz) and fast (400kHz) I2C speeds. Ensure that your microcontroller's I2C bus is configured accordingly.

For further assistance, consult the Adafruit AS7262 datasheet and the Adafruit support forums.