How to Use MAX4466 Mic Preamp (No Mic): Examples, Pinouts, and Specs
Introduction
The MAX4466 is a low-noise microphone preamplifier designed for audio applications. It is optimized for amplifying weak audio signals with high gain, low distortion, and a wide frequency response. This version of the MAX4466 does not include a built-in microphone, allowing users to connect their own microphone for customized audio input. Its compact design and excellent performance make it ideal for use in audio recording, voice recognition systems, and sound level monitoring.
Explore Projects Built with MAX4466 Mic Preamp (No Mic)

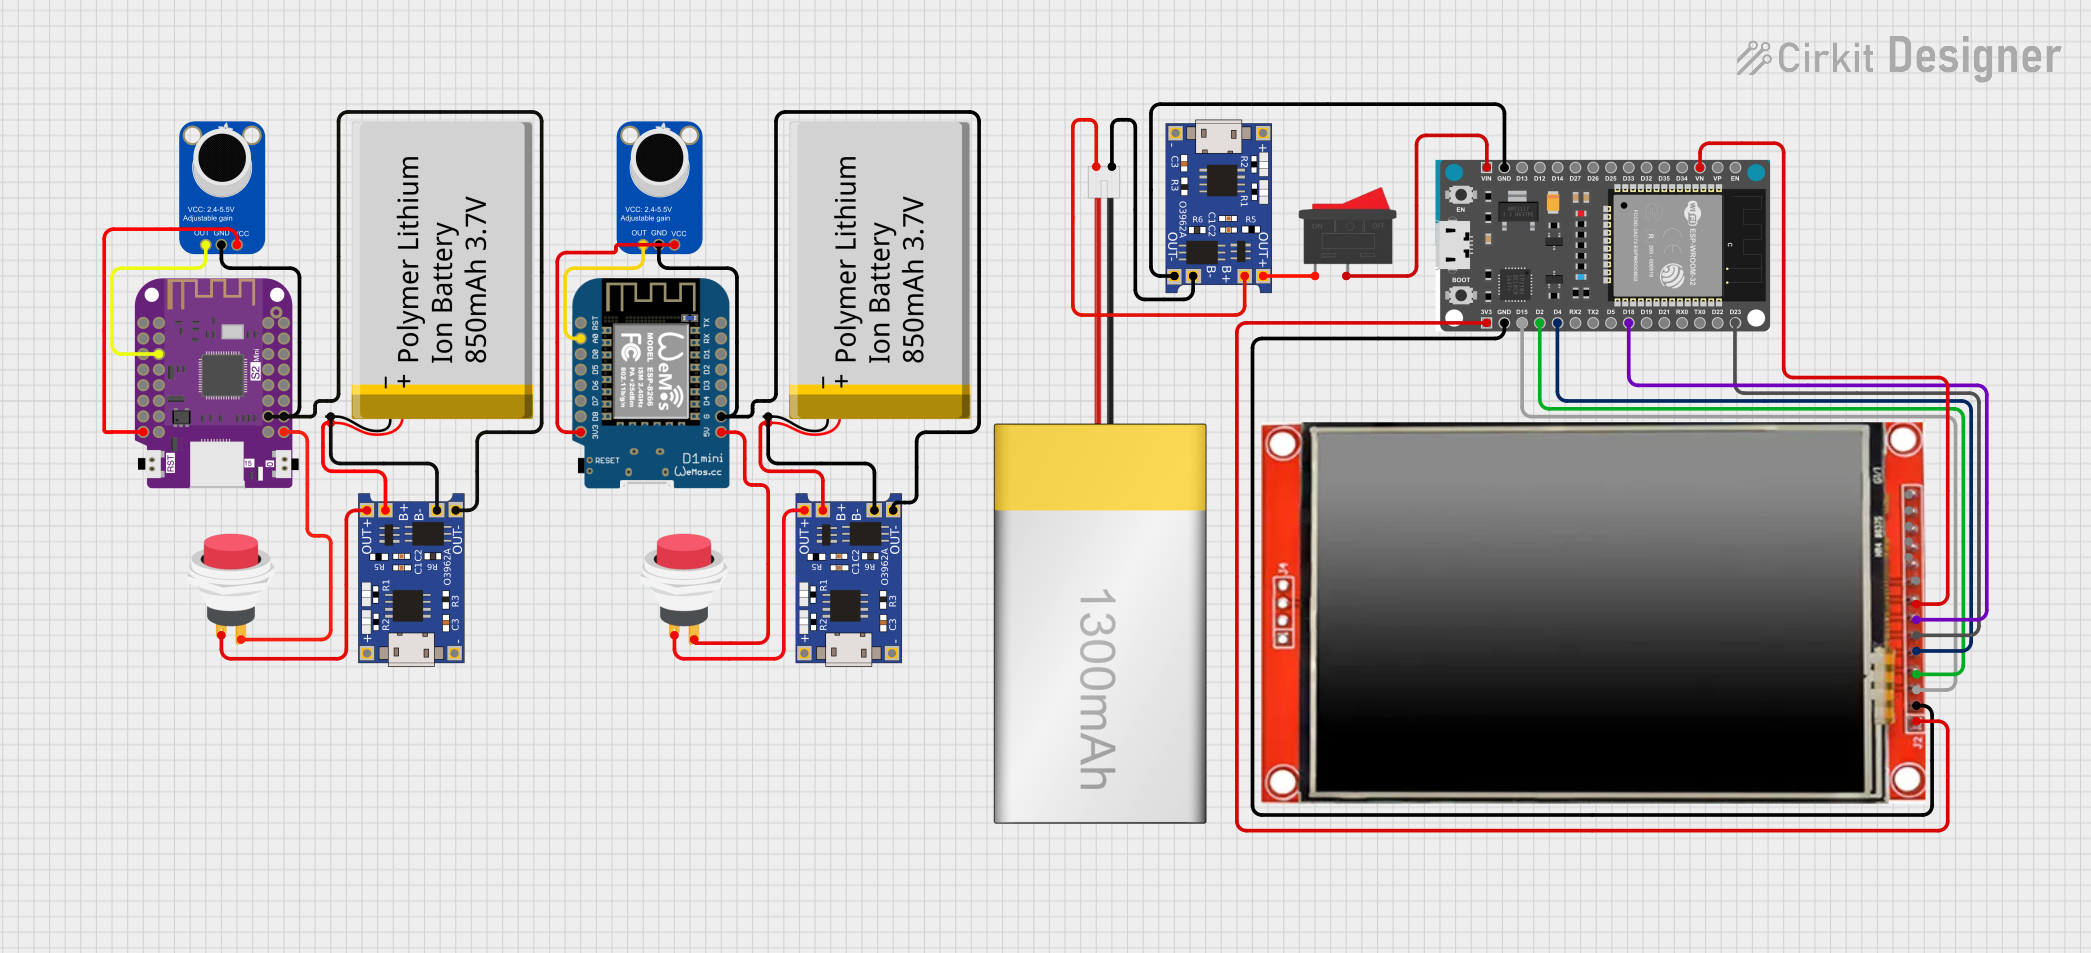
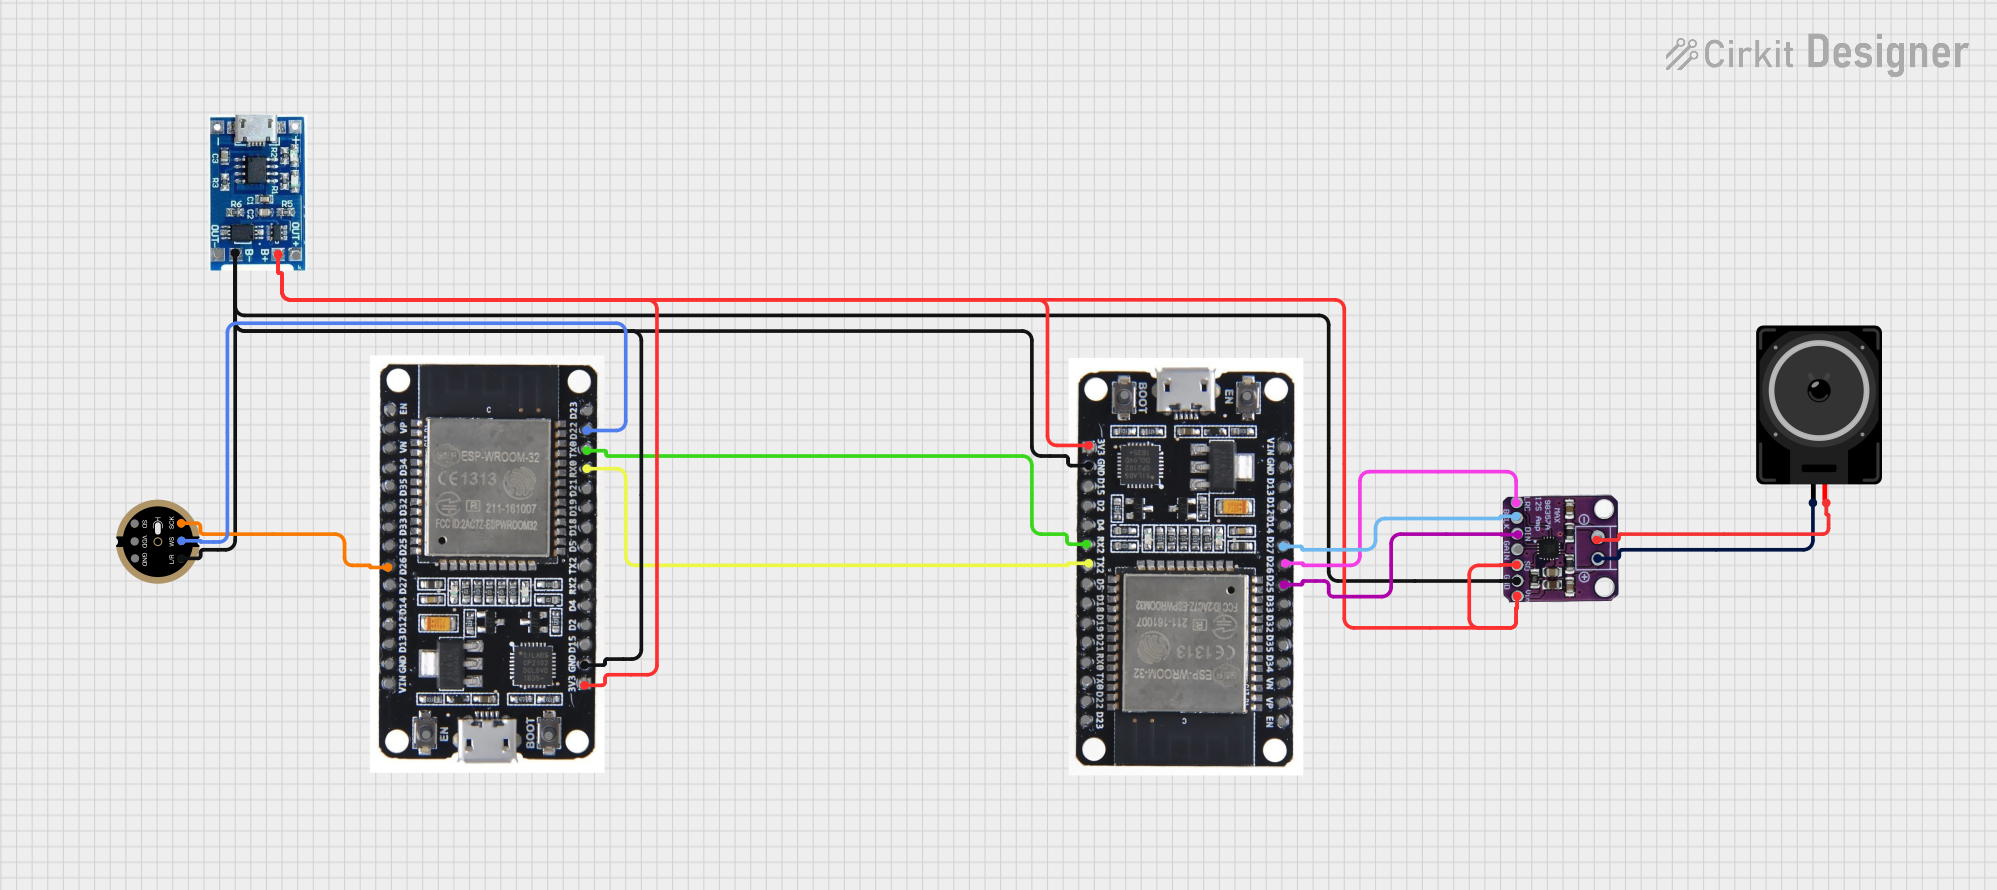
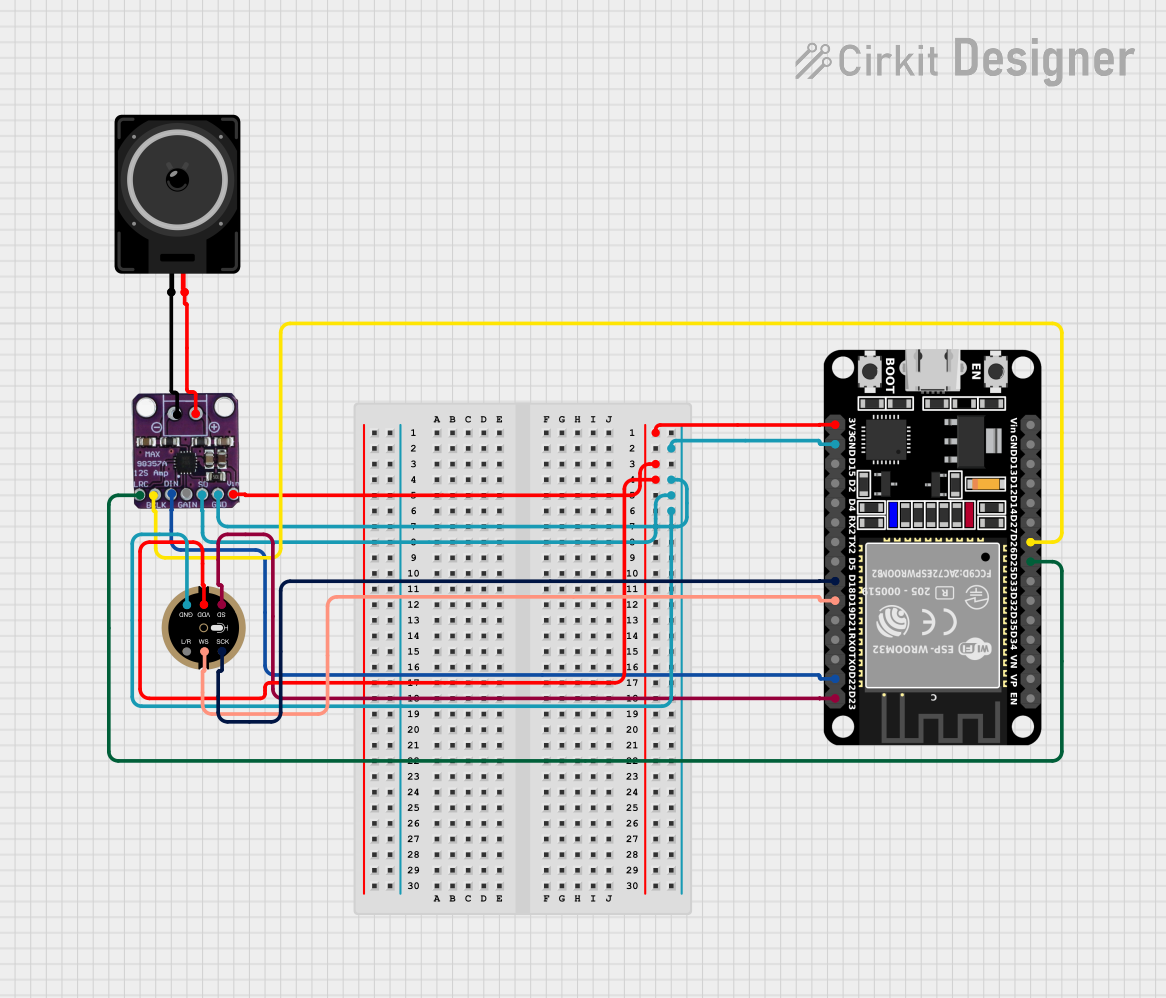
Explore Projects Built with MAX4466 Mic Preamp (No Mic)
Common Applications
- Audio recording and processing
- Voice recognition systems
- Sound level monitoring
- DIY audio projects
- Interfacing with microcontrollers for audio input
Technical Specifications
The MAX4466 Mic Preamp (No Mic) is designed to deliver high-quality audio amplification. Below are its key technical details:
Key Specifications
| Parameter | Value |
|---|---|
| Supply Voltage | 2.4V to 5.5V |
| Gain | Adjustable (via onboard potentiometer) |
| Frequency Response | 20 Hz to 20 kHz |
| Output Voltage Swing | 1.4V (typical, at 5V supply) |
| Input Impedance | 100 kΩ |
| Output Impedance | 200 Ω |
| Quiescent Current | 24 µA (typical) |
| Signal-to-Noise Ratio | 112 dB |
| Total Harmonic Distortion (THD) | 0.04% (typical) |
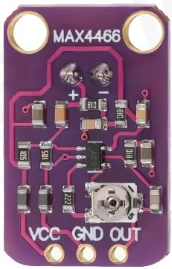
Pin Configuration
The MAX4466 Mic Preamp module typically has three pins for easy integration into circuits. Below is the pinout description:
| Pin Name | Description |
|---|---|
| VCC | Power supply input (2.4V to 5.5V) |
| GND | Ground connection |
| OUT | Amplified audio signal output |
Usage Instructions
The MAX4466 Mic Preamp is straightforward to use in audio circuits. Follow the steps below to integrate it into your project:
Connecting the MAX4466
- Power Supply: Connect the
VCCpin to a power source (2.4V to 5.5V) and theGNDpin to the ground of your circuit. - Microphone Input: Attach an external microphone to the input terminals of the module (if applicable).
- Audio Output: Connect the
OUTpin to the input of your audio processing circuit, such as an analog-to-digital converter (ADC) or an audio amplifier.
Adjusting the Gain
- The onboard potentiometer allows you to adjust the gain of the preamp. Turn the potentiometer clockwise to increase the gain or counterclockwise to decrease it. Be cautious not to set the gain too high, as it may introduce distortion or noise.
Example: Using with Arduino UNO
The MAX4466 can be connected to an Arduino UNO to capture audio signals. Below is an example of how to read the amplified audio signal using the Arduino's ADC:
Circuit Diagram
- Connect
VCCto the Arduino's5Vpin. - Connect
GNDto the Arduino'sGNDpin. - Connect
OUTto one of the Arduino's analog input pins (e.g.,A0).
Arduino Code
// MAX4466 Mic Preamp Example with Arduino UNO
// This code reads the amplified audio signal from the MAX4466 and prints
// the analog values to the Serial Monitor.

const int micPin = A0; // Define the analog pin connected to the MAX4466 OUT pin

void setup() {
  Serial.begin(9600); // Initialize serial communication at 9600 baud
}

void loop() {
  int audioSignal = analogRead(micPin); // Read the analog signal from the mic
  Serial.println(audioSignal); // Print the signal value to the Serial Monitor

  delay(10); // Small delay to avoid overwhelming the Serial Monitor
}
Best Practices
- Use a decoupling capacitor (e.g., 0.1 µF) between
VCCandGNDto reduce power supply noise. - Keep the microphone and preamp module away from high-frequency noise sources to maintain signal integrity.
- Ensure proper grounding to avoid introducing hum or noise into the audio signal.
Troubleshooting and FAQs
Common Issues and Solutions
| Issue | Possible Cause | Solution |
|---|---|---|
| No output signal | Incorrect wiring or loose connections | Verify all connections and wiring. |
| Distorted audio output | Gain set too high | Reduce the gain using the potentiometer. |
| Excessive noise or hum | Poor grounding or noisy power supply | Ensure proper grounding and use a clean power source. |
| Weak audio signal | Microphone sensitivity too low | Use a higher-sensitivity microphone. |
FAQs
Q: Can I use the MAX4466 with a 3.3V microcontroller?
A: Yes, the MAX4466 operates within a supply voltage range of 2.4V to 5.5V, making it compatible with 3.3V systems.
Q: How do I know if the gain is set correctly?
A: Start with a low gain setting and gradually increase it while monitoring the output signal. Avoid setting the gain too high to prevent distortion.
Q: Can I use the MAX4466 for stereo audio?
A: No, the MAX4466 is a single-channel preamp. For stereo audio, you would need two MAX4466 modules, one for each channel.
Q: What type of microphone is compatible with the MAX4466?
A: The MAX4466 is compatible with most electret microphones. Ensure the microphone's impedance and sensitivity match your application requirements.
By following this documentation, you can effectively integrate the MAX4466 Mic Preamp into your audio projects and achieve high-quality audio amplification.