
How to Use Adafruit 2.8 inch Captouch TFT: Examples, Pinouts, and Specs
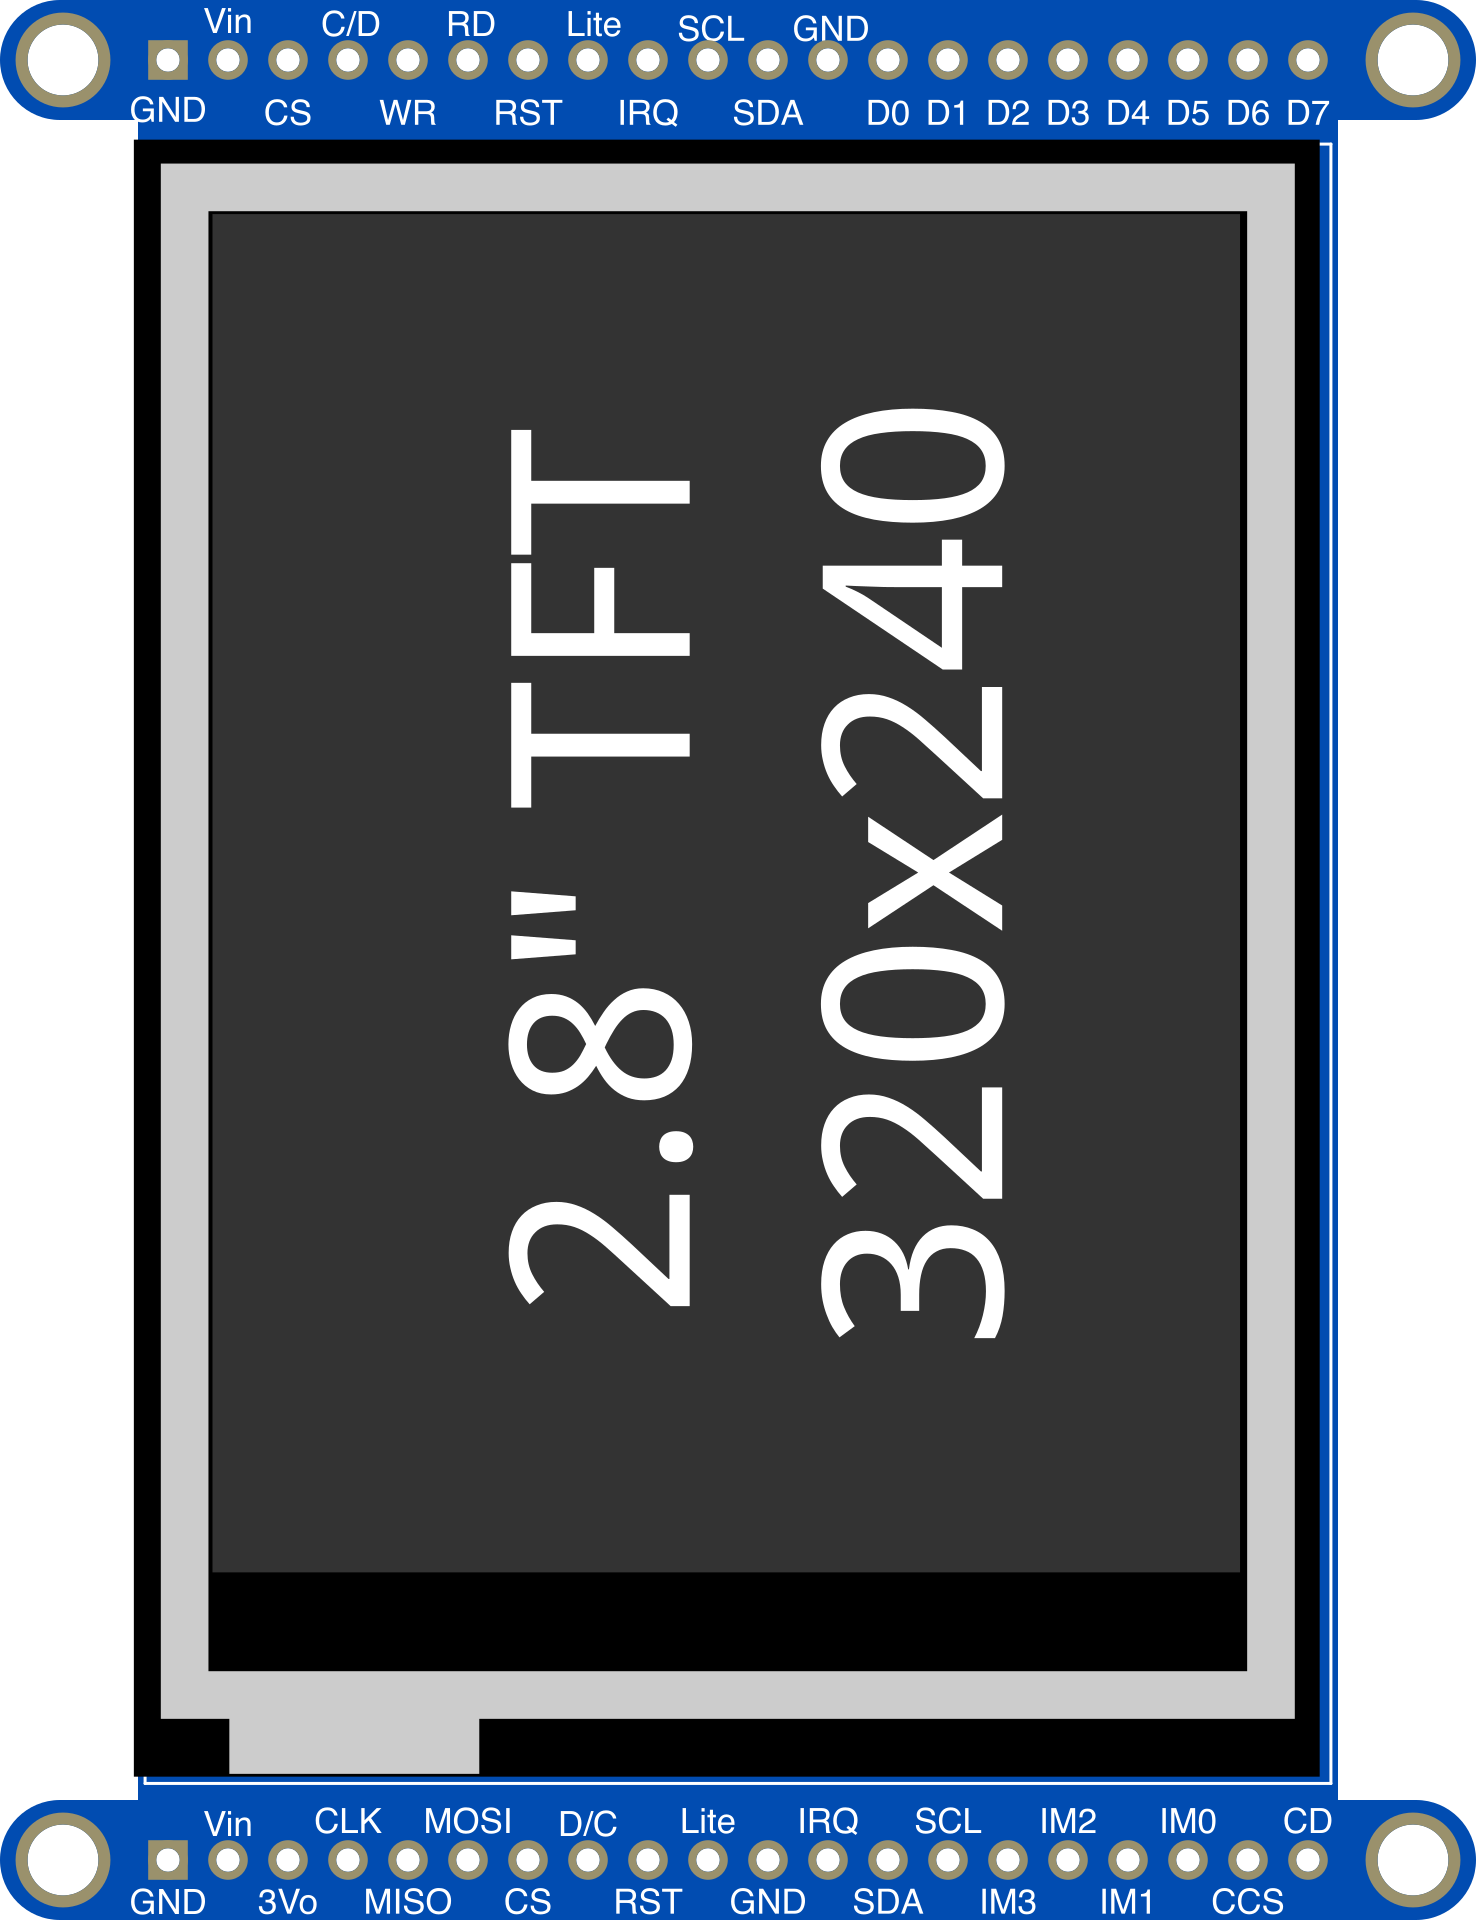
 Design with Adafruit 2.8 inch Captouch TFT in Cirkit Designer
Introduction
The Adafruit 2.8 inch Captouch TFT (Part ID: 2090) is a vibrant, full-color touchscreen display with capacitive touch technology. It features a resolution of 240x320 pixels, making it ideal for creating interactive projects, graphical user interfaces, and data visualization. This display is compatible with a wide range of microcontrollers, including Arduino, Raspberry Pi, and other development boards, offering a versatile solution for hobbyists and professionals alike.
Explore Projects Built with Adafruit 2.8 inch Captouch TFT
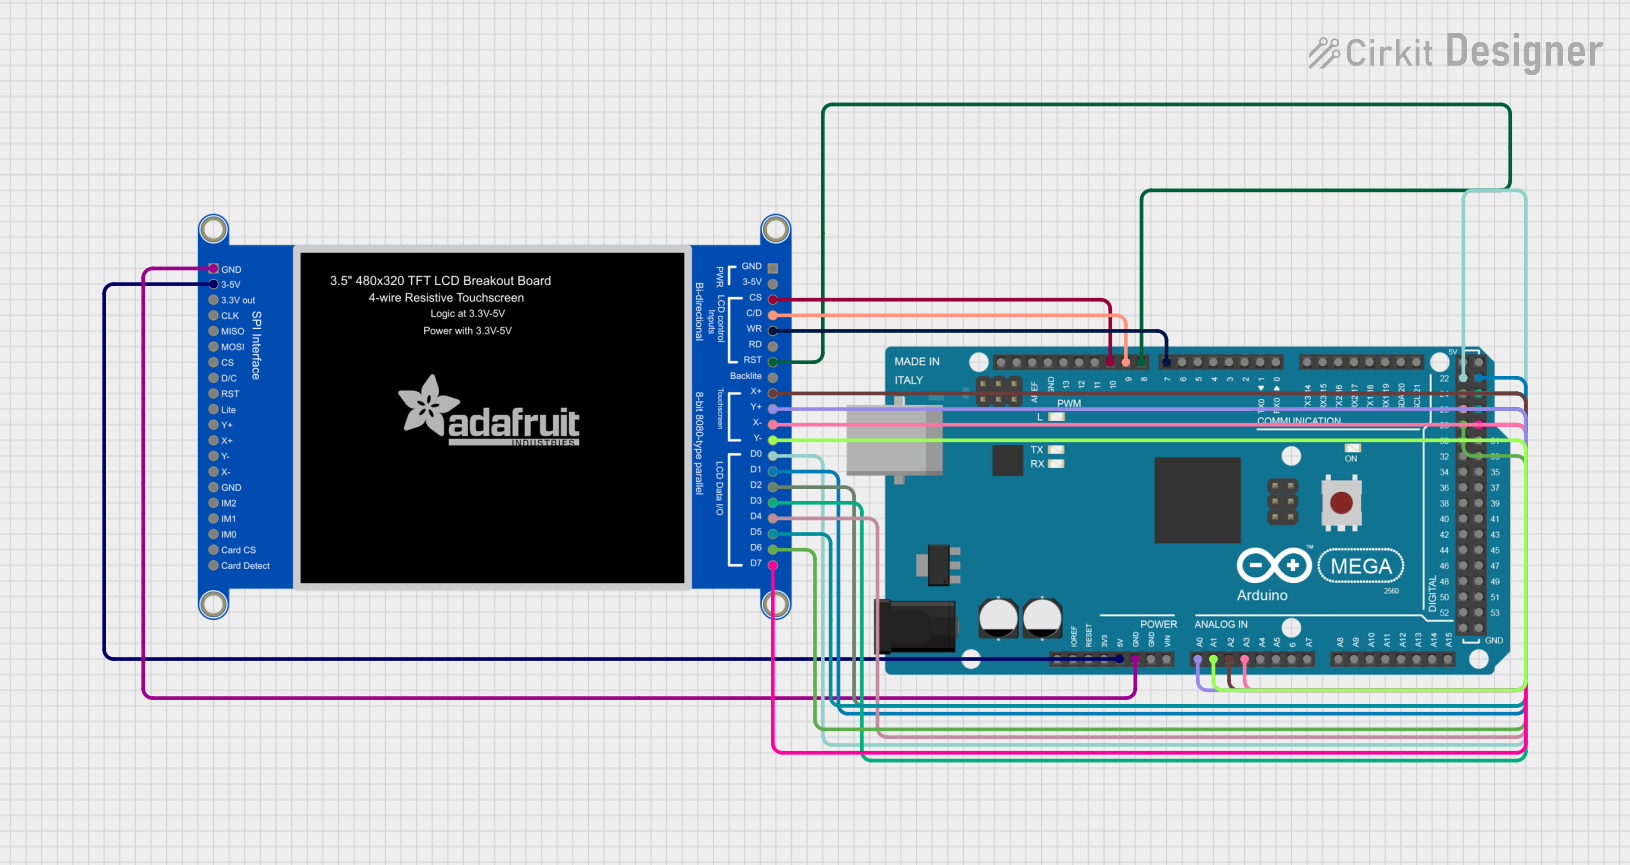 Open Project in Cirkit Designer
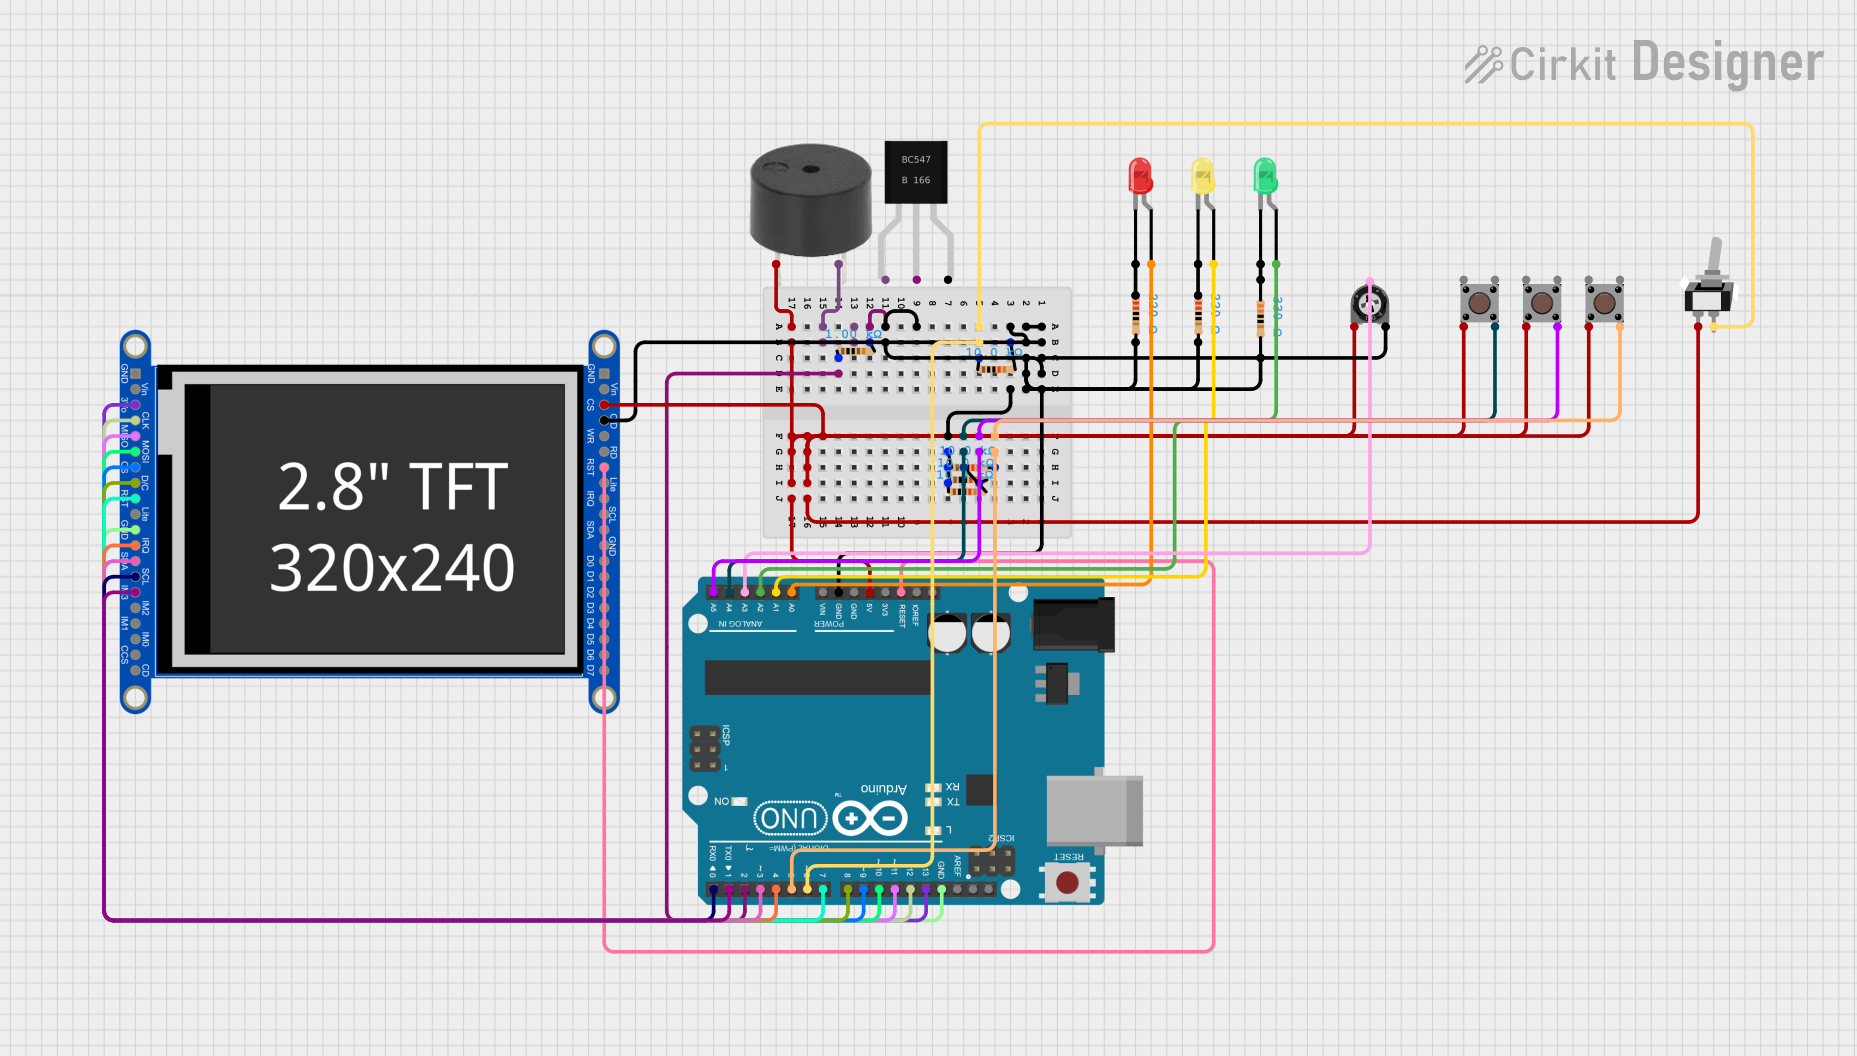 Open Project in Cirkit Designer
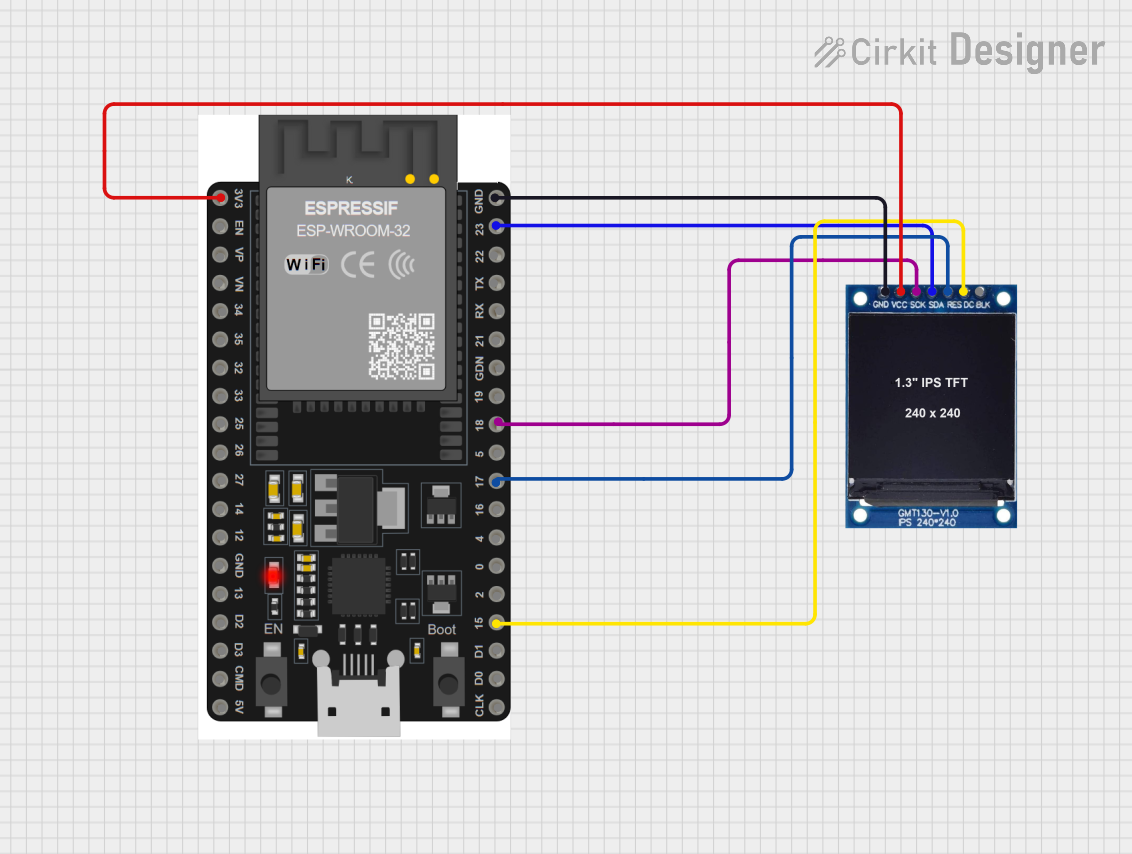 Open Project in Cirkit Designer
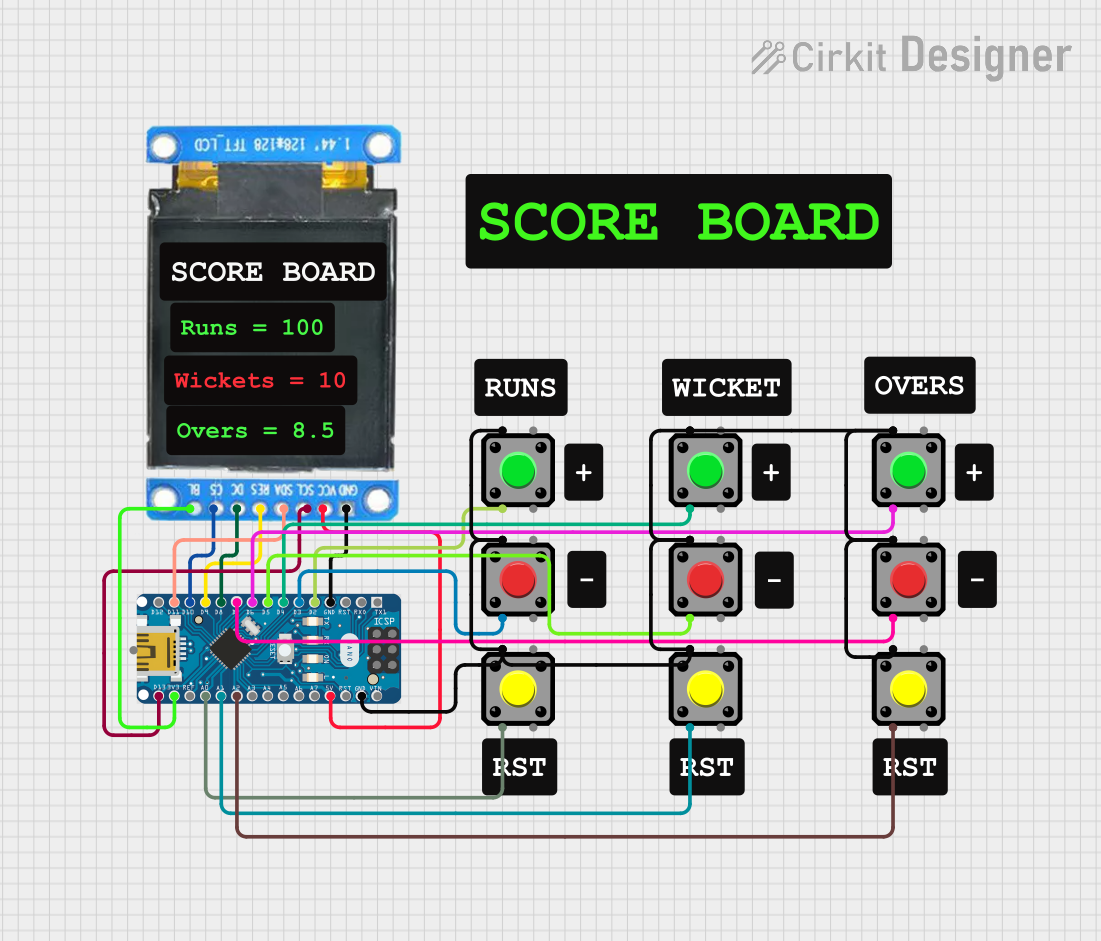 Open Project in Cirkit Designer
Explore Projects Built with Adafruit 2.8 inch Captouch TFT
Open Project in Cirkit DesignerOpen Project in Cirkit DesignerOpen Project in Cirkit DesignerOpen Project in Cirkit DesignerCommon Applications and Use Cases
- Interactive user interfaces for embedded systems
- Graphical data visualization (e.g., charts, gauges)
- Touchscreen control panels for IoT devices
- Portable gaming consoles
- Educational and prototyping projects
Technical Specifications
Below are the key technical details of the Adafruit 2.8 inch Captouch TFT:
| Specification | Details |
|---|---|
| Manufacturer | Adafruit |
| Part ID | 2090 |
| Display Type | TFT LCD with capacitive touch |
| Screen Size | 2.8 inches |
| Resolution | 240x320 pixels |
| Touch Technology | Capacitive |
| Interface | SPI |
| Operating Voltage | 3.3V logic (5V-tolerant inputs) |
| Backlight | LED, adjustable brightness |
| Dimensions | 50mm x 69mm x 7mm |
| Weight | 34g |
Pin Configuration and Descriptions
The Adafruit 2.8 inch Captouch TFT uses an SPI interface for communication. Below is the pinout:
| Pin | Name | Description |
|---|---|---|
| 1 | VIN | Power input (3.3V or 5V) |
| 2 | GND | Ground |
| 3 | SCK | SPI Clock |
| 4 | MISO | SPI Master-In-Slave-Out (data from display to microcontroller) |
| 5 | MOSI | SPI Master-Out-Slave-In (data from microcontroller to display) |
| 6 | CS | Chip Select (active low) |
| 7 | D/C | Data/Command select (high for data, low for command) |
| 8 | RST | Reset (active low) |
| 9 | INT | Interrupt pin for touch events |
Usage Instructions
How to Use the Component in a Circuit
- Powering the Display: Connect the VIN pin to a 3.3V or 5V power source and the GND pin to ground.
- SPI Communication: Connect the SCK, MISO, MOSI, and CS pins to the corresponding SPI pins on your microcontroller.
- Touch Functionality: Use the INT pin to detect touch events. The D/C and RST pins are used for data/command selection and resetting the display, respectively.
- Library Installation: Install the Adafruit_GFX and Adafruit_HX8357 libraries from the Arduino Library Manager to simplify display control.
Example Arduino UNO Connection
Below is an example wiring diagram for connecting the Adafruit 2.8 inch Captouch TFT to an Arduino UNO:
| TFT Pin | Arduino UNO Pin |
|---|---|
| VIN | 5V |
| GND | GND |
| SCK | D13 |
| MISO | D12 |
| MOSI | D11 |
| CS | D10 |
| D/C | D9 |
| RST | D8 |
| INT | D7 |
Example Arduino Code
The following Arduino sketch demonstrates how to initialize the display and draw basic graphics:
#include <Adafruit_GFX.h>       // Core graphics library
#include <Adafruit_HX8357.h>    // Driver for the TFT display

// Define pins for the TFT
#define TFT_CS   10  // Chip Select pin
#define TFT_DC   9   // Data/Command pin
#define TFT_RST  8   // Reset pin

// Initialize the display object
Adafruit_HX8357 tft = Adafruit_HX8357(TFT_CS, TFT_DC, TFT_RST);

void setup() {
  // Initialize serial communication for debugging
  Serial.begin(9600);
  Serial.println("Initializing TFT...");

  // Initialize the display
  tft.begin();
  tft.fillScreen(HX8357_BLACK);  // Clear the screen with black color
  tft.setRotation(1);            // Set screen orientation

  // Draw a simple rectangle
  tft.fillRect(50, 50, 100, 100, HX8357_BLUE);  // Draw a blue square
  tft.setCursor(10, 10);
  tft.setTextColor(HX8357_WHITE);
  tft.setTextSize(2);
  tft.println("Hello, TFT!");
}

void loop() {
  // Add your code here for interactive functionality
}
Important Considerations and Best Practices
- Voltage Levels: Ensure the logic voltage of your microcontroller matches the display's requirements (3.3V logic, 5V-tolerant inputs).
- Touch Calibration: If touch accuracy is off, you may need to calibrate the touch screen using the appropriate library functions.
- Power Supply: Use a stable power source to avoid flickering or unexpected behavior.
- SPI Speed: Adjust the SPI clock speed if you encounter communication issues.
Troubleshooting and FAQs
Common Issues and Solutions
Display Not Turning On:
- Verify the power connections (VIN and GND).
- Ensure the SPI pins are correctly connected to the microcontroller.
Touch Not Responding:
- Check the INT pin connection.
- Ensure the touch library is correctly installed and initialized.
Flickering or Artifacts on the Screen:
- Use a stable power supply.
- Reduce the SPI clock speed in your code.
Library Errors During Compilation:
- Ensure the Adafruit_GFX and Adafruit_HX8357 libraries are installed and up to date.
FAQs
Q: Can I use this display with a Raspberry Pi?
A: Yes, the display is compatible with Raspberry Pi. You can use the SPI interface and the appropriate Python libraries (e.g., spidev and RPi.GPIO).
Q: What is the maximum SPI clock speed supported?
A: The display supports SPI clock speeds up to 40 MHz, but lower speeds may be required for reliable operation depending on your setup.
Q: Is the backlight brightness adjustable?
A: Yes, the backlight brightness can be adjusted using PWM on the VIN pin or through software control if supported.
Q: Can I use this display in outdoor environments?
A: The display is not sunlight-readable and is best suited for indoor use.
This concludes the documentation for the Adafruit 2.8 inch Captouch TFT. For further assistance, refer to the official Adafruit guide or community forums.