How to Use Oled lenta: Examples, Pinouts, and Specs
Introduction
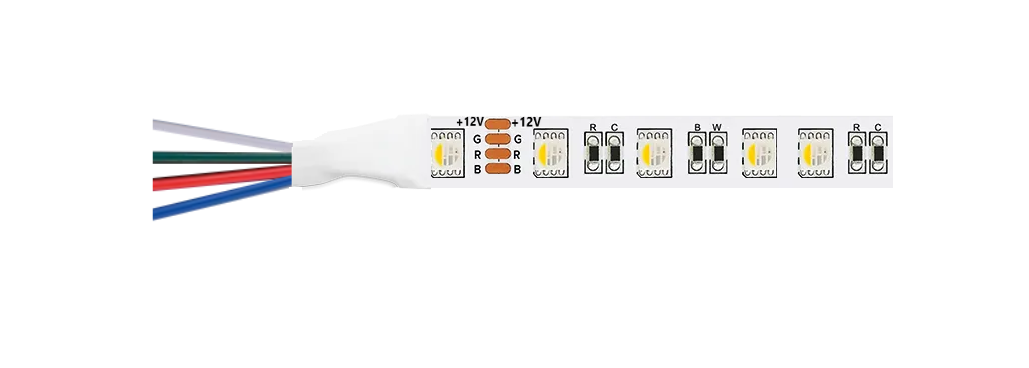
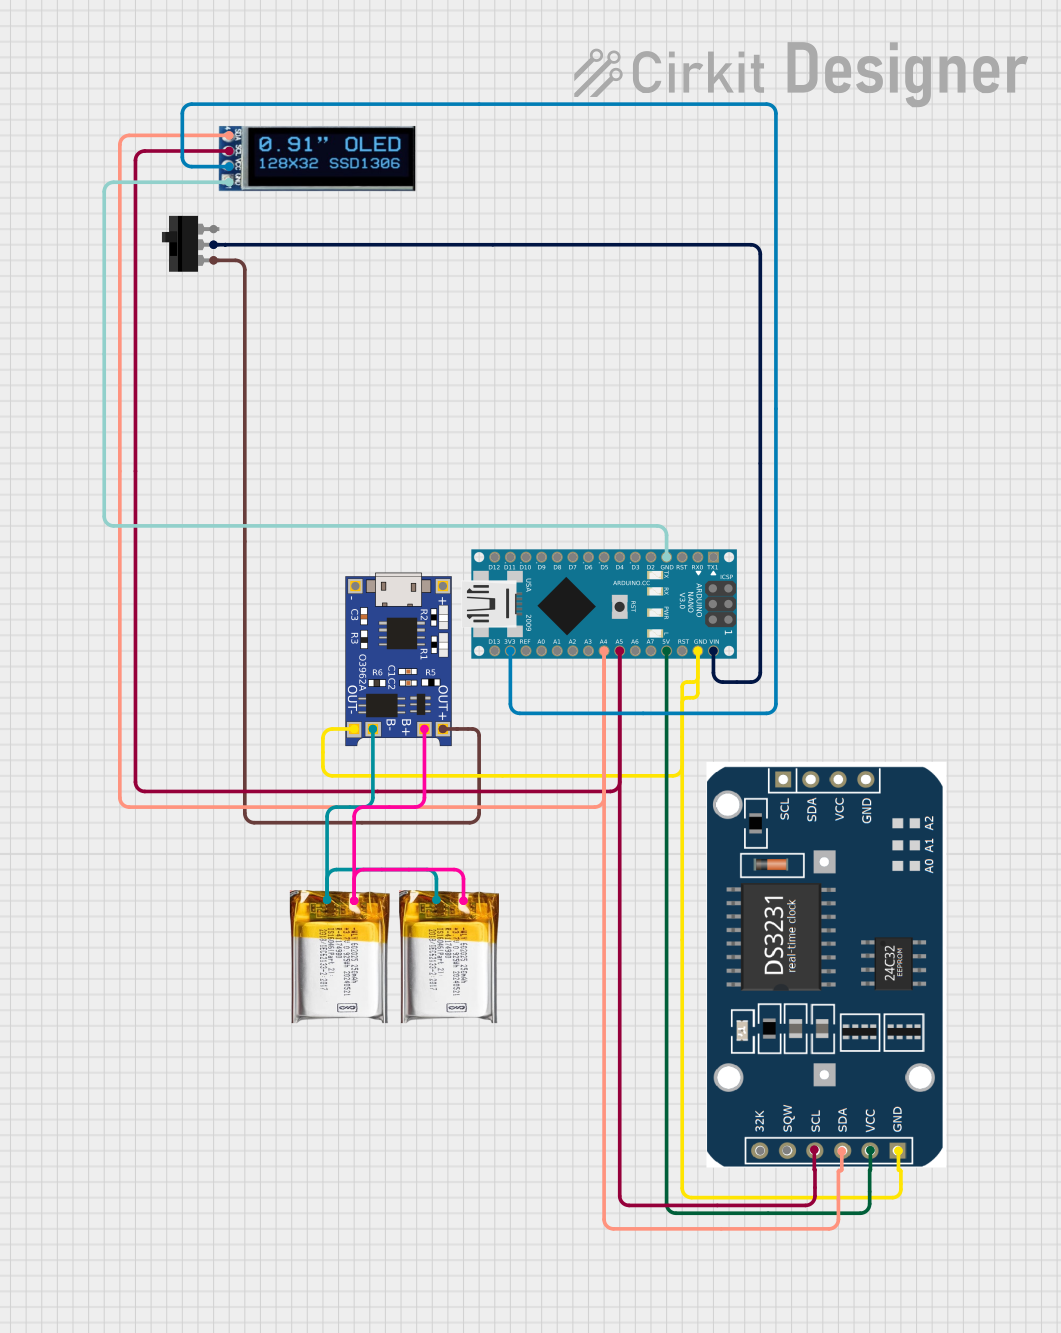
The OLED Lenta is a flexible OLED (Organic Light Emitting Diode) display designed for high-quality visual output. Its flexibility allows it to be used in a wide range of applications, including wearable technology, curved displays, and innovative design solutions. The OLED Lenta provides vibrant colors, deep blacks, and excellent contrast ratios, making it ideal for projects requiring premium display quality.
Explore Projects Built with Oled lenta
Explore Projects Built with Oled lenta
Common Applications and Use Cases
- Wearable devices (e.g., smartwatches, fitness trackers)
- Curved or flexible display panels
- Prototyping for innovative display designs
- IoT devices with graphical interfaces
- Portable or compact electronic devices
Technical Specifications
The OLED Lenta is available in various sizes and configurations. Below are the general technical specifications for a typical OLED Lenta module:
| Parameter | Specification |
|---|---|
| Display Type | Flexible OLED |
| Resolution | 128x64 pixels (varies by model) |
| Color Depth | 16-bit (65,536 colors) |
| Operating Voltage | 3.3V to 5V |
| Current Consumption | ~20mA (typical) |
| Interface | I2C or SPI |
| Viewing Angle | ~180° |
| Operating Temperature | -20°C to 70°C |
| Dimensions | Varies by model (e.g., 1.3-inch, 2-inch) |
Pin Configuration and Descriptions
The OLED Lenta typically comes with a 4- or 6-pin interface. Below is the pinout for a common I2C-based OLED Lenta module:
| Pin | Name | Description |
|---|---|---|
| 1 | GND | Ground connection |
| 2 | VCC | Power supply (3.3V or 5V) |
| 3 | SCL | Serial Clock Line for I2C communication |
| 4 | SDA | Serial Data Line for I2C communication |
| 5 | RES | Reset pin (optional, used to reset the display) |
| 6 | DC | Data/Command pin (used in SPI mode, optional in I2C) |
Usage Instructions
How to Use the OLED Lenta in a Circuit
- Power Supply: Connect the
VCCpin to a 3.3V or 5V power source and theGNDpin to ground. - Communication Interface:
- For I2C: Connect the
SCLandSDApins to the corresponding I2C pins on your microcontroller. - For SPI: Use the
SCL,SDA,RES, andDCpins as per your microcontroller's SPI configuration.
- For I2C: Connect the
- Initialization: Use an appropriate library (e.g., Adafruit SSD1306 or U8g2) to initialize and control the display.
- Display Content: Send graphical or textual data to the display using the library functions.
Important Considerations and Best Practices
- Voltage Compatibility: Ensure the OLED Lenta module is compatible with your microcontroller's voltage levels (3.3V or 5V).
- Current Limitation: Avoid exceeding the typical current consumption to prevent damage to the display.
- Flexibility: While the display is flexible, avoid excessive bending or folding, as this may damage the internal circuitry.
- Library Support: Use well-documented libraries like Adafruit SSD1306 or U8g2 for easy integration and control.
Example Code for Arduino UNO
Below is an example of how to use the OLED Lenta with an Arduino UNO via the I2C interface:
#include <Wire.h>
#include <Adafruit_GFX.h>
#include <Adafruit_SSD1306.h>

// Define the OLED display width and height
#define SCREEN_WIDTH 128
#define SCREEN_HEIGHT 64

// Create an instance of the SSD1306 display object
Adafruit_SSD1306 display(SCREEN_WIDTH, SCREEN_HEIGHT, &Wire, -1);

void setup() {
  // Initialize serial communication for debugging
  Serial.begin(9600);

  // Initialize the OLED display
  if (!display.begin(SSD1306_I2C_ADDRESS, 0x3C)) {
    // If initialization fails, print an error message
    Serial.println(F("SSD1306 allocation failed"));
    for (;;); // Halt execution
  }

  // Clear the display buffer
  display.clearDisplay();

  // Set text size and color
  display.setTextSize(1); // Text size multiplier
  display.setTextColor(SSD1306_WHITE);

  // Display a message
  display.setCursor(0, 0); // Set cursor position
  display.println(F("Hello, OLED Lenta!"));
  display.display(); // Update the display with the buffer content
}

void loop() {
  // Add any dynamic updates to the display here
}
Troubleshooting and FAQs
Common Issues and Solutions
Display Not Turning On:
- Verify the power connections (
VCCandGND). - Ensure the correct voltage (3.3V or 5V) is supplied to the module.
- Check for loose or incorrect wiring.
- Verify the power connections (
No Output on the Display:
- Confirm the I2C address (default is
0x3C) matches the one in your code. - Ensure the
SCLandSDApins are correctly connected to the microcontroller. - Use an I2C scanner sketch to detect the display's address.
- Confirm the I2C address (default is
Flickering or Artifacts:
- Check for stable power supply and proper grounding.
- Reduce the update rate of the display to avoid overloading the communication bus.
Display Not Responding After Reset:
- Ensure the
RESpin is properly connected (if used). - Add a small delay after resetting the display to allow it to initialize.
- Ensure the
FAQs
Q: Can the OLED Lenta be used with a Raspberry Pi?
A: Yes, the OLED Lenta is compatible with Raspberry Pi via I2C or SPI. Use libraries like luma.oled for Python-based control.
Q: How much can I bend the OLED Lenta?
A: The OLED Lenta is designed for flexibility, but avoid sharp folds or excessive bending to prevent damage.
Q: What is the lifespan of the OLED Lenta?
A: The typical lifespan is around 20,000 to 50,000 hours, depending on usage and brightness settings.
Q: Can I use the OLED Lenta outdoors?
A: While the display can operate in a wide temperature range, it is not waterproof. Use protective enclosures for outdoor applications.