How to Use baterias 18650: Examples, Pinouts, and Specs
Introduction
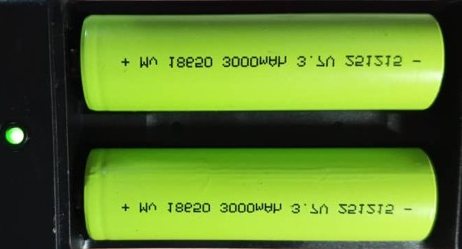
18650 batteries are cylindrical lithium-ion rechargeable batteries widely used in various applications due to their high energy density, long cycle life, and reliability. Manufactured by Arduino under the part ID "UNO," these batteries are ideal for powering portable electronics, electric vehicles, and energy storage systems. With a nominal voltage of 3.7V, they are a versatile power source for many electronic projects.
Explore Projects Built with baterias 18650


Explore Projects Built with baterias 18650
Common Applications and Use Cases
- Powering portable devices such as flashlights, laptops, and cameras
- Energy storage in renewable energy systems (e.g., solar panels)
- Electric vehicles and e-bikes
- DIY electronics and robotics projects
- Backup power supplies and uninterruptible power systems (UPS)
Technical Specifications
| Parameter | Value |
|---|---|
| Nominal Voltage | 3.7V |
| Capacity Range | 2000mAh to 3500mAh (varies by model) |
| Maximum Discharge Current | 10A to 30A (depending on model) |
| Charging Voltage | 4.2V |
| Charging Current | Typically 0.5C to 1C |
| Dimensions | 18mm (diameter) x 65mm (length) |
| Weight | ~45g |
| Chemistry | Lithium-ion |
| Cycle Life | 300-500 cycles (varies by usage) |
| Operating Temperature | -20°C to 60°C |
Pin Configuration and Descriptions
18650 batteries do not have traditional pins but instead feature two terminals:
| Terminal | Description |
|---|---|
| Positive (+) | The terminal where current flows out |
| Negative (-) | The terminal where current flows in |
Note: Ensure proper polarity when connecting the battery to avoid damage to the circuit or the battery.
Usage Instructions
How to Use the 18650 Battery in a Circuit
- Battery Holder or Connector: Use a compatible 18650 battery holder or connector to securely mount the battery in your circuit.
- Polarity Check: Always verify the positive (+) and negative (-) terminals before connecting the battery.
- Charging: Use a dedicated lithium-ion battery charger with a constant current/constant voltage (CC/CV) charging profile. Ensure the charger is set to 4.2V.
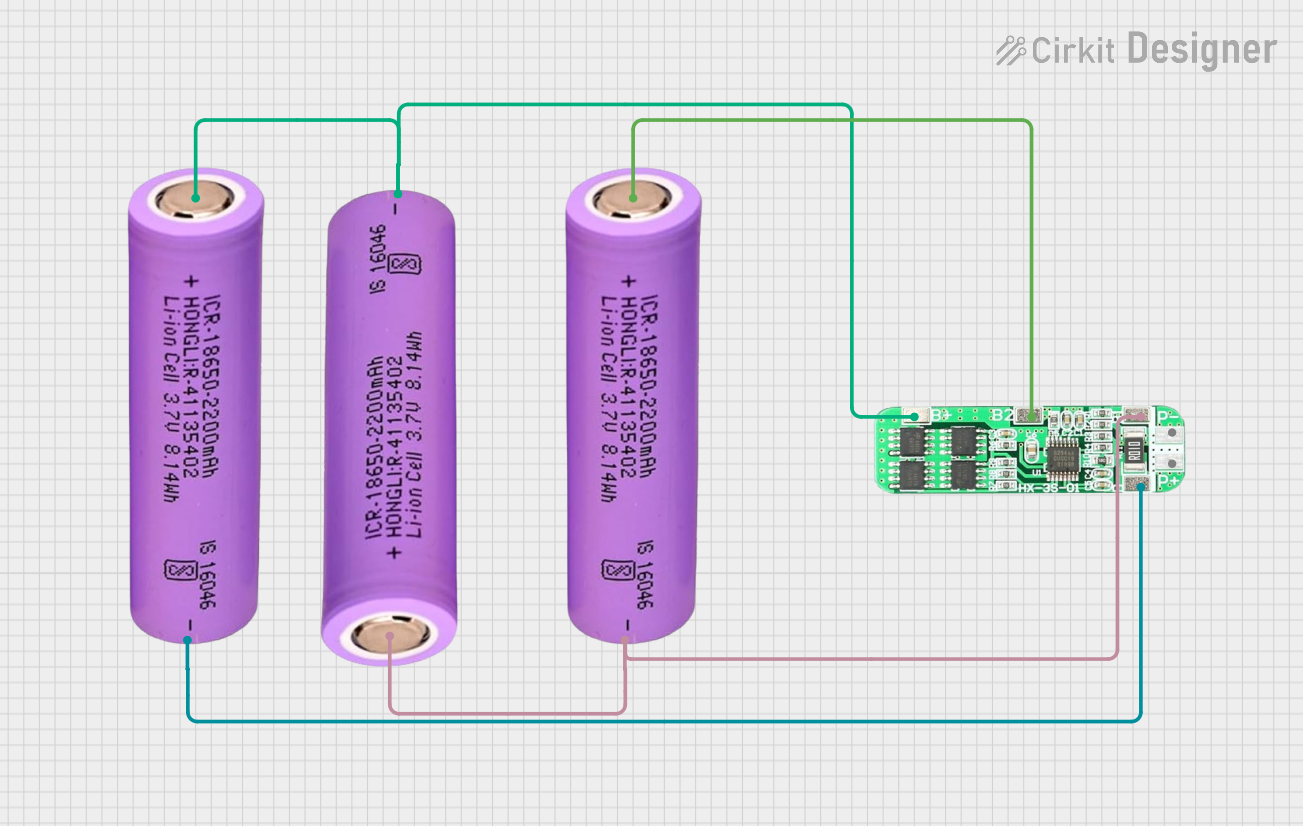
- Protection Circuit: For safety, include a Battery Management System (BMS) or a protection circuit module (PCM) to prevent overcharging, over-discharging, and short circuits.
- Series or Parallel Configuration: For higher voltage or capacity, connect multiple 18650 batteries in series or parallel. Use a BMS designed for the specific configuration.
Important Considerations and Best Practices
- Avoid Overcharging: Never charge the battery above 4.2V to prevent overheating or damage.
- Avoid Deep Discharge: Do not discharge the battery below 2.5V, as it can reduce its lifespan.
- Temperature Monitoring: Avoid using the battery in extreme temperatures. High temperatures can cause thermal runaway, while low temperatures can reduce performance.
- Storage: Store the battery at ~50% charge in a cool, dry place if not in use for extended periods.
- Recycling: Dispose of or recycle the battery responsibly according to local regulations.
Example: Using 18650 Batteries with an Arduino UNO
To power an Arduino UNO with an 18650 battery, you can use a DC-DC step-up converter to boost the battery's 3.7V to 5V. Below is an example circuit and Arduino code:
Circuit Setup
- Connect the positive terminal of the 18650 battery to the input of the DC-DC step-up converter.
- Connect the output of the step-up converter to the Arduino UNO's VIN pin (for 5V input).
- Connect the negative terminal of the battery to the Arduino's GND pin.
Arduino Code Example
// Example code to blink an LED using an Arduino UNO powered by an 18650 battery

const int ledPin = 13; // Pin connected to the onboard LED

void setup() {
  pinMode(ledPin, OUTPUT); // Set the LED pin as an output
}

void loop() {
  digitalWrite(ledPin, HIGH); // Turn the LED on
  delay(1000);               // Wait for 1 second
  digitalWrite(ledPin, LOW);  // Turn the LED off
  delay(1000);               // Wait for 1 second
}
Note: Ensure the step-up converter is properly configured to output 5V before connecting it to the Arduino UNO.
Troubleshooting and FAQs
Common Issues and Solutions
Battery Not Charging
- Cause: Faulty charger or incorrect charging voltage.
- Solution: Verify the charger is functioning correctly and set to 4.2V.
Battery Drains Quickly
- Cause: Over-discharge or aging battery.
- Solution: Avoid deep discharges and replace the battery if it has reached the end of its cycle life.
Battery Overheats
- Cause: Overcharging, high discharge current, or short circuit.
- Solution: Use a BMS or PCM for protection and ensure proper ventilation.
Arduino UNO Not Powering On
- Cause: Insufficient voltage or incorrect wiring.
- Solution: Check the step-up converter output and ensure proper connections.
FAQs
Q: Can I use an 18650 battery directly with the Arduino UNO?
A: No, the Arduino UNO requires a 5V input. Use a DC-DC step-up converter to boost the 18650 battery's 3.7V to 5V.
Q: How do I know when the battery is fully charged?
A: Most lithium-ion chargers have an indicator light that turns green when the battery is fully charged.
Q: Can I connect multiple 18650 batteries in parallel?
A: Yes, but ensure they are of the same capacity and charge level. Use a BMS designed for parallel configurations.
Q: Is it safe to solder directly onto an 18650 battery?
A: No, soldering directly onto the battery can damage it. Use battery holders or spot welding for connections.
By following these guidelines, you can safely and effectively use 18650 batteries in your projects.