
How to Use MicroPython pyboard v1.0: Examples, Pinouts, and Specs
 Design with MicroPython pyboard v1.0 in Cirkit Designer
Introduction
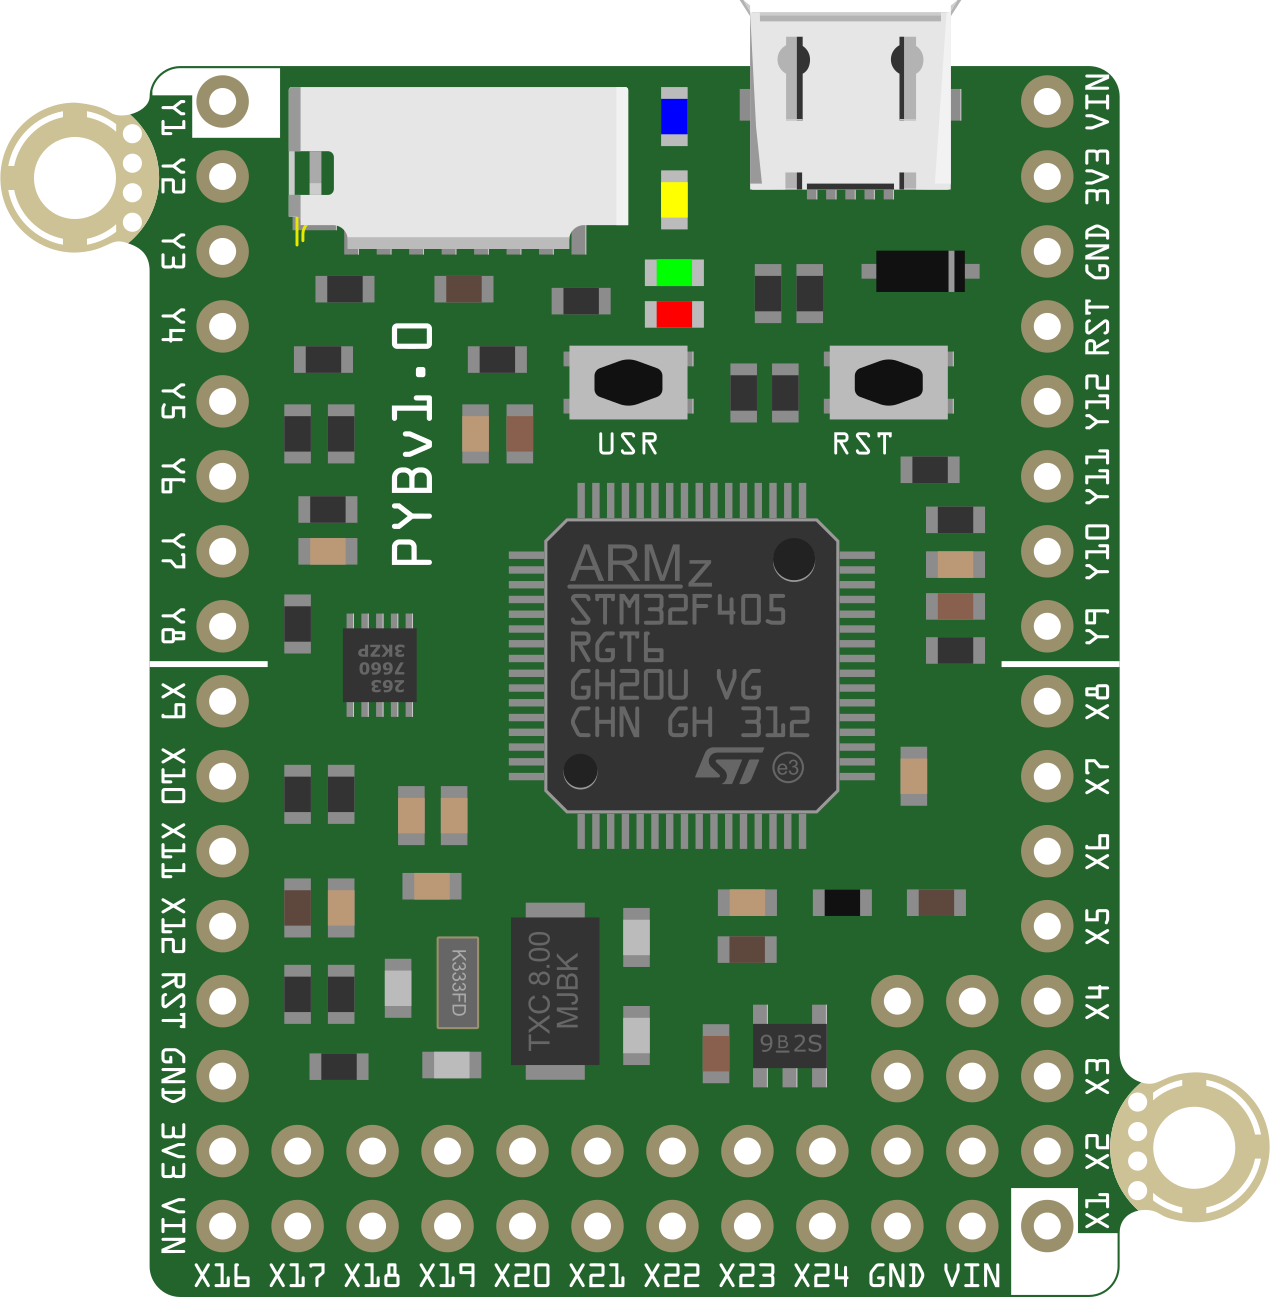
The MicroPython pyboard v1.0 (Manufacturer Part ID: PYBv10b) is a compact and versatile microcontroller board designed specifically for running MicroPython, a lean and efficient implementation of Python 3 optimized for microcontrollers. It is powered by a high-performance ARM Cortex-M4 processor and comes equipped with built-in USB support, a microSD card slot, and a variety of I/O pins for interfacing with sensors, actuators, and other peripherals.
Explore Projects Built with MicroPython pyboard v1.0
 Open Project in Cirkit Designer
 Open Project in Cirkit Designer
 Open Project in Cirkit Designer
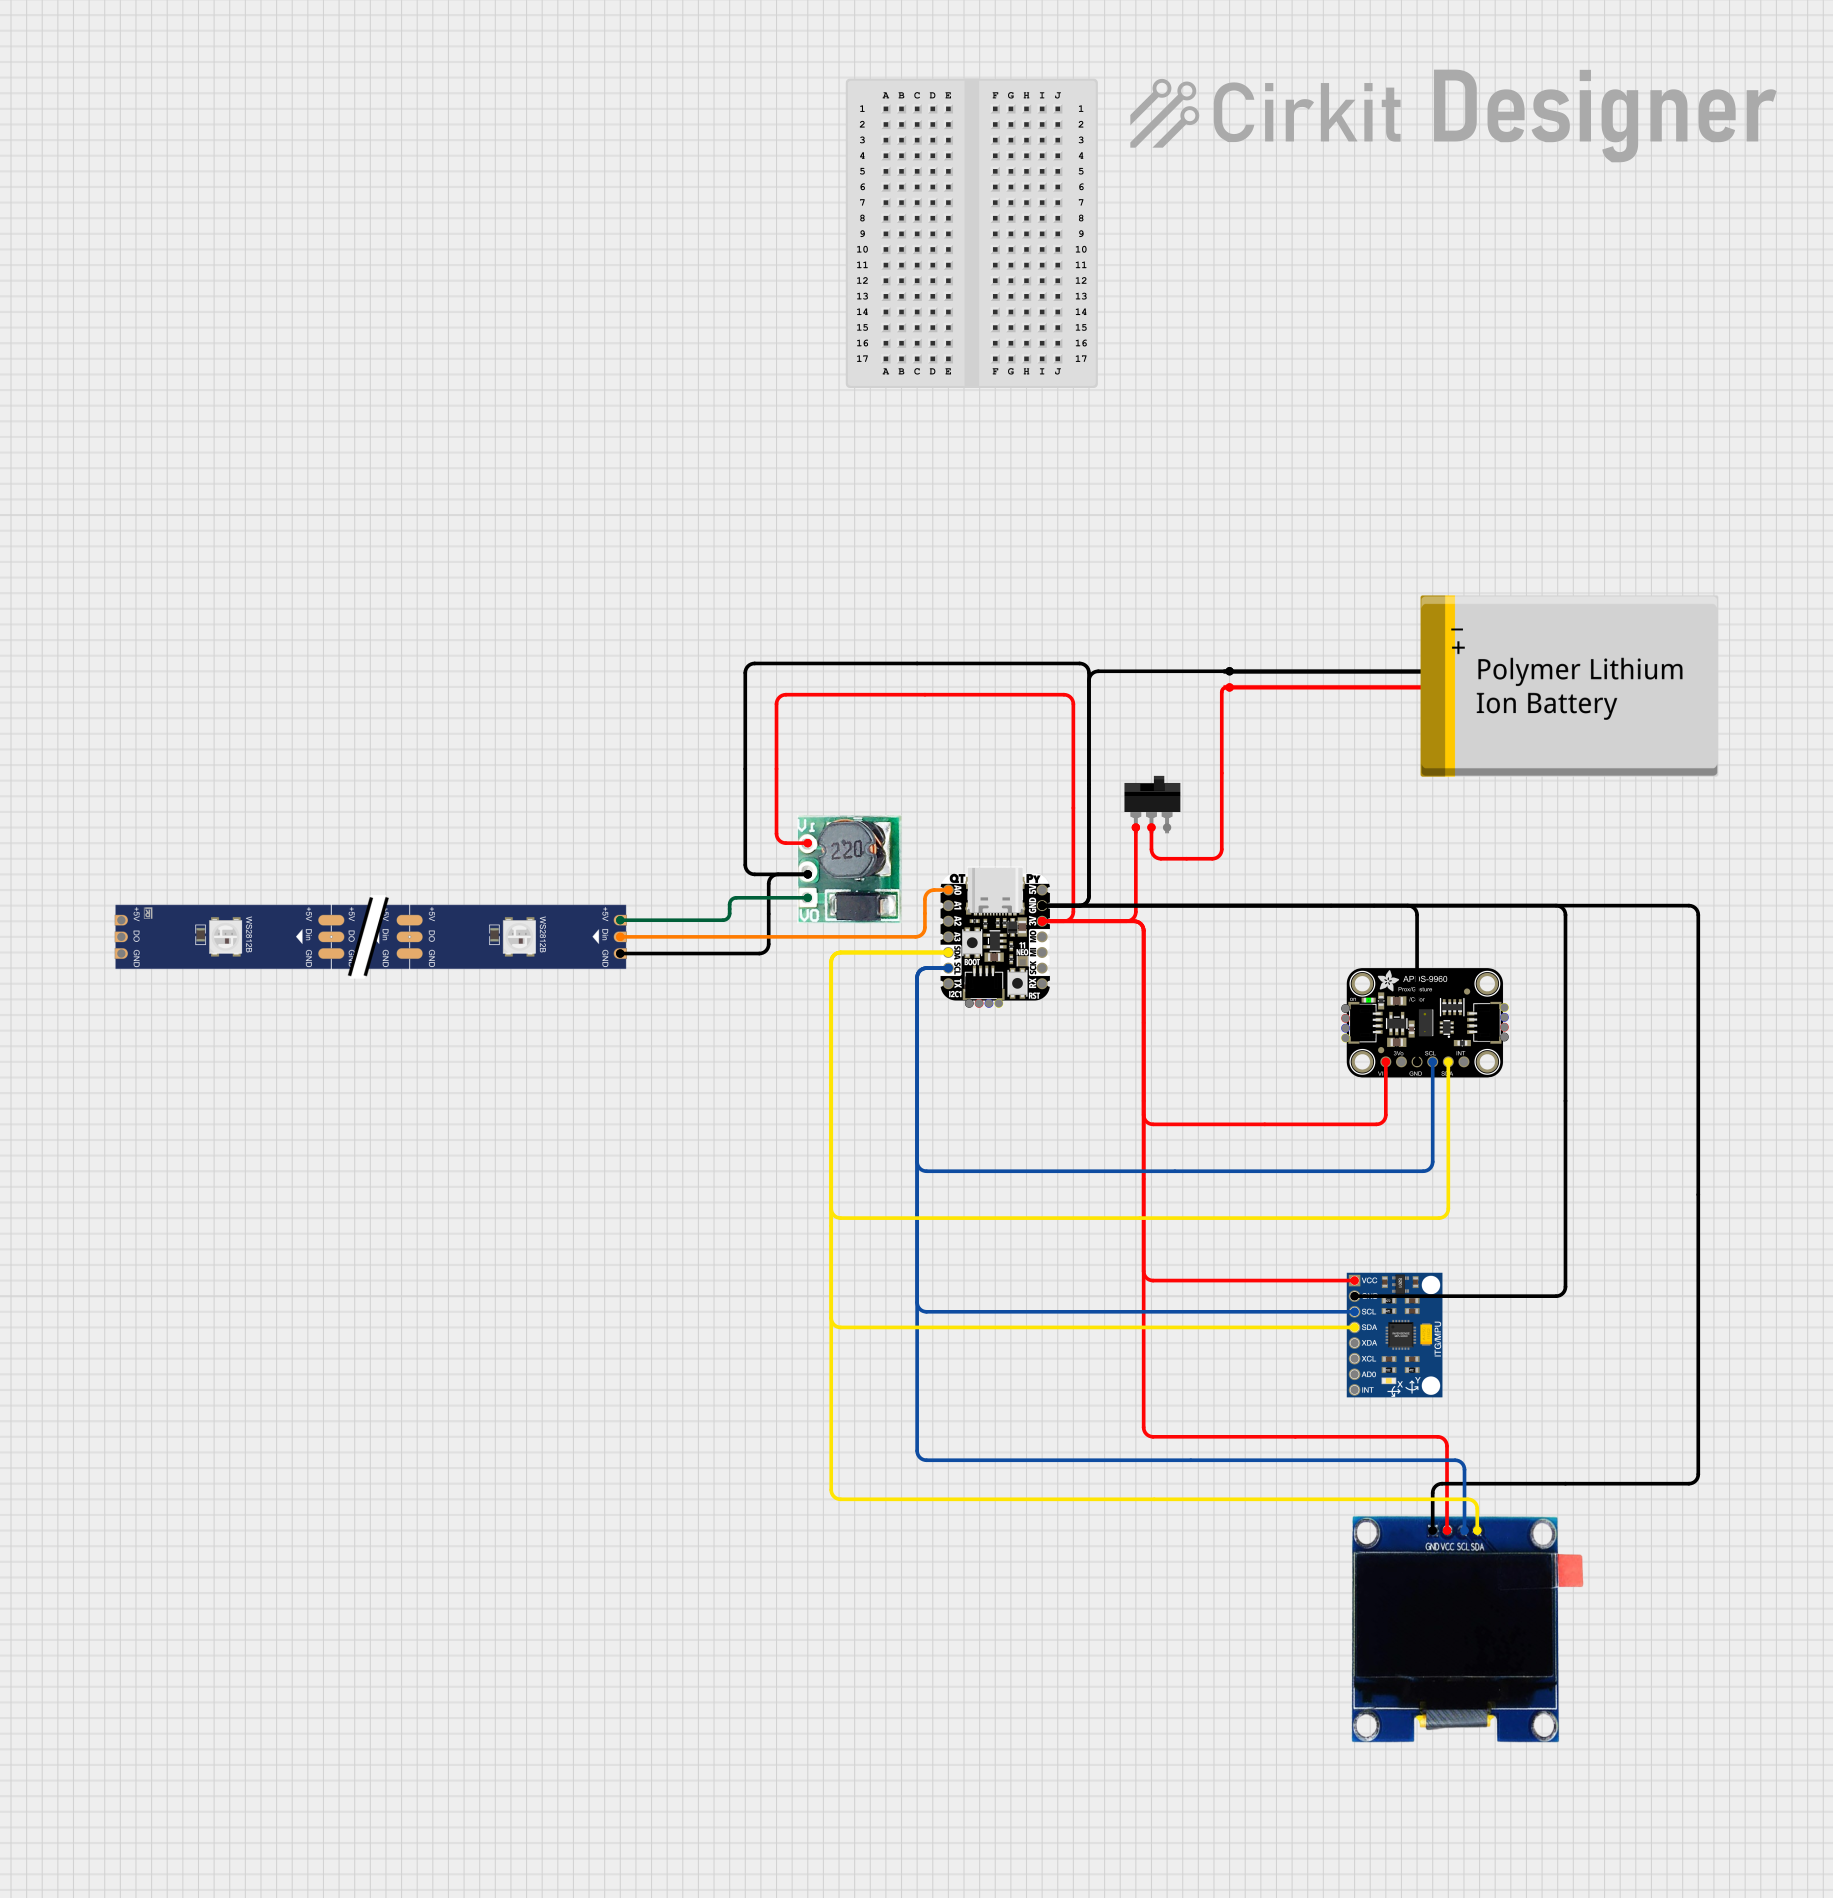 Open Project in Cirkit Designer
Explore Projects Built with MicroPython pyboard v1.0
Open Project in Cirkit DesignerOpen Project in Cirkit DesignerOpen Project in Cirkit DesignerOpen Project in Cirkit DesignerCommon Applications and Use Cases
- Rapid prototyping of embedded systems using Python
- IoT (Internet of Things) applications
- Robotics and automation projects
- Data logging and sensor interfacing
- Educational tools for learning embedded programming with Python
Technical Specifications
The following table outlines the key technical details of the MicroPython pyboard v1.0:
| Specification | Details |
|---|---|
| Processor | ARM Cortex-M4 (STM32F405RG) |
| Clock Speed | 168 MHz |
| Flash Memory | 1 MB |
| RAM | 192 KB |
| USB Support | Full-speed USB (Micro-USB connector) |
| MicroSD Card Slot | Yes |
| GPIO Pins | 24 pins (including ADC, DAC, PWM, I2C, SPI, UART) |
| Analog Inputs | 12-bit ADC (up to 16 channels) |
| Digital-to-Analog Outputs | 2 channels (12-bit DAC) |
| Power Supply | 3.6V to 10V (via VIN pin) or 5V (via USB) |
| Dimensions | 33 mm x 40 mm |
| Operating Temperature | -20°C to +85°C |
Pin Configuration and Descriptions
The pyboard v1.0 features a variety of pins for interfacing with external devices. Below is a summary of the pin configuration:
| Pin Name | Type | Description |
|---|---|---|
| VIN | Power Input | External power supply input (3.6V to 10V). |
| GND | Ground | Ground connection. |
| 3V3 | Power Output | 3.3V regulated output for powering external components. |
| X1-X12 | GPIO | General-purpose I/O pins (can be used for ADC, PWM, I2C, SPI, UART). |
| Y1-Y12 | GPIO | Additional general-purpose I/O pins. |
| USB_DM, USB_DP | USB Data Lines | USB data pins for communication. |
| SD_D0-SD_D3 | SDIO | Pins for interfacing with the microSD card. |
| DAC1, DAC2 | Analog Output | 12-bit DAC outputs for generating analog signals. |
| SWDIO, SWCLK | Debugging | Pins for debugging and programming via SWD. |
Usage Instructions
How to Use the MicroPython pyboard v1.0 in a Circuit
Powering the Board:
- Connect the board to a computer via the Micro-USB port for power and communication.
- Alternatively, supply power through the VIN pin (3.6V to 10V).
Programming the Board:
- Install a MicroPython-compatible IDE (e.g., Thonny or uPyCraft).
- Connect the board to your computer via USB and ensure the correct COM port is selected.
- Write and upload Python scripts directly to the board.
Interfacing with Peripherals:
- Use the GPIO pins (X1-X12, Y1-Y12) for connecting sensors, actuators, or other devices.
- Configure pins in your Python script for input, output, or communication protocols (e.g., I2C, SPI).
Example: Blinking an LED
The following example demonstrates how to blink an LED connected to pin X1:
from pyb import Pin, delay
Configure pin X1 as an output pin
led = Pin('X1', Pin.OUT)
while True: led.high() # Turn the LED on delay(500) # Wait for 500 milliseconds led.low() # Turn the LED off delay(500) # Wait for 500 milliseconds
Important Considerations and Best Practices
- Voltage Levels: Ensure that external components connected to the GPIO pins operate at 3.3V logic levels to avoid damage.
- Static Protection: Handle the board with care to prevent electrostatic discharge (ESD) damage.
- Firmware Updates: Keep the MicroPython firmware up to date for the latest features and bug fixes. Firmware can be downloaded from the official MicroPython website.
Troubleshooting and FAQs
Common Issues and Solutions
The board is not recognized by the computer:
- Ensure the USB cable is functional and supports data transfer.
- Check that the correct COM port is selected in your IDE.
- Try resetting the board by pressing the RST button.
Unable to upload scripts to the board:
- Verify that the board is in REPL mode (indicated by the LED status).
- Ensure the MicroPython firmware is correctly installed.
GPIO pins not functioning as expected:
- Double-check the pin configuration in your script.
- Ensure that no conflicting peripherals are using the same pins.
The board overheats or shuts down:
- Verify that the input voltage does not exceed the specified range (3.6V to 10V).
- Avoid drawing excessive current from the GPIO pins.
FAQs
Q: Can I use the pyboard v1.0 with Arduino IDE?
A: No, the pyboard is designed to run MicroPython and is not compatible with the Arduino IDE. Use a MicroPython-compatible IDE instead.
Q: How do I reset the board to factory settings?
A: Hold down the USR button while pressing the RST button. Release the RST button first, then release the USR button.
Q: What is the maximum current output of the 3V3 pin?
A: The 3V3 pin can supply up to 250 mA for external components.
Q: Can I use the pyboard for battery-powered applications?
A: Yes, the board can be powered via the VIN pin using a battery (3.6V to 10V). Ensure proper voltage regulation.
This concludes the documentation for the MicroPython pyboard v1.0. For further details, refer to the official MicroPython documentation.