
How to Use VESC 75200: Examples, Pinouts, and Specs
 Design with VESC 75200 in Cirkit Designer
Introduction
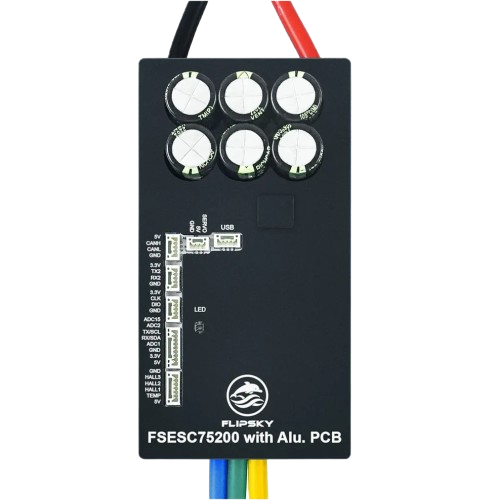
The VESC 75200, manufactured by Flipsky, is a high-performance electronic speed controller (ESC) designed for electric vehicles, robotics, and other motor-driven applications. It is built to handle high currents and voltages, making it suitable for demanding environments. The VESC 75200 features advanced motor control algorithms, regenerative braking, and a wide range of customizable settings, allowing users to optimize performance for their specific needs.
Explore Projects Built with VESC 75200
 Open Project in Cirkit Designer
 Open Project in Cirkit Designer
 Open Project in Cirkit Designer
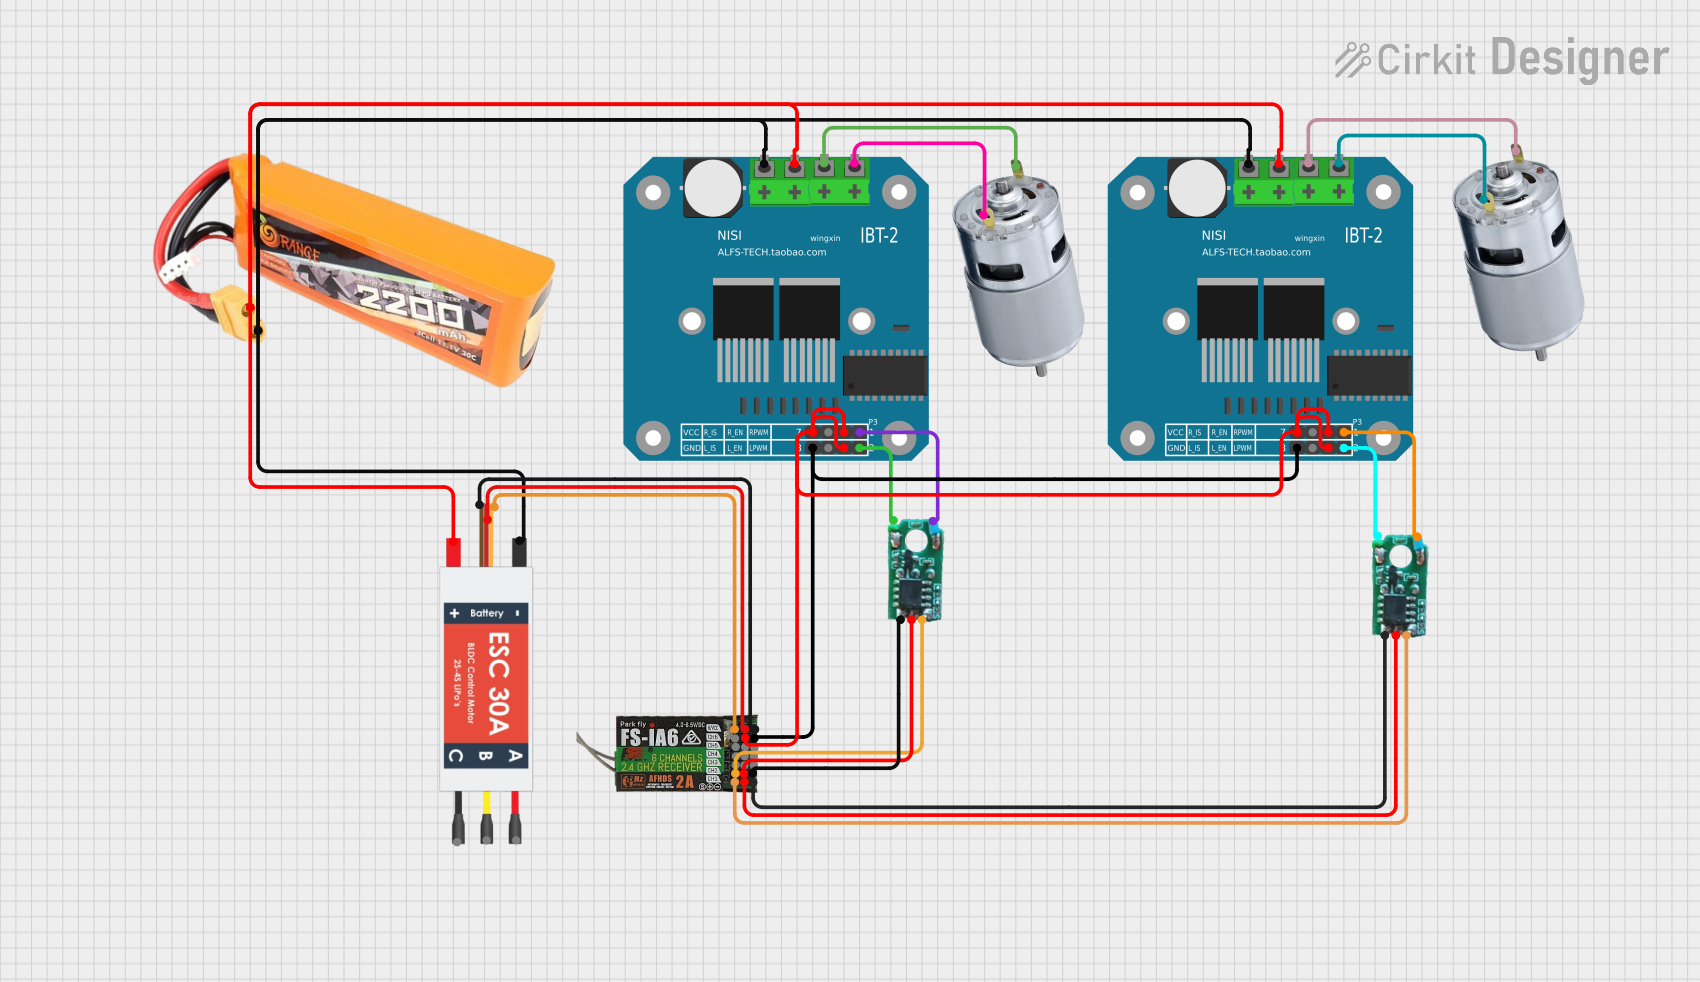 Open Project in Cirkit Designer
Explore Projects Built with VESC 75200
Open Project in Cirkit DesignerOpen Project in Cirkit DesignerOpen Project in Cirkit DesignerOpen Project in Cirkit DesignerCommon Applications
- Electric skateboards, scooters, and bicycles
- Robotics and industrial automation
- Remote-controlled vehicles and drones
- High-power motor testing and prototyping
- Electric boats and other marine applications
Technical Specifications
The VESC 75200 is designed to deliver robust performance while maintaining flexibility for various applications. Below are its key technical specifications:
| Parameter | Value |
|---|---|
| Input Voltage Range | 14V - 75V (4S to 16S LiPo) |
| Continuous Current | 200A |
| Peak Current | 300A |
| Supported Motor Types | BLDC, FOC, and DC motors |
| Communication Interfaces | CAN, UART, USB, PWM, PPM |
| Regenerative Braking | Yes |
| Dimensions | 100mm x 74mm x 30mm |
| Weight | 350g |
| Cooling | Passive (heatsink) and active (optional fan) |
| Firmware | VESC Open Source Firmware |
Pin Configuration and Descriptions
The VESC 75200 features multiple connectors for power, motor, and communication. Below is the pin configuration:
Power and Motor Connections
| Pin Name | Description |
|---|---|
| P+ | Positive terminal for power input |
| P- | Negative terminal for power input |
| M1, M2, M3 | Motor phase connections |
Communication and Control
| Pin Name | Description |
|---|---|
| UART_TX | UART Transmit (for communication) |
| UART_RX | UART Receive (for communication) |
| CAN_H | CAN Bus High |
| CAN_L | CAN Bus Low |
| PPM | Pulse Position Modulation input |
| PWM | Pulse Width Modulation input |
| USB | USB interface for programming |
Usage Instructions
How to Use the VESC 75200 in a Circuit
- Power Connection: Connect the P+ and P- terminals to a suitable power source (e.g., a LiPo battery pack within the 14V-75V range). Ensure proper polarity to avoid damage.
- Motor Connection: Connect the motor's three-phase wires to the M1, M2, and M3 terminals. The order of connection determines the motor's rotation direction, which can be adjusted in software.
- Communication Setup: Use the USB port to connect the VESC 75200 to a computer for initial configuration using the VESC Tool software. Alternatively, use UART or CAN for advanced communication setups.
- Control Input: Connect a PPM or PWM signal source (e.g., a remote receiver or microcontroller) to control the motor speed and direction.
Important Considerations
- Cooling: Ensure adequate cooling for high-current applications. Use the built-in heatsink or add an external fan if necessary.
- Firmware Updates: Always use the latest VESC firmware to ensure compatibility and access to new features.
- Regenerative Braking: Configure regenerative braking carefully to avoid overcharging the battery.
- Safety: Double-check all connections before powering on the device. Use appropriate fuses and circuit breakers for protection.
Example: Using VESC 75200 with Arduino UNO
The VESC 75200 can be controlled via UART using an Arduino UNO. Below is an example code snippet to send commands to the VESC:
#include <Arduino.h>
#include <VescUart.h> // Include the VESC UART library

VescUart vesc; // Create a VESC UART object

void setup() {
  Serial.begin(115200); // Initialize serial communication
  vesc.setSerialPort(&Serial); // Set the serial port for VESC communication
}

void loop() {
  // Set motor speed (RPM)
  int targetRPM = 3000; // Desired motor speed in RPM
  if (vesc.setRPM(targetRPM)) {
    Serial.println("RPM command sent successfully!");
  } else {
    Serial.println("Failed to send RPM command.");
  }

  delay(1000); // Wait for 1 second before sending the next command
}
Note: Ensure the VESC UART library is installed in your Arduino IDE. Connect the Arduino's TX and RX pins to the VESC's UART_RX and UART_TX pins, respectively, and ensure a common ground connection.
Troubleshooting and FAQs
Common Issues and Solutions
Motor Does Not Spin
- Cause: Incorrect motor wiring or configuration.
- Solution: Verify motor connections (M1, M2, M3) and check the motor detection settings in the VESC Tool.
Overheating
- Cause: Insufficient cooling during high-current operation.
- Solution: Add an external fan or improve airflow around the VESC.
Communication Failure
- Cause: Incorrect UART or CAN wiring.
- Solution: Double-check the communication connections and ensure the correct baud rate is configured.
Regenerative Braking Not Working
- Cause: Improper configuration or battery overvoltage.
- Solution: Adjust the braking settings in the VESC Tool and ensure the battery can handle regenerative currents.
FAQs
Can I use the VESC 75200 with brushed DC motors? Yes, the VESC 75200 supports brushed DC motors in addition to BLDC and FOC motors.
What is the maximum supported battery voltage? The VESC 75200 supports up to 75V (16S LiPo).
Is the VESC 75200 waterproof? No, the VESC 75200 is not waterproof. Use appropriate enclosures for outdoor or wet environments.
Can I control the VESC 75200 wirelessly? Yes, you can use a Bluetooth module or a compatible remote control for wireless operation.
By following this documentation, users can effectively integrate and operate the VESC 75200 in their projects while avoiding common pitfalls.