How to Use regulator: Examples, Pinouts, and Specs
Introduction
A regulator is an electronic component designed to maintain a constant output voltage or current, regardless of fluctuations in input voltage or load conditions. This ensures stable and reliable operation of electronic circuits, making it an essential component in power supply systems. Regulators are commonly used in applications such as power adapters, embedded systems, microcontroller circuits, and any device requiring a stable power source.
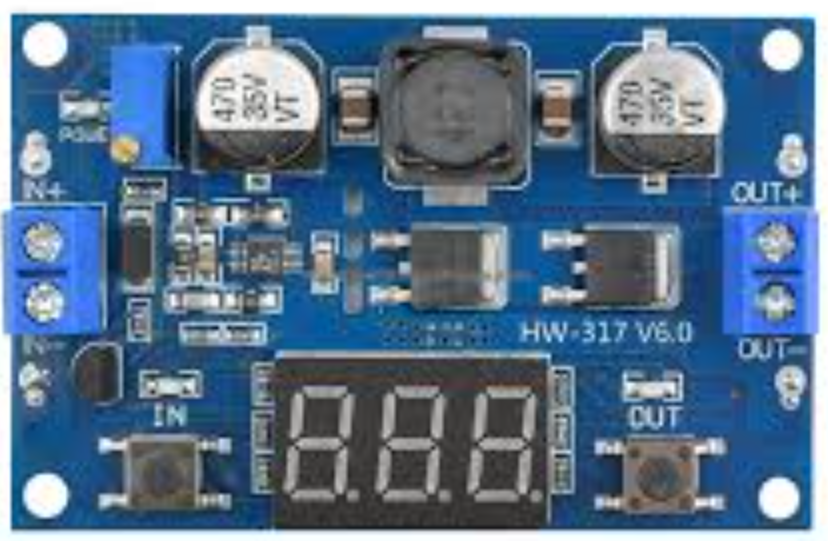
Explore Projects Built with regulator


Explore Projects Built with regulator
Technical Specifications
Below are the general technical specifications for a typical voltage regulator. Specific values may vary depending on the exact model and manufacturer.
Key Specifications
- Input Voltage Range: 5V to 40V (varies by model)
- Output Voltage: Fixed (e.g., 5V, 12V) or adjustable (e.g., 1.25V to 37V)
- Output Current: Up to 1.5A (for linear regulators) or higher for switching regulators
- Efficiency: ~40%-60% for linear regulators, ~80%-95% for switching regulators
- Operating Temperature: -40°C to +125°C (varies by model)
- Dropout Voltage: Typically 2V for linear regulators, lower for low-dropout (LDO) models
Pin Configuration and Descriptions
The pin configuration of a regulator depends on its type (e.g., linear or switching) and package (e.g., TO-220, SOT-223). Below is an example for a common 3-pin linear voltage regulator (e.g., 7805):
| Pin Number | Pin Name | Description |
|---|---|---|
| 1 | Input (VIN) | Connects to the unregulated input voltage. |
| 2 | Ground (GND) | Common ground for input and output. |
| 3 | Output (VOUT) | Provides the regulated output voltage. |
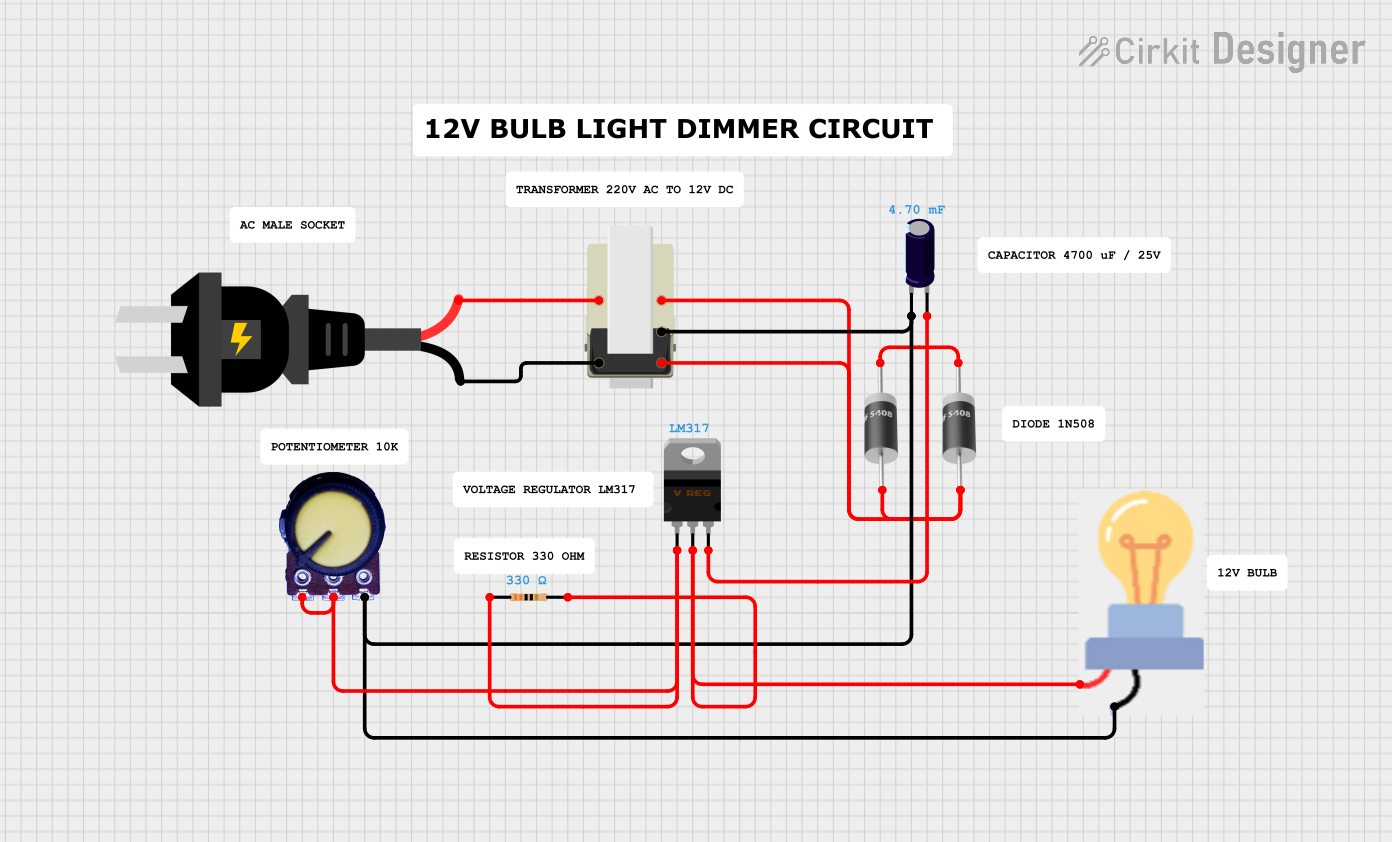
For adjustable regulators (e.g., LM317), the pin configuration is as follows:
| Pin Number | Pin Name | Description |
|---|---|---|
| 1 | Adjust (ADJ) | Used to set the output voltage with external resistors. |
| 2 | Output (VOUT) | Provides the regulated output voltage. |
| 3 | Input (VIN) | Connects to the unregulated input voltage. |
Usage Instructions
How to Use the Component in a Circuit
Determine Input and Output Requirements:
- Identify the input voltage range and the desired output voltage/current for your application.
- Choose a regulator model that meets these requirements.
Connect the Pins:
- For a fixed linear regulator (e.g., 7805):
- Connect the unregulated input voltage to the Input (VIN) pin.
- Connect the Ground (GND) pin to the circuit ground.
- Connect the Output (VOUT) pin to the load requiring regulated voltage.
- For an adjustable regulator (e.g., LM317):
- Use two external resistors to set the desired output voltage. Refer to the formula: [ V_{OUT} = V_{REF} \times \left(1 + \frac{R_2}{R_1}\right) + I_{ADJ} \times R_2 ] where ( V_{REF} ) is typically 1.25V.
- For a fixed linear regulator (e.g., 7805):
Add Capacitors:
- Place a capacitor (e.g., 0.33µF) between the input pin and ground to stabilize the input voltage.
- Place a capacitor (e.g., 0.1µF) between the output pin and ground to improve stability and reduce noise.
Heat Dissipation:
- For linear regulators, use a heatsink if the power dissipation exceeds the thermal limits of the regulator.
Important Considerations and Best Practices
- Input Voltage: Ensure the input voltage is higher than the output voltage by at least the dropout voltage (for linear regulators).
- Current Limit: Do not exceed the maximum output current rating of the regulator.
- Thermal Management: Monitor the regulator's temperature and use heatsinks or cooling mechanisms if necessary.
- Switching Noise: For switching regulators, use proper filtering to minimize noise in sensitive circuits.
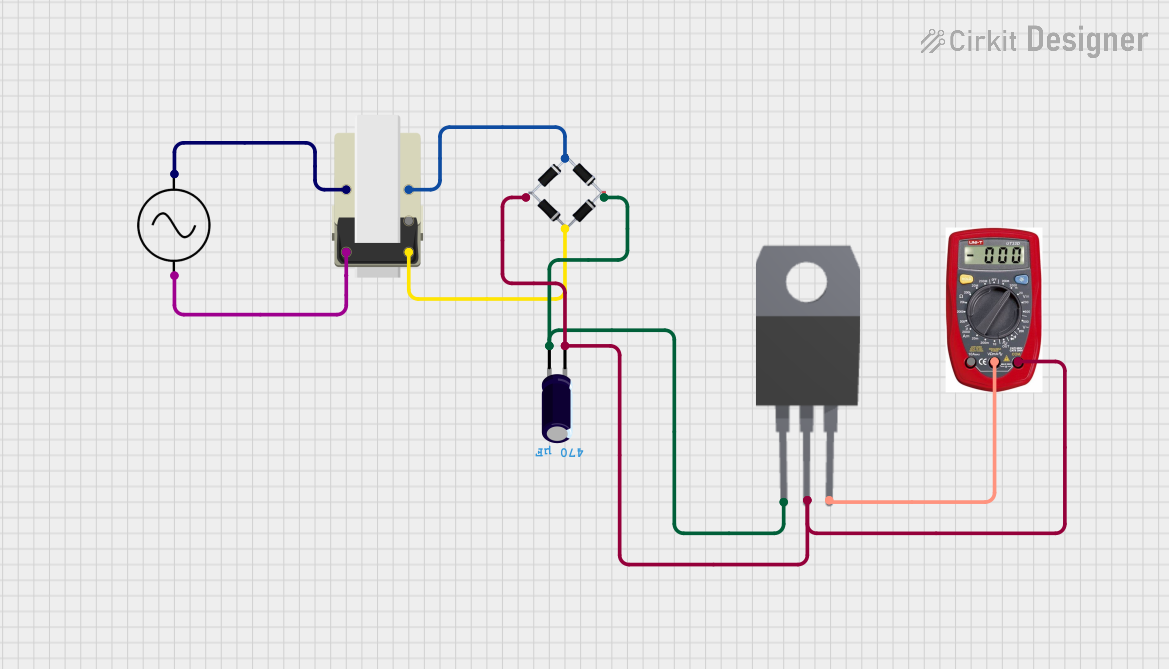
Example: Using a 7805 Regulator with Arduino UNO
Below is an example of how to use a 7805 regulator to power an Arduino UNO from a 12V input source.
Circuit Diagram
- Input: 12V DC power supply
- Output: 5V regulated voltage to Arduino UNO's 5V pin
- Components: 7805 regulator, 0.33µF capacitor, 0.1µF capacitor
Code Example
No specific code is required for the regulator itself, but here is a simple Arduino sketch to verify the 5V power supply:
// Simple Arduino sketch to verify 5V power supply
void setup() {
  Serial.begin(9600); // Initialize serial communication at 9600 baud
}

void loop() {
  int sensorValue = analogRead(A0); // Read analog pin A0
  float voltage = sensorValue * (5.0 / 1023.0); // Convert to voltage
  Serial.print("Voltage: ");
  Serial.print(voltage);
  Serial.println(" V"); // Print voltage to Serial Monitor
  delay(1000); // Wait for 1 second
}
Troubleshooting and FAQs
Common Issues
Regulator Overheating:
- Cause: Excessive power dissipation due to high input-output voltage difference or high load current.
- Solution: Use a heatsink or switch to a switching regulator for higher efficiency.
Output Voltage Not Stable:
- Cause: Insufficient input voltage or missing capacitors.
- Solution: Ensure the input voltage is within the specified range and add the recommended capacitors.
No Output Voltage:
- Cause: Incorrect pin connections or damaged regulator.
- Solution: Double-check the wiring and replace the regulator if necessary.
Noise in Output Voltage:
- Cause: Poor filtering or high-frequency noise from the input source.
- Solution: Add appropriate capacitors and use a low-noise input source.
FAQs
Q: Can I use a 7805 regulator with a 3.3V device?
- A: No, the 7805 provides a fixed 5V output. Use a 3.3V regulator (e.g., LD1117-3.3) instead.
Q: What is the difference between a linear and a switching regulator?
- A: Linear regulators dissipate excess energy as heat, while switching regulators use high-frequency switching to achieve higher efficiency.
Q: Can I connect multiple regulators in parallel for higher current?
- A: No, regulators are not designed to share current evenly. Use a higher-current regulator or a switching regulator instead.
Q: How do I calculate the power dissipation of a linear regulator?
- A: Use the formula: [ P_{DISS} = (V_{IN} - V_{OUT}) \times I_{LOAD} ] where ( V_{IN} ) is the input voltage, ( V_{OUT} ) is the output voltage, and ( I_{LOAD} ) is the load current.