
How to Use POWER SUPPLY 12V: Examples, Pinouts, and Specs
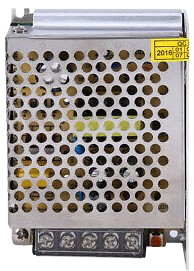
 Design with POWER SUPPLY 12V in Cirkit Designer
Introduction
The POWER SUPPLY 12V is a device that converts electrical energy from an input source (such as AC mains or a DC source) into a stable 12V DC output. It is widely used to power electronic circuits, modules, and devices that require a consistent 12V supply. This component is essential in applications ranging from hobbyist projects to industrial systems, ensuring reliable operation of connected devices.
Explore Projects Built with POWER SUPPLY 12V
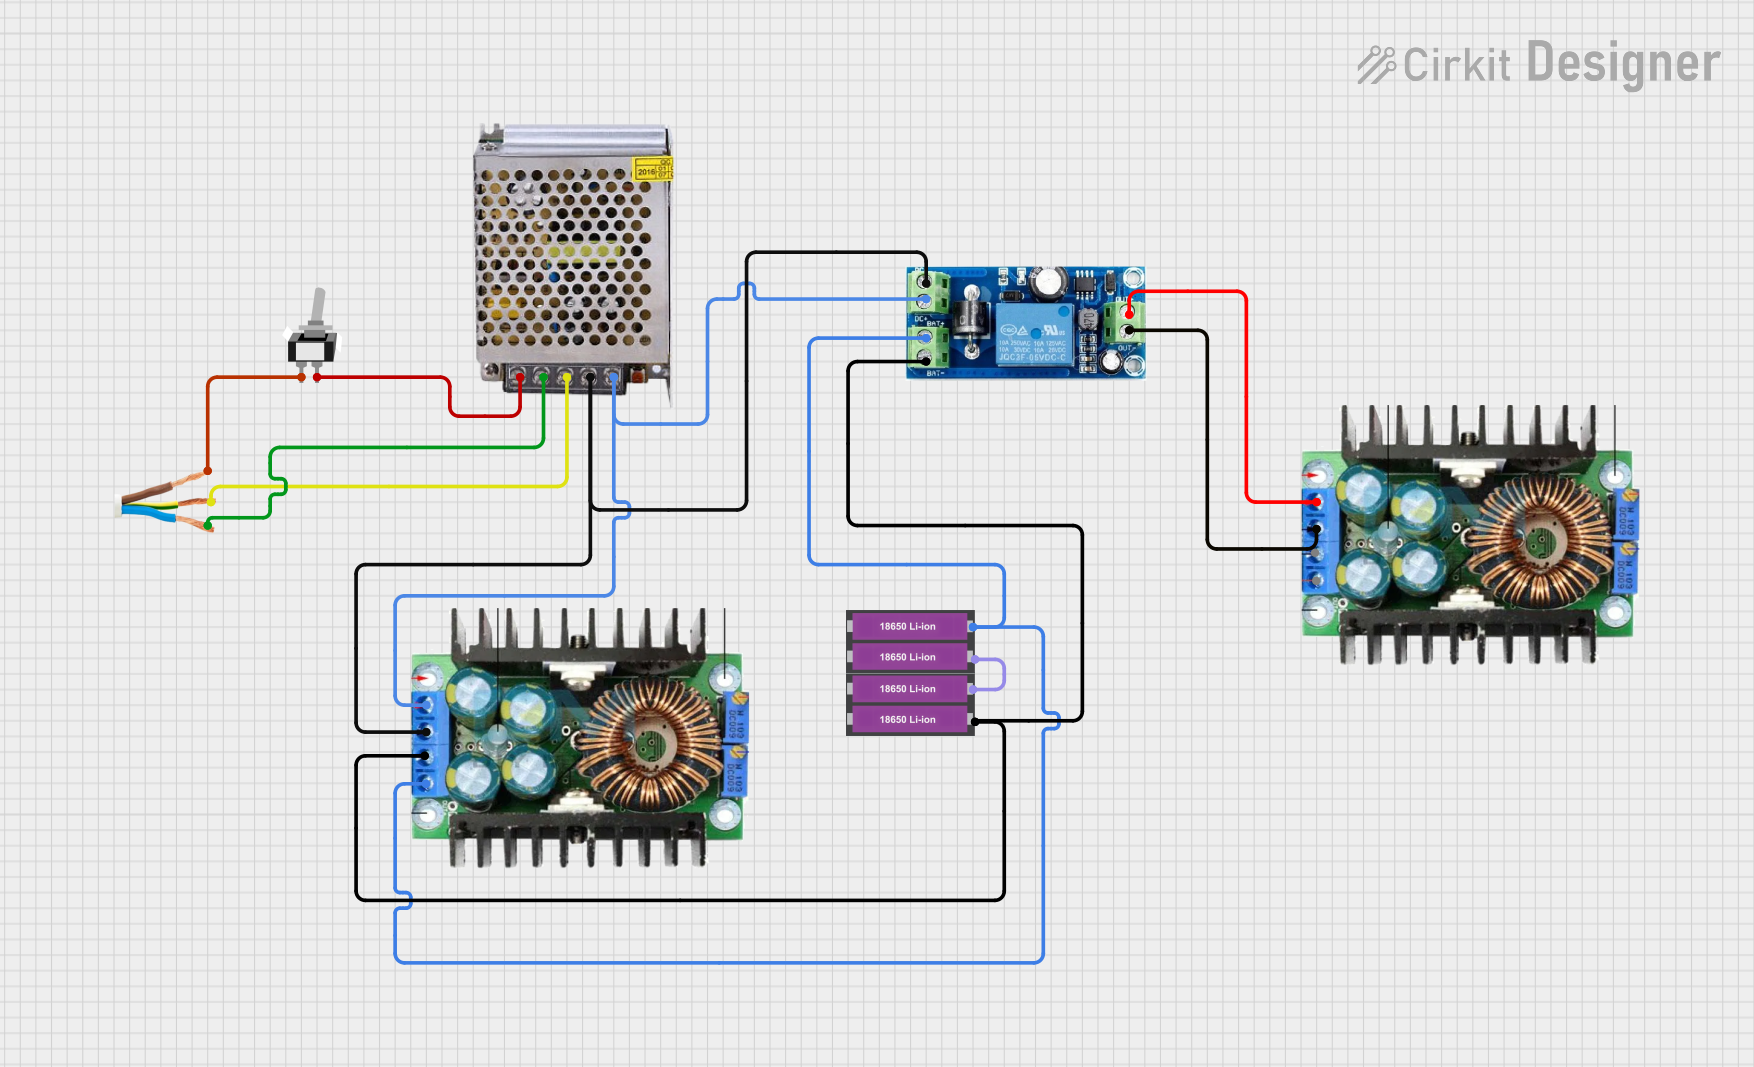 Open Project in Cirkit Designer
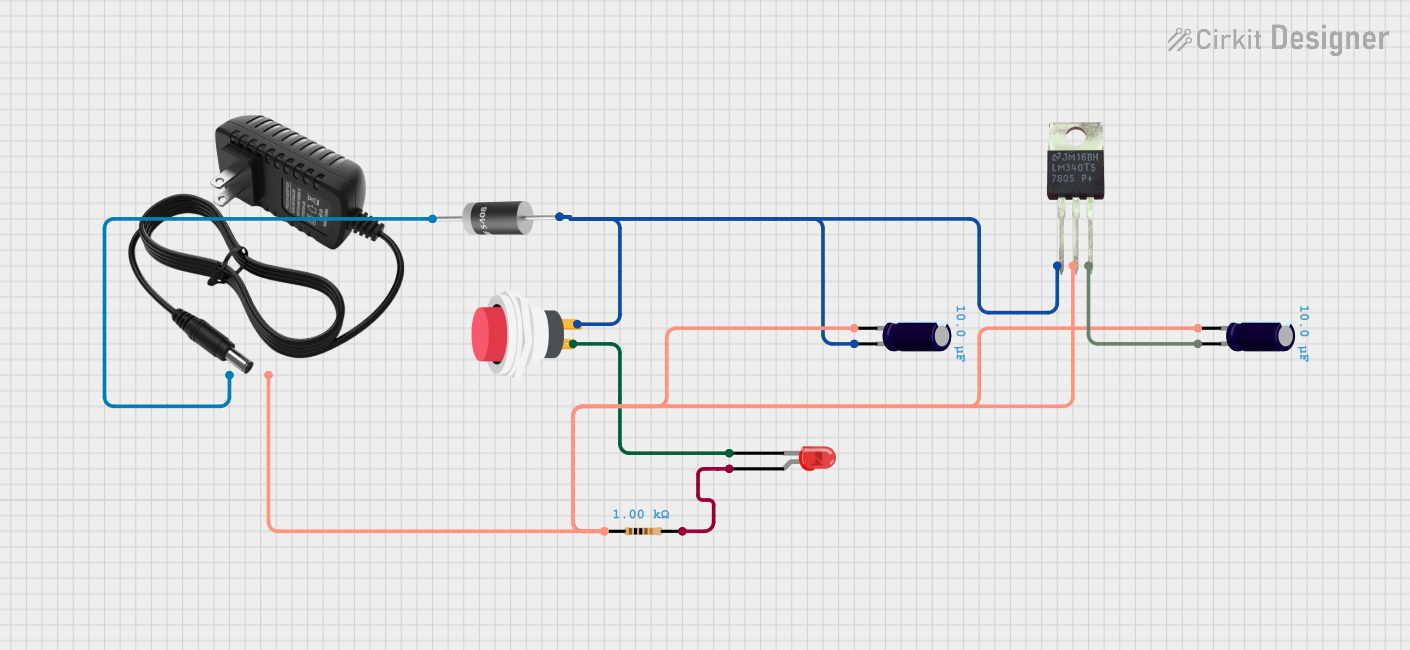 Open Project in Cirkit Designer
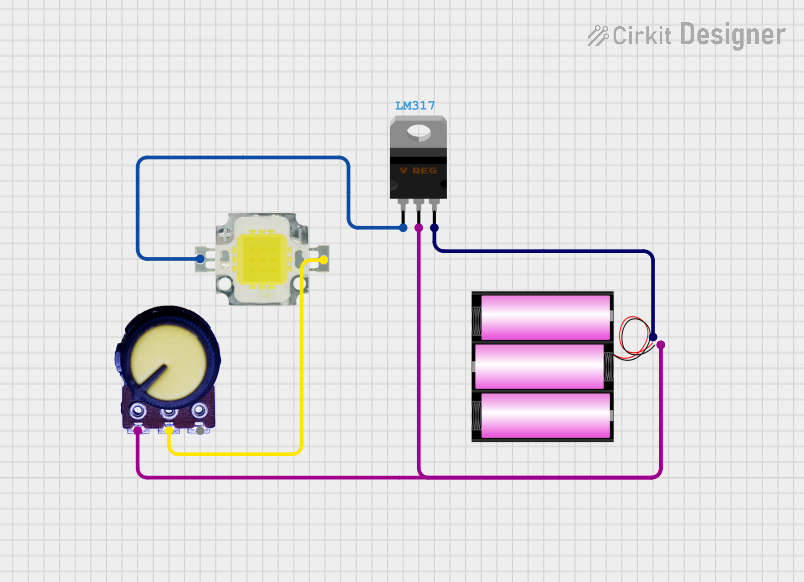 Open Project in Cirkit Designer
 Open Project in Cirkit Designer
Explore Projects Built with POWER SUPPLY 12V
Open Project in Cirkit DesignerOpen Project in Cirkit DesignerOpen Project in Cirkit DesignerOpen Project in Cirkit DesignerCommon Applications and Use Cases
- Powering microcontrollers, sensors, and modules in embedded systems
- Driving DC motors, relays, and solenoids
- Supplying power to LED strips and lighting systems
- Providing stable voltage for audio amplifiers and communication devices
- General-purpose power supply for laboratory and prototyping work
Technical Specifications
The following table outlines the key technical details of the POWER SUPPLY 12V:
| Parameter | Specification |
|---|---|
| Input Voltage Range | 100-240V AC (for AC-DC power supplies) or 9-15V DC (for DC-DC converters) |
| Output Voltage | 12V DC ± 5% |
| Maximum Output Current | 1A to 10A (varies by model) |
| Output Power | 12W to 120W (depending on current rating) |
| Efficiency | Up to 90% |
| Ripple and Noise | < 50mV (typical) |
| Operating Temperature | -10°C to +50°C |
| Protection Features | Overvoltage, overcurrent, short-circuit, thermal shutdown |
Pin Configuration and Descriptions
For a typical DC barrel jack output or terminal block connection, the pin configuration is as follows:
| Pin | Description |
|---|---|
| + | Positive 12V DC output |
| - | Ground (GND) |
For AC-DC power supplies with an input plug, the input connections are:
| Pin | Description |
|---|---|
| L | Live (AC input) |
| N | Neutral (AC input) |
| G | Ground (Earth connection, optional) |
Usage Instructions
How to Use the POWER SUPPLY 12V in a Circuit
Connect the Input:
- For AC-DC power supplies, plug the input into a standard AC mains outlet (100-240V AC).
- For DC-DC converters, connect the input terminals to a DC source within the specified input voltage range.
Connect the Output:
- Use the positive (+) and ground (-) terminals to connect the power supply to your circuit or device.
- Ensure the connected load does not exceed the maximum output current rating of the power supply.
Power On:
- Turn on the power supply (if it has a switch) or apply power to the input source.
- Verify the output voltage using a multimeter before connecting sensitive devices.
Important Considerations and Best Practices
- Load Compatibility: Ensure the total current draw of your circuit does not exceed the power supply's maximum output current.
- Heat Dissipation: If the power supply operates at high currents, ensure adequate ventilation or heat sinking to prevent overheating.
- Polarity: Double-check the polarity of the output connections to avoid damaging your circuit.
- Ripple and Noise: For sensitive applications, consider adding additional filtering capacitors to reduce ripple and noise further.
- Arduino Compatibility: The 12V output can be used to power an Arduino UNO via its barrel jack or VIN pin. However, ensure the current draw of connected peripherals does not exceed the power supply's rating.
Example: Powering an Arduino UNO
To power an Arduino UNO using the POWER SUPPLY 12V:
- Connect the positive (+) output of the power supply to the Arduino's barrel jack or VIN pin.
- Connect the ground (-) output to the Arduino's GND pin.
- Ensure the power supply is set to 12V and turned on.
Here is an example Arduino sketch to blink an LED while powered by the 12V supply:
// Blink an LED connected to pin 13
// Ensure the Arduino is powered via the 12V power supply

void setup() {
  pinMode(13, OUTPUT); // Set pin 13 as an output
}

void loop() {
  digitalWrite(13, HIGH); // Turn the LED on
  delay(1000);            // Wait for 1 second
  digitalWrite(13, LOW);  // Turn the LED off
  delay(1000);            // Wait for 1 second
}
Troubleshooting and FAQs
Common Issues and Solutions
No Output Voltage:
- Check if the input source is properly connected and powered.
- Verify that the power supply's fuse (if present) is not blown.
- Ensure the load does not exceed the power supply's maximum current rating.
Overheating:
- Ensure the power supply is not operating beyond its rated current.
- Provide adequate ventilation or cooling to dissipate heat.
Voltage Drop Under Load:
- Verify that the load is within the power supply's capacity.
- Check for loose or high-resistance connections in the wiring.
Ripple or Noise Issues:
- Add external filtering capacitors to the output.
- Ensure the power supply is not located near high-frequency noise sources.
FAQs
Q: Can I use the POWER SUPPLY 12V to charge a 12V battery?
A: No, this power supply is not designed for battery charging. Use a dedicated battery charger with appropriate charging profiles.
Q: Is the POWER SUPPLY 12V safe for sensitive electronics?
A: Yes, it provides a stable 12V output with low ripple and noise. For extra protection, you can add additional filtering components.
Q: Can I connect multiple devices to the power supply?
A: Yes, as long as the total current draw of all devices does not exceed the power supply's maximum output current.
Q: What happens if I reverse the polarity of the output?
A: Reversing the polarity can damage your circuit. Always double-check connections before powering on.
This concludes the documentation for the POWER SUPPLY 12V.