
How to Use ESP32S3 7" Touch Display WAVESHARE: Examples, Pinouts, and Specs
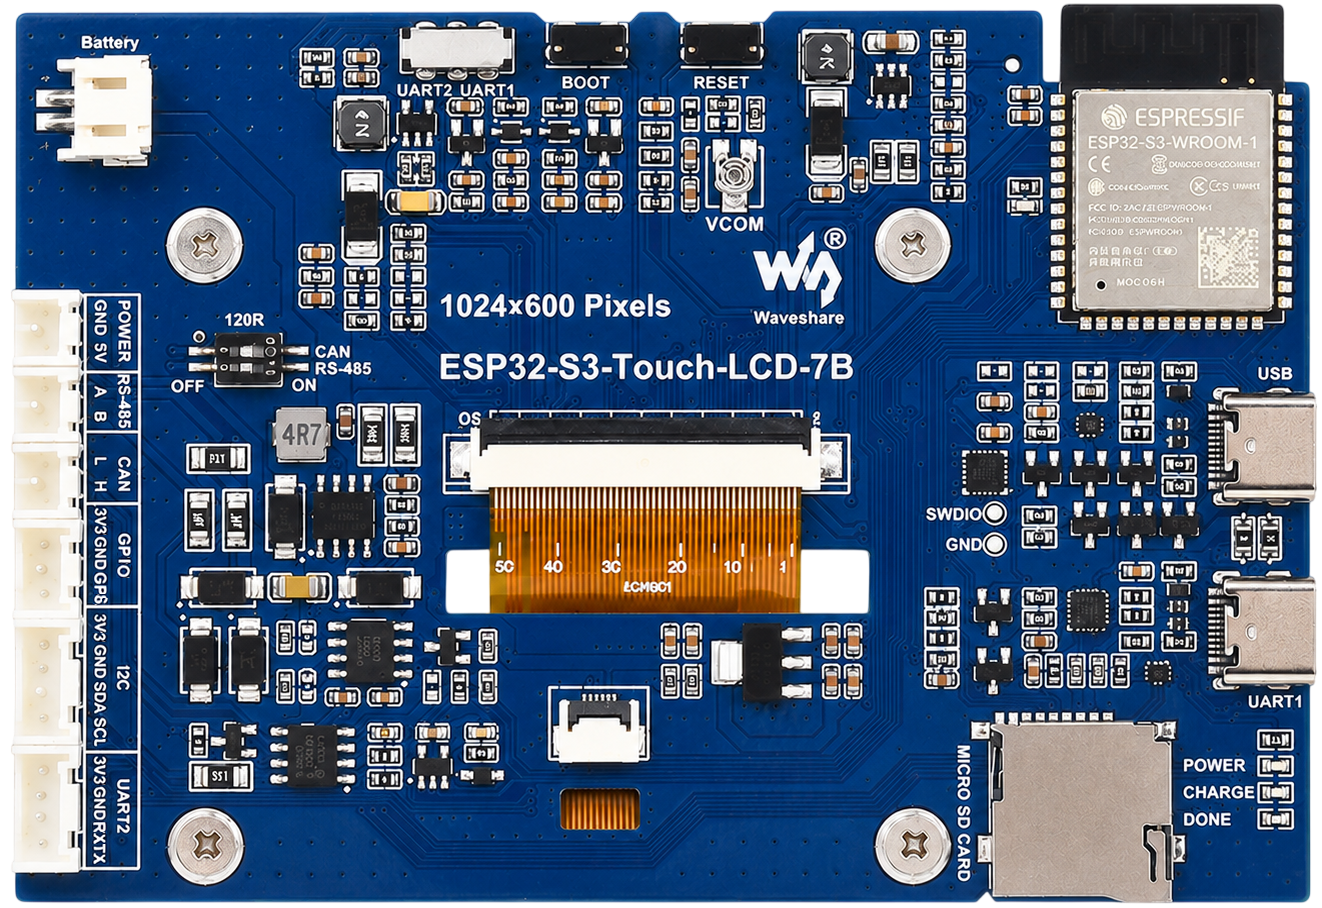
 Design with ESP32S3 7" Touch Display WAVESHARE in Cirkit Designer
Introduction
The ESP32S3 7" Touch Display (Manufacturer Part ID: ESP32-S3-TOUCH-LCD-7) by Waveshare is a versatile 7-inch touchscreen display module powered by the ESP32-S3 microcontroller. This module is designed for interactive applications, offering a high-resolution display for clear visuals and a capacitive touch interface for user interaction. With built-in Wi-Fi and Bluetooth connectivity, it is an excellent choice for IoT projects, smart home systems, industrial control panels, and educational tools.
Explore Projects Built with ESP32S3 7" Touch Display WAVESHARE
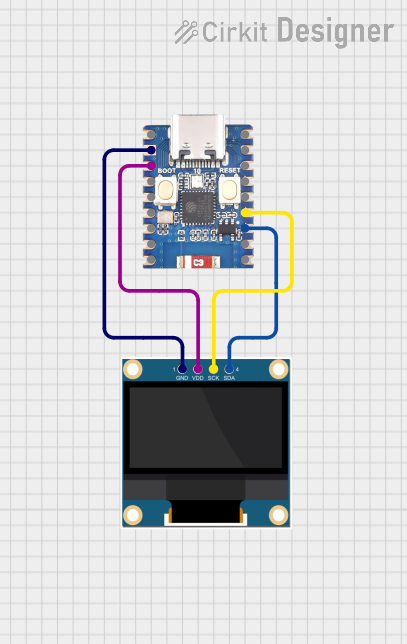 Open Project in Cirkit Designer
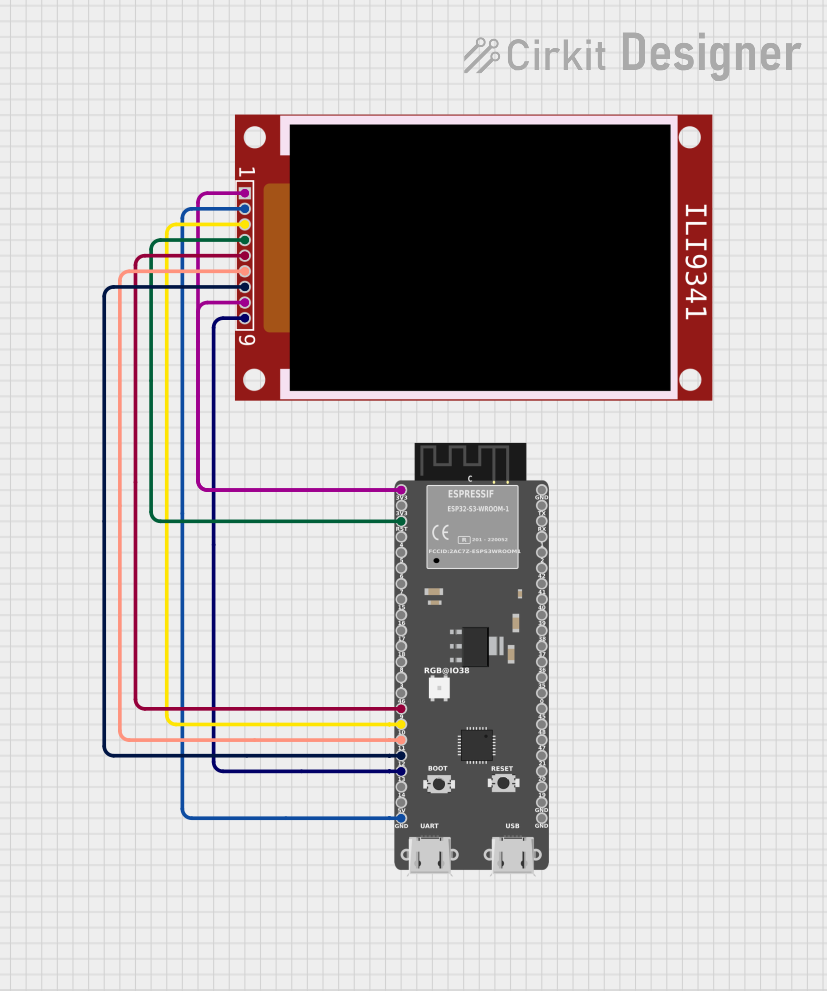 Open Project in Cirkit Designer
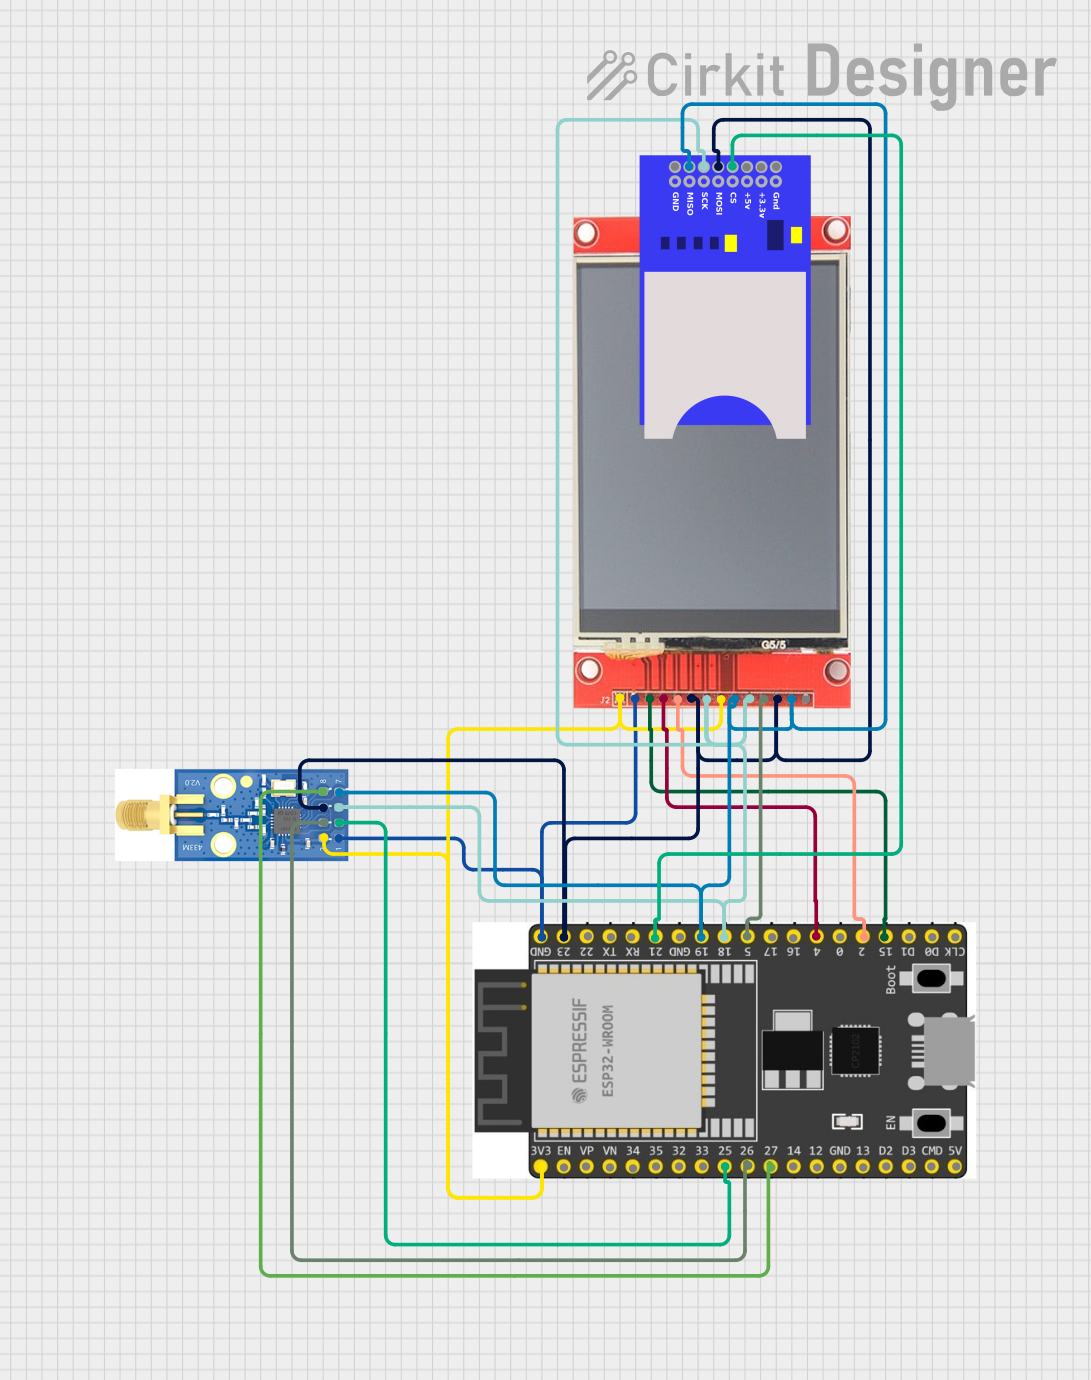 Open Project in Cirkit Designer
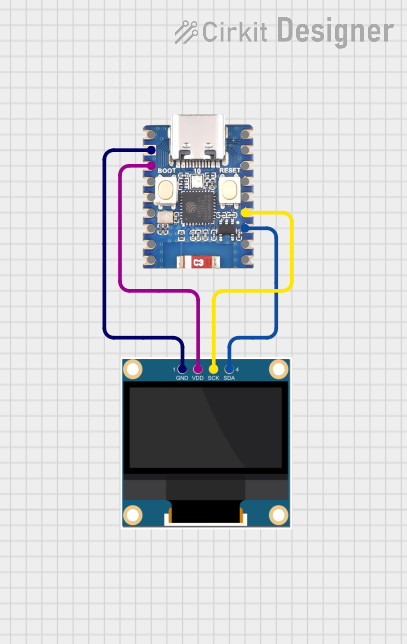 Open Project in Cirkit Designer
Explore Projects Built with ESP32S3 7" Touch Display WAVESHARE
Open Project in Cirkit DesignerOpen Project in Cirkit DesignerOpen Project in Cirkit DesignerOpen Project in Cirkit DesignerCommon Applications
- IoT dashboards and control panels
- Smart home automation interfaces
- Industrial monitoring systems
- Educational and prototyping projects
- Interactive kiosks and displays
Technical Specifications
Key Technical Details
| Parameter | Specification |
|---|---|
| Microcontroller | ESP32-S3 |
| Display Size | 7 inches |
| Display Resolution | 1024 x 600 pixels |
| Touch Type | Capacitive |
| Connectivity | Wi-Fi 802.11 b/g/n, Bluetooth 5.0 |
| Operating Voltage | 5V (via USB-C) |
| Power Consumption | ~500mA (typical) |
| Interface | USB-C, UART, GPIO, I2C, SPI |
| Flash Memory | 16MB |
| PSRAM | 8MB |
| Dimensions | 181.0mm x 108.0mm x 15.0mm |
| Weight | ~300g |
Pin Configuration and Descriptions
The ESP32S3 7" Touch Display module includes a GPIO header for interfacing with external devices. Below is the pinout description:
| Pin Number | Pin Name | Function |
|---|---|---|
| 1 | 3.3V | 3.3V Power Output |
| 2 | GND | Ground |
| 3 | GPIO1 | General Purpose I/O |
| 4 | GPIO2 | General Purpose I/O |
| 5 | TXD | UART Transmit |
| 6 | RXD | UART Receive |
| 7 | SCL | I2C Clock |
| 8 | SDA | I2C Data |
| 9 | MOSI | SPI Master Out Slave In |
| 10 | MISO | SPI Master In Slave Out |
| 11 | SCK | SPI Clock |
| 12 | CS | SPI Chip Select |
Usage Instructions
How to Use the Component in a Circuit
Powering the Module:
Connect the module to a 5V power source using the USB-C port. Alternatively, you can power it via the 3.3V pin on the GPIO header.Connecting to a Microcontroller:
- Use the UART pins (TXD and RXD) for serial communication.
- For I2C communication, connect the SCL and SDA pins to the corresponding pins on your microcontroller.
- For SPI communication, connect MOSI, MISO, SCK, and CS pins appropriately.
Programming the ESP32-S3:
- Install the ESP32 board package in the Arduino IDE or use the ESP-IDF framework for advanced development.
- Connect the module to your computer via USB-C and select the appropriate COM port in your development environment.
Touchscreen Interface:
- The capacitive touchscreen is pre-calibrated. Use the provided Waveshare libraries or write custom code to handle touch events.
Important Considerations and Best Practices
- Ensure the power supply provides sufficient current (at least 1A) to avoid instability.
- Use level shifters if interfacing with 5V logic devices, as the ESP32-S3 operates at 3.3V logic levels.
- Avoid placing the module near sources of electromagnetic interference to maintain reliable Wi-Fi and Bluetooth connectivity.
- Use the Waveshare-provided libraries for optimal performance and compatibility.
Example Code for Arduino UNO
Below is an example of how to interface the ESP32S3 7" Touch Display with an Arduino UNO via UART:
#include <SoftwareSerial.h>

// Define RX and TX pins for SoftwareSerial
SoftwareSerial espSerial(10, 11); // RX = Pin 10, TX = Pin 11

void setup() {
  Serial.begin(9600); // Initialize Serial Monitor
  espSerial.begin(115200); // Initialize ESP32S3 communication

  Serial.println("Initializing ESP32S3...");
  espSerial.println("Hello from Arduino!"); // Send a message to ESP32S3
}

void loop() {
  // Check if data is available from ESP32S3
  if (espSerial.available()) {
    String data = espSerial.readString(); // Read data from ESP32S3
    Serial.println("Received from ESP32S3: " + data);
  }

  // Check if data is available from Serial Monitor
  if (Serial.available()) {
    String command = Serial.readString(); // Read user input
    espSerial.println(command); // Send command to ESP32S3
  }
}
Notes:
- Replace pins
10and11with the appropriate pins if using a different microcontroller. - Ensure the baud rate matches the ESP32S3's UART configuration.
Troubleshooting and FAQs
Common Issues and Solutions
Display Not Turning On:
- Ensure the module is powered via USB-C or the 3.3V pin.
- Verify the power supply provides at least 1A of current.
Touchscreen Not Responding:
- Check for loose connections or damaged cables.
- Ensure the Waveshare touchscreen library is correctly installed and initialized.
Wi-Fi or Bluetooth Connectivity Issues:
- Verify the Wi-Fi credentials are correct.
- Avoid placing the module near sources of interference (e.g., motors, high-frequency devices).
Serial Communication Not Working:
- Confirm the baud rate matches between the ESP32S3 and the external device.
- Check the TX and RX connections for proper orientation.
FAQs
Q: Can I use this module without programming the ESP32-S3?
A: Yes, you can use the module as a display and touchscreen interface by sending commands via UART, I2C, or SPI.
Q: Does the module support battery power?
A: The module does not include a built-in battery connector, but you can use an external 5V battery pack with a USB-C output.
Q: Is the touchscreen multi-touch capable?
A: No, the touchscreen supports single-touch input only.
Q: Can I use this module with Raspberry Pi?
A: Yes, the module can interface with Raspberry Pi via UART, I2C, or SPI. Waveshare provides libraries for Raspberry Pi compatibility.