
How to Use ESP32S3 7" Touch Display: Examples, Pinouts, and Specs
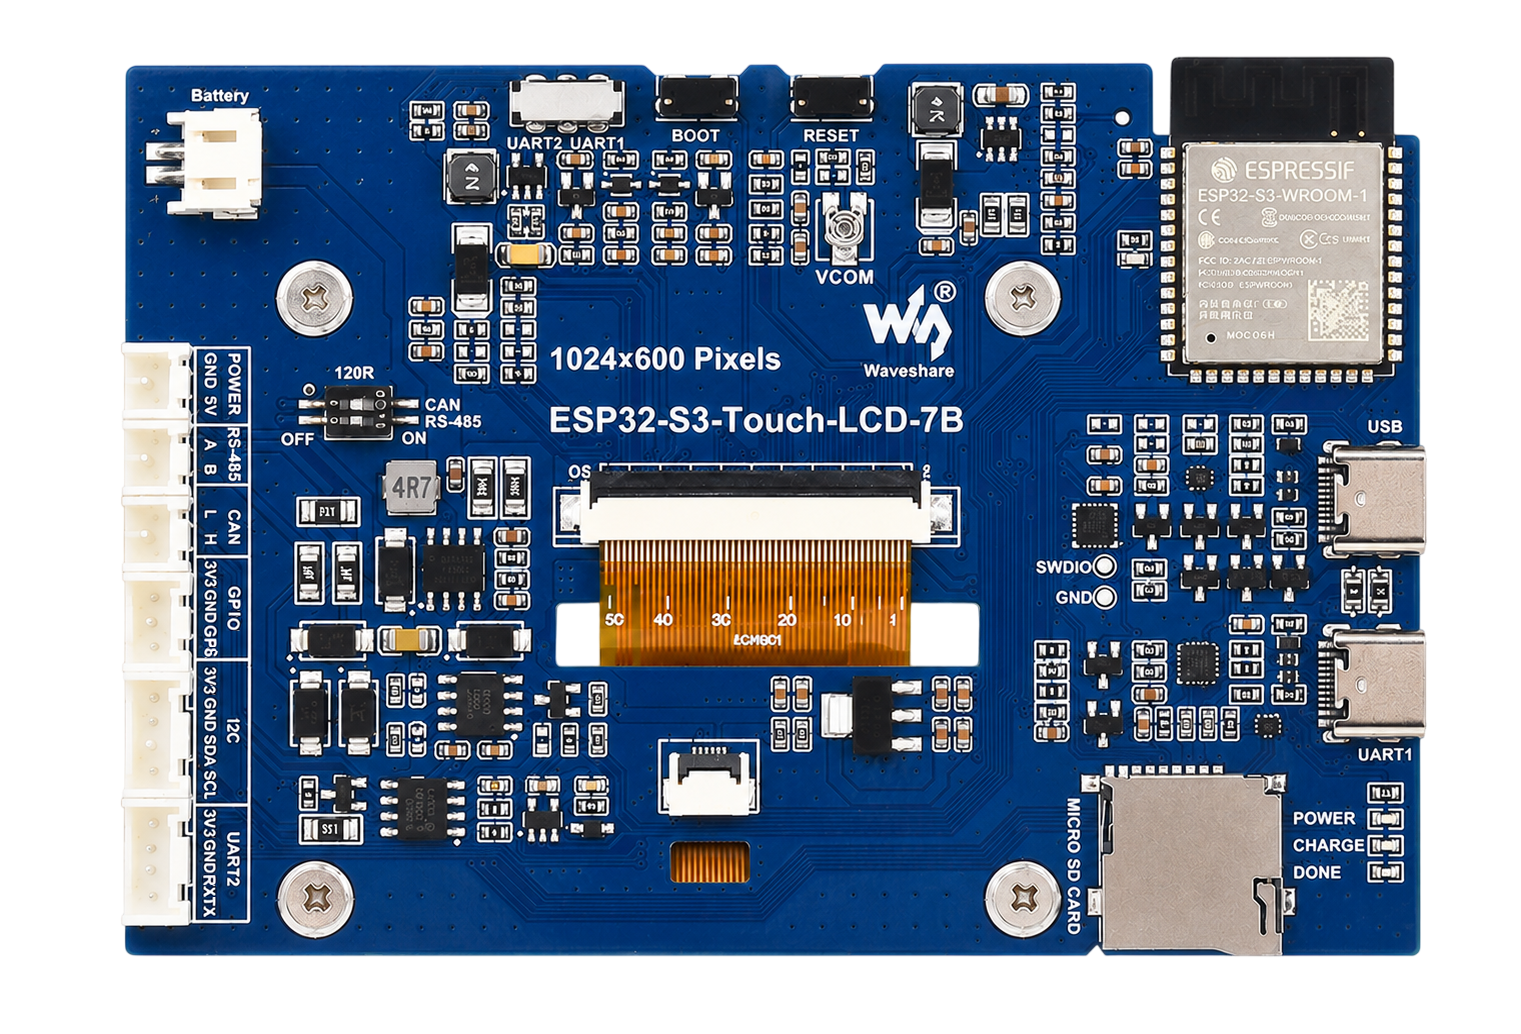
 Design with ESP32S3 7" Touch Display in Cirkit Designer
Introduction
The ESP32S3 7" Touch Display (Manufacturer Part ID: ESP32-S3-TOUCH-LCD-7) by Waveshare is a 7-inch touchscreen display integrated with the powerful ESP32-S3 microcontroller. This component is designed for creating interactive user interfaces and visual outputs in embedded systems. It combines the high-performance capabilities of the ESP32-S3 with a vibrant, responsive touchscreen, making it ideal for IoT devices, smart home systems, industrial control panels, and educational projects.
Explore Projects Built with ESP32S3 7" Touch Display
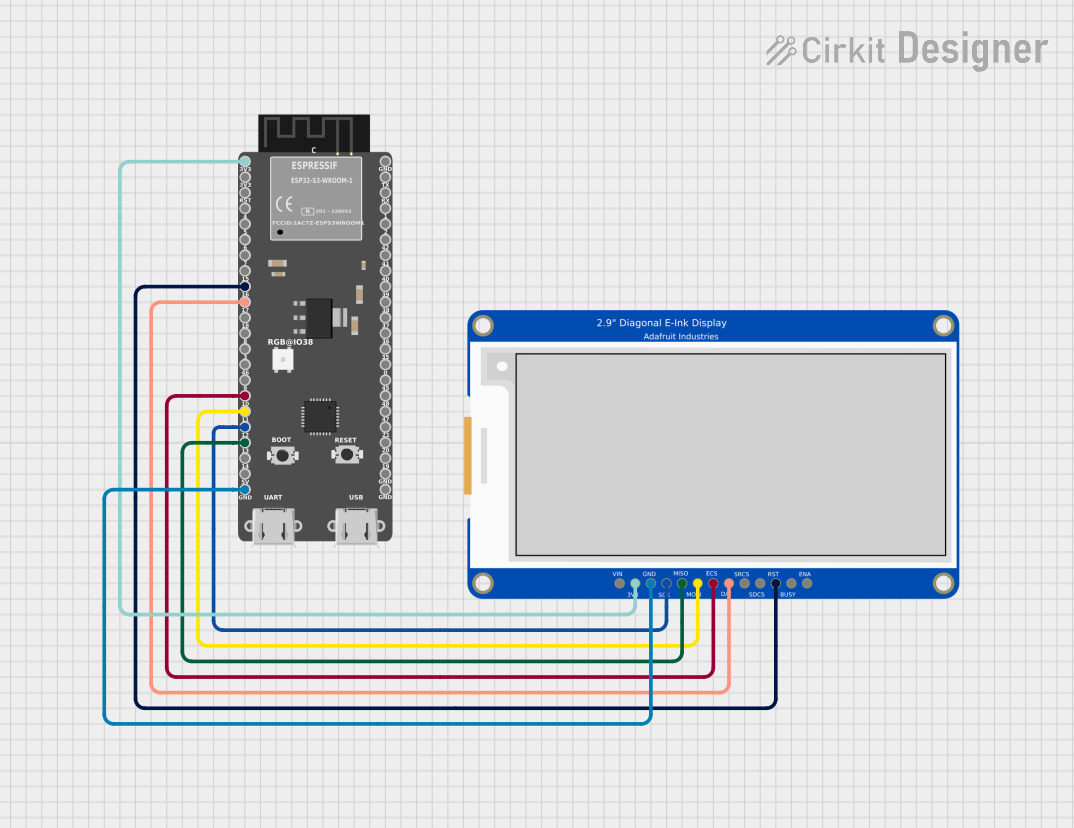 Open Project in Cirkit Designer
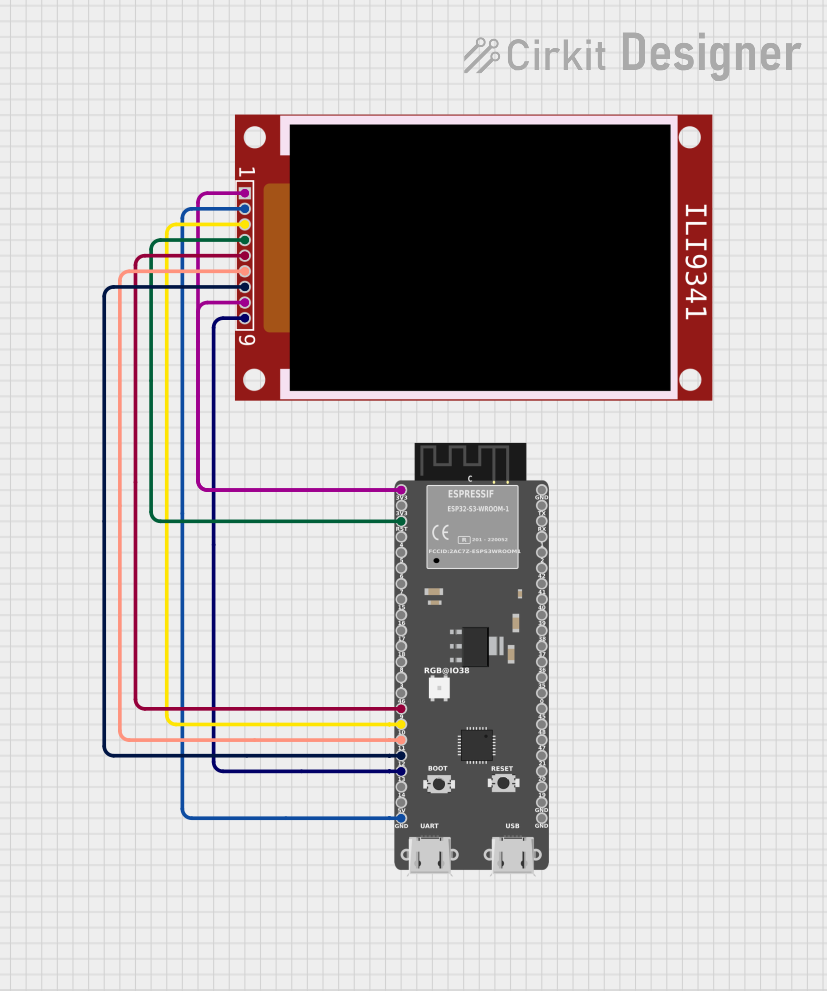 Open Project in Cirkit Designer
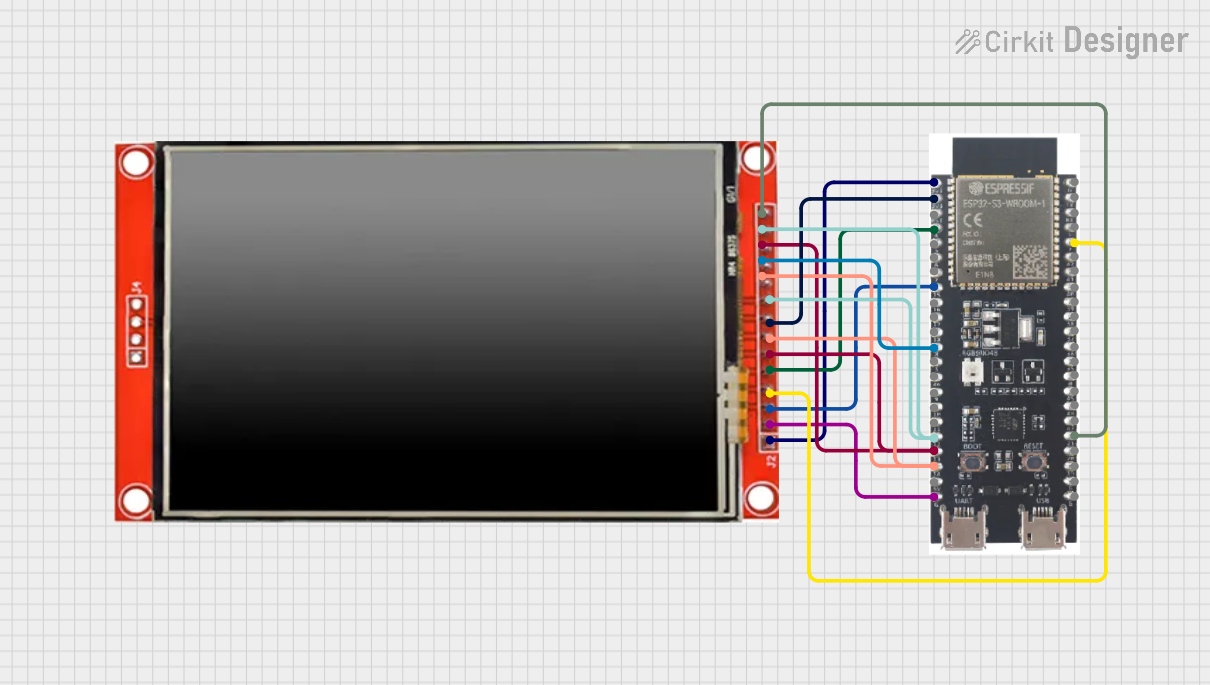 Open Project in Cirkit Designer
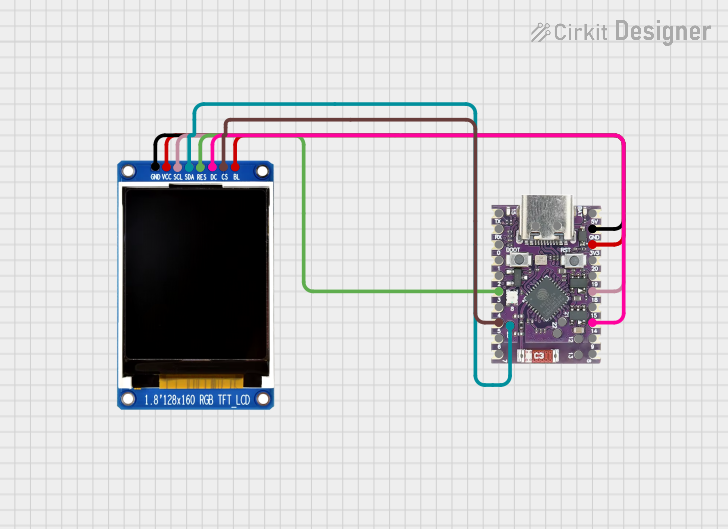 Open Project in Cirkit Designer
Explore Projects Built with ESP32S3 7" Touch Display
Open Project in Cirkit DesignerOpen Project in Cirkit DesignerOpen Project in Cirkit DesignerOpen Project in Cirkit DesignerCommon Applications
- Smart home control panels
- IoT dashboards and monitoring systems
- Industrial automation interfaces
- Educational and prototyping projects
- Portable multimedia devices
Technical Specifications
Key Technical Details
| Parameter | Specification |
|---|---|
| Display Size | 7 inches |
| Resolution | 1024 x 600 pixels |
| Touch Technology | Capacitive multi-touch |
| Microcontroller | ESP32-S3 |
| Processor | Dual-core Xtensa LX7, up to 240 MHz |
| Flash Memory | 16 MB |
| PSRAM | 8 MB |
| Communication Interfaces | UART, SPI, I2C, USB, Wi-Fi, Bluetooth 5.0 |
| Input Voltage | 5V (via USB-C) |
| Operating Temperature | -20°C to 70°C |
| Dimensions | 181.0 mm x 108.0 mm x 15.0 mm |
Pin Configuration and Descriptions
The ESP32S3 7" Touch Display features a USB-C port for power and programming, as well as GPIO pins for additional interfacing. Below is the pin configuration for the GPIO header:
| Pin Number | Pin Name | Description |
|---|---|---|
| 1 | 3.3V | 3.3V power output for external peripherals |
| 2 | GND | Ground |
| 3 | GPIO1 | General-purpose I/O pin |
| 4 | GPIO2 | General-purpose I/O pin |
| 5 | GPIO3 | General-purpose I/O pin |
| 6 | GPIO4 | General-purpose I/O pin |
| 7 | TXD | UART Transmit |
| 8 | RXD | UART Receive |
| 9 | I2C_SCL | I2C Clock Line |
| 10 | I2C_SDA | I2C Data Line |
Usage Instructions
How to Use the Component in a Circuit
Powering the Display:
Connect the display to a 5V power source using the USB-C port. Ensure the power supply can provide at least 1A of current for stable operation.Programming the ESP32-S3:
Use a USB-C cable to connect the display to your computer. Install the necessary drivers for the ESP32-S3 and use the Arduino IDE or ESP-IDF for programming.Connecting Peripherals:
Use the GPIO pins to connect external sensors, actuators, or other peripherals. Ensure the voltage levels are compatible with the 3.3V logic of the ESP32-S3.Touchscreen Interface:
The capacitive touchscreen is pre-calibrated and can be used directly with supported libraries. Use the LVGL (Light and Versatile Graphics Library) for creating graphical user interfaces.
Important Considerations and Best Practices
- Power Supply: Always use a stable 5V power source to avoid display flickering or ESP32-S3 resets.
- ESD Protection: Handle the touchscreen carefully to avoid electrostatic discharge damage.
- Firmware Updates: Regularly update the ESP32-S3 firmware to ensure compatibility with the latest libraries and features.
- Library Support: Use the official Waveshare libraries or LVGL for optimal performance and compatibility.
Example Code for Arduino UNO Integration
Below is an example of how to use the ESP32-S3 7" Touch Display with the Arduino IDE to display a simple "Hello, World!" message on the screen:
#include <TFT_eSPI.h>  // Include the TFT library
#include <lvgl.h>      // Include the LVGL library

TFT_eSPI tft = TFT_eSPI();  // Create an instance of the TFT display

void setup() {
  tft.begin();              // Initialize the display
  tft.setRotation(1);       // Set display orientation
  tft.fillScreen(TFT_BLACK); // Clear the screen with black color

  // Display "Hello, World!" on the screen
  tft.setTextColor(TFT_WHITE, TFT_BLACK); // Set text color (white on black)
  tft.setTextSize(2);                     // Set text size
  tft.setCursor(50, 100);                 // Set cursor position
  tft.println("Hello, World!");           // Print message
}

void loop() {
  // No actions in the loop for this example
}
Notes:
- Install the TFT_eSPI and LVGL libraries in the Arduino IDE before running the code.
- Modify the
setCursorvalues to adjust the position of the text on the screen.
Troubleshooting and FAQs
Common Issues and Solutions
Display Not Turning On:
- Ensure the USB-C cable is properly connected and the power source provides sufficient current.
- Check for loose connections or damaged cables.
Touchscreen Not Responding:
- Verify that the touchscreen library is correctly installed and initialized in your code.
- Ensure no physical obstructions are on the screen.
ESP32-S3 Not Detected by Computer:
- Install the correct USB drivers for the ESP32-S3.
- Try a different USB cable or port.
Flickering or Unstable Display:
- Use a stable 5V power supply with adequate current capacity.
- Avoid using long or thin USB cables that may cause voltage drops.
FAQs
Q: Can I use this display with other microcontrollers?
A: While the ESP32-S3 is integrated into the display, you can use the GPIO pins to interface with other microcontrollers. However, the touchscreen and display functionalities are optimized for the ESP32-S3.
Q: Does the display support Wi-Fi and Bluetooth?
A: Yes, the ESP32-S3 microcontroller includes built-in Wi-Fi and Bluetooth 5.0 support.
Q: Can I run the display on battery power?
A: Yes, you can use a 5V battery pack with a USB-C output, but ensure it provides sufficient current (at least 1A).
Q: Is the display sunlight-readable?
A: The display is designed for indoor use and may not be easily readable in direct sunlight.
This concludes the documentation for the ESP32S3 7" Touch Display. For further assistance, refer to the official Waveshare documentation or community forums.