How to Use SRF08 Ultrasonic Range Finder : Examples, Pinouts, and Specs
Introduction
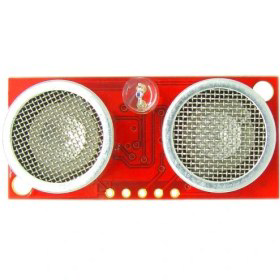
The SRF08 Ultrasonic Range Finder, manufactured by Devantech (Part ID: SRF08), is a high-performance distance measuring device that utilizes ultrasonic waves to determine the distance to an object. It is capable of measuring distances ranging from 6 cm to 6 meters with high accuracy. The SRF08 communicates via the I²C protocol, making it easy to integrate into microcontroller-based systems.
This sensor is widely used in applications such as:
- Robotics: For obstacle detection and navigation.
- Automation: In industrial systems for proximity sensing.
- Security Systems: For motion detection and monitoring.
- Research and Development: For prototyping and testing distance measurement systems.
Explore Projects Built with SRF08 Ultrasonic Range Finder
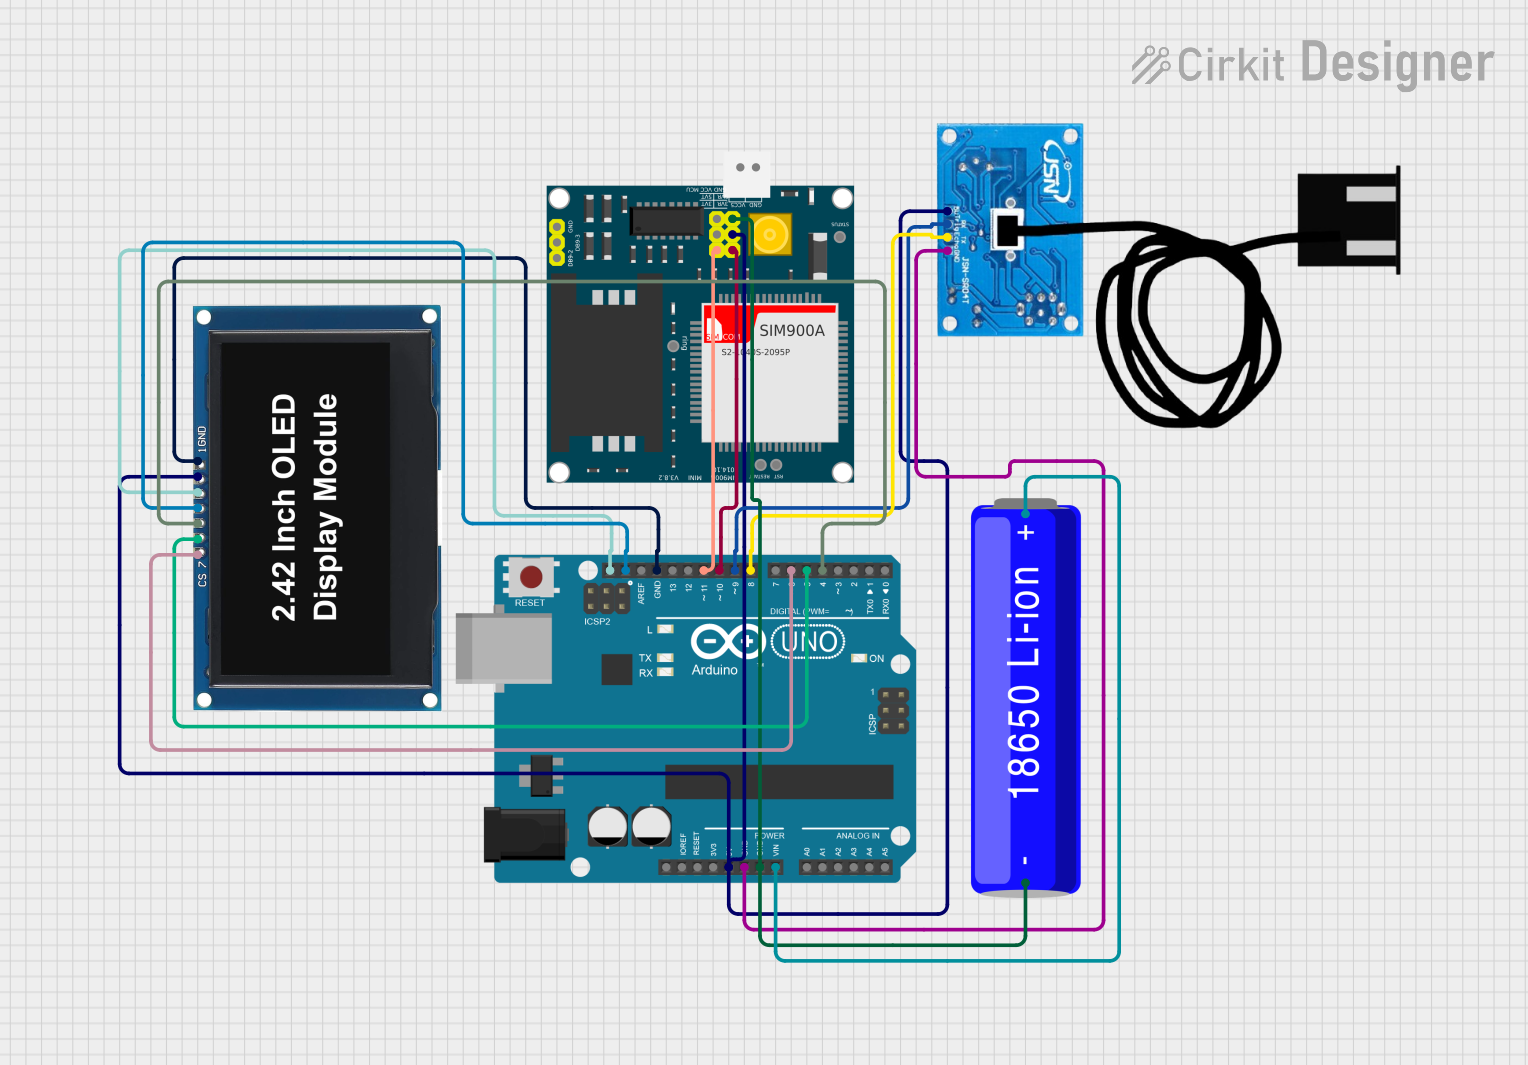
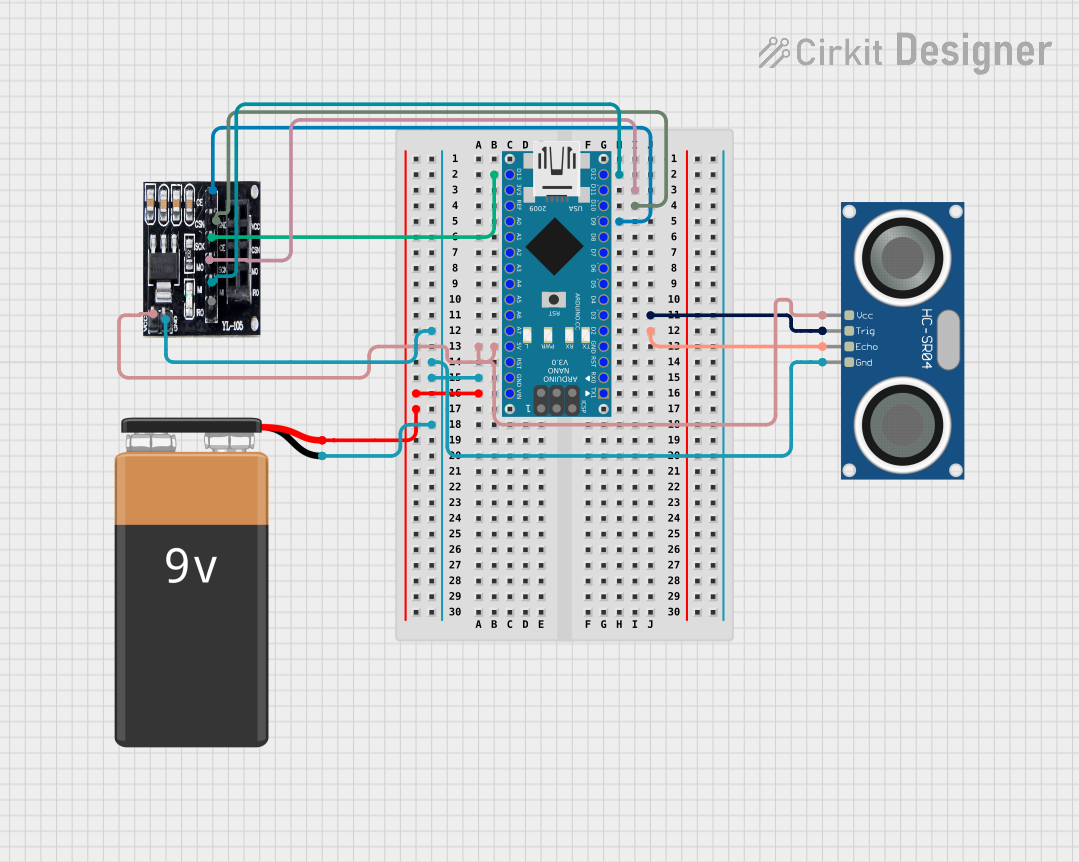
Explore Projects Built with SRF08 Ultrasonic Range Finder
Technical Specifications
Below are the key technical details of the SRF08 Ultrasonic Range Finder:
| Parameter | Value |
|---|---|
| Operating Voltage | 5 V DC |
| Operating Current | 15 mA (typical), 3 mA (standby) |
| Measurement Range | 6 cm to 6 m |
| Measurement Resolution | 1 cm |
| Communication Protocol | I²C |
| Default I²C Address | 0xE0 (can be changed) |
| Beam Angle | 55° |
| Operating Frequency | 40 kHz |
| Dimensions | 20 mm x 43 mm x 17 mm |
Pin Configuration and Descriptions
The SRF08 has a 5-pin interface. The pin configuration is as follows:
| Pin | Name | Description |
|---|---|---|
| 1 | VCC | Power supply input (5 V DC). |
| 2 | GND | Ground connection. |
| 3 | SDA | I²C data line for communication with the microcontroller. |
| 4 | SCL | I²C clock line for communication with the microcontroller. |
| 5 | LED | LED output pin (active when the sensor is ranging). |
Usage Instructions
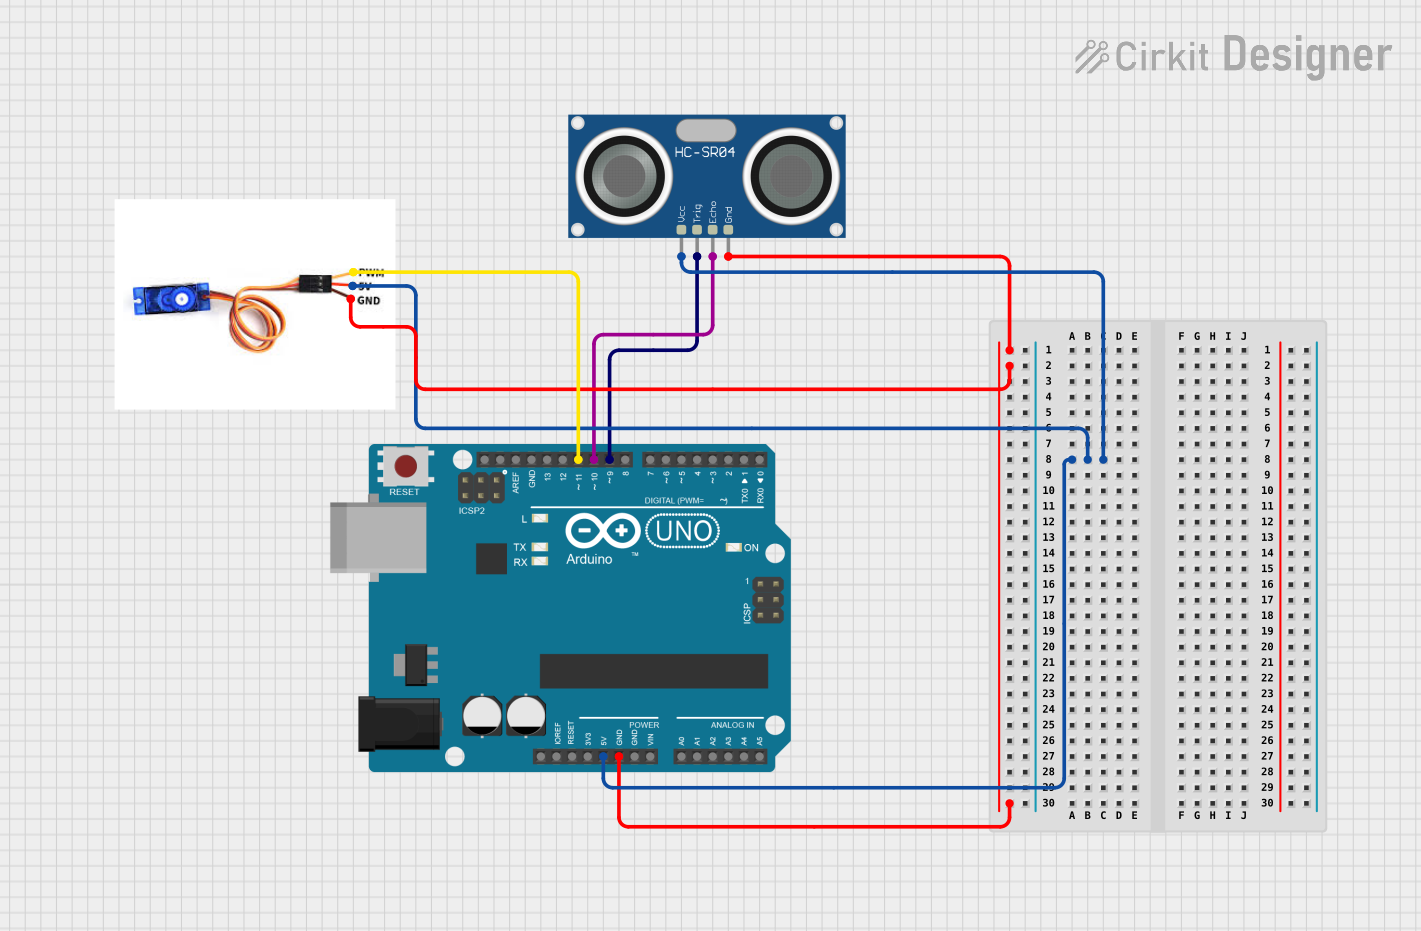
Connecting the SRF08 to a Microcontroller
To use the SRF08, connect it to a microcontroller (e.g., Arduino UNO) as follows:
- Connect the VCC pin to the 5V pin of the microcontroller.
- Connect the GND pin to the ground (GND) of the microcontroller.
- Connect the SDA pin to the SDA pin of the microcontroller (A4 on Arduino UNO).
- Connect the SCL pin to the SCL pin of the microcontroller (A5 on Arduino UNO).
I²C Communication
The SRF08 communicates using the I²C protocol. The default I²C address is 0xE0, but it can be changed by writing to the address register. The sensor provides distance measurements in centimeters or inches, which can be read from its internal registers.
Sample Arduino Code
Below is an example of how to use the SRF08 with an Arduino UNO to measure distance:
#include <Wire.h> // Include the Wire library for I²C communication

#define SRF08_ADDRESS 0xE0 // Default I²C address of the SRF08

void setup() {
  Wire.begin(); // Initialize I²C communication
  Serial.begin(9600); // Start serial communication for debugging
}

void loop() {
  // Send a ranging command to the SRF08
  Wire.beginTransmission(SRF08_ADDRESS);
  Wire.write(0x00); // Command register
  Wire.write(0x51); // Ranging command in centimeters
  Wire.endTransmission();

  delay(70); // Wait for the measurement to complete

  // Read the high and low bytes of the distance
  Wire.beginTransmission(SRF08_ADDRESS);
  Wire.write(0x02); // High byte of the distance register
  Wire.endTransmission();

  Wire.requestFrom(SRF08_ADDRESS, 2); // Request 2 bytes from the sensor
  if (Wire.available() >= 2) {
    int highByte = Wire.read(); // Read the high byte
    int lowByte = Wire.read();  // Read the low byte
    int distance = (highByte << 8) + lowByte; // Combine the bytes into a single value

    Serial.print("Distance: ");
    Serial.print(distance);
    Serial.println(" cm");
  }

  delay(500); // Wait before the next measurement
}
Important Considerations
- Power Supply: Ensure a stable 5V power supply to avoid measurement errors.
- I²C Pull-Up Resistors: Use appropriate pull-up resistors (typically 4.7 kΩ) on the SDA and SCL lines if not already present on your microcontroller.
- Beam Angle: The sensor has a 55° beam angle, so ensure there are no obstructions within this range to avoid false readings.
- Measurement Timing: Allow sufficient time (at least 65 ms) between measurements to ensure accurate results.
Troubleshooting and FAQs
Common Issues and Solutions
No Response from the Sensor
- Ensure the sensor is powered correctly (5V on VCC and GND connected).
- Verify the I²C connections (SDA and SCL) and check for proper pull-up resistors.
- Confirm the I²C address (default is 0xE0) and update your code if the address has been changed.
Incorrect Distance Measurements
- Check for obstructions within the 55° beam angle that may cause reflections.
- Ensure the target object is within the measurable range (6 cm to 6 m).
- Verify that the sensor is mounted securely to avoid vibrations.
Interference from Other Ultrasonic Sensors
- If multiple ultrasonic sensors are used, ensure they are triggered sequentially to avoid cross-interference.
FAQs
Q: Can the I²C address of the SRF08 be changed?
A: Yes, the I²C address can be changed by writing to the address register. Refer to the SRF08 datasheet for detailed instructions.
Q: What is the maximum range of the SRF08?
A: The SRF08 can measure distances up to 6 meters.
Q: Can the SRF08 detect transparent objects?
A: Ultrasonic sensors may have difficulty detecting transparent objects like glass due to poor sound wave reflection.
Q: Is the SRF08 compatible with 3.3V systems?
A: The SRF08 requires a 5V power supply. However, level shifters can be used to interface with 3.3V systems.
By following this documentation, you can effectively integrate the SRF08 Ultrasonic Range Finder into your projects for reliable distance measurement.