How to Use Terminal PCB 3 Pin: Examples, Pinouts, and Specs
Introduction
The Terminal PCB 3 Pin is a versatile and essential component used for connecting wires to a printed circuit board (PCB). It allows for easy and secure connections and disconnections, making it ideal for various electronic projects and applications. This component is commonly used in power supply connections, signal connections, and other scenarios where a reliable and detachable connection is required.
Explore Projects Built with Terminal PCB 3 Pin
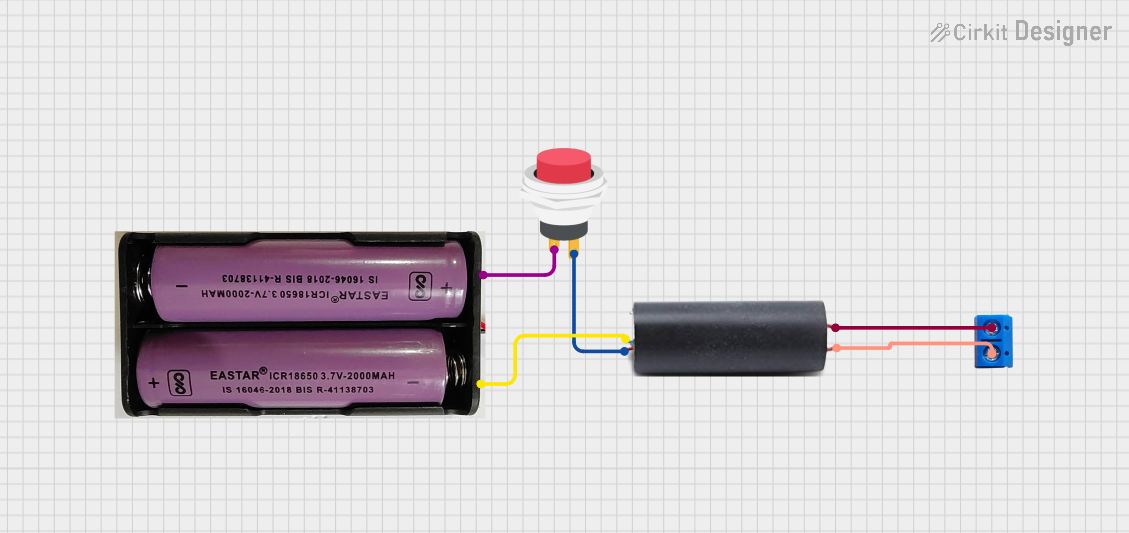


Explore Projects Built with Terminal PCB 3 Pin
Technical Specifications
Key Technical Details
| Parameter | Value |
|---|---|
| Number of Pins | 3 |
| Rated Voltage | 300V AC/DC |
| Rated Current | 10A |
| Wire Gauge | 12-24 AWG |
| Pitch | 5.08mm |
| Operating Temp | -40°C to +105°C |
| Material | Polyamide (PA), UL94V-0 |
| Contact Material | Phosphor Bronze, Tin Plated |
Pin Configuration and Descriptions
| Pin Number | Description |
|---|---|
| 1 | Terminal 1 (Input) |
| 2 | Terminal 2 (Common) |
| 3 | Terminal 3 (Output) |
Usage Instructions
How to Use the Component in a Circuit
Mounting the Terminal Block:
- Solder the terminal block onto the PCB at the designated location.
- Ensure that the pins are properly aligned with the PCB holes.
Connecting Wires:
- Strip the insulation off the wire ends (approximately 5-7mm).
- Insert the stripped wire ends into the terminal block openings.
- Tighten the screws on the terminal block to secure the wires in place.
Connecting to an Arduino UNO:
- Connect the wires from the terminal block to the corresponding pins on the Arduino UNO.
- For example, if using the terminal block for a sensor, connect the sensor's output to an analog or digital pin on the Arduino.
Important Considerations and Best Practices
- Wire Gauge: Ensure that the wire gauge is within the specified range (12-24 AWG) for optimal performance.
- Tightening Screws: Do not overtighten the screws, as this may damage the wires or the terminal block.
- Polarity: Pay attention to the polarity of the connections to avoid potential damage to the components.
- Insulation: Ensure that the wire insulation is not inserted into the terminal block to maintain a secure connection.
Troubleshooting and FAQs
Common Issues Users Might Face
Loose Connections:
- Solution: Ensure that the wires are properly stripped and securely tightened in the terminal block.
Intermittent Connections:
- Solution: Check for any loose screws or improperly inserted wires. Re-tighten the screws if necessary.
Overheating:
- Solution: Verify that the current passing through the terminal block does not exceed the rated current (10A). Use appropriate wire gauge to handle the current load.
FAQs
Q1: Can I use the Terminal PCB 3 Pin for high-frequency signals?
- A1: Yes, the terminal block can be used for high-frequency signals, but ensure that the connections are secure and the wire gauge is appropriate for the signal type.
Q2: How do I know if the terminal block is properly connected?
- A2: A properly connected terminal block will have securely tightened screws, and the wires will not move when gently tugged.
Q3: Can I use the terminal block in outdoor applications?
- A3: The terminal block is rated for a wide operating temperature range (-40°C to +105°C), but it is recommended to use additional protection (e.g., enclosures) for outdoor applications to prevent exposure to moisture and other environmental factors.
Example Code for Arduino UNO
// Example code to read a sensor value connected via Terminal PCB 3 Pin
// and print the value to the Serial Monitor

const int sensorPin = A0; // Analog pin connected to Terminal 3 (Output)

void setup() {
  Serial.begin(9600); // Initialize serial communication at 9600 baud rate
}

void loop() {
  int sensorValue = analogRead(sensorPin); // Read the sensor value
  Serial.print("Sensor Value: ");
  Serial.println(sensorValue); // Print the sensor value to Serial Monitor
  delay(1000); // Wait for 1 second before reading again
}
This example demonstrates how to read a sensor value connected to the Terminal PCB 3 Pin and print the value to the Serial Monitor using an Arduino UNO. Ensure that the sensor's output is connected to the analog pin (A0) on the Arduino.
By following this documentation, users can effectively utilize the Terminal PCB 3 Pin in their electronic projects, ensuring secure and reliable connections.