How to Use Nucleo WB55RG: Examples, Pinouts, and Specs
Introduction
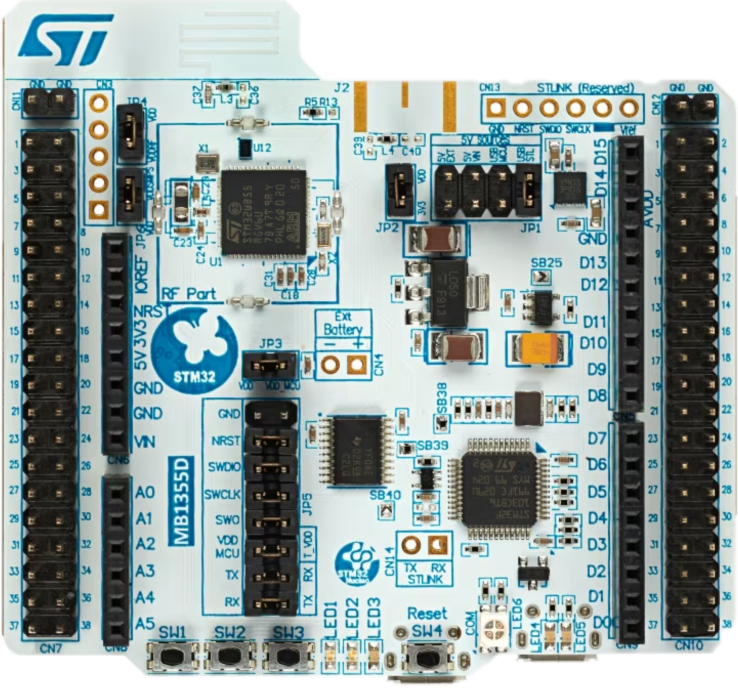
The Nucleo WB55RG is a development board featuring the STM32WB55 microcontroller, which supports Bluetooth Low Energy (BLE) and IEEE 802.15.4 wireless communication. Manufactured by STMicroelectronics, this board is designed for prototyping and development of IoT applications. It provides a versatile platform for developers to create and test wireless communication projects, making it ideal for smart home devices, wearable technology, and industrial automation.
Explore Projects Built with Nucleo WB55RG


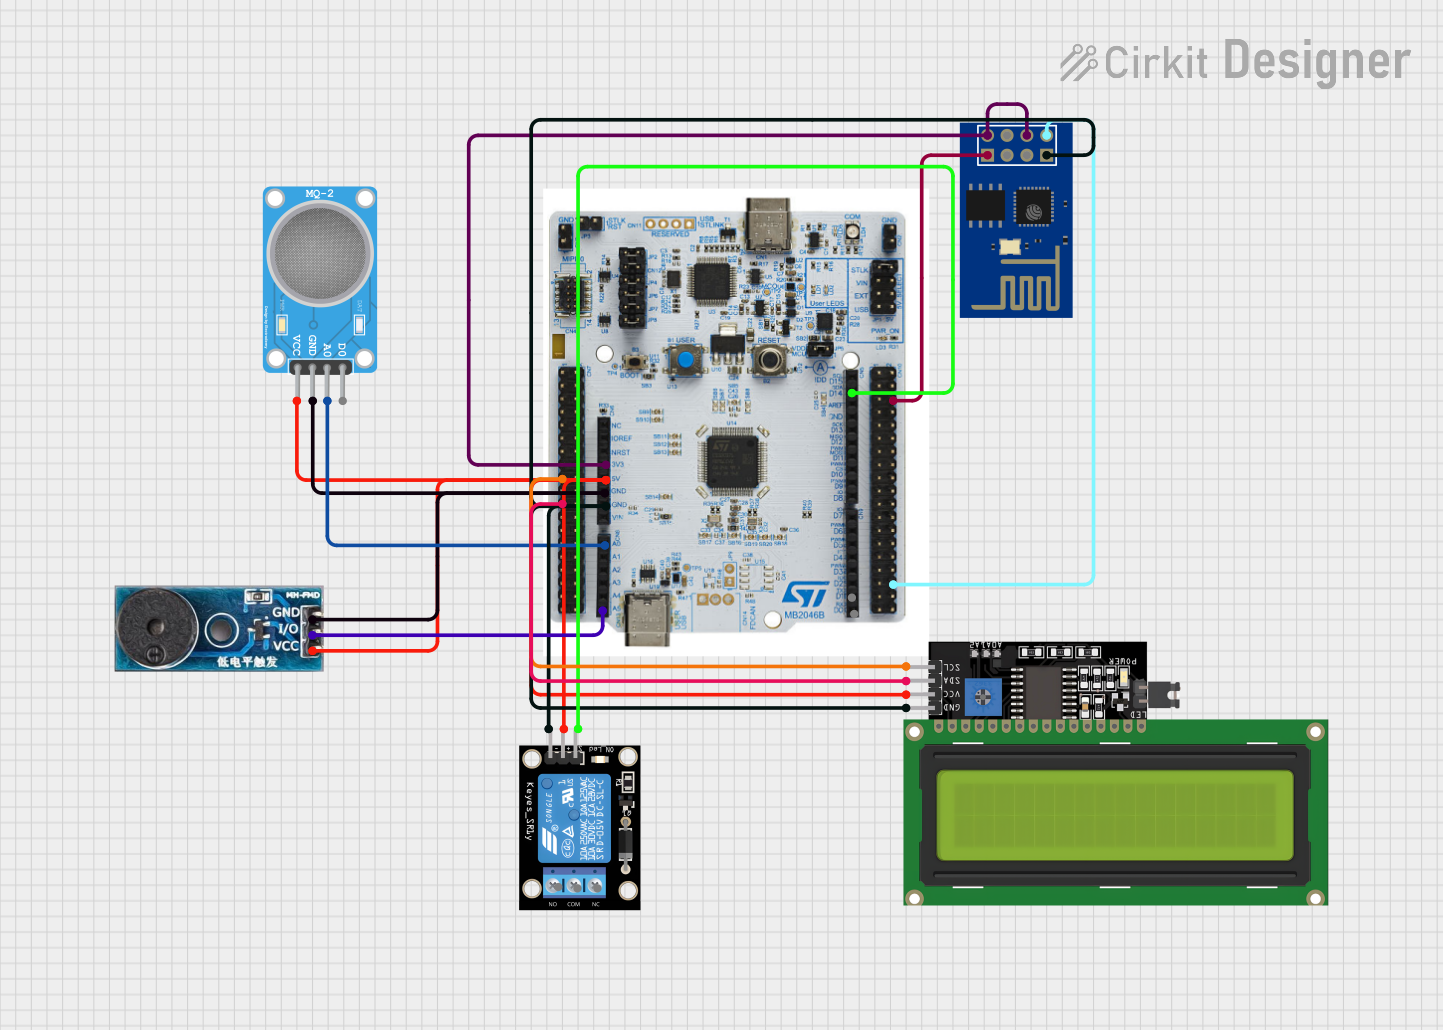
Explore Projects Built with Nucleo WB55RG
Technical Specifications
Key Technical Details
| Specification | Value |
|---|---|
| Microcontroller | STM32WB55RG |
| Core | Arm® Cortex®-M4 and Cortex®-M0+ |
| Operating Voltage | 1.7V to 3.6V |
| Flash Memory | 1 MB |
| RAM | 256 KB |
| Wireless Communication | Bluetooth Low Energy (BLE), IEEE 802.15.4 |
| GPIO Pins | 51 |
| Communication Interfaces | I2C, SPI, UART, USB, CAN |
| Analog Inputs | 16 (12-bit ADC) |
| Digital I/O Pins | 51 |
| PWM Outputs | 16 |
| Debug Interface | SWD |
Pin Configuration and Descriptions
| Pin Number | Pin Name | Description |
|---|---|---|
| 1 | VDD | Power Supply (1.7V to 3.6V) |
| 2 | GND | Ground |
| 3 | PA0 | GPIO/ADC_IN0 |
| 4 | PA1 | GPIO/ADC_IN1 |
| 5 | PA2 | GPIO/ADC_IN2/UART2_TX |
| 6 | PA3 | GPIO/ADC_IN3/UART2_RX |
| 7 | PA4 | GPIO/ADC_IN4/SPI1_NSS |
| 8 | PA5 | GPIO/ADC_IN5/SPI1_SCK |
| 9 | PA6 | GPIO/ADC_IN6/SPI1_MISO |
| 10 | PA7 | GPIO/ADC_IN7/SPI1_MOSI |
| ... | ... | ... |
| 51 | PB15 | GPIO |
Usage Instructions
How to Use the Component in a Circuit
- Power Supply: Connect the VDD pin to a power source within the range of 1.7V to 3.6V and connect the GND pin to the ground.
- GPIO Configuration: Configure the GPIO pins as needed for your application. For example, if you need to use PA0 as an analog input, configure it accordingly in your code.
- Communication Interfaces: Utilize the I2C, SPI, UART, USB, or CAN interfaces for communication with other devices. Ensure proper configuration of the respective pins.
- Wireless Communication: Use the BLE and IEEE 802.15.4 capabilities for wireless communication. Ensure proper initialization and configuration in your firmware.
Important Considerations and Best Practices
- Power Management: Ensure that the power supply is stable and within the specified range to avoid damage to the board.
- Pin Configuration: Double-check the pin configuration in your code to avoid conflicts and ensure proper functionality.
- Firmware Updates: Keep the firmware updated to the latest version to benefit from bug fixes and new features.
- Debugging: Use the SWD interface for debugging and troubleshooting your code.
Example Code for Arduino UNO
#include <Wire.h>

// Define the I2C address for the STM32WB55RG
#define STM32WB55RG_I2C_ADDRESS 0x68

void setup() {
  // Initialize I2C communication
  Wire.begin();

  // Initialize Serial communication for debugging
  Serial.begin(9600);

  // Wait for Serial to initialize
  while (!Serial) {
    ; // Wait for Serial to initialize
  }

  Serial.println("STM32WB55RG I2C Communication Test");
}

void loop() {
  // Request data from the STM32WB55RG
  Wire.beginTransmission(STM32WB55RG_I2C_ADDRESS);
  Wire.write(0x00); // Register address to read from
  Wire.endTransmission();

  Wire.requestFrom(STM32WB55RG_I2C_ADDRESS, 1);

  if (Wire.available()) {
    int data = Wire.read();
    Serial.print("Data received: ");
    Serial.println(data);
  } else {
    Serial.println("No data received");
  }

  delay(1000); // Wait for 1 second before next request
}
Troubleshooting and FAQs
Common Issues Users Might Face
- Power Issues: The board does not power on or resets frequently.
- Communication Failures: Unable to establish communication via I2C, SPI, UART, etc.
- Wireless Connectivity Problems: Issues with BLE or IEEE 802.15.4 communication.
- Pin Configuration Errors: Incorrect pin configuration leading to non-functional GPIOs.
Solutions and Tips for Troubleshooting
- Power Issues: Ensure that the power supply is within the specified range (1.7V to 3.6V). Check for loose connections or faulty power sources.
- Communication Failures: Verify the pin connections and ensure that the correct pins are used for the desired communication interface. Check the baud rate and other communication parameters.
- Wireless Connectivity Problems: Ensure that the wireless module is properly initialized and configured in your firmware. Check for interference from other wireless devices.
- Pin Configuration Errors: Double-check the pin configuration in your code. Refer to the pin configuration table to ensure correct usage.
FAQs
Q1: Can I use the Nucleo WB55RG with other development boards? A1: Yes, the Nucleo WB55RG can be used with other development boards. Ensure proper communication interface configuration and pin connections.
Q2: How do I update the firmware on the Nucleo WB55RG? A2: You can update the firmware using the ST-Link utility or other compatible tools. Follow the manufacturer's instructions for firmware updates.
Q3: What is the maximum range for BLE communication? A3: The maximum range for BLE communication depends on various factors, including the environment and antenna design. Typically, it ranges from 10 to 100 meters.
Q4: Can I use the Nucleo WB55RG for industrial applications? A4: Yes, the Nucleo WB55RG is suitable for industrial applications, especially for prototyping and development. Ensure that the final product meets industrial standards and certifications.
This documentation provides a comprehensive overview of the Nucleo WB55RG development board, including its technical specifications, usage instructions, and troubleshooting tips. Whether you are a beginner or an experienced developer, this guide will help you effectively utilize the Nucleo WB55RG in your projects.