How to Use Grove Arduino Uno: Examples, Pinouts, and Specs
Introduction
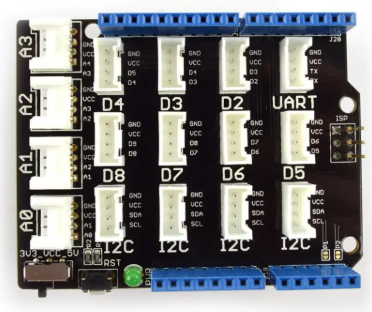
The Grove Arduino Uno is a microcontroller board developed by Arduino, based on the ATmega328P microcontroller. It is designed for seamless integration with Grove modules, making it an excellent choice for rapid prototyping and educational purposes. The board features a USB interface for programming and power, along with a standard set of digital and analog I/O pins.
Explore Projects Built with Grove Arduino Uno
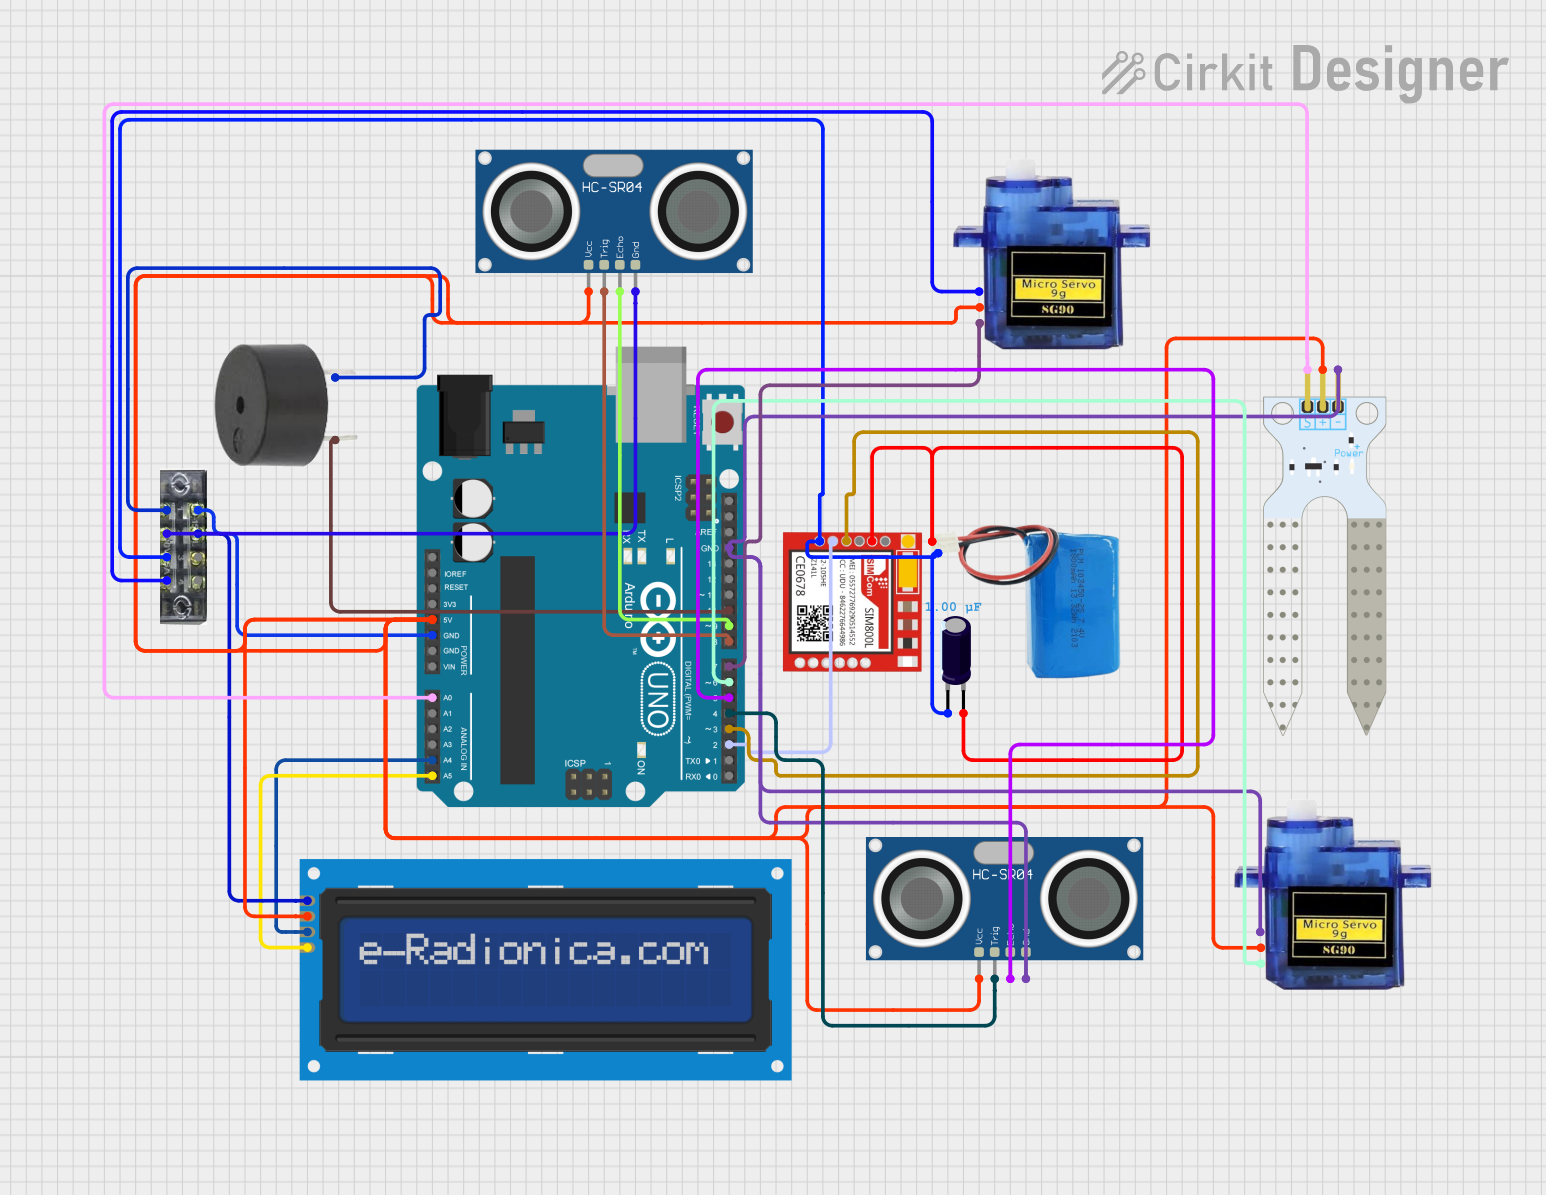
Explore Projects Built with Grove Arduino Uno
Common Applications and Use Cases
- Prototyping IoT devices
- Educational projects for learning microcontroller programming
- Sensor data acquisition and processing
- Home automation systems
- Robotics and motor control
Technical Specifications
The following table outlines the key technical details of the Grove Arduino Uno:
| Parameter | Specification |
|---|---|
| Microcontroller | ATmega328P |
| Operating Voltage | 5V |
| Input Voltage (recommended) | 7-12V |
| Input Voltage (limit) | 6-20V |
| Digital I/O Pins | 14 (6 provide PWM output) |
| Analog Input Pins | 6 |
| DC Current per I/O Pin | 20 mA |
| Flash Memory | 32 KB (0.5 KB used by bootloader) |
| SRAM | 2 KB |
| EEPROM | 1 KB |
| Clock Speed | 16 MHz |
| USB Interface | Type-B USB |
| Dimensions | 68.6 mm x 53.4 mm |
Pin Configuration and Descriptions
The Grove Arduino Uno features a standard pinout, as shown in the table below:
| Pin | Type | Description |
|---|---|---|
| 0-13 | Digital I/O | General-purpose digital input/output pins. Pins 3, 5, 6, 9, 10, and 11 support PWM. |
| A0-A5 | Analog Input | Analog input pins for reading sensor data (10-bit resolution). |
| GND | Ground | Ground reference for the circuit. |
| 5V | Power Output | Provides regulated 5V output. |
| 3.3V | Power Output | Provides regulated 3.3V output. |
| VIN | Power Input | Input voltage to the board when using an external power source (7-12V recommended). |
| RESET | Reset | Resets the microcontroller. |
| ICSP | Programming | In-Circuit Serial Programming header for flashing firmware. |
| TX/RX | Serial | Transmit (TX) and Receive (RX) pins for serial communication. |
Usage Instructions
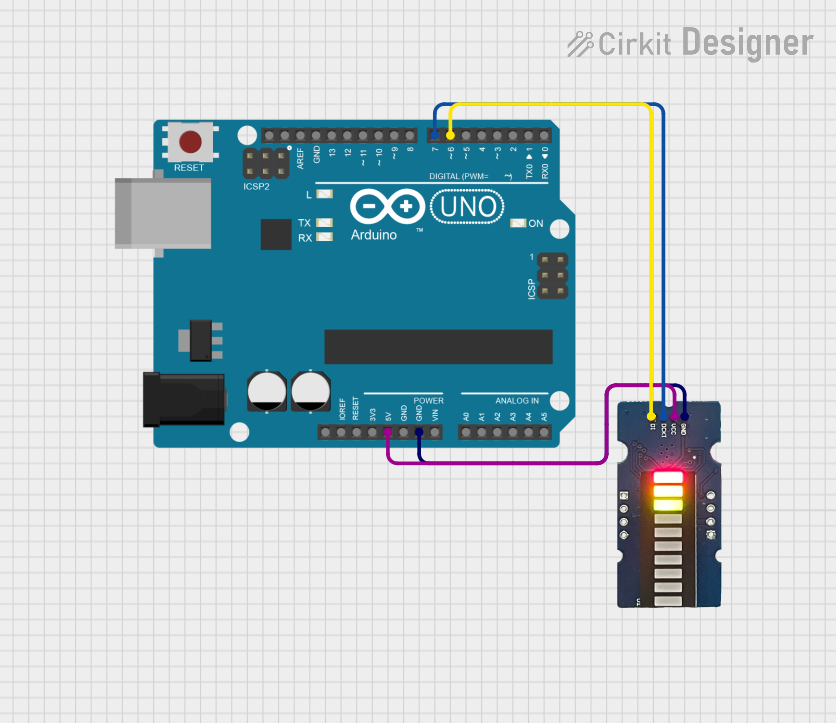
How to Use the Grove Arduino Uno in a Circuit
- Power the Board: Connect the Grove Arduino Uno to your computer using a USB Type-B cable or use an external power source (7-12V recommended).
- Connect Grove Modules: Use Grove cables to connect compatible modules to the board. Ensure the correct pin alignment.
- Upload Code: Open the Arduino IDE, select the correct board (
Arduino Uno) and port, and upload your code. - Monitor Output: Use the Serial Monitor in the Arduino IDE to debug or view data from the board.
Important Considerations and Best Practices
- Voltage Levels: Ensure that connected modules operate at 5V or 3.3V to avoid damaging the board.
- Current Limits: Do not exceed 20 mA per I/O pin or 200 mA total current draw from the board.
- Static Protection: Handle the board with care to avoid static discharge, which can damage the microcontroller.
- Firmware Updates: Keep the Arduino IDE and board firmware up to date for compatibility with the latest libraries.
Example Code for Grove Arduino Uno
Below is an example of how to use the Grove Arduino Uno with a Grove Light Sensor:
// Example: Reading data from a Grove Light Sensor connected to A0
const int lightSensorPin = A0; // Define the analog pin connected to the sensor

void setup() {
  Serial.begin(9600); // Initialize serial communication at 9600 baud
  Serial.println("Grove Light Sensor Test"); // Print a startup message
}

void loop() {
  int sensorValue = analogRead(lightSensorPin); // Read the analog value from the sensor
  float voltage = sensorValue * (5.0 / 1023.0); // Convert the value to voltage
  Serial.print("Sensor Value: ");
  Serial.print(sensorValue); // Print the raw sensor value
  Serial.print(" | Voltage: ");
  Serial.println(voltage); // Print the calculated voltage
  delay(500); // Wait for 500 milliseconds before the next reading
}
Troubleshooting and FAQs
Common Issues and Solutions
Board Not Detected by Computer:
- Ensure the USB cable is properly connected and functional.
- Check if the correct port is selected in the Arduino IDE.
- Install or update the USB driver for the Arduino Uno.
Code Upload Fails:
- Verify that the correct board (
Arduino Uno) is selected in the Arduino IDE. - Press the reset button on the board before uploading the code.
- Ensure no other application is using the COM port.
- Verify that the correct board (
Grove Module Not Working:
- Double-check the connections and ensure the module is compatible with the board.
- Verify that the module is receiving the correct voltage (5V or 3.3V).
Serial Monitor Not Displaying Data:
- Ensure the baud rate in the Serial Monitor matches the
Serial.begin()value in your code. - Check the USB connection and port settings.
- Ensure the baud rate in the Serial Monitor matches the
FAQs
Q: Can I use the Grove Arduino Uno with non-Grove components?
A: Yes, the board is fully compatible with standard Arduino shields and components. You can connect non-Grove components using jumper wires.
Q: What is the maximum current the board can supply?
A: The total current draw from the board should not exceed 200 mA. For higher current requirements, use an external power source.
Q: Can I power the board using batteries?
A: Yes, you can use a battery pack (7-12V) connected to the VIN pin or the DC power jack.
Q: Is the Grove Arduino Uno compatible with the Arduino IDE?
A: Absolutely. The Grove Arduino Uno is fully supported by the Arduino IDE and uses the same libraries and programming environment as the standard Arduino Uno.
This concludes the documentation for the Grove Arduino Uno. For further assistance, refer to the official Arduino website or community forums.