
How to Use WeMos D1 Mini Battery Shield: Examples, Pinouts, and Specs
 Design with WeMos D1 Mini Battery Shield in Cirkit Designer
Introduction
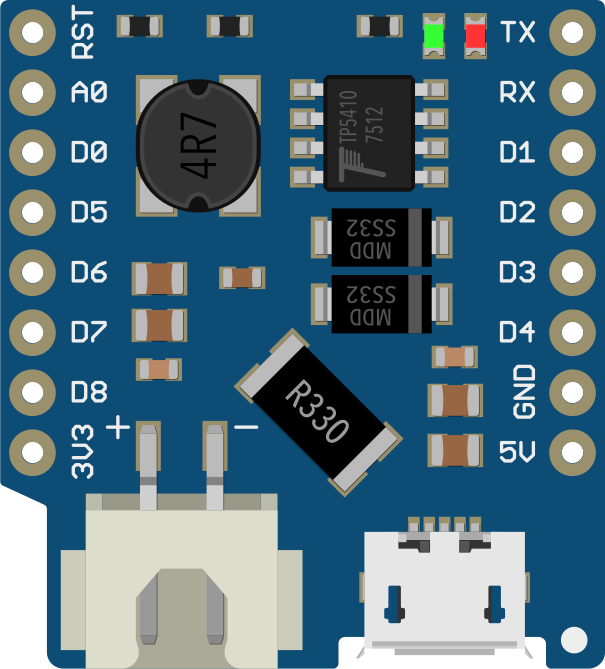
The WeMos D1 Mini Battery Shield is an add-on module designed to provide a portable power supply for the WeMos D1 Mini, a popular ESP8266-based development board. This shield features a battery connector, charging circuitry, and voltage regulation, making it ideal for powering IoT projects, wearables, and other portable applications. It simplifies the integration of a rechargeable lithium-ion or lithium-polymer battery into your project, ensuring reliable and efficient power management.
Explore Projects Built with WeMos D1 Mini Battery Shield
 Open Project in Cirkit Designer
 Open Project in Cirkit Designer
 Open Project in Cirkit Designer
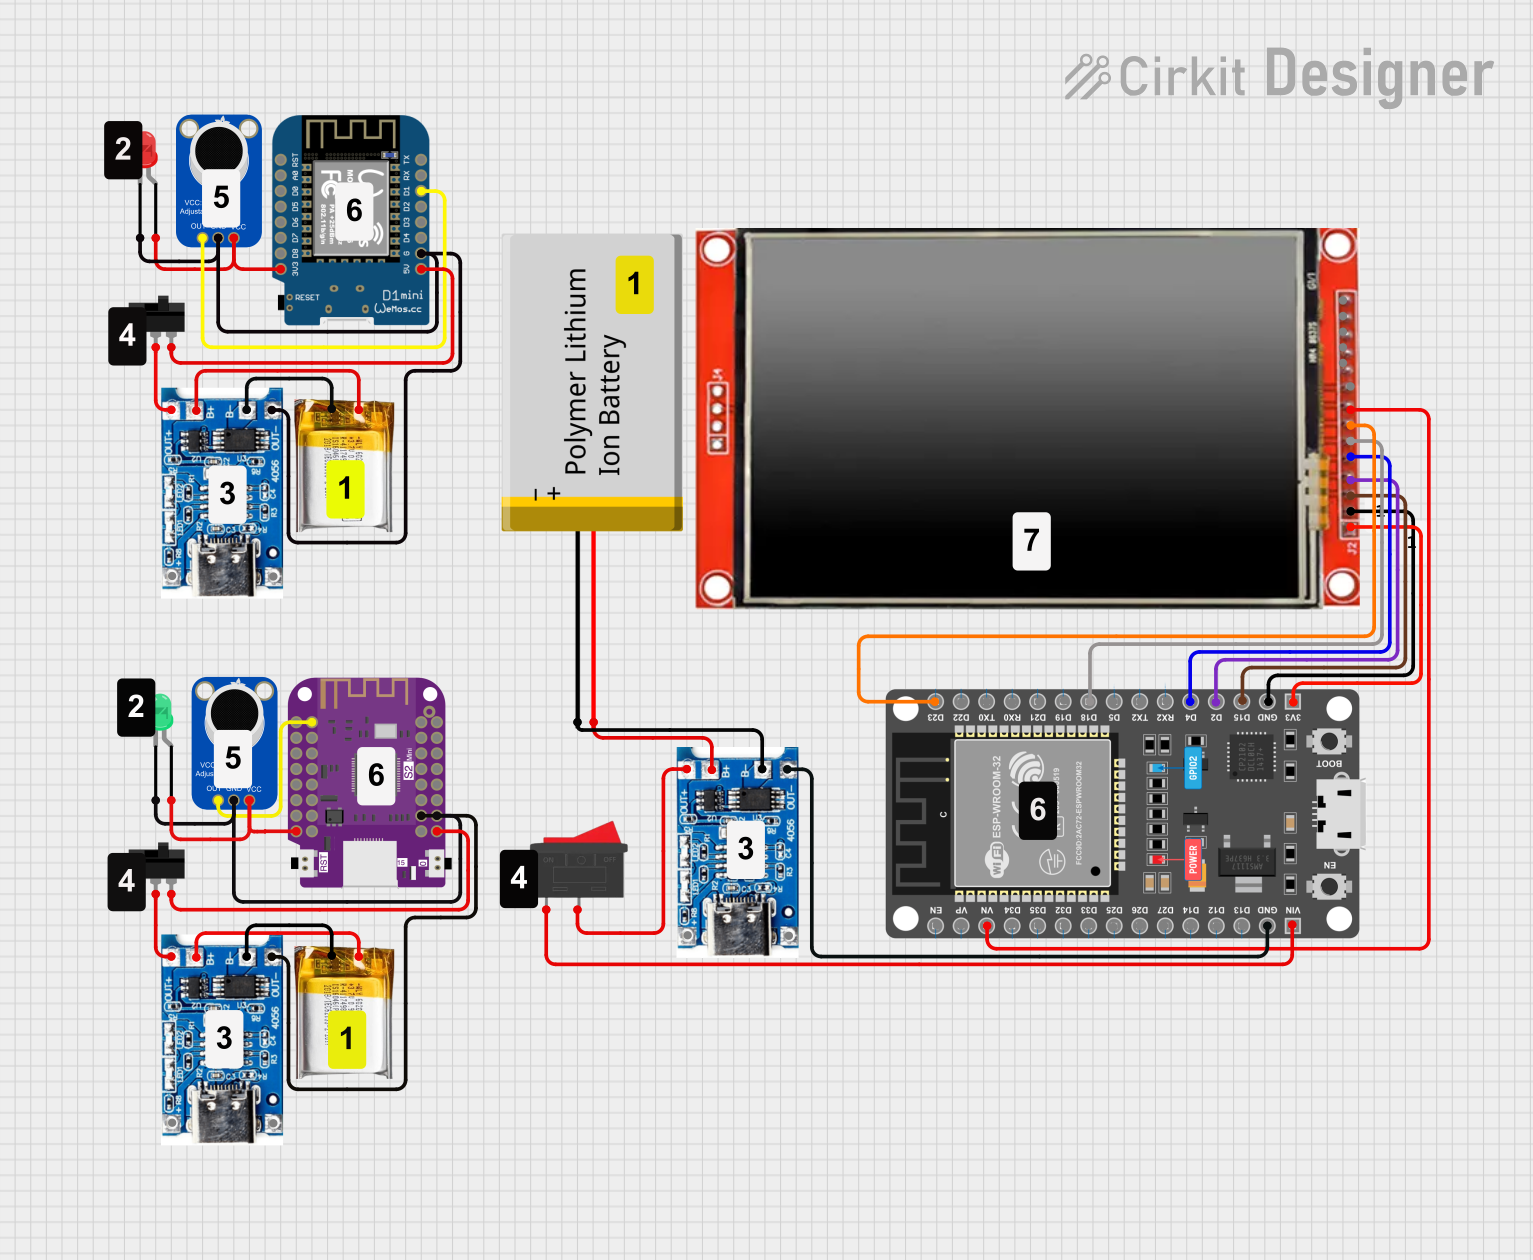 Open Project in Cirkit Designer
Explore Projects Built with WeMos D1 Mini Battery Shield
Open Project in Cirkit DesignerOpen Project in Cirkit DesignerOpen Project in Cirkit DesignerOpen Project in Cirkit DesignerCommon Applications and Use Cases
- Portable IoT devices and sensors
- Wearable electronics
- Battery-powered smart home devices
- Prototyping and testing of ESP8266-based projects
- Projects requiring uninterrupted power during development
Technical Specifications
Key Technical Details
- Input Voltage (via USB): 5V
- Battery Type Supported: Lithium-ion or Lithium-polymer (LiPo) battery
- Battery Connector: JST 2.0 (PH2.0)
- Charging Current: 500mA (default, adjustable via resistor modification)
- Output Voltage: 5V (regulated)
- Output Current: Up to 1A
- Charging Indicator LEDs:
- Red: Charging
- Blue: Fully charged
- Dimensions: 28.5mm x 28.5mm
- Weight: ~5g
Pin Configuration and Descriptions
The WeMos D1 Mini Battery Shield has the following pin layout:
| Pin Name | Description |
|---|---|
| 5V | Regulated 5V output from the battery or USB input. |
| G | Ground pin, common ground for the shield and connected devices. |
| D+ | USB data positive (used for USB communication, typically not connected). |
| D- | USB data negative (used for USB communication, typically not connected). |
| BAT | Direct connection to the battery's positive terminal (unregulated voltage). |
Usage Instructions
How to Use the Component in a Circuit
Connect a Battery:
- Attach a lithium-ion or lithium-polymer battery to the JST 2.0 connector on the shield.
- Ensure the battery is compatible with the shield's specifications (nominal voltage of 3.7V).
Stack the Shield:
- Place the battery shield on top of the WeMos D1 Mini using the provided pin headers.
- Ensure proper alignment of the pins to avoid incorrect connections.
Power the Circuit:
- The shield will automatically regulate the battery voltage to provide a stable 5V output.
- You can also power the shield via the USB port for charging the battery and powering the circuit simultaneously.
Monitor Charging Status:
- Observe the onboard LEDs to check the charging status:
- Red LED: Battery is charging.
- Blue LED: Battery is fully charged.
- Observe the onboard LEDs to check the charging status:
Connect Additional Components:
- Use the 5V and G pins to power external components or sensors in your project.
Important Considerations and Best Practices
- Battery Safety: Only use batteries with built-in protection circuits to prevent overcharging, over-discharging, and short circuits.
- Charging Current Adjustment: The default charging current is 500mA. If your battery requires a different charging current, you can modify the resistor on the shield (refer to the shield's datasheet for details).
- Heat Dissipation: Avoid placing the shield in an enclosed space without ventilation, as the charging circuitry may generate heat.
- USB Power Source: Use a reliable 5V USB power source for charging to ensure stable operation.
Example Code for Arduino UNO
Although the WeMos D1 Mini Battery Shield is not directly connected to an Arduino UNO, you can use the following example code to monitor the battery voltage when connected to the WeMos D1 Mini:
// Example code to read battery voltage on the WeMos D1 Mini
// Connect the BAT pin to an analog input pin (e.g., A0)

// Define the analog pin connected to the BAT pin
const int batteryPin = A0;

// Define the voltage divider ratio (if using a voltage divider circuit)
const float voltageDividerRatio = 2.0;

// Define the ADC reference voltage (3.3V for ESP8266)
const float adcReferenceVoltage = 3.3;

void setup() {
  Serial.begin(115200); // Initialize serial communication
  Serial.println("Battery Voltage Monitoring");
}

void loop() {
  // Read the raw ADC value
  int rawValue = analogRead(batteryPin);

  // Convert the raw ADC value to voltage
  float batteryVoltage = (rawValue / 1023.0) * adcReferenceVoltage * voltageDividerRatio;

  // Print the battery voltage to the Serial Monitor
  Serial.print("Battery Voltage: ");
  Serial.print(batteryVoltage);
  Serial.println(" V");

  delay(1000); // Wait for 1 second before the next reading
}
Note: If the BAT pin is directly connected to the analog input, ensure the voltage does not exceed the ADC's maximum input voltage (typically 3.3V for the ESP8266). Use a voltage divider if necessary.
Troubleshooting and FAQs
Common Issues and Solutions
Battery Not Charging:
- Ensure the battery is properly connected to the JST 2.0 connector.
- Verify that the USB power source provides a stable 5V output.
- Check the red LED indicator to confirm charging status.
No Output Voltage:
- Confirm that the battery is charged and connected correctly.
- Check for proper alignment of the shield with the WeMos D1 Mini.
Overheating During Charging:
- Ensure adequate ventilation around the shield.
- Verify that the battery's capacity and charging current are within safe limits.
Incorrect Voltage Readings:
- If using a voltage divider, ensure the resistor values are correct.
- Verify the ADC reference voltage in your code matches the microcontroller's specifications.
FAQs
Q: Can I use a different type of battery with this shield?
A: No, the shield is specifically designed for lithium-ion or lithium-polymer batteries with a nominal voltage of 3.7V.
Q: Can I power the WeMos D1 Mini directly from the BAT pin?
A: No, the BAT pin provides the unregulated battery voltage. Use the 5V pin for regulated output.
Q: How do I adjust the charging current?
A: The charging current can be adjusted by replacing the onboard resistor. Refer to the shield's datasheet for the resistor value corresponding to your desired current.
Q: Can I use the shield without a battery?
A: Yes, the shield can be powered via USB without a battery, but the charging functionality will be inactive.