
How to Use Rectifier Diode: Examples, Pinouts, and Specs

 Design with Rectifier Diode in Cirkit Designer
Introduction
A rectifier diode is a semiconductor device designed to allow current to flow in only one direction. It is primarily used to convert alternating current (AC) into direct current (DC) by blocking the reverse flow of current. This property makes it an essential component in power supplies, signal demodulation, and various electronic circuits.
Explore Projects Built with Rectifier Diode
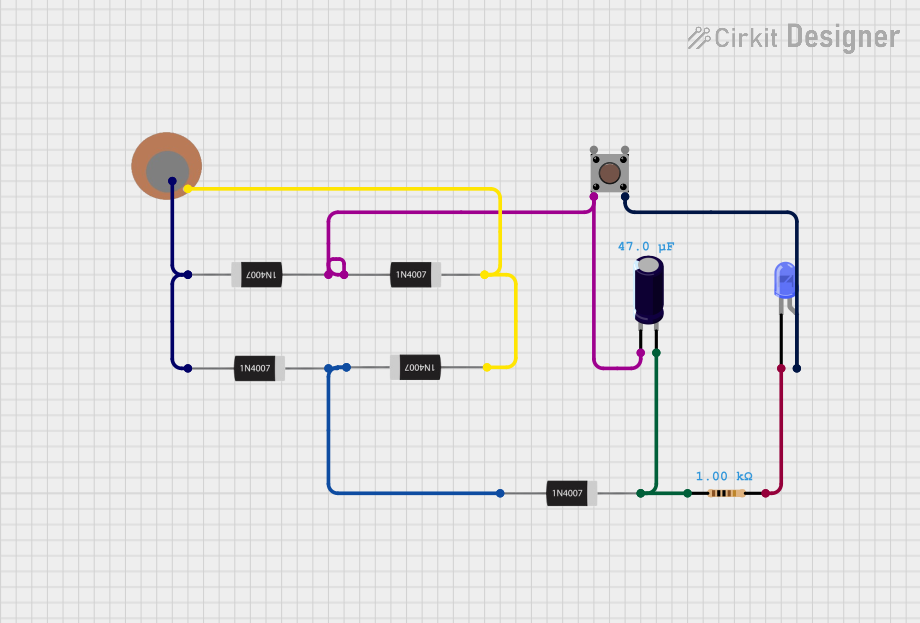 Open Project in Cirkit Designer
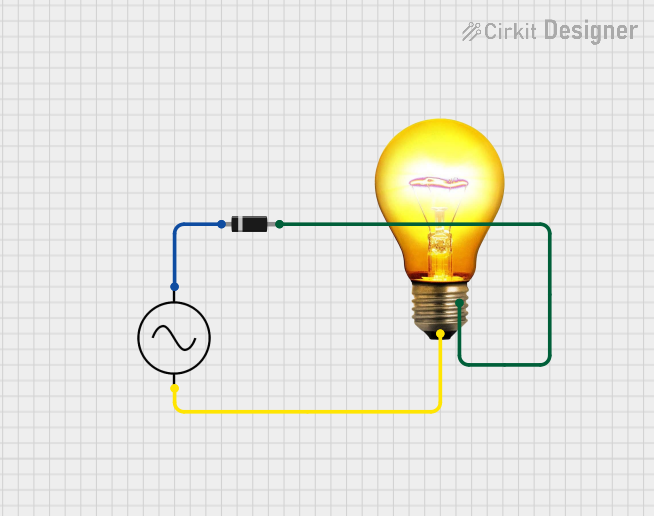 Open Project in Cirkit Designer
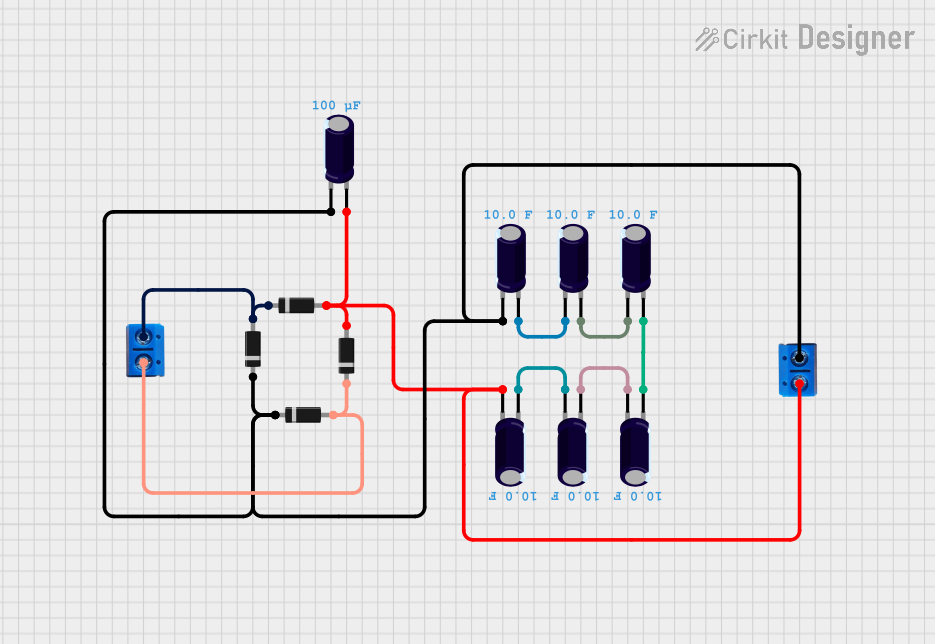 Open Project in Cirkit Designer
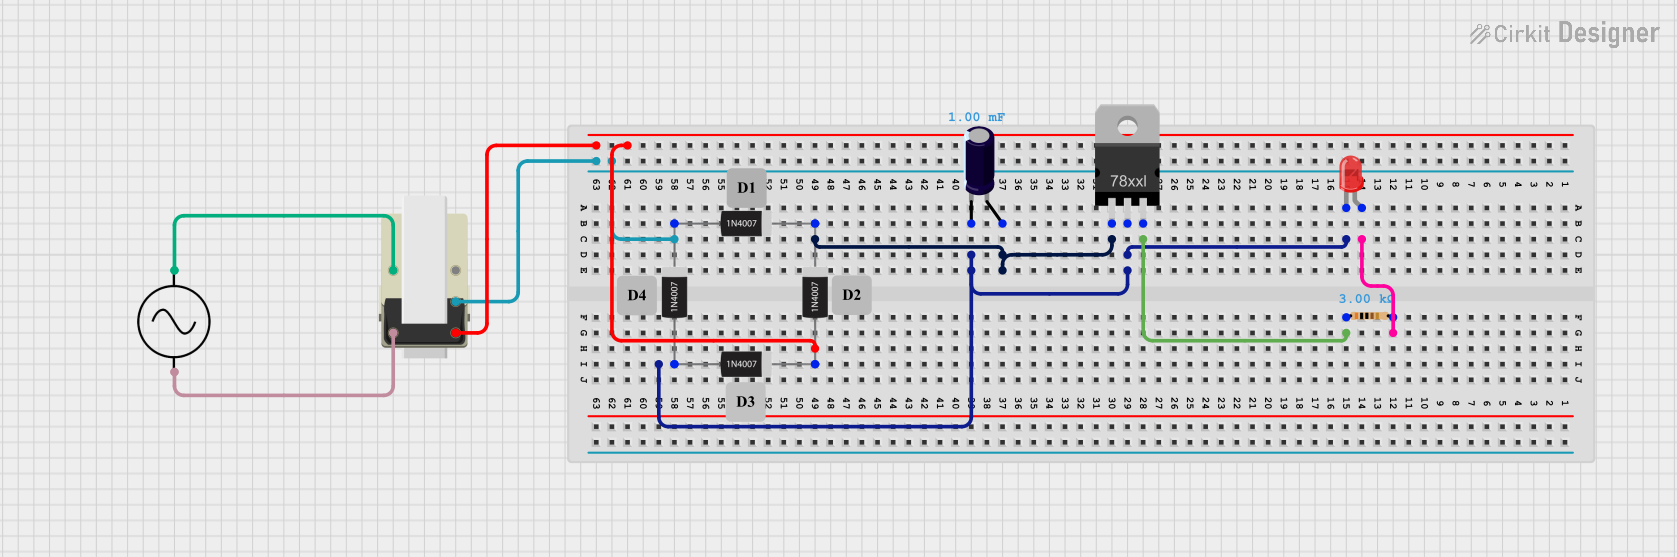 Open Project in Cirkit Designer
Explore Projects Built with Rectifier Diode
Open Project in Cirkit DesignerOpen Project in Cirkit DesignerOpen Project in Cirkit DesignerOpen Project in Cirkit DesignerCommon Applications and Use Cases
- AC to DC conversion in power supplies
- Protection circuits to prevent reverse polarity damage
- Signal demodulation in communication systems
- Voltage rectification in battery chargers
- Freewheeling diodes in inductive loads (e.g., motors, relays)
Technical Specifications
Below are the general technical specifications for a standard rectifier diode (e.g., 1N4007). Specifications may vary depending on the specific diode model.
Key Technical Details
- Maximum Repetitive Reverse Voltage (VRRM): 1000V
- Forward Current (IF): 1A (average)
- Peak Forward Surge Current (IFSM): 30A (non-repetitive, 8.3ms half-sine wave)
- Forward Voltage Drop (VF): ~0.7V (at 1A)
- Reverse Current (IR): ≤ 5µA (at VR = 1000V)
- Operating Temperature Range: -55°C to +150°C
Pin Configuration and Descriptions
| Pin Name | Description |
|---|---|
| Anode | Positive terminal; current enters here when forward-biased. |
| Cathode | Negative terminal; current exits here when forward-biased. |
The cathode is typically marked with a band or stripe on the diode body.
Usage Instructions
How to Use the Component in a Circuit
- Identify the Terminals:
- Locate the cathode (marked with a stripe) and the anode.
- Connect in Forward Bias:
- Connect the anode to the positive side of the circuit and the cathode to the negative side.
- In this configuration, the diode will conduct current.
- AC to DC Conversion:
- Use the diode in a rectifier circuit (e.g., half-wave or full-wave rectifier) to convert AC to DC.
- Reverse Polarity Protection:
- Place the diode in series with the power supply to prevent damage from reverse polarity.
Important Considerations and Best Practices
- Current Rating: Ensure the diode's forward current rating exceeds the maximum current in your circuit.
- Voltage Rating: The reverse voltage rating should be higher than the peak voltage in the circuit.
- Heat Dissipation: For high-current applications, consider using a heat sink or ensure proper ventilation.
- Polarity: Always verify the orientation of the diode before powering the circuit.
Example: Using a Rectifier Diode with an Arduino UNO
Below is an example of using a rectifier diode to protect an Arduino UNO from reverse polarity:
/*
 * This example demonstrates how to use a rectifier diode (e.g., 1N4007)
 * to protect an Arduino UNO from reverse polarity damage.
 * The diode is placed in series with the power supply.
 */

void setup() {
  // Initialize the serial monitor for debugging
  Serial.begin(9600);
  Serial.println("Arduino is powered and protected by a rectifier diode.");
}

void loop() {
  // Main loop does nothing in this example
}
Circuit Connection:
- Connect the anode of the diode to the positive terminal of the power supply.
- Connect the cathode of the diode to the VIN pin of the Arduino UNO.
- Connect the negative terminal of the power supply to the GND pin of the Arduino UNO.
Troubleshooting and FAQs
Common Issues Users Might Face
Diode Not Conducting Current:
- Cause: Incorrect orientation of the diode.
- Solution: Verify the anode and cathode connections. Ensure the anode is connected to the positive side of the circuit.
Excessive Heat in the Diode:
- Cause: Current exceeds the diode's maximum forward current rating.
- Solution: Use a diode with a higher current rating or add a heat sink.
Voltage Drop Across the Diode:
- Cause: Forward voltage drop (~0.7V for silicon diodes).
- Solution: This is a normal characteristic of the diode. If the voltage drop is critical, consider using a Schottky diode with a lower forward voltage drop.
Diode Fails to Block Reverse Current:
- Cause: Reverse voltage exceeds the diode's reverse voltage rating.
- Solution: Use a diode with a higher reverse voltage rating.
FAQs
Q1: Can I use a rectifier diode for high-frequency signals?
A1: Standard rectifier diodes like the 1N4007 are not suitable for high-frequency applications. Use fast recovery or Schottky diodes for such cases.
Q2: What happens if I connect the diode in reverse?
A2: In reverse bias, the diode blocks current flow. However, if the reverse voltage exceeds the diode's rating, it may break down and fail.
Q3: Can I use a rectifier diode to regulate voltage?
A3: No, rectifier diodes are not designed for voltage regulation. Use a Zener diode or a voltage regulator IC for this purpose.