
How to Use Fitting Lampu: Examples, Pinouts, and Specs
 Design with Fitting Lampu in Cirkit Designer
Introduction
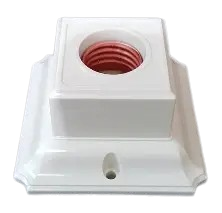
A Fitting Lampu, also known as a lamp holder or bulb socket, is a device designed to securely hold and connect a light bulb to an electrical circuit. It ensures the safe operation of the bulb by providing both mechanical support and electrical connectivity. The E27 Socket, manufactured by Generic, is one of the most commonly used lamp holders, compatible with standard E27 screw-type light bulbs.
Explore Projects Built with Fitting Lampu
 Open Project in Cirkit Designer
 Open Project in Cirkit Designer
 Open Project in Cirkit Designer
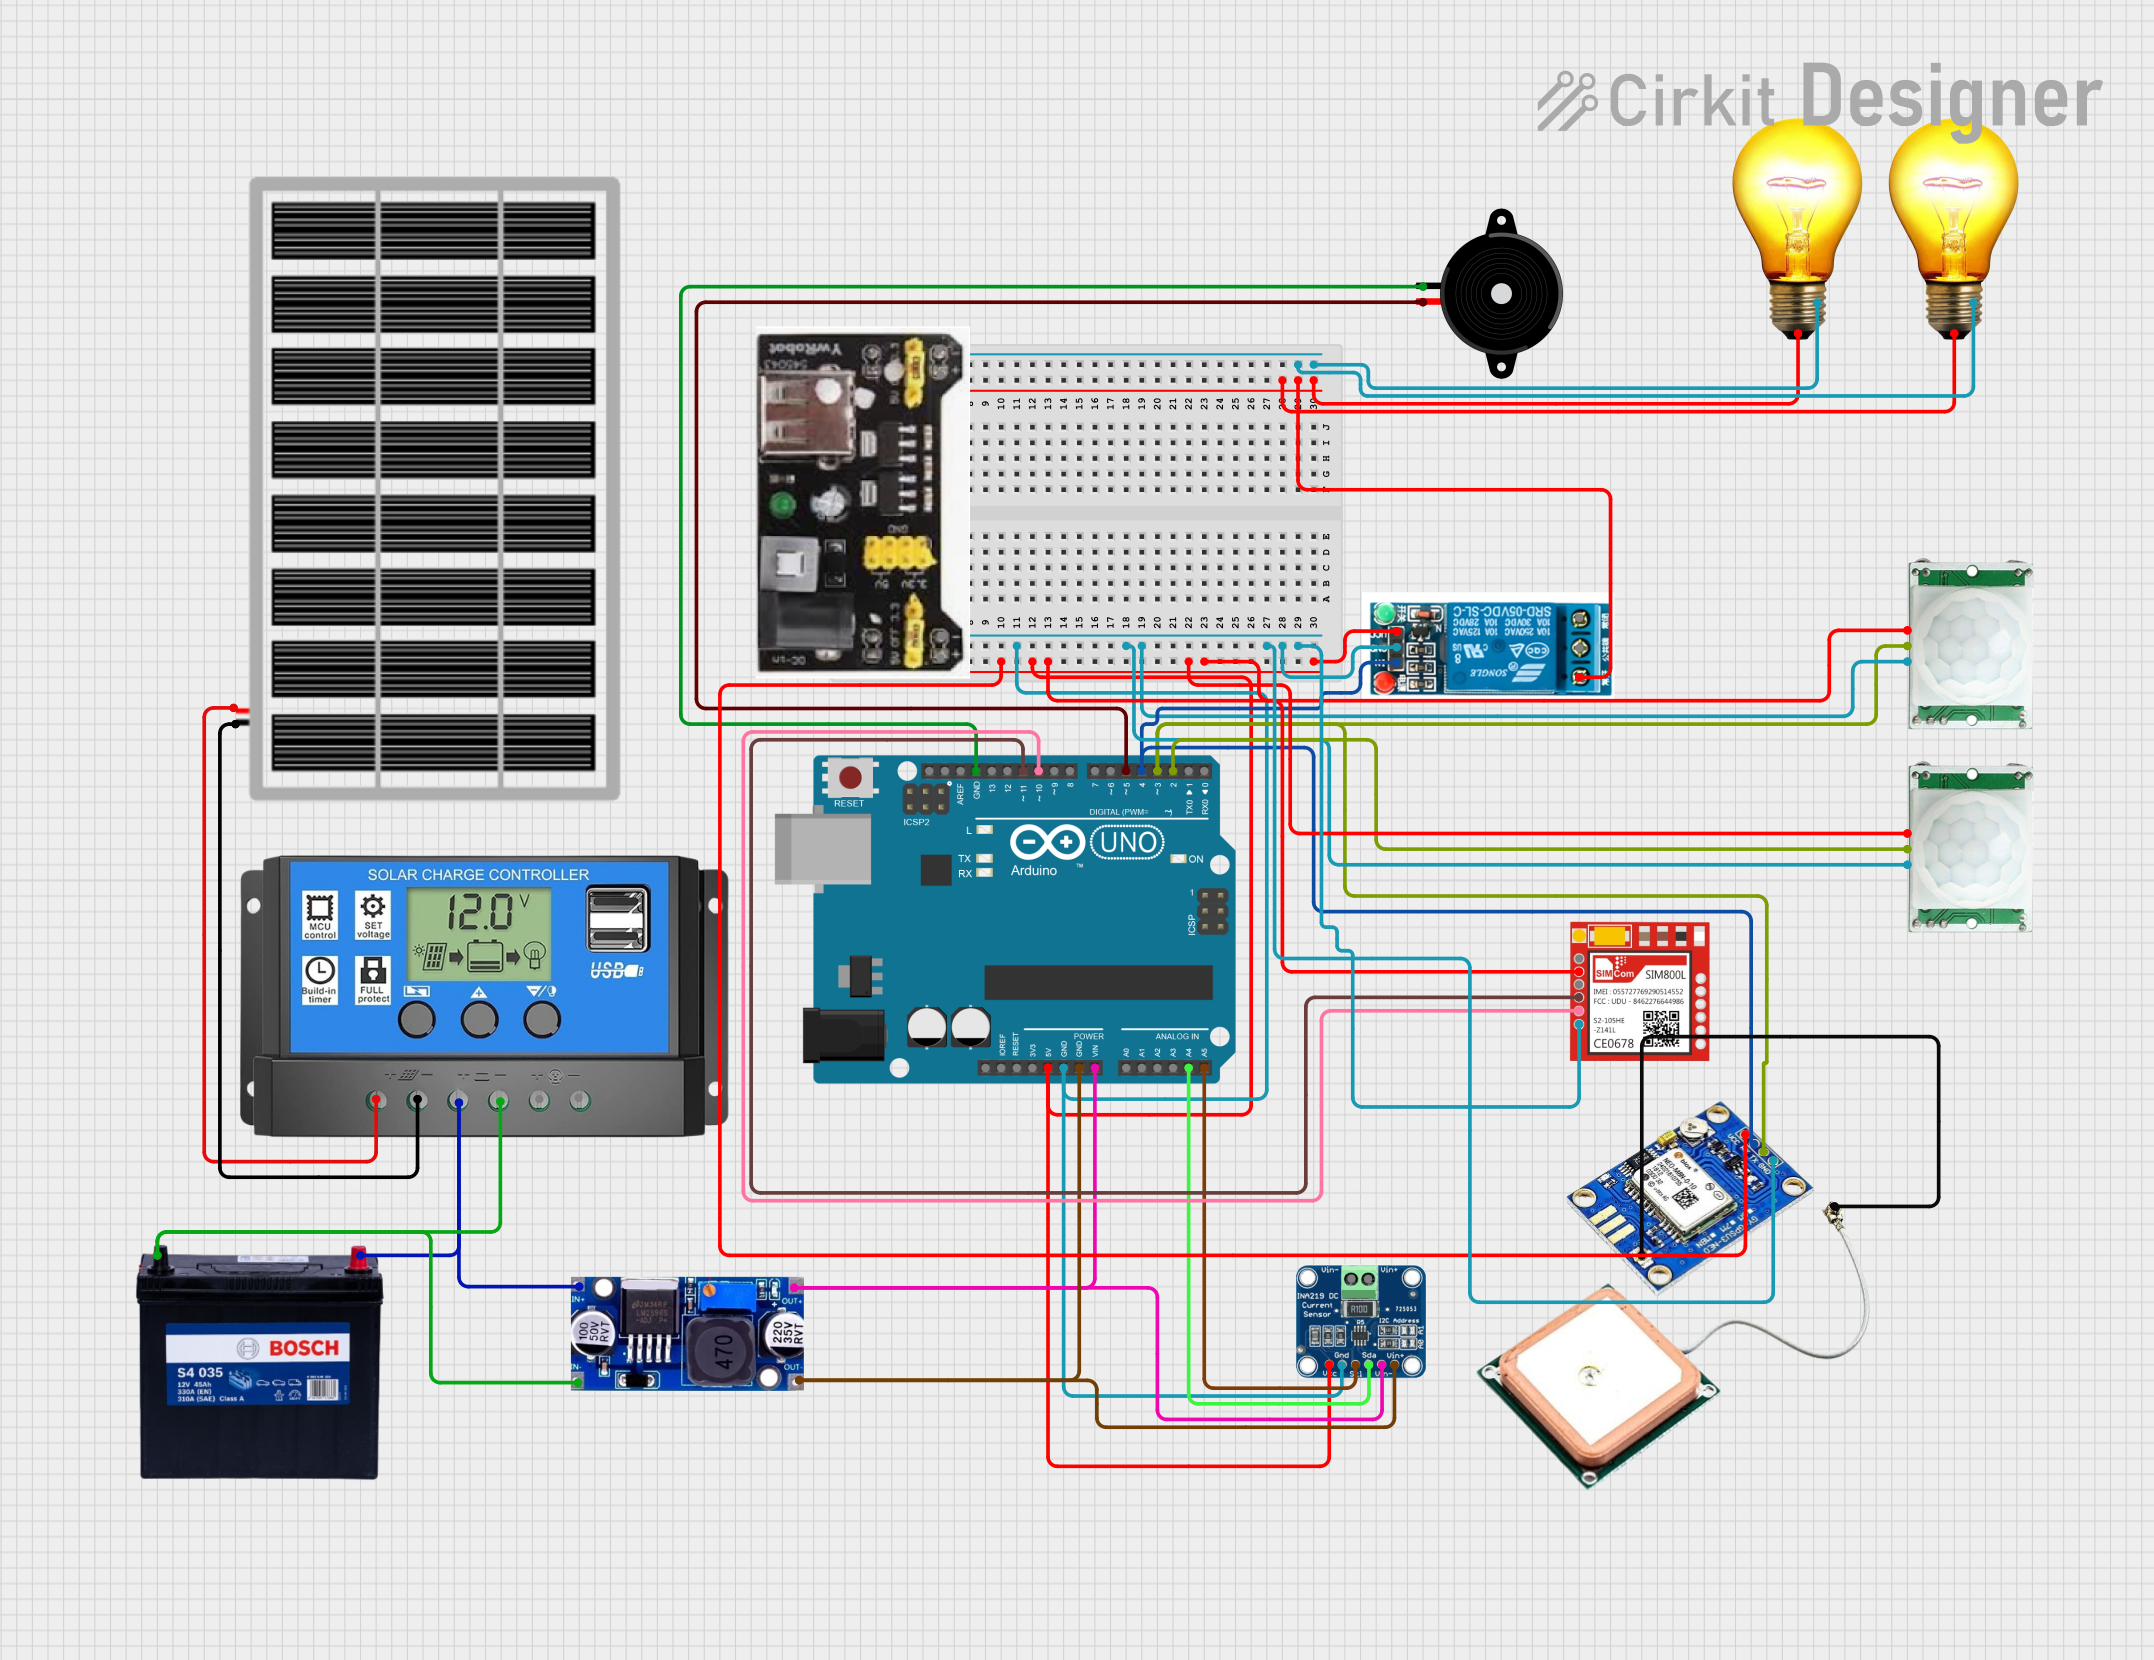 Open Project in Cirkit Designer
Explore Projects Built with Fitting Lampu
Open Project in Cirkit DesignerOpen Project in Cirkit DesignerOpen Project in Cirkit DesignerOpen Project in Cirkit DesignerCommon Applications and Use Cases
- Residential and commercial lighting fixtures
- Table lamps, ceiling lights, and wall-mounted fixtures
- DIY lighting projects
- Temporary or portable lighting setups
Technical Specifications
Key Technical Details
| Parameter | Specification |
|---|---|
| Manufacturer | Generic |
| Part ID | E27 Socket |
| Compatible Bulb Type | E27 screw-type bulbs |
| Rated Voltage | 110V - 250V AC |
| Rated Current | Up to 4A |
| Material | Heat-resistant plastic or ceramic |
| Mounting Type | Screw or clip-on |
| Dimensions | Varies (standard E27 size) |
Pin Configuration and Descriptions
The E27 socket typically has two electrical terminals for connection:
| Pin/Terminal | Description |
|---|---|
| Live (L) | Connects to the live wire of the circuit |
| Neutral (N) | Connects to the neutral wire of the circuit |
Note: Some E27 sockets may include a grounding terminal for enhanced safety, depending on the design.
Usage Instructions
How to Use the Component in a Circuit
- Preparation: Ensure the power supply is turned off before handling the E27 socket.
- Wiring:
- Connect the Live (L) terminal of the socket to the live wire of the power source.
- Connect the Neutral (N) terminal to the neutral wire of the power source.
- If the socket includes a grounding terminal, connect it to the ground wire.
- Bulb Installation: Screw an E27-compatible bulb into the socket until it is securely in place.
- Mounting: Attach the socket to the desired surface using screws or clips, as per the design.
- Power On: Once all connections are secure, turn on the power supply to test the setup.
Important Considerations and Best Practices
- Voltage and Current Ratings: Ensure the bulb and socket are compatible with the voltage and current of your power source.
- Heat Management: Use sockets made of heat-resistant materials for high-wattage bulbs to prevent overheating.
- Secure Connections: Double-check all wiring connections to avoid loose contacts, which can cause arcing or overheating.
- Safety: Always turn off the power supply before installing or replacing bulbs to avoid electric shock.
Example: Connecting to an Arduino UNO
While the E27 socket is not directly compatible with low-voltage microcontrollers like the Arduino UNO, it can be controlled indirectly using a relay module. Below is an example of how to control an E27 socket with an Arduino UNO and a relay:
/*
  Example: Controlling an E27 Socket with Arduino and Relay
  This code turns an E27 bulb on and off using a relay module.
  Ensure the relay is rated for the voltage and current of the bulb.
*/

const int relayPin = 7; // Pin connected to the relay module

void setup() {
  pinMode(relayPin, OUTPUT); // Set relay pin as output
  digitalWrite(relayPin, LOW); // Ensure relay is off at startup
}

void loop() {
  digitalWrite(relayPin, HIGH); // Turn on the bulb
  delay(5000); // Keep the bulb on for 5 seconds
  digitalWrite(relayPin, LOW); // Turn off the bulb
  delay(5000); // Keep the bulb off for 5 seconds
}
Note: The relay module should be connected to the Arduino and the E27 socket as per the relay's wiring diagram. Always ensure proper insulation and safety precautions when working with high-voltage components.
Troubleshooting and FAQs
Common Issues and Solutions
| Issue | Possible Cause | Solution |
|---|---|---|
| Bulb does not light up | Loose wiring or poor connections | Check and secure all connections |
| Bulb flickers | Voltage fluctuations or loose contacts | Stabilize power supply; tighten wires |
| Socket overheats | Bulb wattage exceeds socket rating | Use a bulb within the rated wattage |
| Relay-controlled bulb not working | Incorrect relay wiring or code issues | Verify wiring and review Arduino code |
FAQs
Can I use an E27 socket outdoors?
- Yes, but ensure it is installed in a weatherproof enclosure to protect it from moisture and dust.
What is the maximum wattage supported by the E27 socket?
- The maximum wattage depends on the material and design of the socket. Check the manufacturer's specifications, but most E27 sockets support up to 60W or higher.
Can I use an E27 socket with LED bulbs?
- Yes, as long as the LED bulb has an E27 base and operates within the socket's voltage range.
Is it safe to use the E27 socket without grounding?
- While grounding is not mandatory for all E27 sockets, it is recommended for enhanced safety, especially in high-power applications.
By following this documentation, users can safely and effectively utilize the Generic E27 Socket for various lighting applications.