How to Use huskylens v1: Examples, Pinouts, and Specs
Introduction
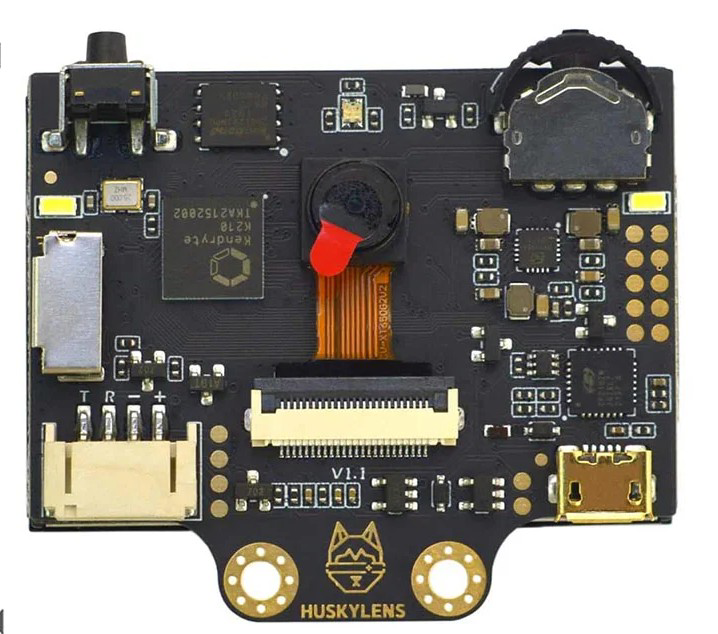
HuskyLens V1, manufactured by Husky, is an AI-powered camera module designed for object, face, and color recognition and tracking. It leverages advanced machine learning algorithms to provide real-time visual recognition capabilities. With its intuitive interface and versatile functionality, HuskyLens V1 is ideal for robotics, automation, and interactive applications. Its compact design and ease of integration make it a popular choice for hobbyists, educators, and professionals alike.
Explore Projects Built with huskylens v1

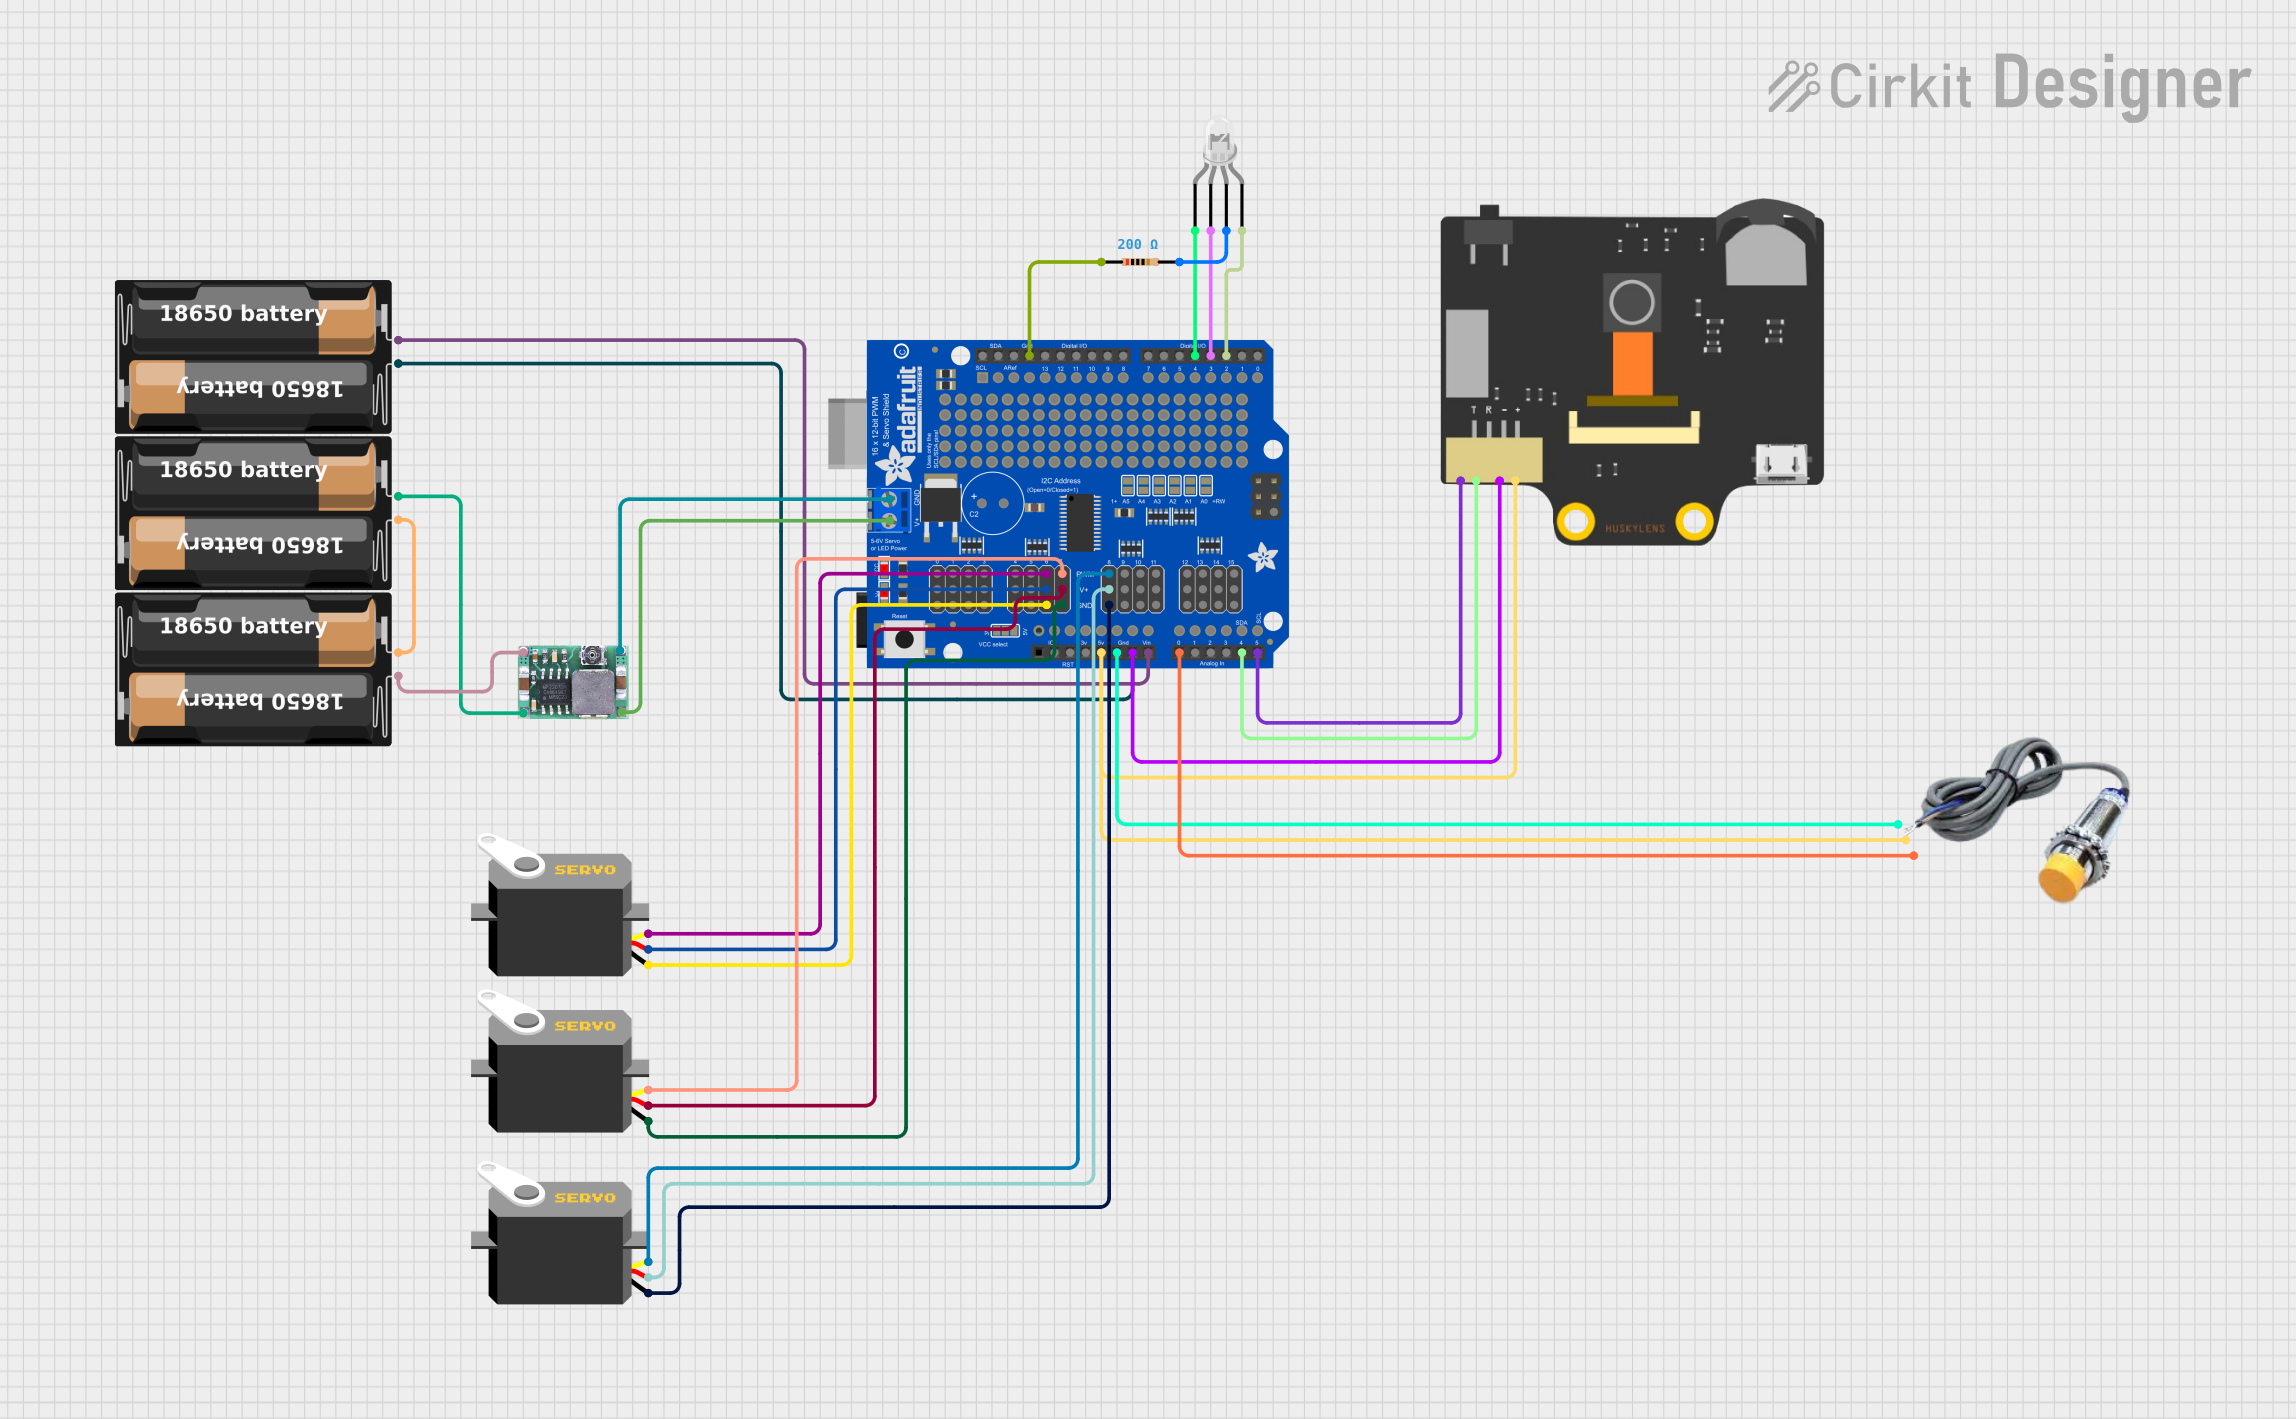
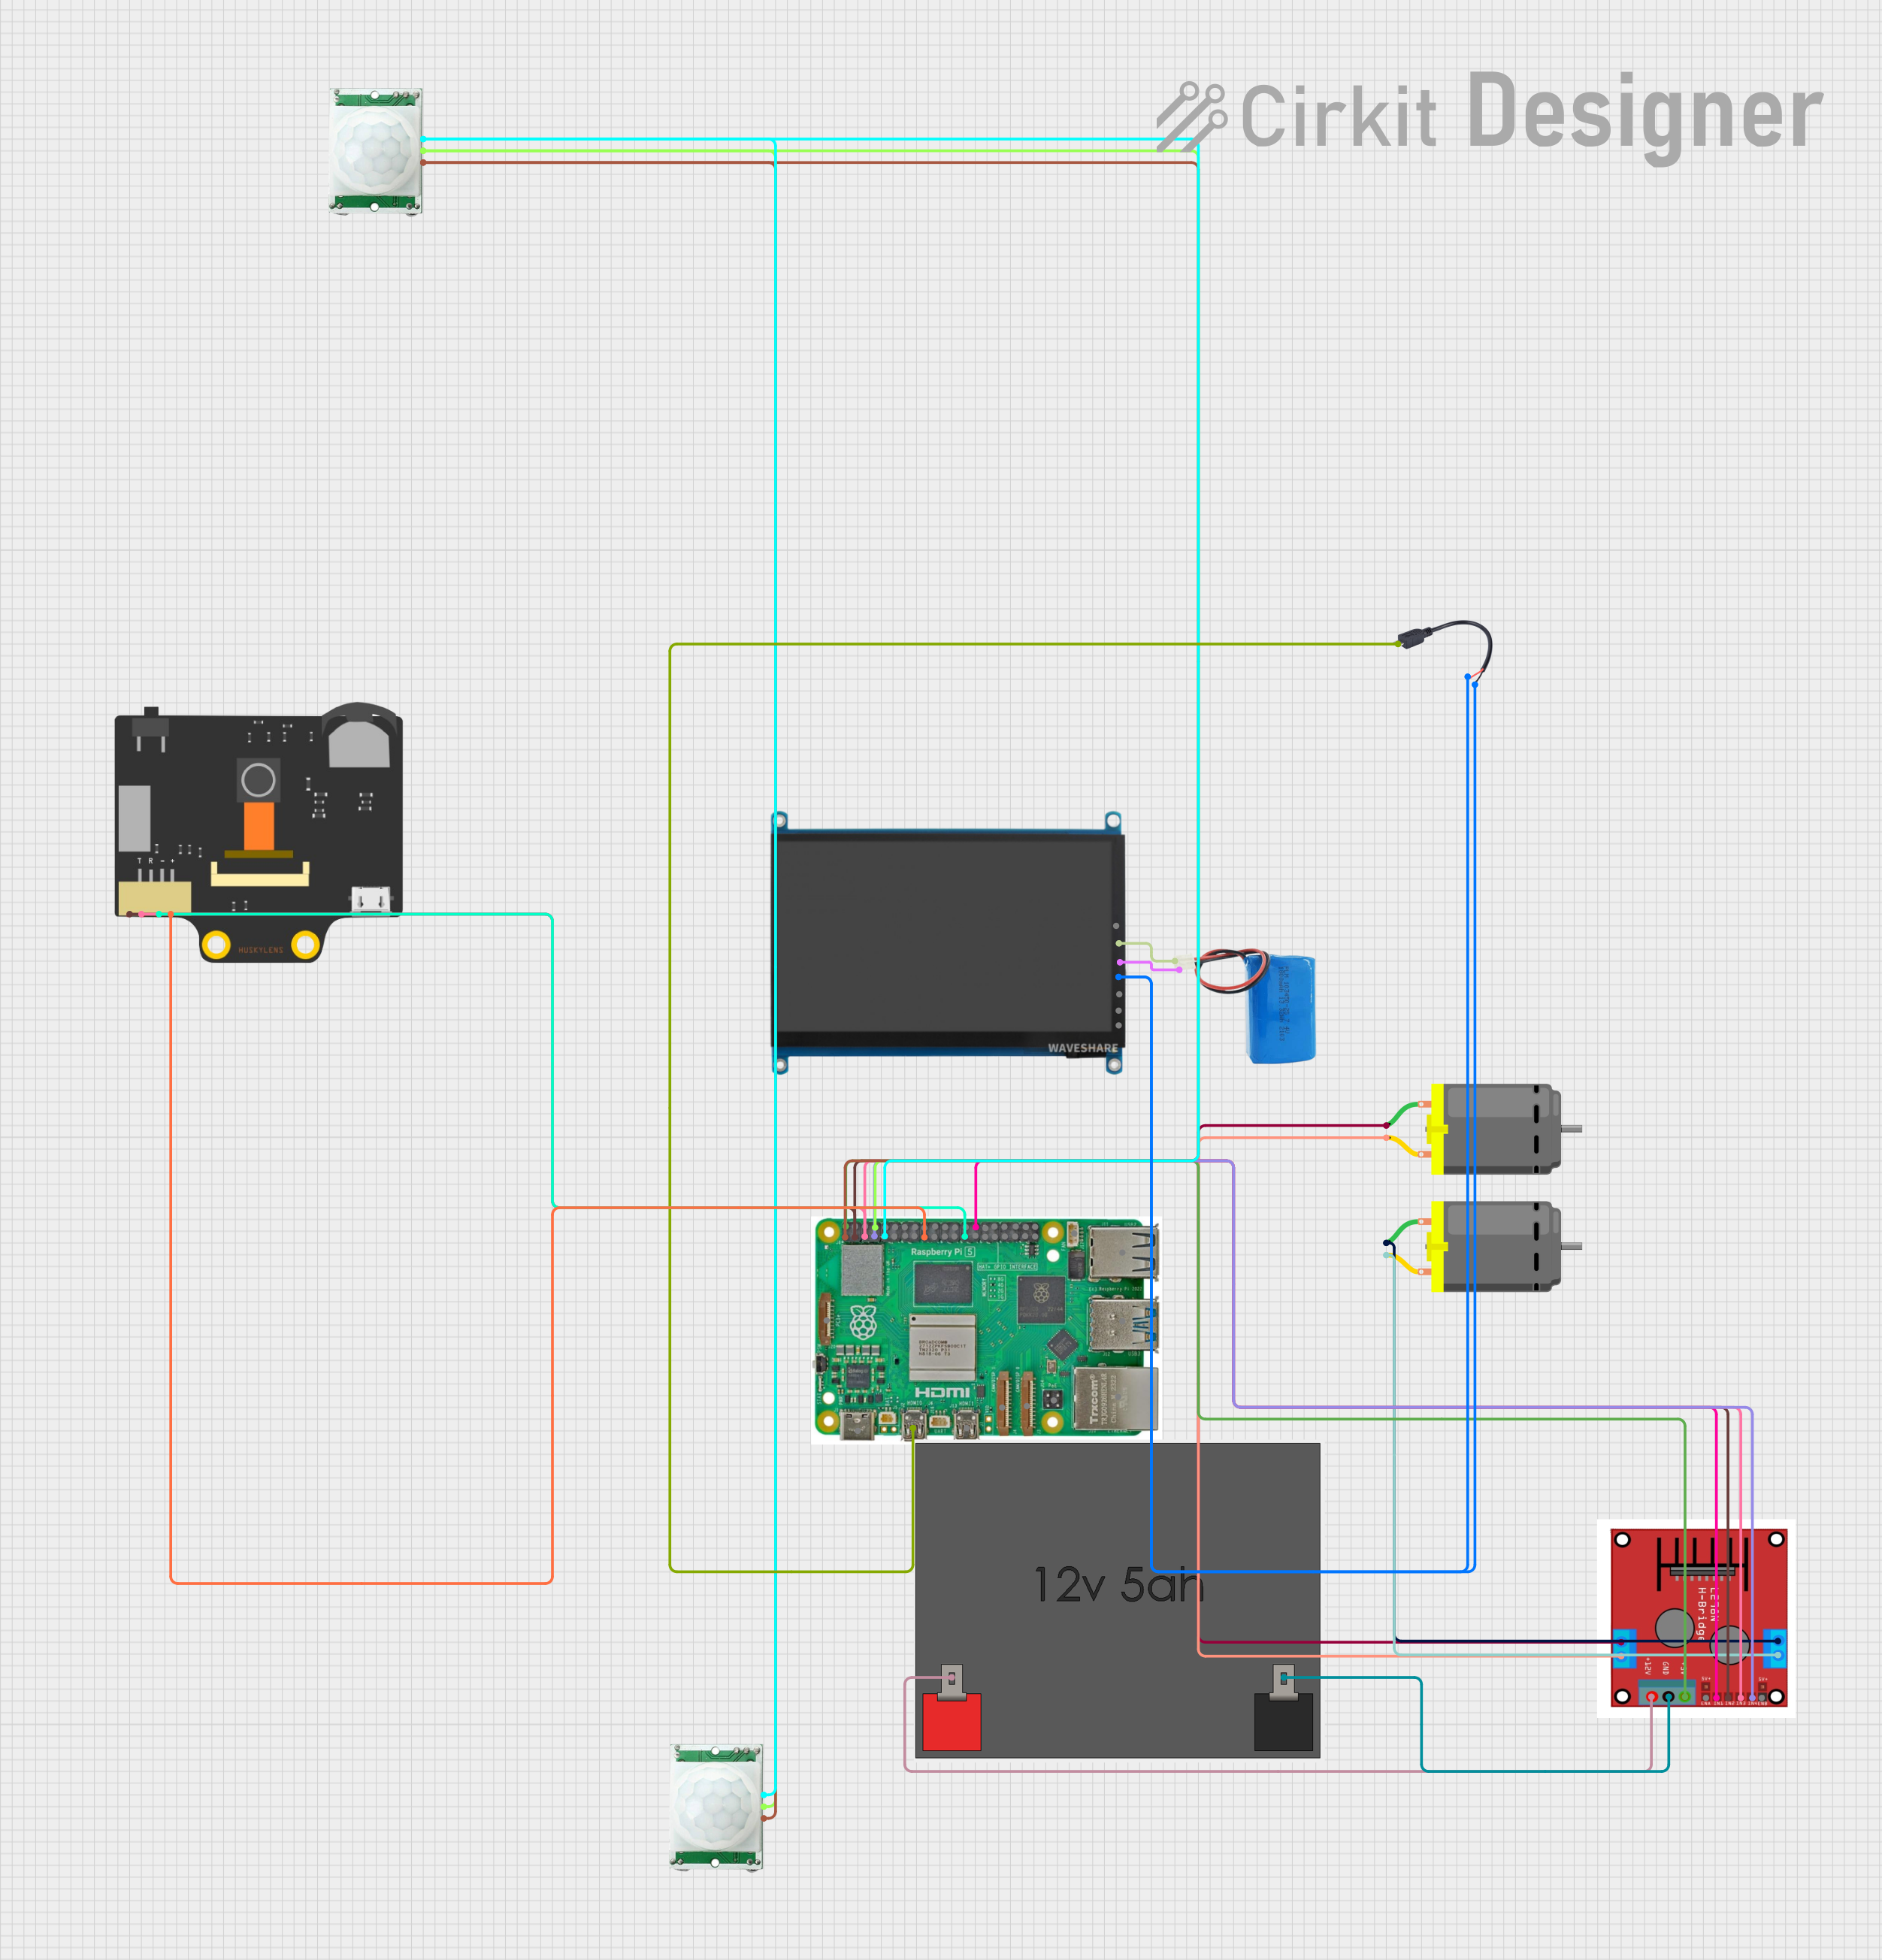
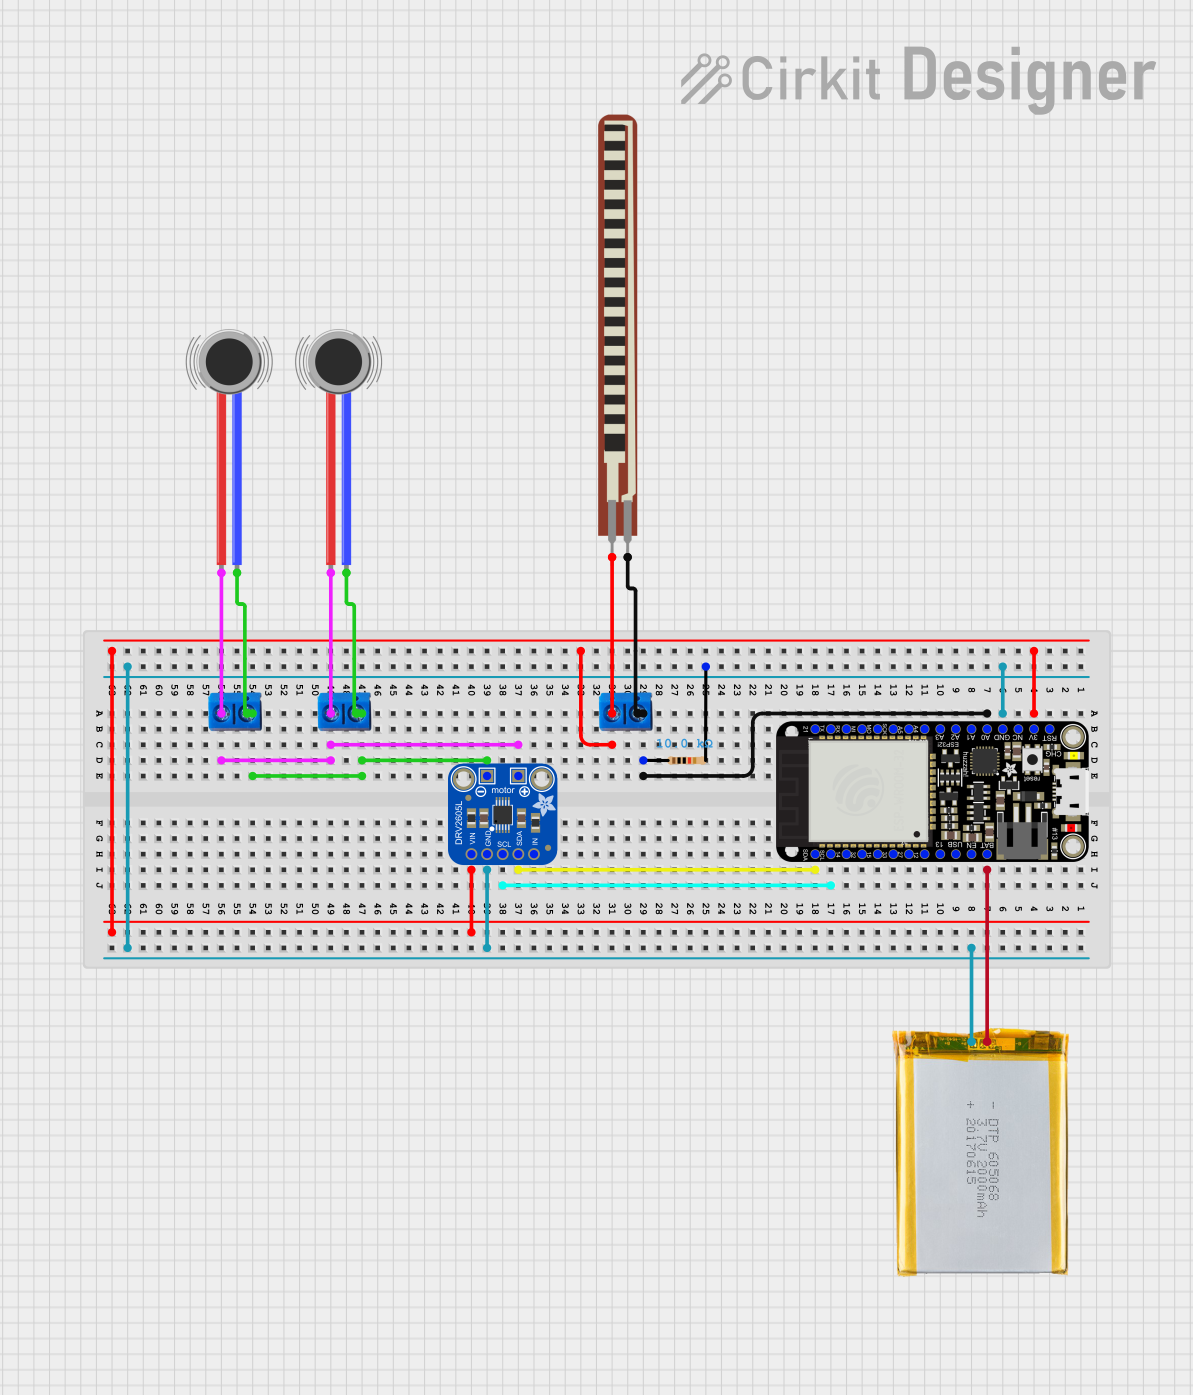
Explore Projects Built with huskylens v1
Common Applications
- Robotics: Object and face tracking for autonomous navigation.
- Automation: Color recognition for sorting and quality control.
- Interactive Projects: Gesture-based controls and interactive displays.
- Education: Teaching AI and computer vision concepts.
Technical Specifications
Below are the key technical details of the HuskyLens V1:
| Specification | Details |
|---|---|
| Manufacturer | Husky |
| Part ID | V1 |
| Power Supply Voltage | 3.3V to 5V |
| Communication Interfaces | UART, I2C |
| Image Sensor | OV2640 (2MP) |
| Display | 2-inch IPS screen (320x240 resolution) |
| Recognition Capabilities | Object, face, color, tag (QR code), line, and object classification |
| Frame Rate | Up to 30 FPS |
| Dimensions | 52mm x 44mm x 20mm |
| Weight | 30g |
Pin Configuration
The HuskyLens V1 module has a 4-pin interface for communication and power. The pin configuration is as follows:
| Pin | Name | Description |
|---|---|---|
| 1 | VCC | Power input (3.3V to 5V) |
| 2 | GND | Ground |
| 3 | TX | UART Transmit (data output) |
| 4 | RX | UART Receive (data input) |
Usage Instructions
Connecting HuskyLens V1 to an Arduino UNO
To use HuskyLens V1 with an Arduino UNO, follow these steps:
Wiring:
- Connect the
VCCpin of HuskyLens to the5Vpin on the Arduino UNO. - Connect the
GNDpin of HuskyLens to theGNDpin on the Arduino UNO. - Connect the
TXpin of HuskyLens to theRXpin (pin 0) on the Arduino UNO. - Connect the
RXpin of HuskyLens to theTXpin (pin 1) on the Arduino UNO.
- Connect the
Install Libraries:
- Download and install the HuskyLens Arduino library from the official HuskyLens GitHub repository or Arduino IDE Library Manager.
Upload Code: Use the following example code to test the connection and functionality of HuskyLens V1:
#include "HUSKYLENS.h" // Include the HuskyLens library

HUSKYLENS huskylens; // Create a HuskyLens object

void setup() {
  Serial.begin(9600); // Initialize serial communication
  while (!Serial);    // Wait for the serial monitor to open

  // Initialize HuskyLens with I2C communication
  if (!huskylens.begin(Wire)) {
    Serial.println("HuskyLens initialization failed!");
    while (1); // Halt if initialization fails
  }

  Serial.println("HuskyLens initialized successfully!");
}

void loop() {
  if (huskylens.request()) { // Request data from HuskyLens
    if (huskylens.isLearned()) { // Check if HuskyLens has learned an object
      Serial.println("Object detected!");
    } else {
      Serial.println("No object detected.");
    }
  } else {
    Serial.println("Failed to communicate with HuskyLens.");
  }

  delay(500); // Wait for 500ms before the next request
}
Important Considerations
- Power Supply: Ensure a stable power supply (3.3V to 5V) to avoid performance issues.
- Communication Mode: HuskyLens supports both UART and I2C. Configure the mode based on your project requirements.
- Learning Mode: Use the onboard buttons or serial commands to teach HuskyLens objects, faces, or colors to recognize.
- Mounting: Secure the module to avoid vibrations or misalignment, which can affect recognition accuracy.
Troubleshooting and FAQs
Common Issues and Solutions
| Issue | Solution |
|---|---|
| HuskyLens does not power on | Check the power connections and ensure the correct voltage (3.3V to 5V). |
| No data received from HuskyLens | Verify the UART or I2C connections and ensure the correct baud rate is set. |
| Recognition accuracy is low | Ensure proper lighting and avoid reflective or cluttered backgrounds. |
| HuskyLens fails to learn objects | Ensure the object is within the camera's field of view and is well-lit. |
| Arduino code fails to compile | Ensure the HuskyLens library is installed and included in your project. |
FAQs
Can HuskyLens V1 recognize multiple objects simultaneously?
- Yes, HuskyLens can recognize and track multiple objects, depending on the mode.
What is the maximum recognition distance?
- The recognition distance depends on the object size and lighting but typically ranges from 0.5m to 2m.
Can I use HuskyLens with Raspberry Pi?
- Yes, HuskyLens supports UART and I2C communication, making it compatible with Raspberry Pi.
How do I reset HuskyLens to factory settings?
- Use the onboard buttons to access the settings menu and select the reset option.
Does HuskyLens support custom AI models?
- No, HuskyLens uses pre-trained models for its recognition capabilities and does not support custom models.
By following this documentation, you can effectively integrate and utilize HuskyLens V1 in your projects.