
How to Use SD_CARD_SOCKET: Examples, Pinouts, and Specs
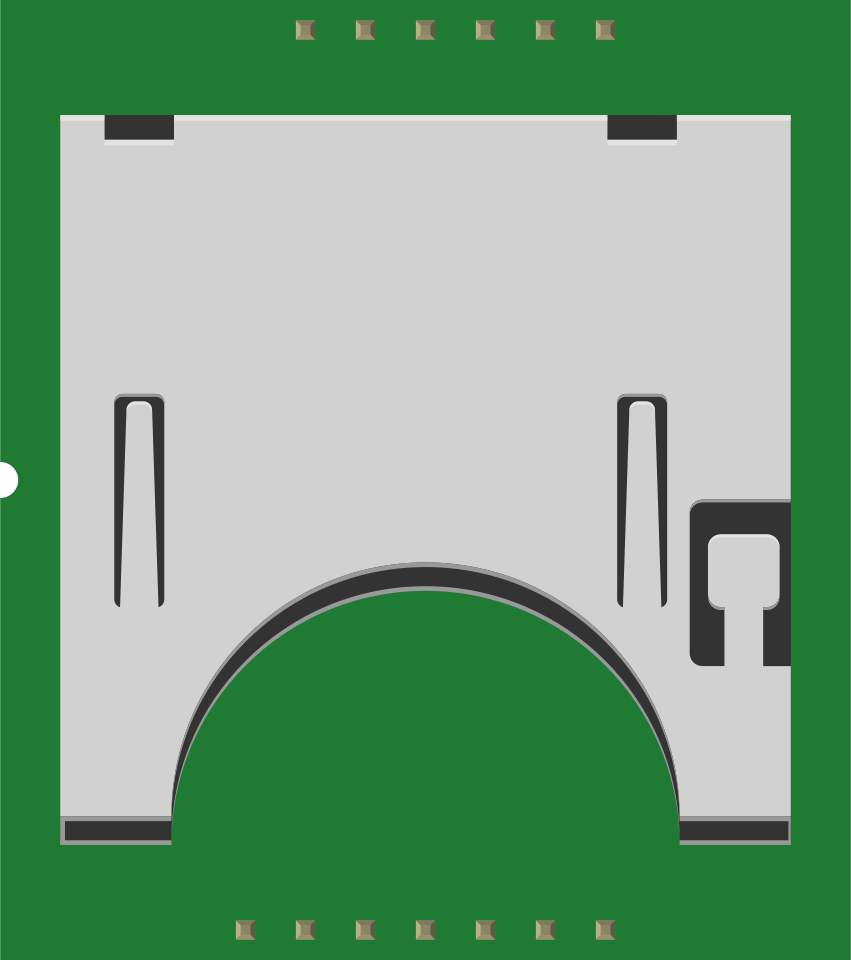
 Design with SD_CARD_SOCKET in Cirkit Designer
Introduction
The SD_CARD_SOCKET by 4UCON is a compact and reliable socket designed to securely hold an SD (Secure Digital) card. It facilitates seamless data storage and retrieval in a wide range of electronic devices. This component is widely used in applications requiring removable storage, such as microcontrollers, data loggers, multimedia devices, and embedded systems.
Explore Projects Built with SD_CARD_SOCKET
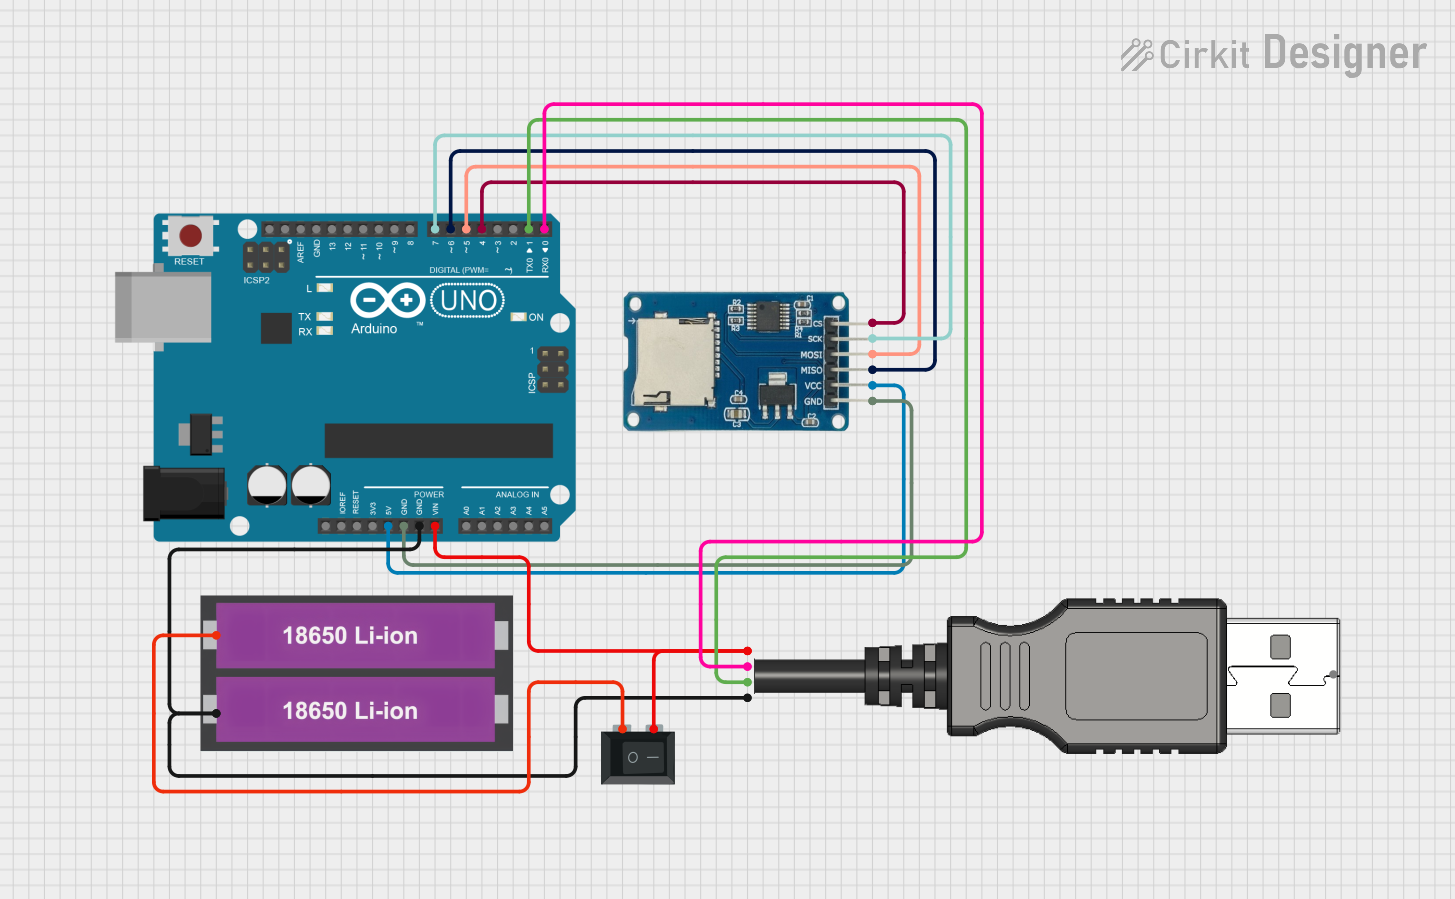 Open Project in Cirkit Designer
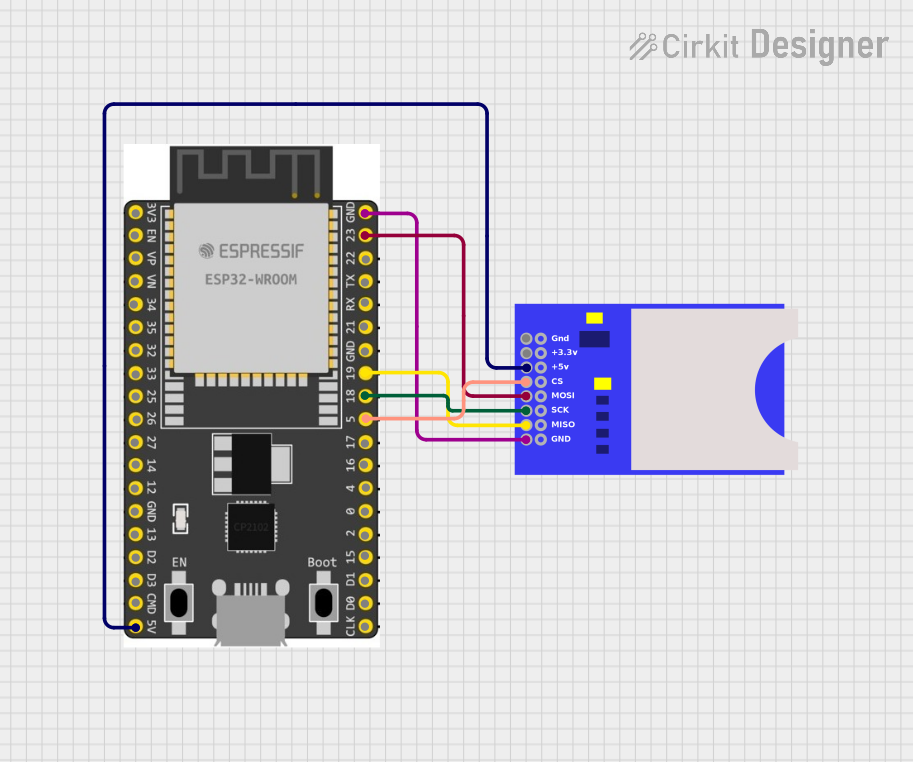 Open Project in Cirkit Designer
 Open Project in Cirkit Designer
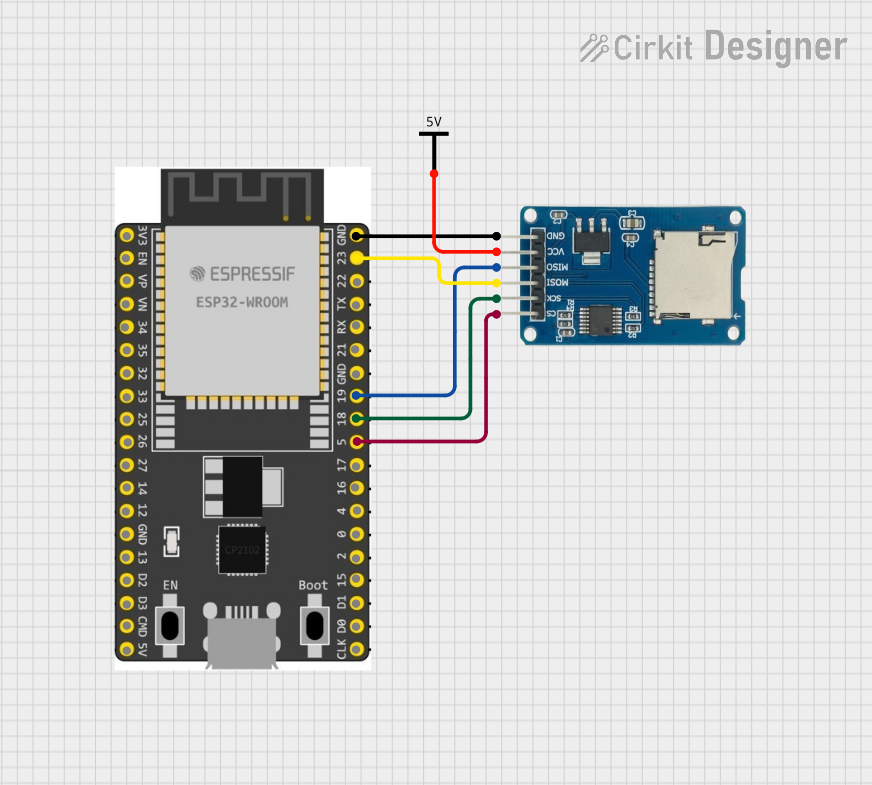 Open Project in Cirkit Designer
Explore Projects Built with SD_CARD_SOCKET
Open Project in Cirkit DesignerOpen Project in Cirkit DesignerOpen Project in Cirkit DesignerOpen Project in Cirkit DesignerCommon Applications
- Data logging in IoT devices
- Multimedia storage in portable devices
- Firmware updates via SD cards
- File storage for microcontroller-based projects
- Embedded systems requiring removable memory
Technical Specifications
Key Specifications
| Parameter | Value |
|---|---|
| Manufacturer | 4UCON |
| Compatible Card Types | Standard SD, SDHC, SDXC |
| Operating Voltage | 3.3V |
| Current Rating | 500mA (max) |
| Contact Resistance | ≤ 30 mΩ |
| Insulation Resistance | ≥ 1000 MΩ |
| Operating Temperature | -25°C to +85°C |
| Mounting Type | PCB Mount (SMD/Through-hole) |
| Durability | 10,000 insertion/removal cycles |
Pin Configuration and Descriptions
The SD_CARD_SOCKET typically has 9 pins, corresponding to the SD card interface. Below is the pinout and description:
| Pin Number | Pin Name | Description |
|---|---|---|
| 1 | DAT2 | Data Line 2 (used in 4-bit mode) |
| 2 | CD/DAT3 | Card Detect/Data Line 3 (used in 4-bit mode) |
| 3 | CMD | Command/Response Line |
| 4 | VDD | Power Supply (3.3V) |
| 5 | CLK | Clock Signal |
| 6 | VSS | Ground |
| 7 | DAT0 | Data Line 0 (used in both 1-bit and 4-bit modes) |
| 8 | DAT1 | Data Line 1 (used in 4-bit mode) |
| 9 | NC | Not Connected (reserved for future use) |
Usage Instructions
How to Use the SD_CARD_SOCKET in a Circuit
- Mounting the Socket: Solder the SD_CARD_SOCKET onto the PCB using the appropriate pads for either SMD or through-hole mounting.
- Power Supply: Connect the VDD pin to a 3.3V regulated power supply and the VSS pin to ground.
- Signal Connections: Interface the CMD, CLK, and DAT pins with the microcontroller or host device. Use pull-up resistors (typically 10kΩ) on the CMD and DAT lines for proper operation.
- Card Detection: Use the CD/DAT3 pin to detect the presence of an SD card. This pin can be connected to a GPIO pin on the microcontroller.
- Software Integration: Use an SD card library (e.g., Arduino SD library) to initialize and communicate with the SD card.
Important Considerations
- Ensure the SD card is inserted correctly into the socket to avoid damaging the pins.
- Use a level shifter if interfacing with a 5V microcontroller, as the SD card operates at 3.3V.
- Avoid exceeding the maximum current rating to prevent overheating or damage.
- Protect the socket from dust and debris to maintain reliable connections.
Example: Connecting to an Arduino UNO
Below is an example of how to connect the SD_CARD_SOCKET to an Arduino UNO and use it to read/write data:
Wiring Diagram
| SD_CARD_SOCKET Pin | Arduino UNO Pin |
|---|---|
| VDD | 3.3V |
| VSS | GND |
| CMD | Pin 11 (MOSI) |
| CLK | Pin 13 (SCK) |
| DAT0 | Pin 12 (MISO) |
| CD/DAT3 | Pin 10 (CS) |
Arduino Code Example
#include <SPI.h>
#include <SD.h>

// Define the chip select pin for the SD card
const int chipSelect = 10;

void setup() {
  // Initialize serial communication for debugging
  Serial.begin(9600);
  while (!Serial) {
    ; // Wait for the serial port to connect
  }

  Serial.println("Initializing SD card...");

  // Check if the SD card is present and can be initialized
  if (!SD.begin(chipSelect)) {
    Serial.println("Card failed, or not present");
    // Don't proceed if the card is not detected
    while (1);
  }
  Serial.println("Card initialized successfully.");

  // Create a test file and write data to it
  File dataFile = SD.open("test.txt", FILE_WRITE);
  if (dataFile) {
    dataFile.println("Hello, SD card!");
    dataFile.close();
    Serial.println("Data written to test.txt");
  } else {
    Serial.println("Error opening test.txt");
  }
}

void loop() {
  // Nothing to do here
}
Troubleshooting and FAQs
Common Issues
SD Card Not Detected
- Ensure the SD card is properly inserted into the socket.
- Verify the connections between the SD_CARD_SOCKET and the microcontroller.
- Check if the SD card is formatted as FAT16 or FAT32, as required by most libraries.
Data Corruption
- Avoid removing the SD card while data is being written.
- Ensure proper power supply stability to prevent voltage drops.
Initialization Fails
- Confirm the chip select (CS) pin is correctly defined in the code.
- Use pull-up resistors on the CMD and DAT lines if not already included.
FAQs
Q: Can this socket support microSD cards?
A: No, this socket is designed for standard SD cards. Use a microSD-to-SD adapter for compatibility.
Q: What is the maximum storage capacity supported?
A: The maximum capacity depends on the host device and SD card type (e.g., SDHC, SDXC). Check your microcontroller or library documentation for limits.
Q: Is hot-swapping supported?
A: Yes, but ensure the software handles card insertion/removal events to avoid data corruption.
Q: Can I use this socket with a 5V microcontroller?
A: Yes, but you must use a level shifter to convert 5V signals to 3.3V for compatibility with the SD card.