How to Use Adafruit PAM8302: Examples, Pinouts, and Specs
Introduction
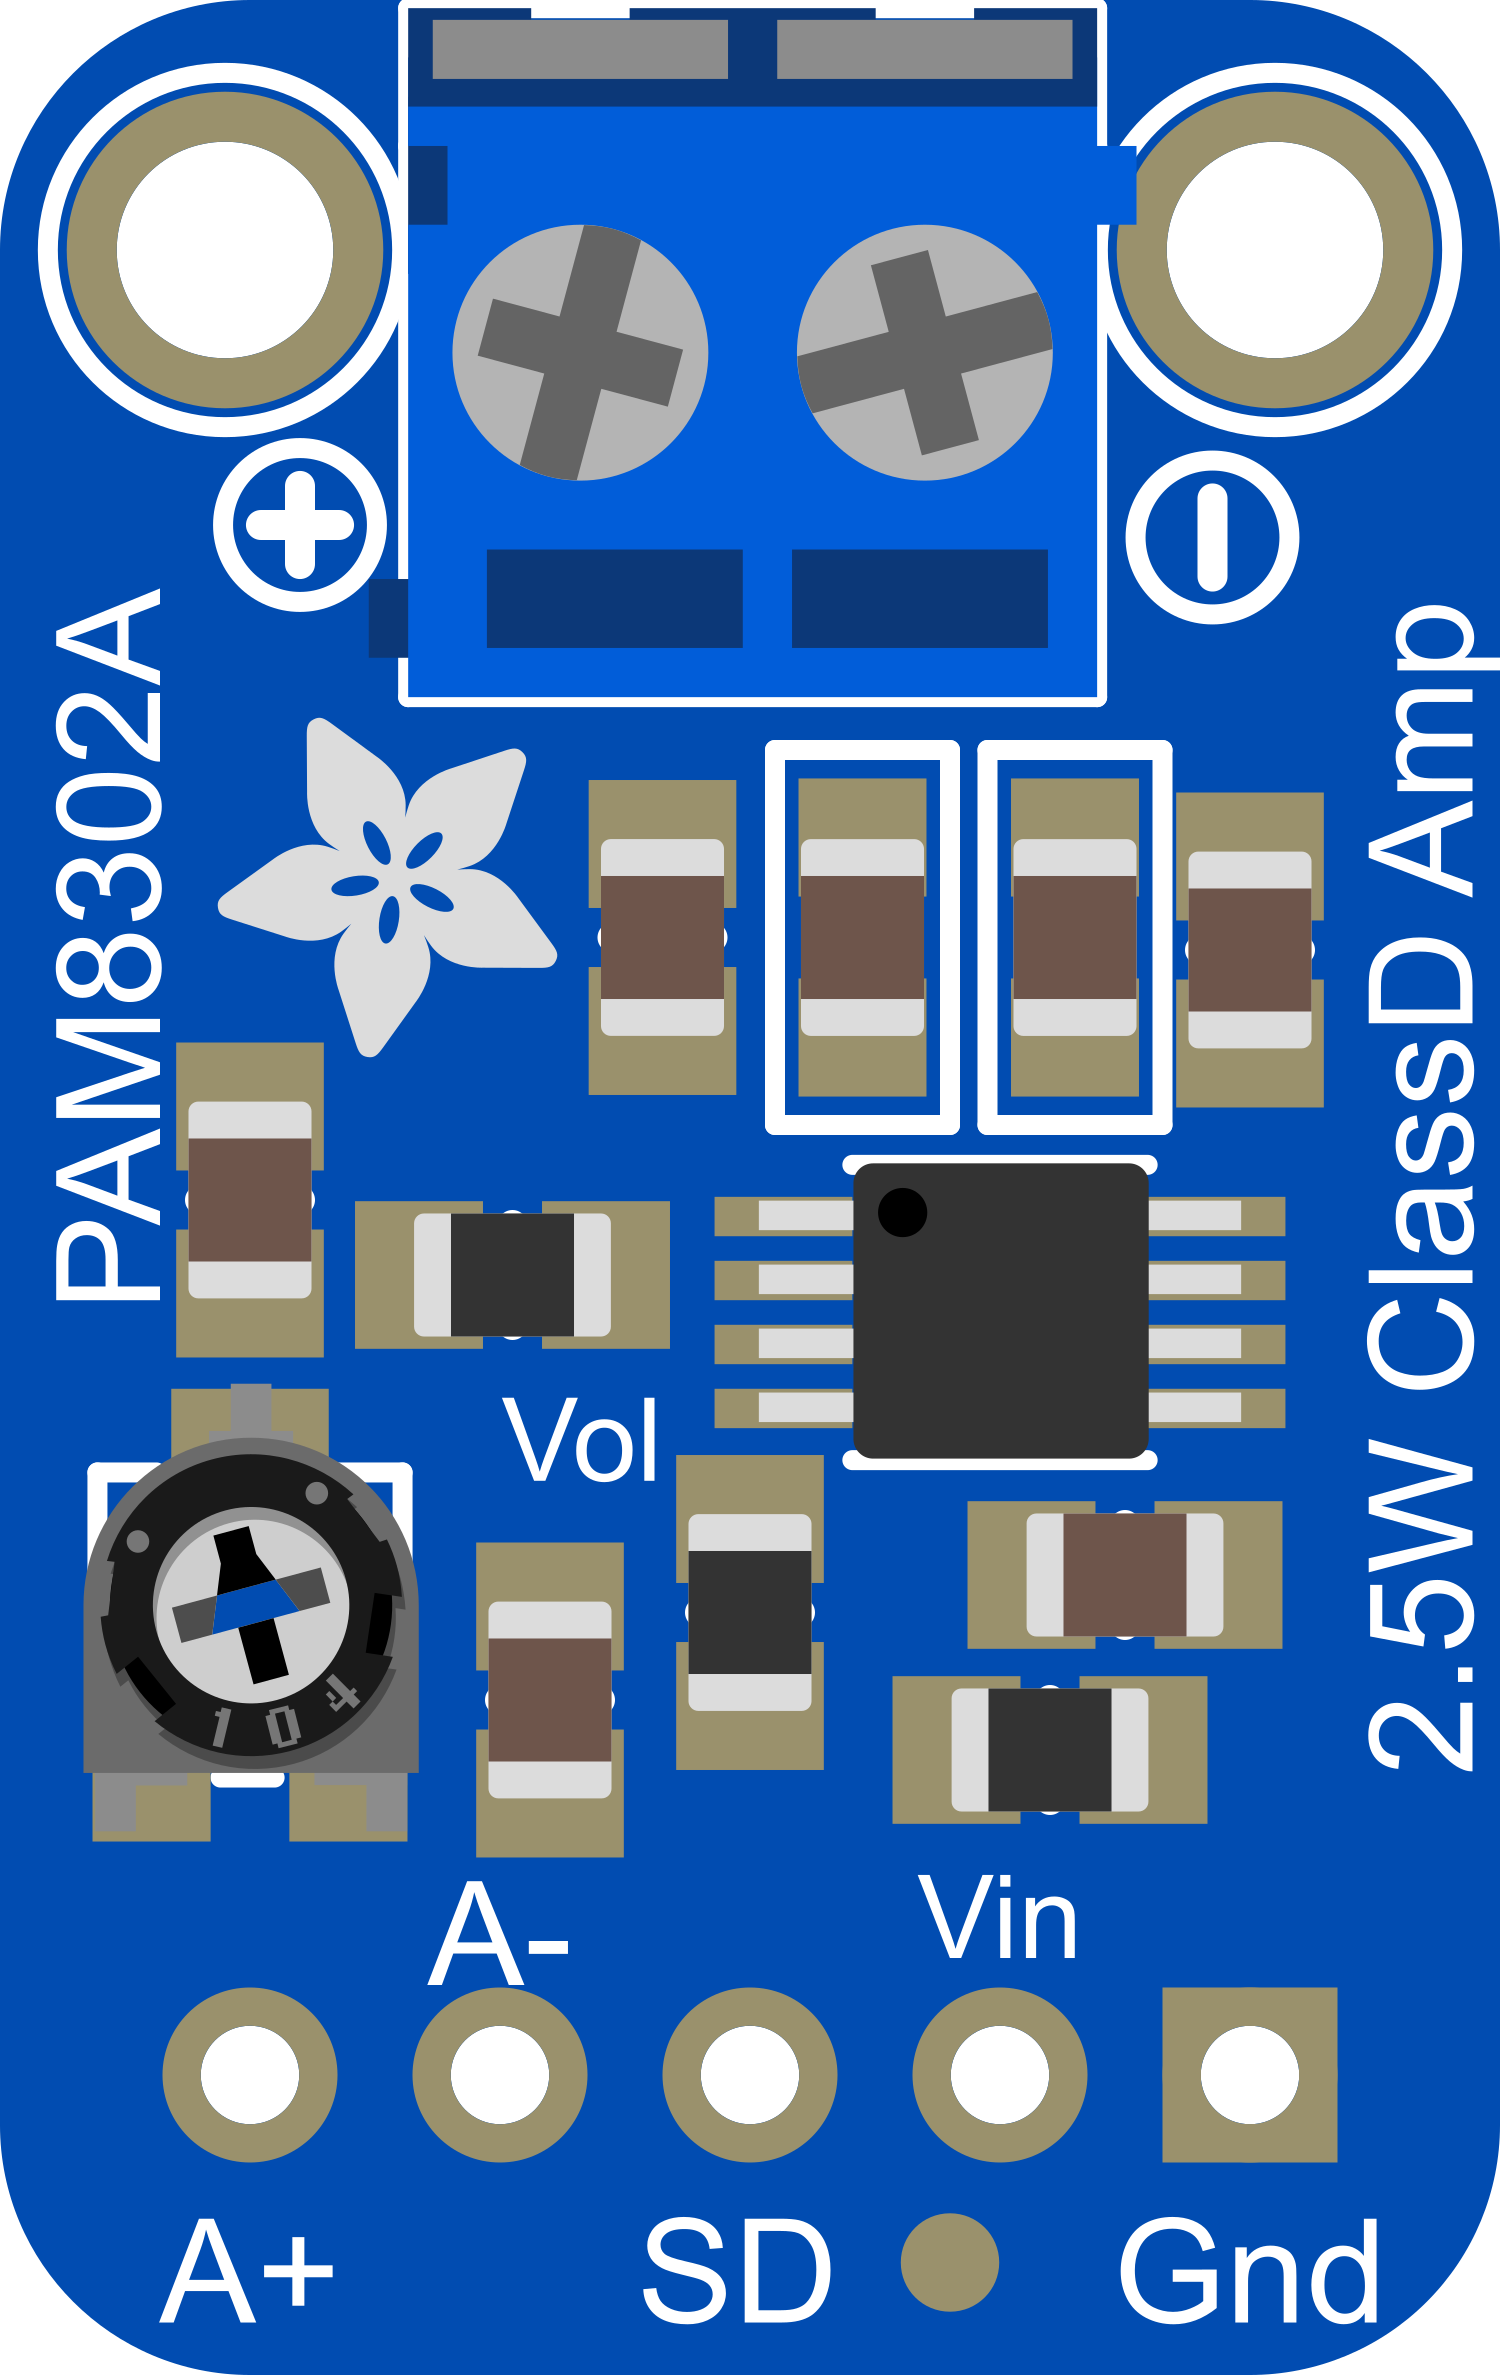
The Adafruit PAM8302 is a compact, efficient, class D audio amplifier module designed for driving a single speaker or headphone. It is an ideal choice for adding audio capabilities to your projects without requiring a lot of power or space. The PAM8302 can deliver up to 2 watts of power into a 4-ohm load, making it suitable for a wide range of applications, from portable speakers to sound effects for toys and gadgets.
Explore Projects Built with Adafruit PAM8302

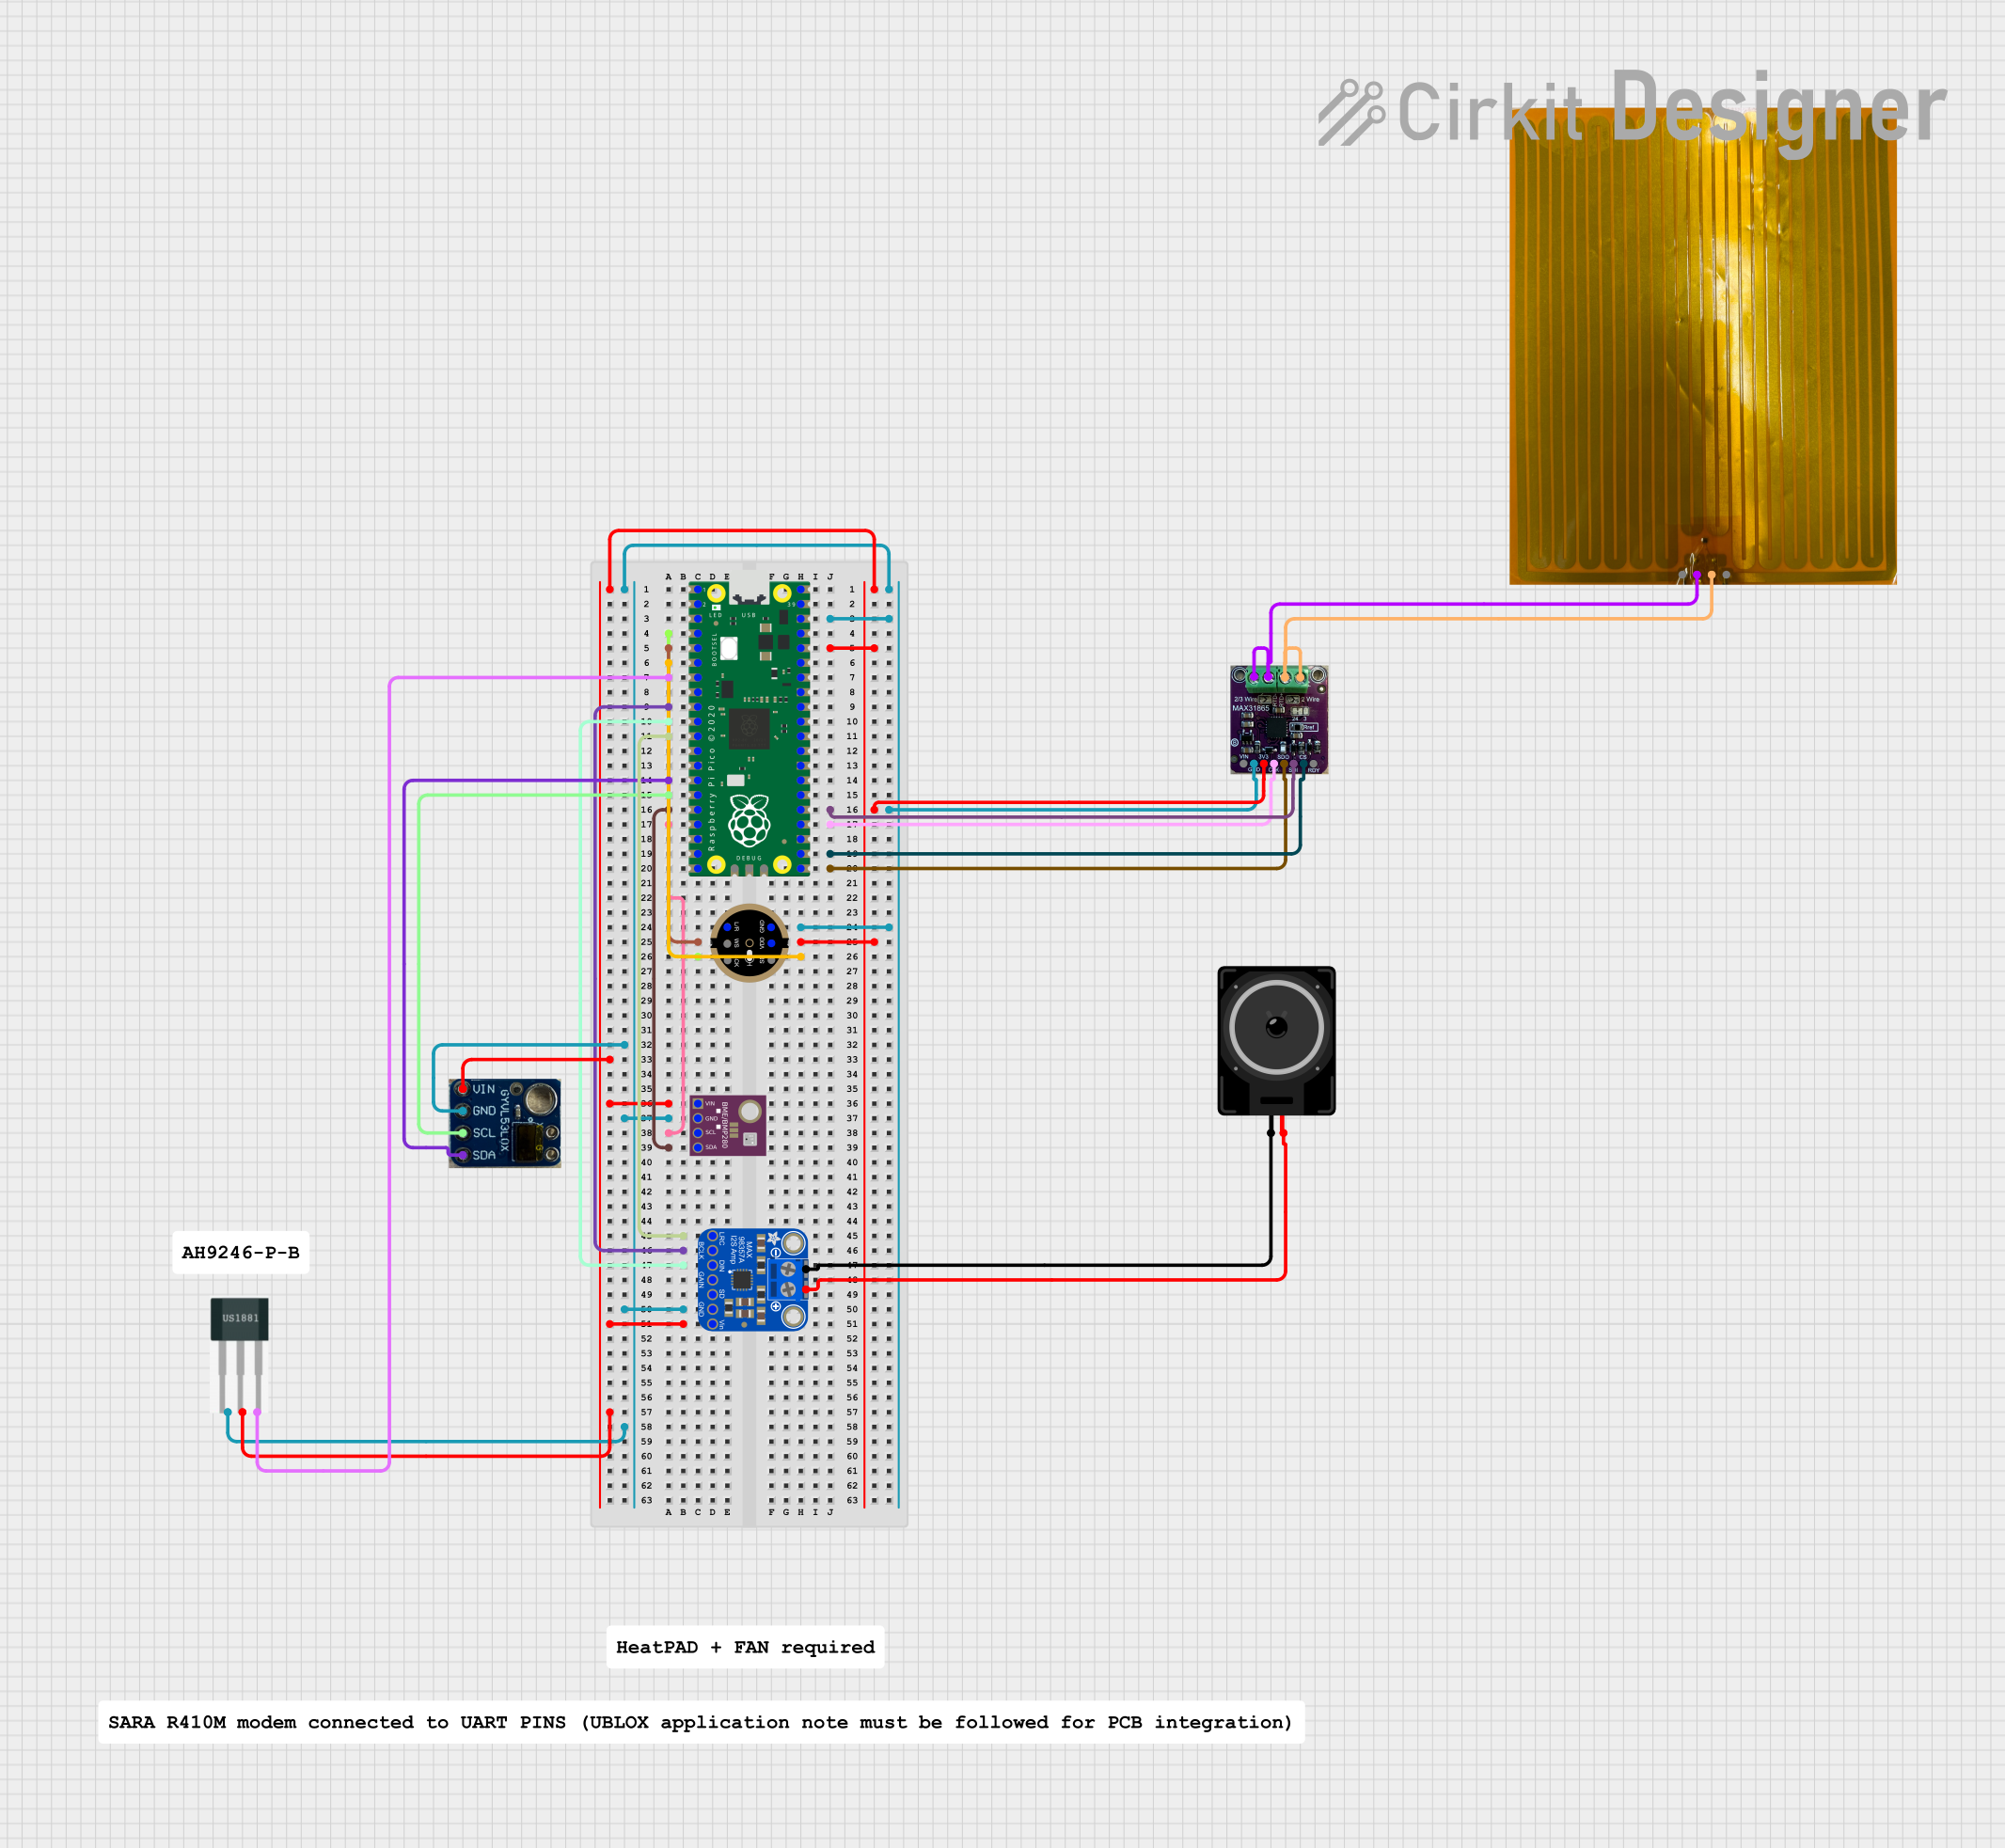
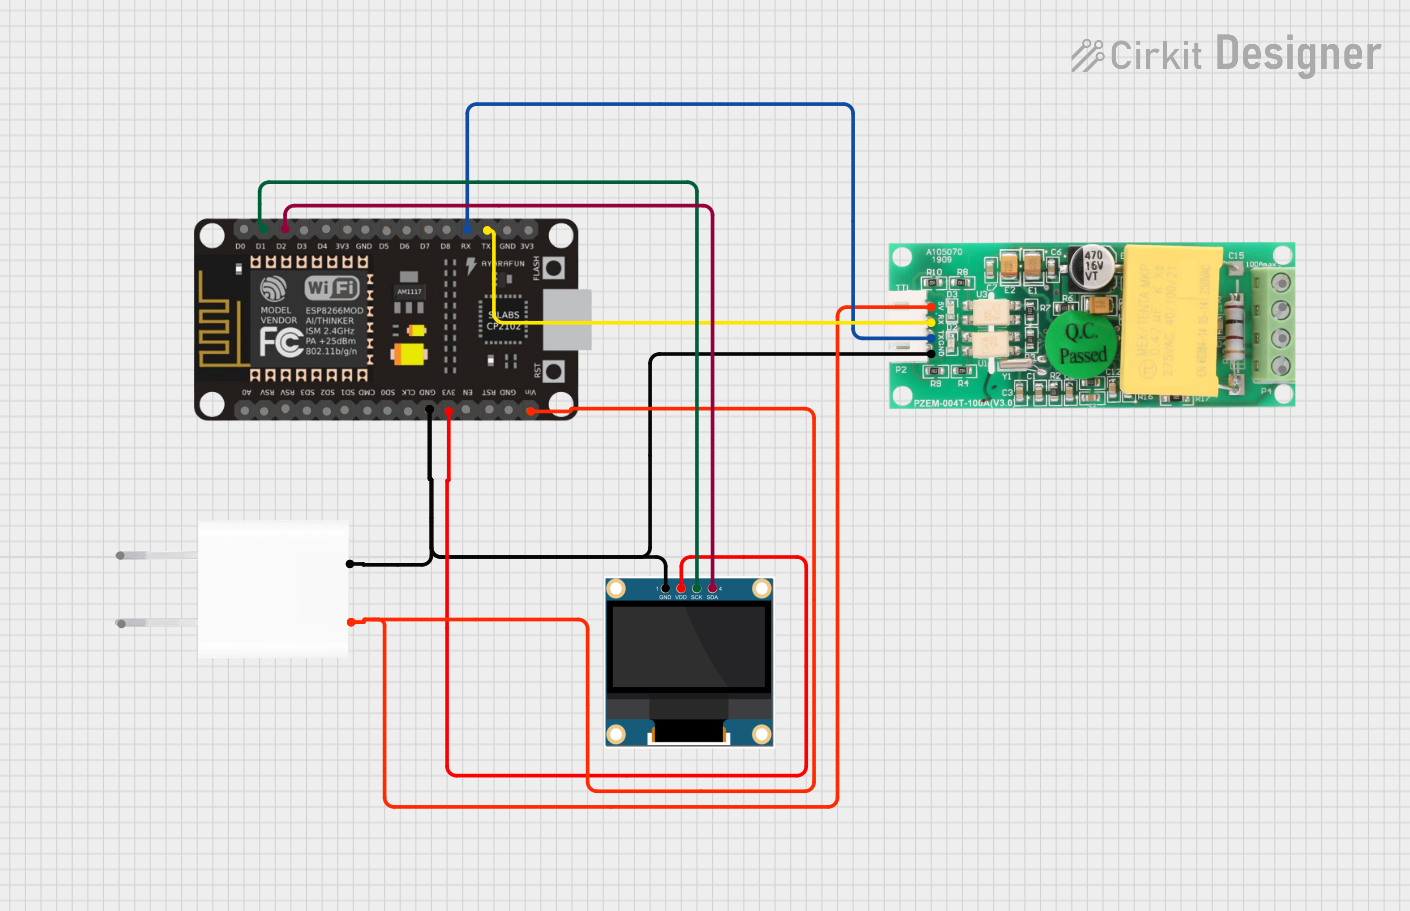
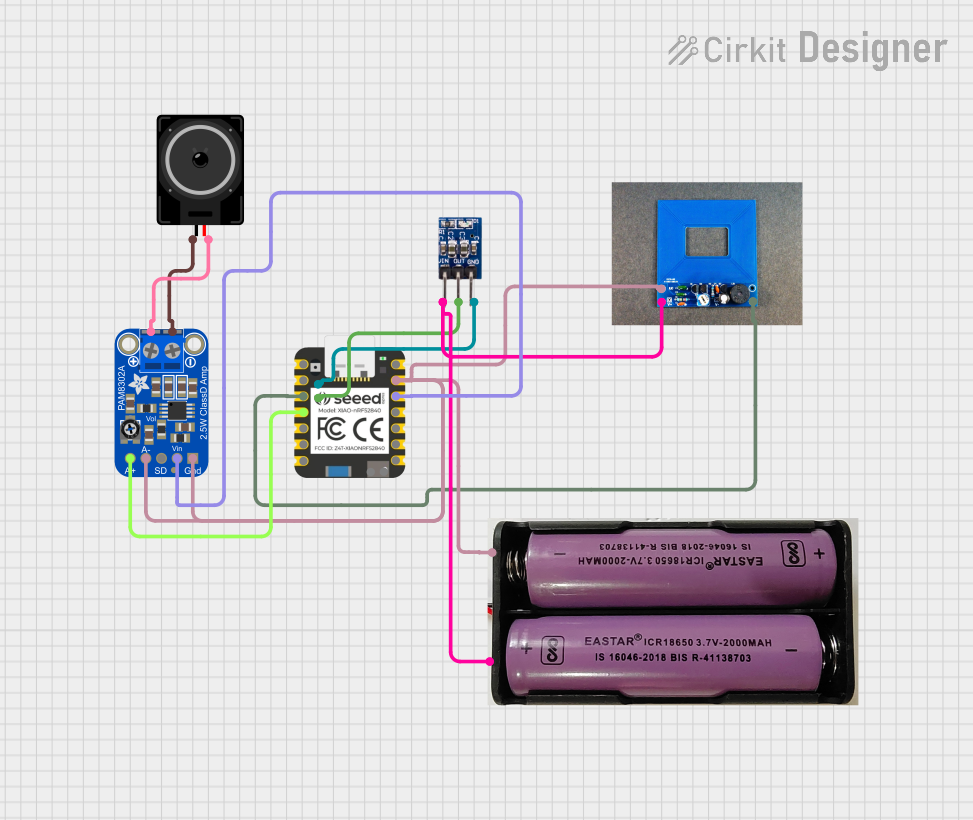
Explore Projects Built with Adafruit PAM8302
Common Applications and Use Cases
- DIY portable speakers
- Sound effects for costumes or props
- Audio output for alarm systems
- Educational projects involving sound synthesis
- Adding sound to microcontroller projects
Technical Specifications
Key Technical Details
- Supply Voltage: 2.5V to 5.5V
- Output Power: 2W at 4Ω, 10% THD; 1.5W at 4Ω, 1% THD
- Efficiency: Up to 85%
- Quiescent Current: 20mA (typical)
- Shutdown Current: <1µA (typical)
Pin Configuration and Descriptions
| Pin Number | Name | Description |
|---|---|---|
| 1 | Vin | Power supply input (2.5V to 5.5V) |
| 2 | GND | Ground connection |
| 3 | IN+ | Positive audio input |
| 4 | IN- | Negative audio input (ground for single-ended input) |
| 5 | SD | Shutdown control input (active low) |
| 6 | OUT+ | Positive speaker output |
| 7 | OUT- | Negative speaker output |
Usage Instructions
How to Use the Component in a Circuit
- Power Supply: Connect the Vin pin to a 2.5V to 5.5V power supply and the GND pin to the ground of your power source.
- Audio Input: Connect your audio source to the IN+ and IN- pins. For a single-ended input, tie IN- to ground.
- Speaker Output: Connect a 4-ohm speaker between the OUT+ and OUT- pins.
- Shutdown Control (Optional): If you wish to control the shutdown feature, connect the SD pin to a digital output on your microcontroller. Drive it low to put the amplifier into shutdown mode.
Important Considerations and Best Practices
- Ensure that the power supply does not exceed 5.5V to prevent damage to the amplifier.
- Use a capacitor in series with the input if there is a DC bias from the audio source.
- Avoid shorting the output as it may damage the amplifier.
- When using with a microcontroller like an Arduino, ensure that the I/O pins used for shutdown control are configured correctly.
Example Code for Arduino UNO
// Example code to control the Adafruit PAM8302 with an Arduino UNO

const int shutdownPin = 2; // Connect to the SD pin of the PAM8302

void setup() {
  pinMode(shutdownPin, OUTPUT);
  digitalWrite(shutdownPin, HIGH); // Enable the amplifier
}

void loop() {
  // Your audio processing code would go here

  // Example: Shutdown the amplifier for 5 seconds
  digitalWrite(shutdownPin, LOW); // Disable the amplifier
  delay(5000);
  digitalWrite(shutdownPin, HIGH); // Enable the amplifier
  delay(5000);
}
Troubleshooting and FAQs
Common Issues Users Might Face
- No Sound: Check the power supply and connections. Ensure the speaker is functional.
- Distorted Sound: Make sure the audio input level is not too high, causing clipping. Also, check for proper power supply voltage.
- Amplifier Overheating: Ensure that the amplifier is not driving a load smaller than 4 ohms and that the supply voltage is within the specified range.
Solutions and Tips for Troubleshooting
- Verify all connections are secure and correct.
- Use a multimeter to check the power supply voltage.
- If using the shutdown feature, ensure the microcontroller pin is configured correctly and functioning.
FAQs
Q: Can I use the PAM8302 with a 3.3V system? A: Yes, the PAM8302 can operate with a supply voltage as low as 2.5V.
Q: What is the maximum speaker impedance I can use with the PAM8302? A: The PAM8302 is optimized for 4-ohm speakers, but it can drive higher impedance loads at reduced output power.
Q: Can I use stereo input with this amplifier? A: The PAM8302 is a mono amplifier, so it can only amplify one channel. For stereo input, you would need two modules or a stereo amplifier.
Q: How do I adjust the volume of the output? A: The volume can be controlled by adjusting the input audio signal level. This can be done with a potentiometer or through software if the audio is generated by a microcontroller.
This documentation provides a comprehensive guide to using the Adafruit PAM8302 amplifier module. For further assistance, consult the Adafruit forums or the product's datasheet.