Cirkit Designer Logo
Cirkit Designer
Your all-in-one circuit design IDE
Home / 
Component Documentation

How to Use LIGHT: Examples, Pinouts, and Specs

Image of LIGHT
Cirkit Designer LogoDesign with LIGHT in Cirkit Designer

Introduction

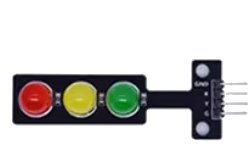
A LIGHT is a device that emits light, commonly used for illumination in various applications, including homes, offices, and outdoor areas. It is an essential component in both residential and industrial settings, providing visibility and enhancing safety. Lights come in various forms, such as incandescent bulbs, LEDs (Light Emitting Diodes), and fluorescent lamps, each suited for specific use cases.

Common applications of LIGHT include:

  • General indoor and outdoor lighting
  • Decorative lighting in homes and events
  • Task lighting for workspaces
  • Signal and indicator lights in electronic devices
  • Automotive and street lighting

Explore Projects Built with LIGHT

Use Cirkit Designer to design, explore, and prototype these projects online. Some projects support real-time simulation. Click "Open Project" to start designing instantly!
Arduino UNO with Bluetooth and LDR Sensor
Image of Copy of bn: A project utilizing LIGHT in a practical application
This circuit features an Arduino UNO microcontroller connected to a Bluetooth HC-06 module and an LDR (Light Dependent Resistor) module. The Arduino facilitates communication with the Bluetooth module via its serial pins (D0 and D1) and reads analog light intensity values from the LDR module through pin A2. The purpose of this circuit is likely to wirelessly transmit light sensor data, possibly for remote monitoring or control applications.
Cirkit Designer LogoOpen Project in Cirkit Designer
ESP32-Based Ambient Light Monitoring System with I2C LCD Display and Keypad Interface
Image of ESP roos: A project utilizing LIGHT in a practical application
This circuit features an ESP32 microcontroller connected to an ambient light sensor, a 4x4 membrane matrix keypad, an I2C LCD screen, and a KY-008 laser emitter. The ESP32 reads ambient light intensity and displays it on the LCD screen, while the keypad allows user interaction to retrieve stored light intensity values from memory. The laser emitter is included in the circuit but not interfaced with the ESP32 in the provided code.
Cirkit Designer LogoOpen Project in Cirkit Designer
Arduino UNO-Based Smart Street Light Control with LDR and PIR Sensors
Image of street light: A project utilizing LIGHT in a practical application
This circuit is a street light control system using an Arduino UNO, LDR sensor, PIR sensors, and LEDs. The LDR sensor detects day or night to control three LEDs via a transistor switch, while the PIR sensors detect motion to turn on an additional LED for enhanced illumination.
Cirkit Designer LogoOpen Project in Cirkit Designer
Arduino UNO-Based Smart Street Light Control with PIR and LDR Sensors
Image of street light: A project utilizing LIGHT in a practical application
This circuit is a street light control system using an Arduino UNO, LDR sensor, and two PIR sensors. The LDR sensor determines day or night, turning on three LEDs at night via a transistor switch, while the PIR sensors detect motion to activate an additional LED.
Cirkit Designer LogoOpen Project in Cirkit Designer

Explore Projects Built with LIGHT

Use Cirkit Designer to design, explore, and prototype these projects online. Some projects support real-time simulation. Click "Open Project" to start designing instantly!
Image of Copy of bn: A project utilizing LIGHT in a practical application
Arduino UNO with Bluetooth and LDR Sensor
This circuit features an Arduino UNO microcontroller connected to a Bluetooth HC-06 module and an LDR (Light Dependent Resistor) module. The Arduino facilitates communication with the Bluetooth module via its serial pins (D0 and D1) and reads analog light intensity values from the LDR module through pin A2. The purpose of this circuit is likely to wirelessly transmit light sensor data, possibly for remote monitoring or control applications.
Cirkit Designer LogoOpen Project in Cirkit Designer
Image of ESP roos: A project utilizing LIGHT in a practical application
ESP32-Based Ambient Light Monitoring System with I2C LCD Display and Keypad Interface
This circuit features an ESP32 microcontroller connected to an ambient light sensor, a 4x4 membrane matrix keypad, an I2C LCD screen, and a KY-008 laser emitter. The ESP32 reads ambient light intensity and displays it on the LCD screen, while the keypad allows user interaction to retrieve stored light intensity values from memory. The laser emitter is included in the circuit but not interfaced with the ESP32 in the provided code.
Cirkit Designer LogoOpen Project in Cirkit Designer
Image of street light: A project utilizing LIGHT in a practical application
Arduino UNO-Based Smart Street Light Control with LDR and PIR Sensors
This circuit is a street light control system using an Arduino UNO, LDR sensor, PIR sensors, and LEDs. The LDR sensor detects day or night to control three LEDs via a transistor switch, while the PIR sensors detect motion to turn on an additional LED for enhanced illumination.
Cirkit Designer LogoOpen Project in Cirkit Designer
Image of street light: A project utilizing LIGHT in a practical application
Arduino UNO-Based Smart Street Light Control with PIR and LDR Sensors
This circuit is a street light control system using an Arduino UNO, LDR sensor, and two PIR sensors. The LDR sensor determines day or night, turning on three LEDs at night via a transistor switch, while the PIR sensors detect motion to activate an additional LED.
Cirkit Designer LogoOpen Project in Cirkit Designer

Technical Specifications

The technical specifications of a LIGHT vary depending on its type (e.g., LED, incandescent, fluorescent). Below are general specifications for an LED light, which is the most commonly used type due to its energy efficiency and long lifespan.

General Specifications

Parameter Value
Operating Voltage 3V to 12V (depending on type)
Current Consumption 10mA to 20mA (typical for LEDs)
Power Rating 0.1W to 10W (varies by design)
Light Output (Luminous Flux) 10 to 1000 lumens
Color Temperature 2700K (warm) to 6500K (cool)
Lifespan 15,000 to 50,000 hours (LEDs)

Pin Configuration (for an LED)

Pin Name Description
Anode (+) Positive terminal; connect to power supply
Cathode (-) Negative terminal; connect to ground

Usage Instructions

How to Use a LIGHT in a Circuit

  1. Determine the Voltage and Current Requirements: Check the specifications of the LIGHT to ensure compatibility with your power source.
  2. Use a Resistor (for LEDs): LEDs require a current-limiting resistor to prevent damage. Calculate the resistor value using Ohm's Law: [ R = \frac{V_{supply} - V_{forward}}{I_{forward}} ] Where:
    • ( V_{supply} ) is the supply voltage
    • ( V_{forward} ) is the forward voltage of the LED
    • ( I_{forward} ) is the forward current of the LED
  3. Connect the Terminals:
    • Connect the anode (+) to the positive side of the power supply (via the resistor, if applicable).
    • Connect the cathode (-) to the ground.
  4. Test the Circuit: Power on the circuit and verify that the LIGHT emits light.

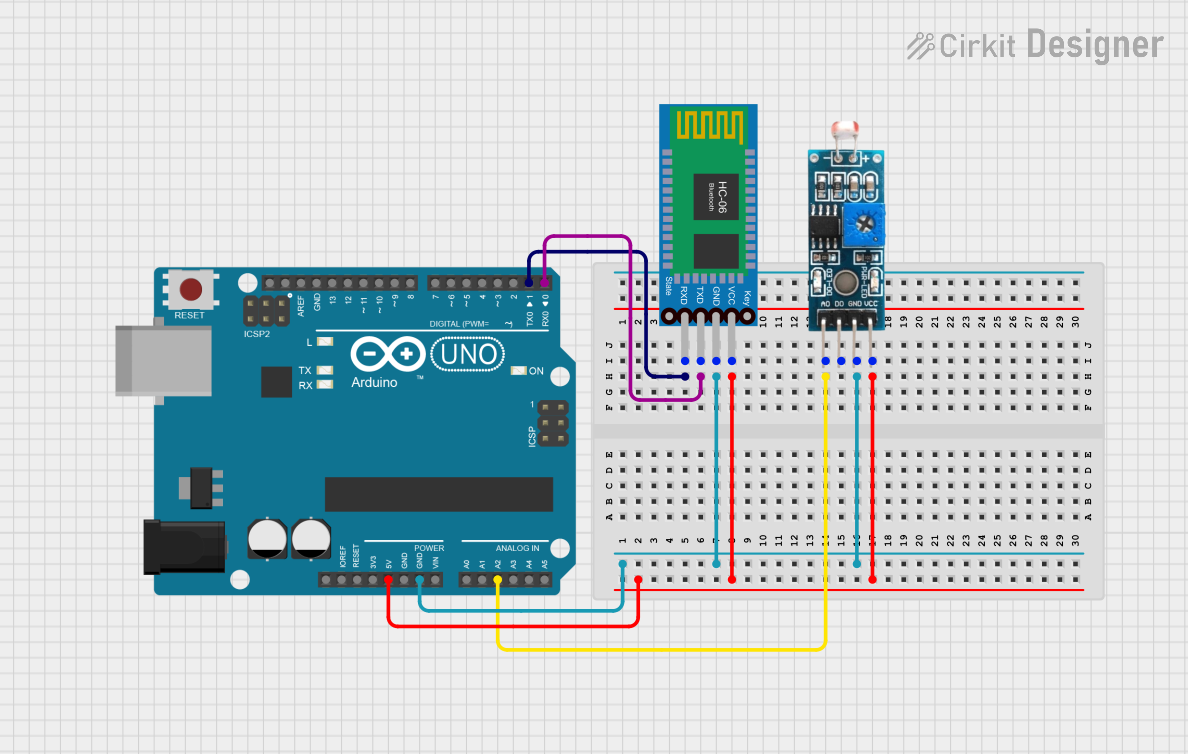
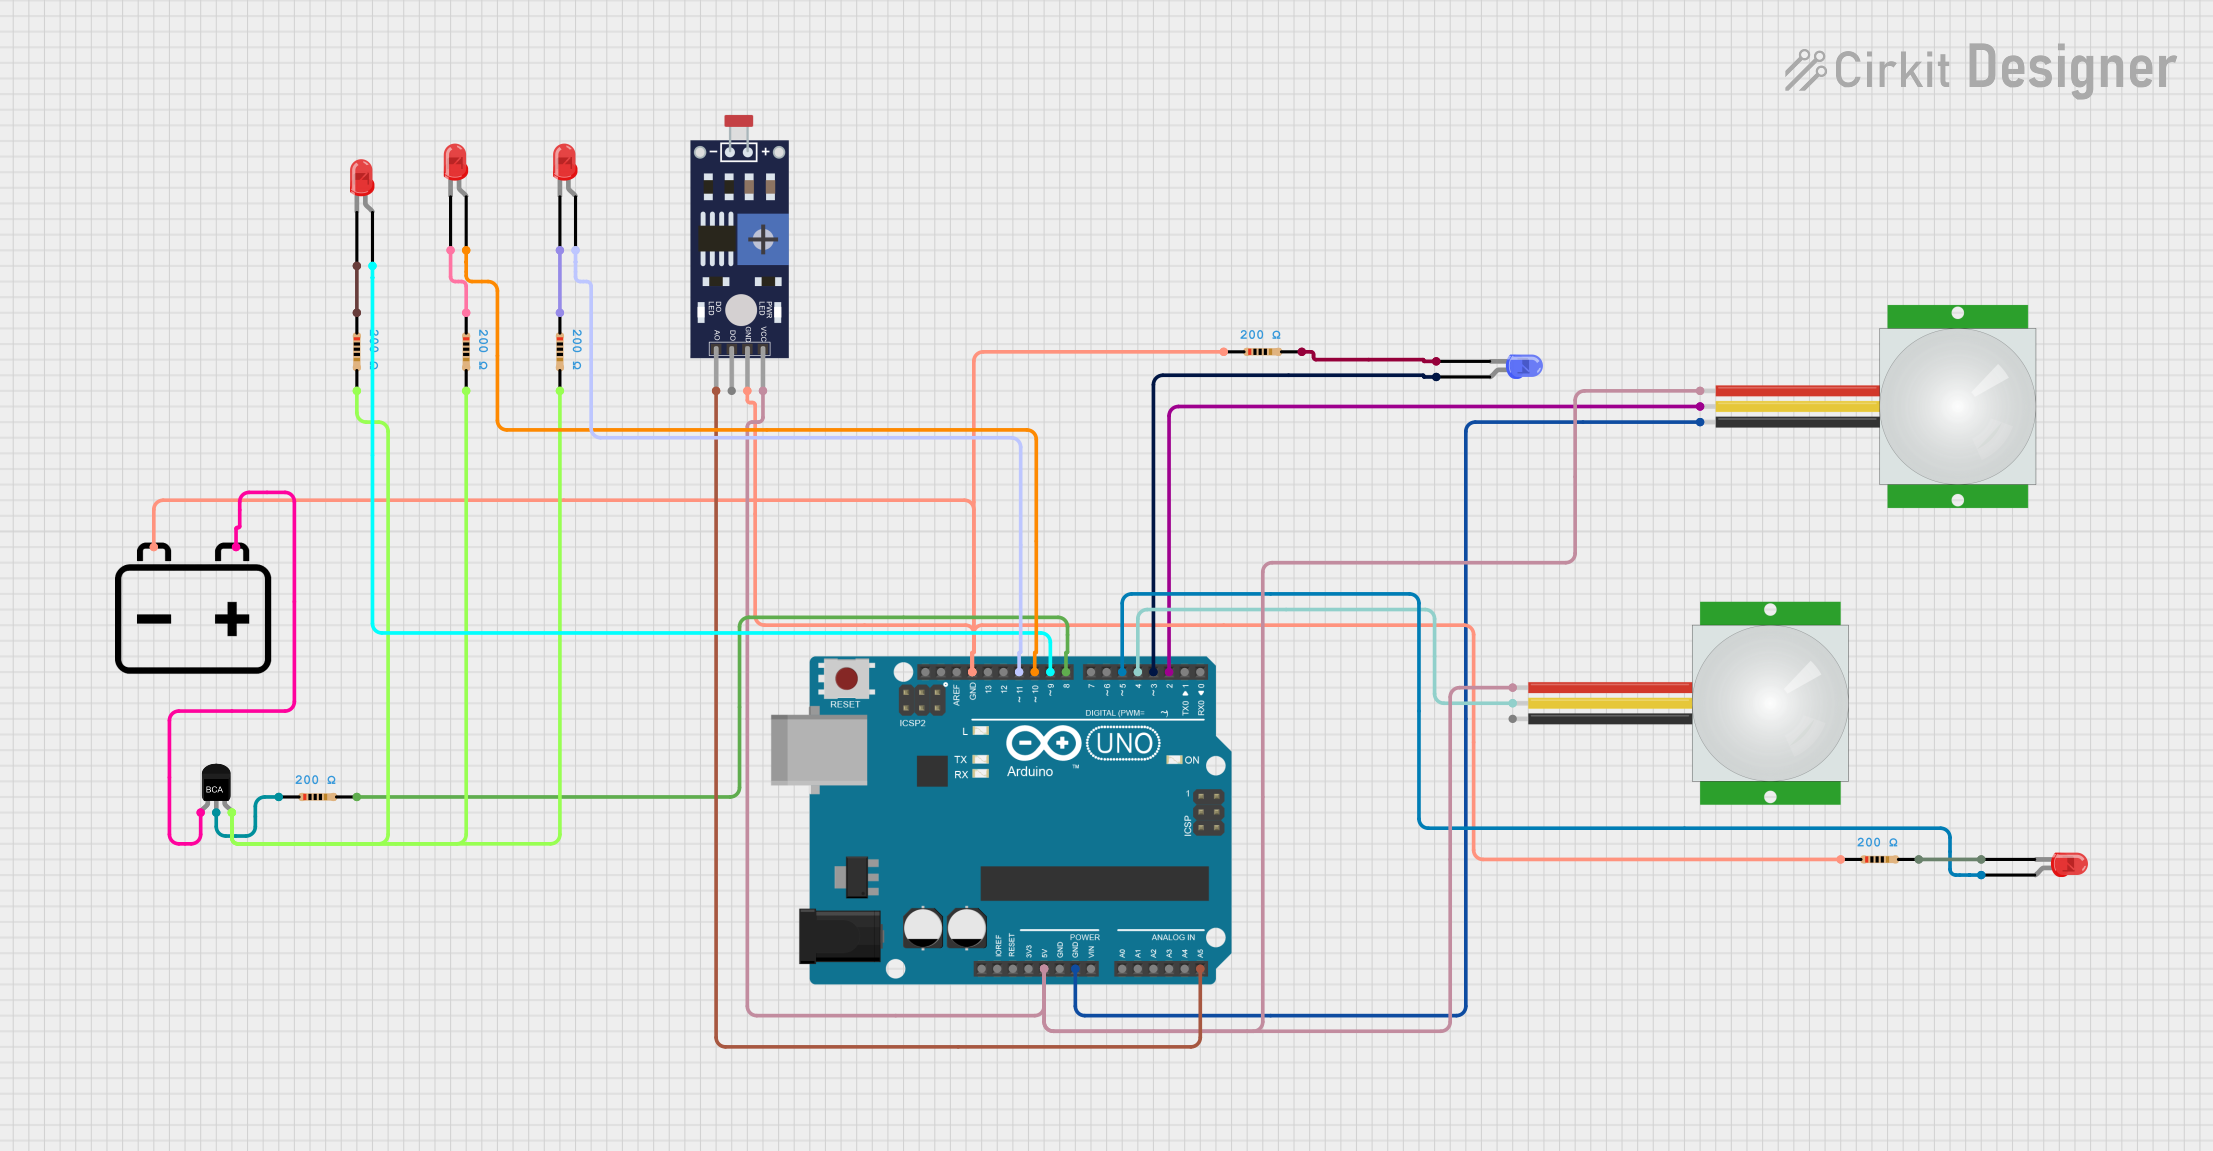
Example: Connecting an LED to an Arduino UNO

Below is an example of how to connect and control an LED using an Arduino UNO.

Circuit Setup

  • Connect the anode (+) of the LED to a digital pin on the Arduino (e.g., pin 13) through a 220-ohm resistor.
  • Connect the cathode (-) of the LED to the Arduino's GND pin.

Arduino Code

// This code blinks an LED connected to pin 13 of the Arduino UNO.
// Ensure a 220-ohm resistor is used to limit current to the LED.

const int ledPin = 13; // Define the pin connected to the LED

void setup() {
  pinMode(ledPin, OUTPUT); // Set the LED pin as an output
}

void loop() {
  digitalWrite(ledPin, HIGH); // Turn the LED on
  delay(1000);                // Wait for 1 second
  digitalWrite(ledPin, LOW);  // Turn the LED off
  delay(1000);                // Wait for 1 second
}

Important Considerations

  • Polarity: Ensure correct polarity when connecting the LIGHT. Reversing the connections may damage the component.
  • Resistor Selection: Always use an appropriate resistor for LEDs to prevent overcurrent.
  • Heat Management: High-power lights (e.g., high-wattage LEDs) may require heat sinks to dissipate heat effectively.

Troubleshooting and FAQs

Common Issues

  1. The LIGHT Does Not Turn On

    • Cause: Incorrect wiring or insufficient power supply.
    • Solution: Double-check the connections and ensure the power supply matches the LIGHT's requirements.
  2. The LIGHT Flickers

    • Cause: Unstable power supply or loose connections.
    • Solution: Use a stable power source and secure all connections.
  3. The LIGHT Burns Out Quickly

    • Cause: Excessive current or voltage.
    • Solution: Use a current-limiting resistor (for LEDs) and ensure the power supply is within the specified range.
  4. The LIGHT Is Dim

    • Cause: Insufficient current or voltage.
    • Solution: Verify the power supply and resistor value.

FAQs

  • Q: Can I connect an LED directly to a 5V power supply?
    A: No, you must use a current-limiting resistor to prevent damage to the LED.

  • Q: How do I calculate the resistor value for an LED?
    A: Use the formula ( R = \frac{V_{supply} - V_{forward}}{I_{forward}} ).

  • Q: Can I use a LIGHT with an AC power source?
    A: Some lights, such as incandescent bulbs and certain LEDs with built-in drivers, can work with AC power. Check the specifications of your LIGHT.

  • Q: Why is my LED heating up?
    A: Excessive current or insufficient heat dissipation can cause overheating. Use a proper resistor and, if necessary, a heat sink.

This documentation provides a comprehensive guide to understanding and using a LIGHT in various applications. Follow the instructions and best practices to ensure optimal performance and longevity of your LIGHT.