How to Use High Temperature Sensor: Examples, Pinouts, and Specs
Introduction
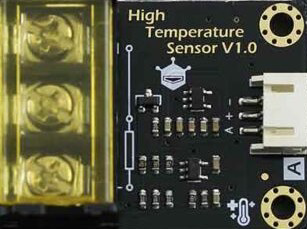
The High Temperature Sensor (DFRobot SEN0198) is a robust and reliable device designed to measure high temperatures in industrial, scientific, and other demanding environments. This sensor typically utilizes thermocouples or thermistors to provide accurate and stable temperature readings. Its durable design makes it suitable for applications where standard temperature sensors may fail due to extreme heat.
Explore Projects Built with High Temperature Sensor
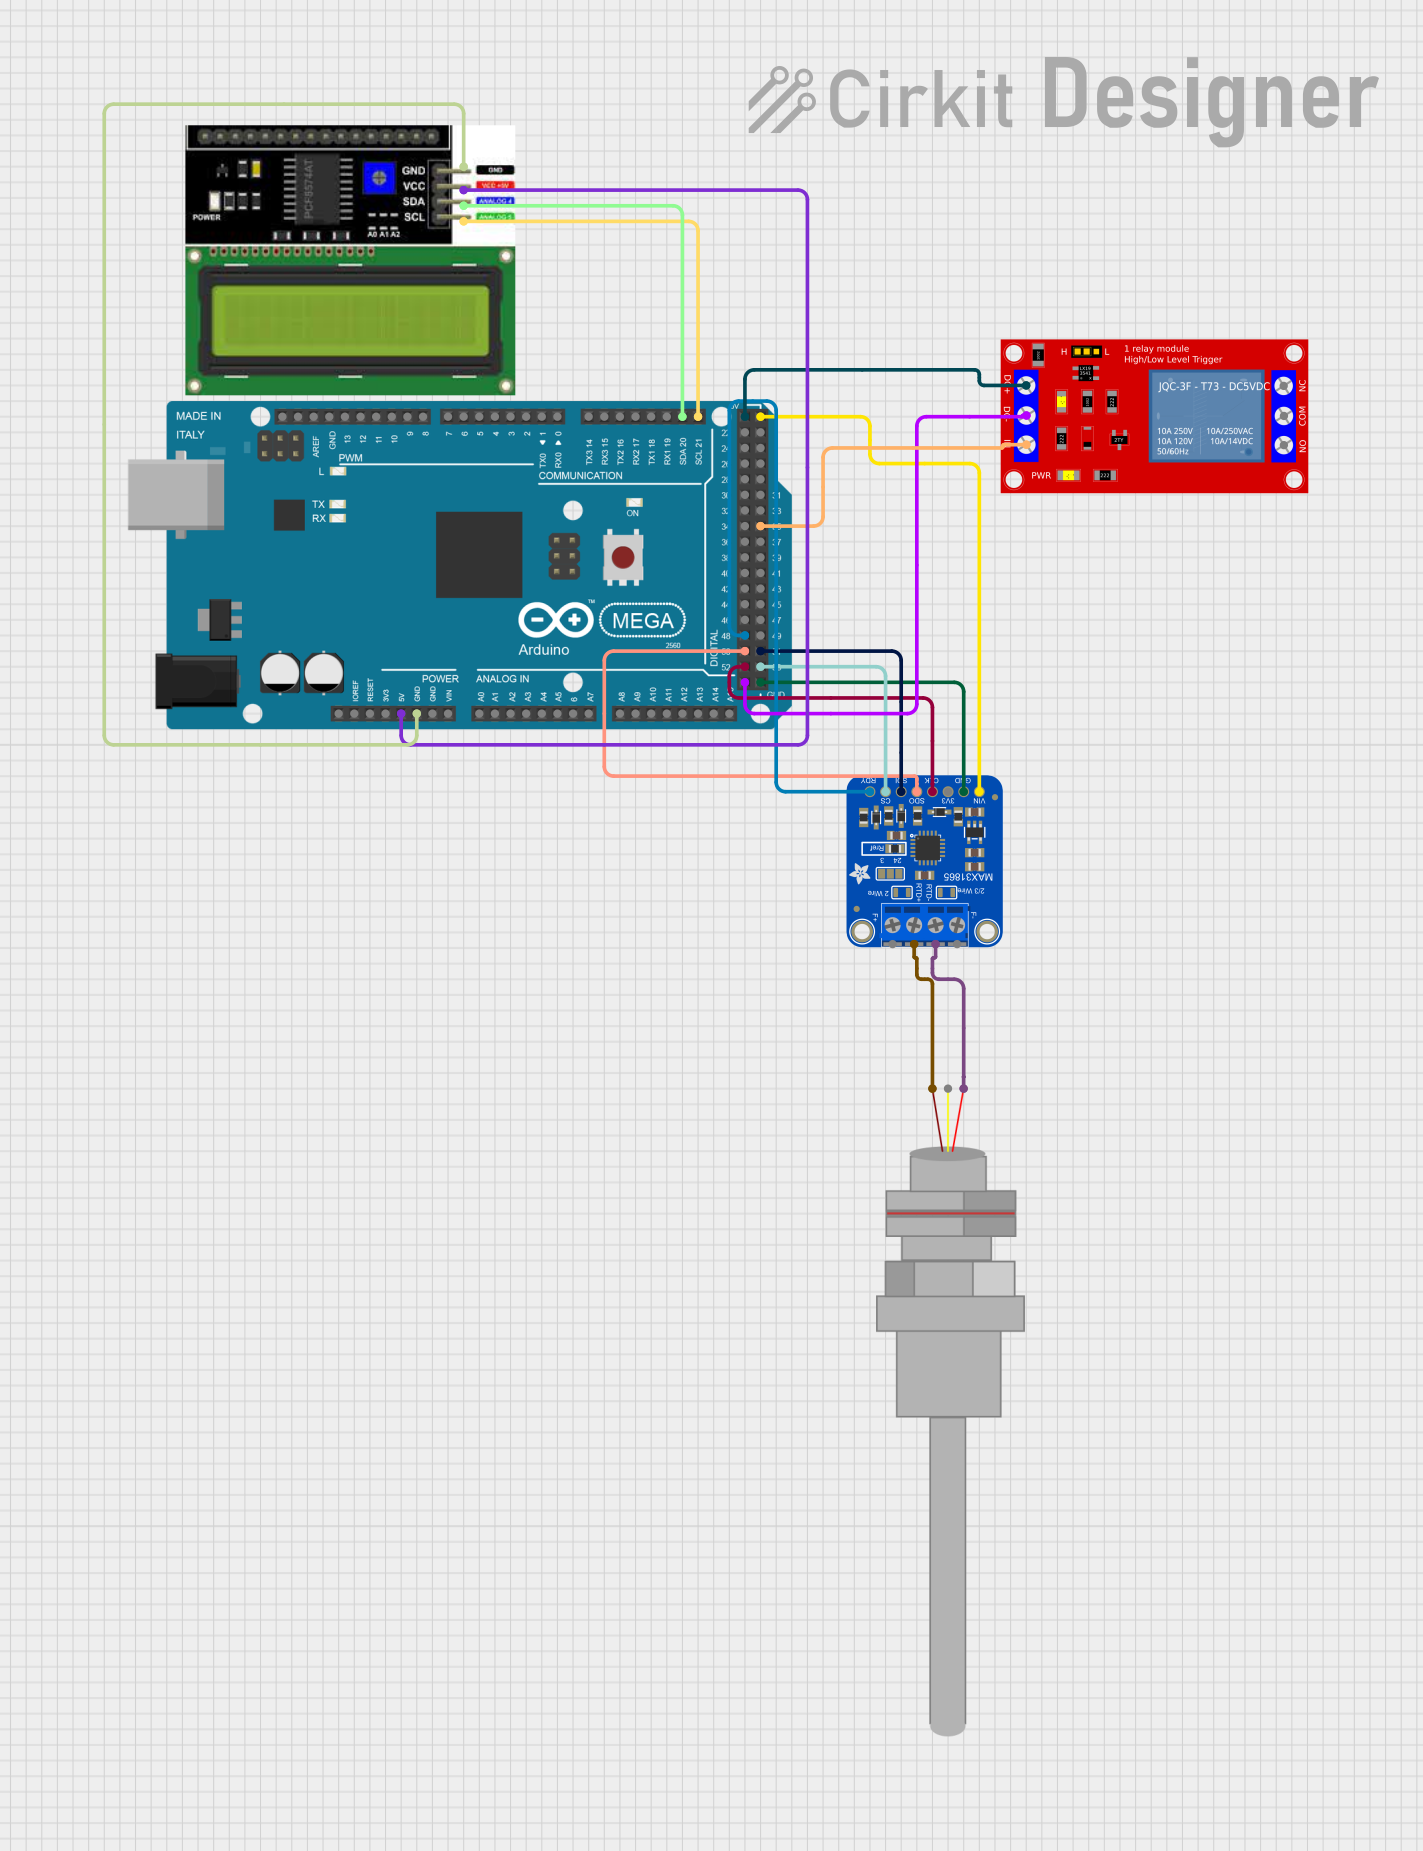
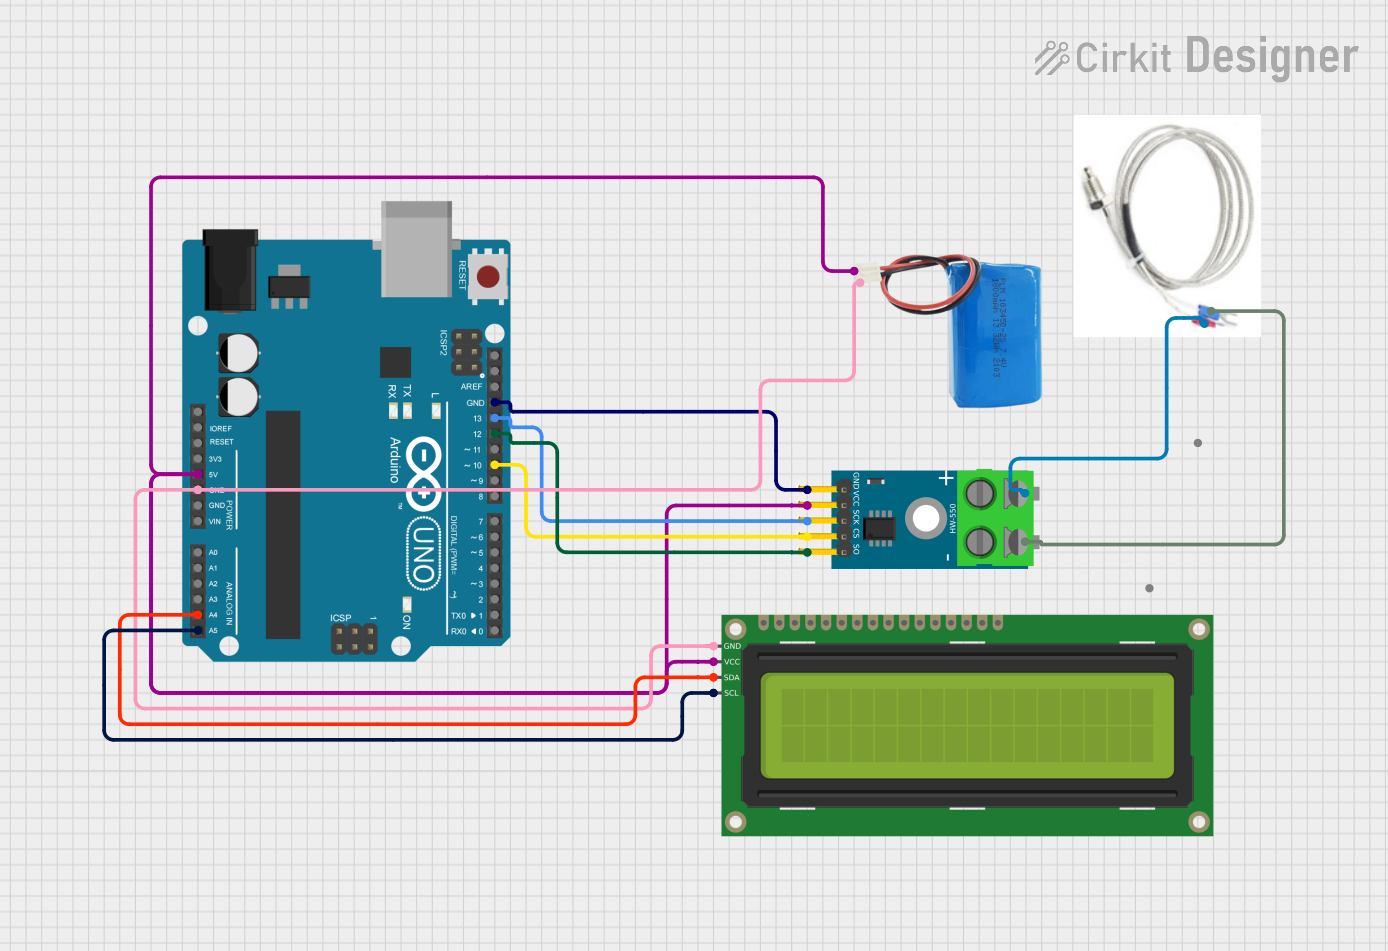
Explore Projects Built with High Temperature Sensor
Common Applications and Use Cases
- Industrial temperature monitoring
- Scientific experiments requiring precise thermal measurements
- High-temperature ovens and furnaces
- Automotive and aerospace testing
- Environmental monitoring in extreme conditions
Technical Specifications
The following table outlines the key technical details of the DFRobot SEN0198 High Temperature Sensor:
| Parameter | Value |
|---|---|
| Manufacturer | DFRobot |
| Part ID | SEN0198 |
| Temperature Range | -50°C to 600°C |
| Accuracy | ±2°C |
| Output Signal | Analog voltage |
| Operating Voltage | 3.3V to 5V |
| Operating Current | ≤5mA |
| Interface Type | Analog |
| Sensor Type | Thermocouple/Thermistor-based |
| Dimensions | 32mm x 22mm x 10mm |
| Weight | 15g |
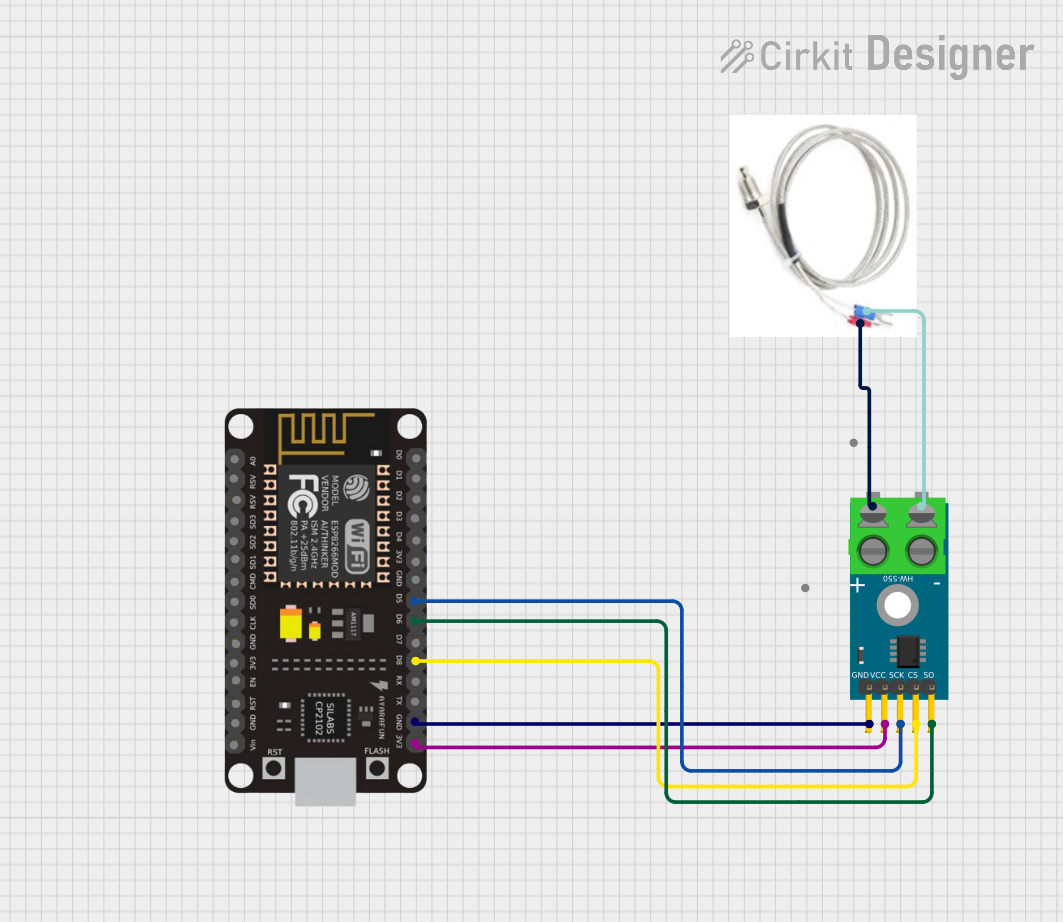
Pin Configuration and Descriptions
The DFRobot SEN0198 High Temperature Sensor has a simple 3-pin interface. The pin configuration is as follows:
| Pin | Name | Description |
|---|---|---|
| 1 | VCC | Power supply input (3.3V to 5V) |
| 2 | GND | Ground connection |
| 3 | Signal | Analog output signal proportional to temperature |
Usage Instructions
How to Use the Component in a Circuit
- Power the Sensor: Connect the
VCCpin to a 3.3V or 5V power source and theGNDpin to the ground of your circuit. - Read the Signal: Connect the
Signalpin to an analog input pin of your microcontroller or data acquisition system. - Calibrate the Sensor: Use the sensor's output voltage to calculate the temperature based on the provided calibration formula or lookup table in the datasheet.
- Monitor Temperature: Continuously read the analog signal and convert it to temperature using the appropriate conversion method.
Important Considerations and Best Practices
- Power Supply: Ensure a stable power supply to avoid fluctuations in the sensor's output.
- Signal Noise: Use proper shielding and grounding techniques to minimize noise in the analog signal.
- Temperature Range: Do not expose the sensor to temperatures beyond its specified range (-50°C to 600°C) to prevent damage.
- Calibration: Periodically calibrate the sensor for accurate readings, especially in critical applications.
- Mounting: Secure the sensor in a location where it can accurately measure the target temperature without interference.
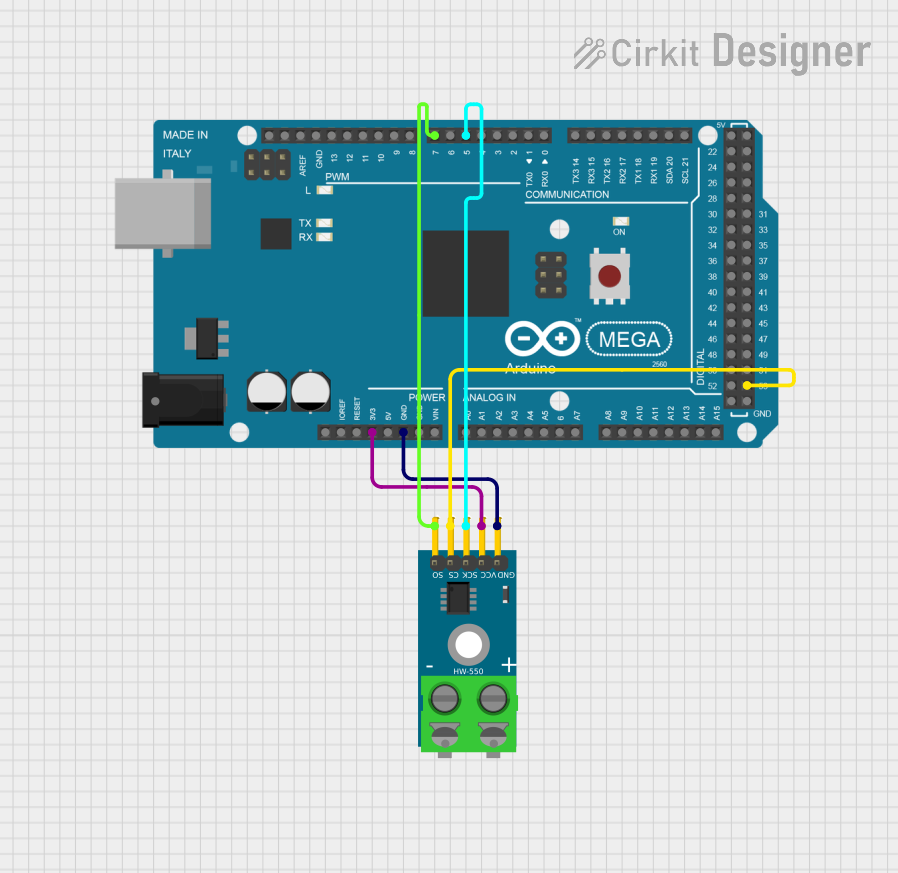
Example: Connecting to an Arduino UNO
Below is an example of how to connect and use the DFRobot SEN0198 High Temperature Sensor with an Arduino UNO:
Circuit Connections
| Sensor Pin | Arduino Pin |
|---|---|
| VCC | 5V |
| GND | GND |
| Signal | A0 |
Arduino Code
// High Temperature Sensor (DFRobot SEN0198) Example Code
// Reads the analog signal from the sensor and converts it to temperature

const int sensorPin = A0; // Analog pin connected to the sensor's Signal pin
float voltage;            // Variable to store the sensor's output voltage
float temperature;        // Variable to store the calculated temperature

void setup() {
  Serial.begin(9600); // Initialize serial communication at 9600 baud
}

void loop() {
  // Read the analog value from the sensor
  int analogValue = analogRead(sensorPin);

  // Convert the analog value to voltage (assuming 5V reference voltage)
  voltage = analogValue * (5.0 / 1023.0);

  // Convert the voltage to temperature (example formula, adjust as needed)
  // Replace with the actual formula or lookup table from the sensor's datasheet
  temperature = (voltage - 0.5) * 100.0;

  // Print the temperature to the Serial Monitor
  Serial.print("Temperature: ");
  Serial.print(temperature);
  Serial.println(" °C");

  delay(1000); // Wait for 1 second before the next reading
}
Troubleshooting and FAQs
Common Issues and Solutions
No Output Signal:
- Cause: Incorrect wiring or loose connections.
- Solution: Double-check all connections, ensuring the
VCC,GND, andSignalpins are properly connected.
Inaccurate Temperature Readings:
- Cause: Sensor not calibrated or exposed to electrical noise.
- Solution: Calibrate the sensor using a known temperature source. Use proper shielding and grounding to reduce noise.
Sensor Overheating:
- Cause: Exposure to temperatures beyond the specified range.
- Solution: Ensure the sensor is used within its operating range (-50°C to 600°C).
Fluctuating Readings:
- Cause: Unstable power supply or environmental interference.
- Solution: Use a stable power source and minimize interference from nearby devices.
FAQs
Q1: Can this sensor be used with a 3.3V microcontroller?
A1: Yes, the sensor operates with a voltage range of 3.3V to 5V, making it compatible with 3.3V microcontrollers.
Q2: How do I extend the sensor's cable for remote measurements?
A2: Use shielded cables to extend the sensor's wiring and minimize signal degradation.
Q3: Is the sensor waterproof?
A3: The sensor itself is not waterproof. If used in humid or wet environments, ensure proper insulation and protection.
Q4: Can I use this sensor to measure air temperature?
A4: While it is possible, the sensor is optimized for measuring solid or liquid surfaces. For air temperature, consider using a dedicated air temperature sensor.
Q5: How often should I calibrate the sensor?
A5: Calibration frequency depends on the application. For critical applications, calibrate the sensor regularly or as specified in the datasheet.