
How to Use Wiring V1.0 Rev 0004: Examples, Pinouts, and Specs
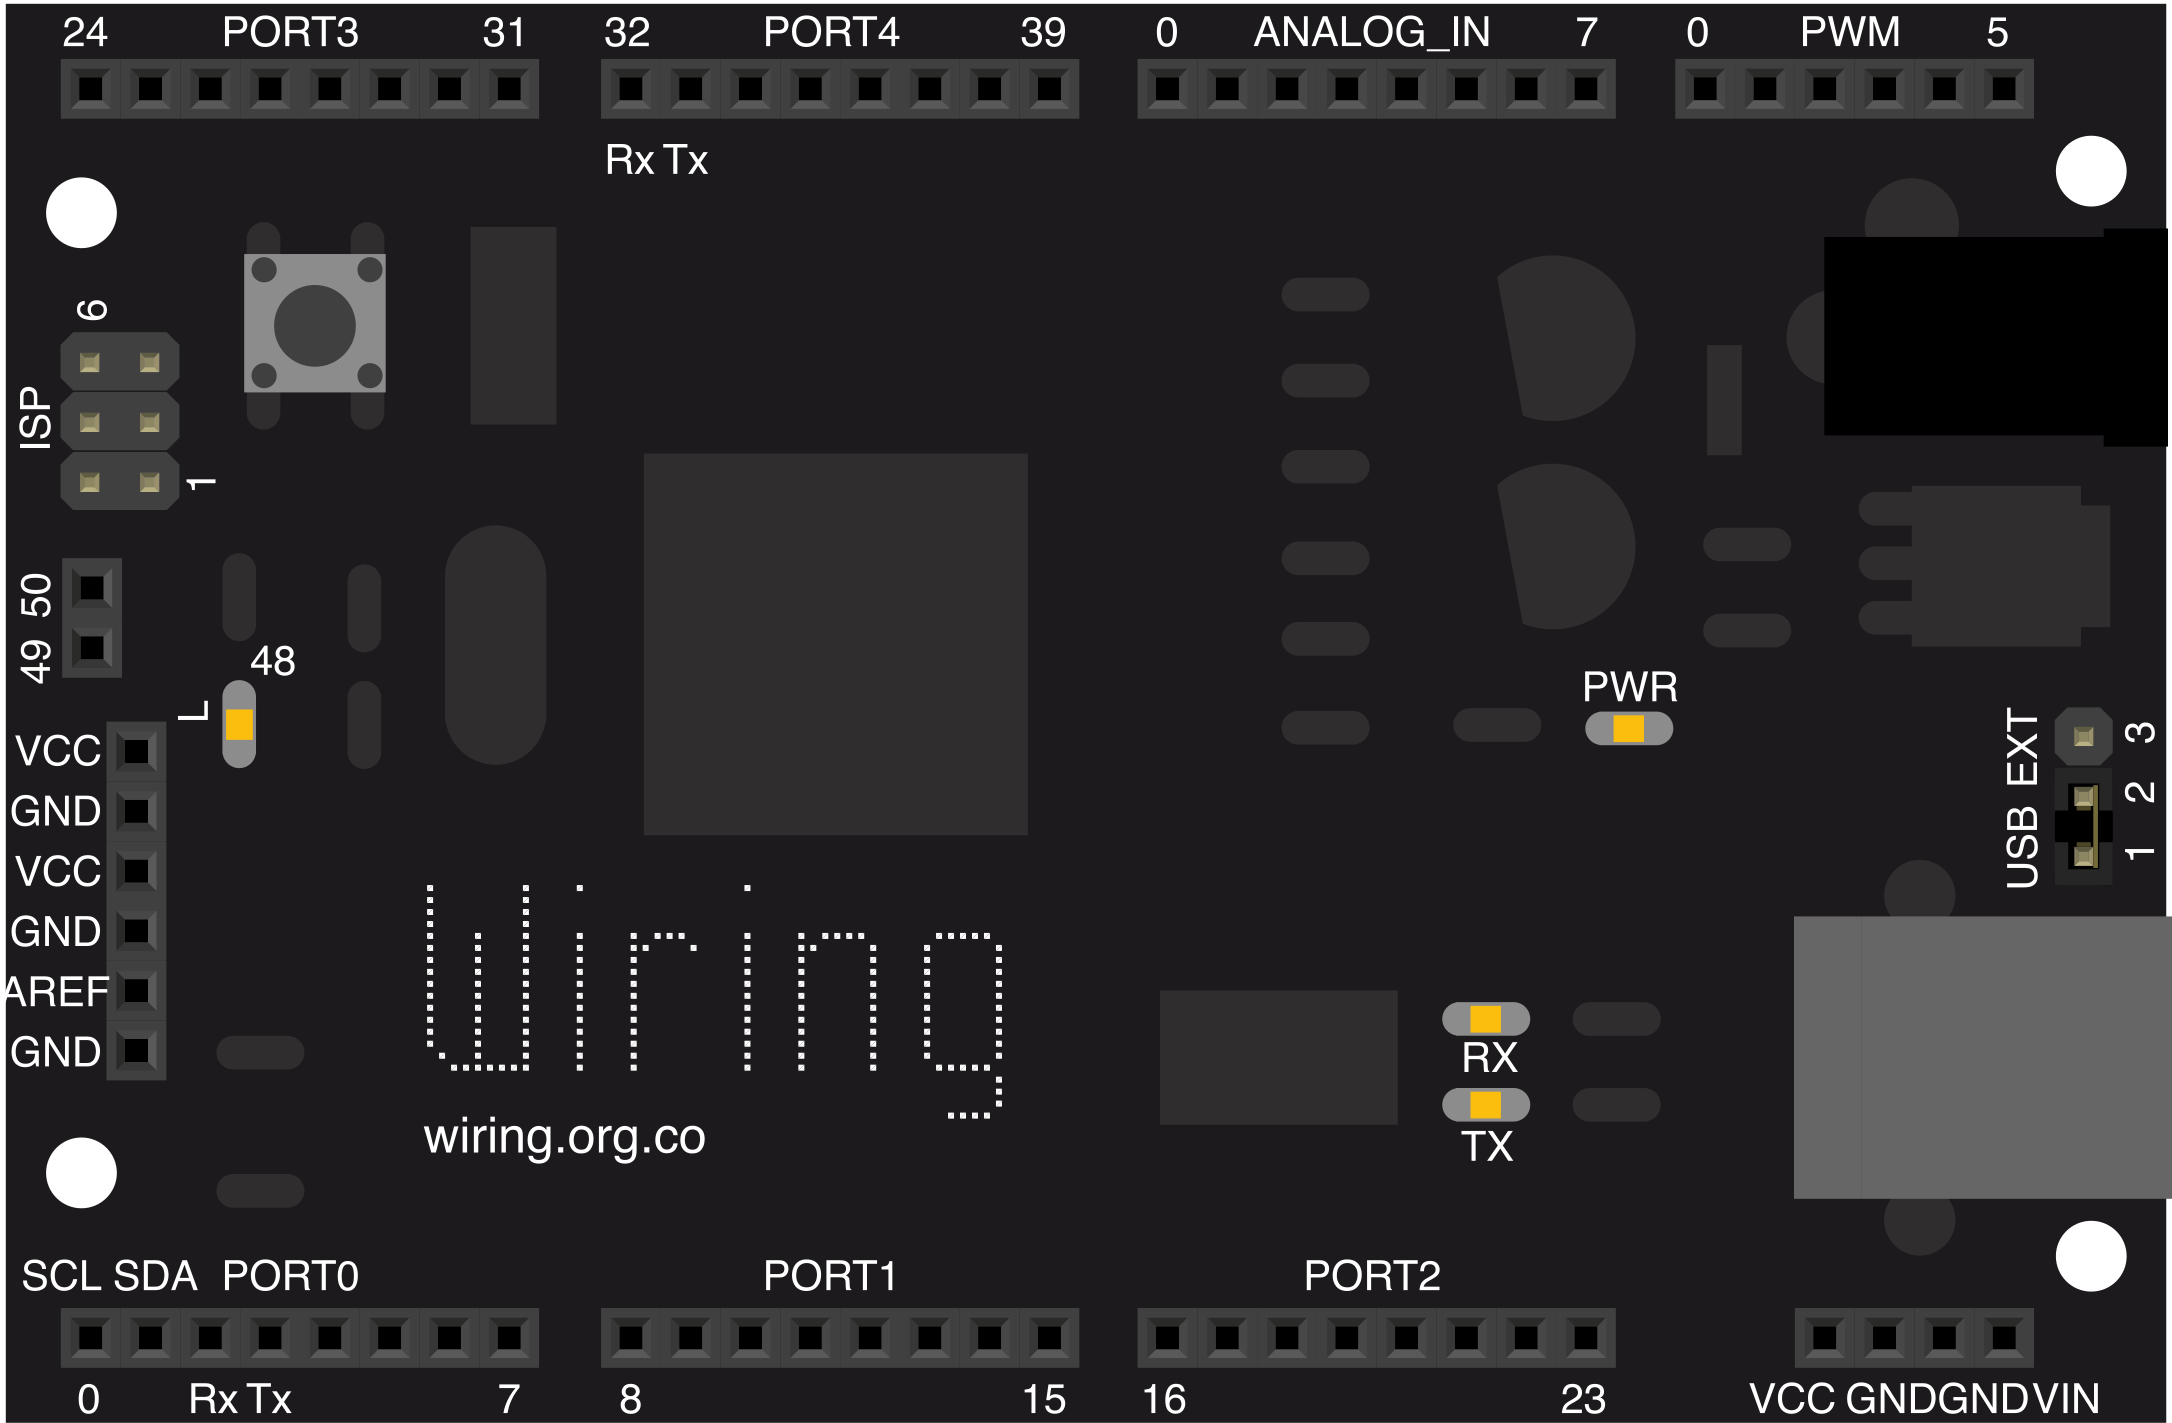
 Design with Wiring V1.0 Rev 0004 in Cirkit Designer
Introduction
Wiring V1.0 Rev 0004, manufactured by Wiring, is a specialized electrical wiring solution designed for circuit connections in electronic applications. This version ensures reliable conductivity, durability, and safety, making it an essential component for both prototyping and permanent installations. Its robust design and high-quality materials make it suitable for a wide range of applications, from hobbyist projects to industrial systems.
Explore Projects Built with Wiring V1.0 Rev 0004
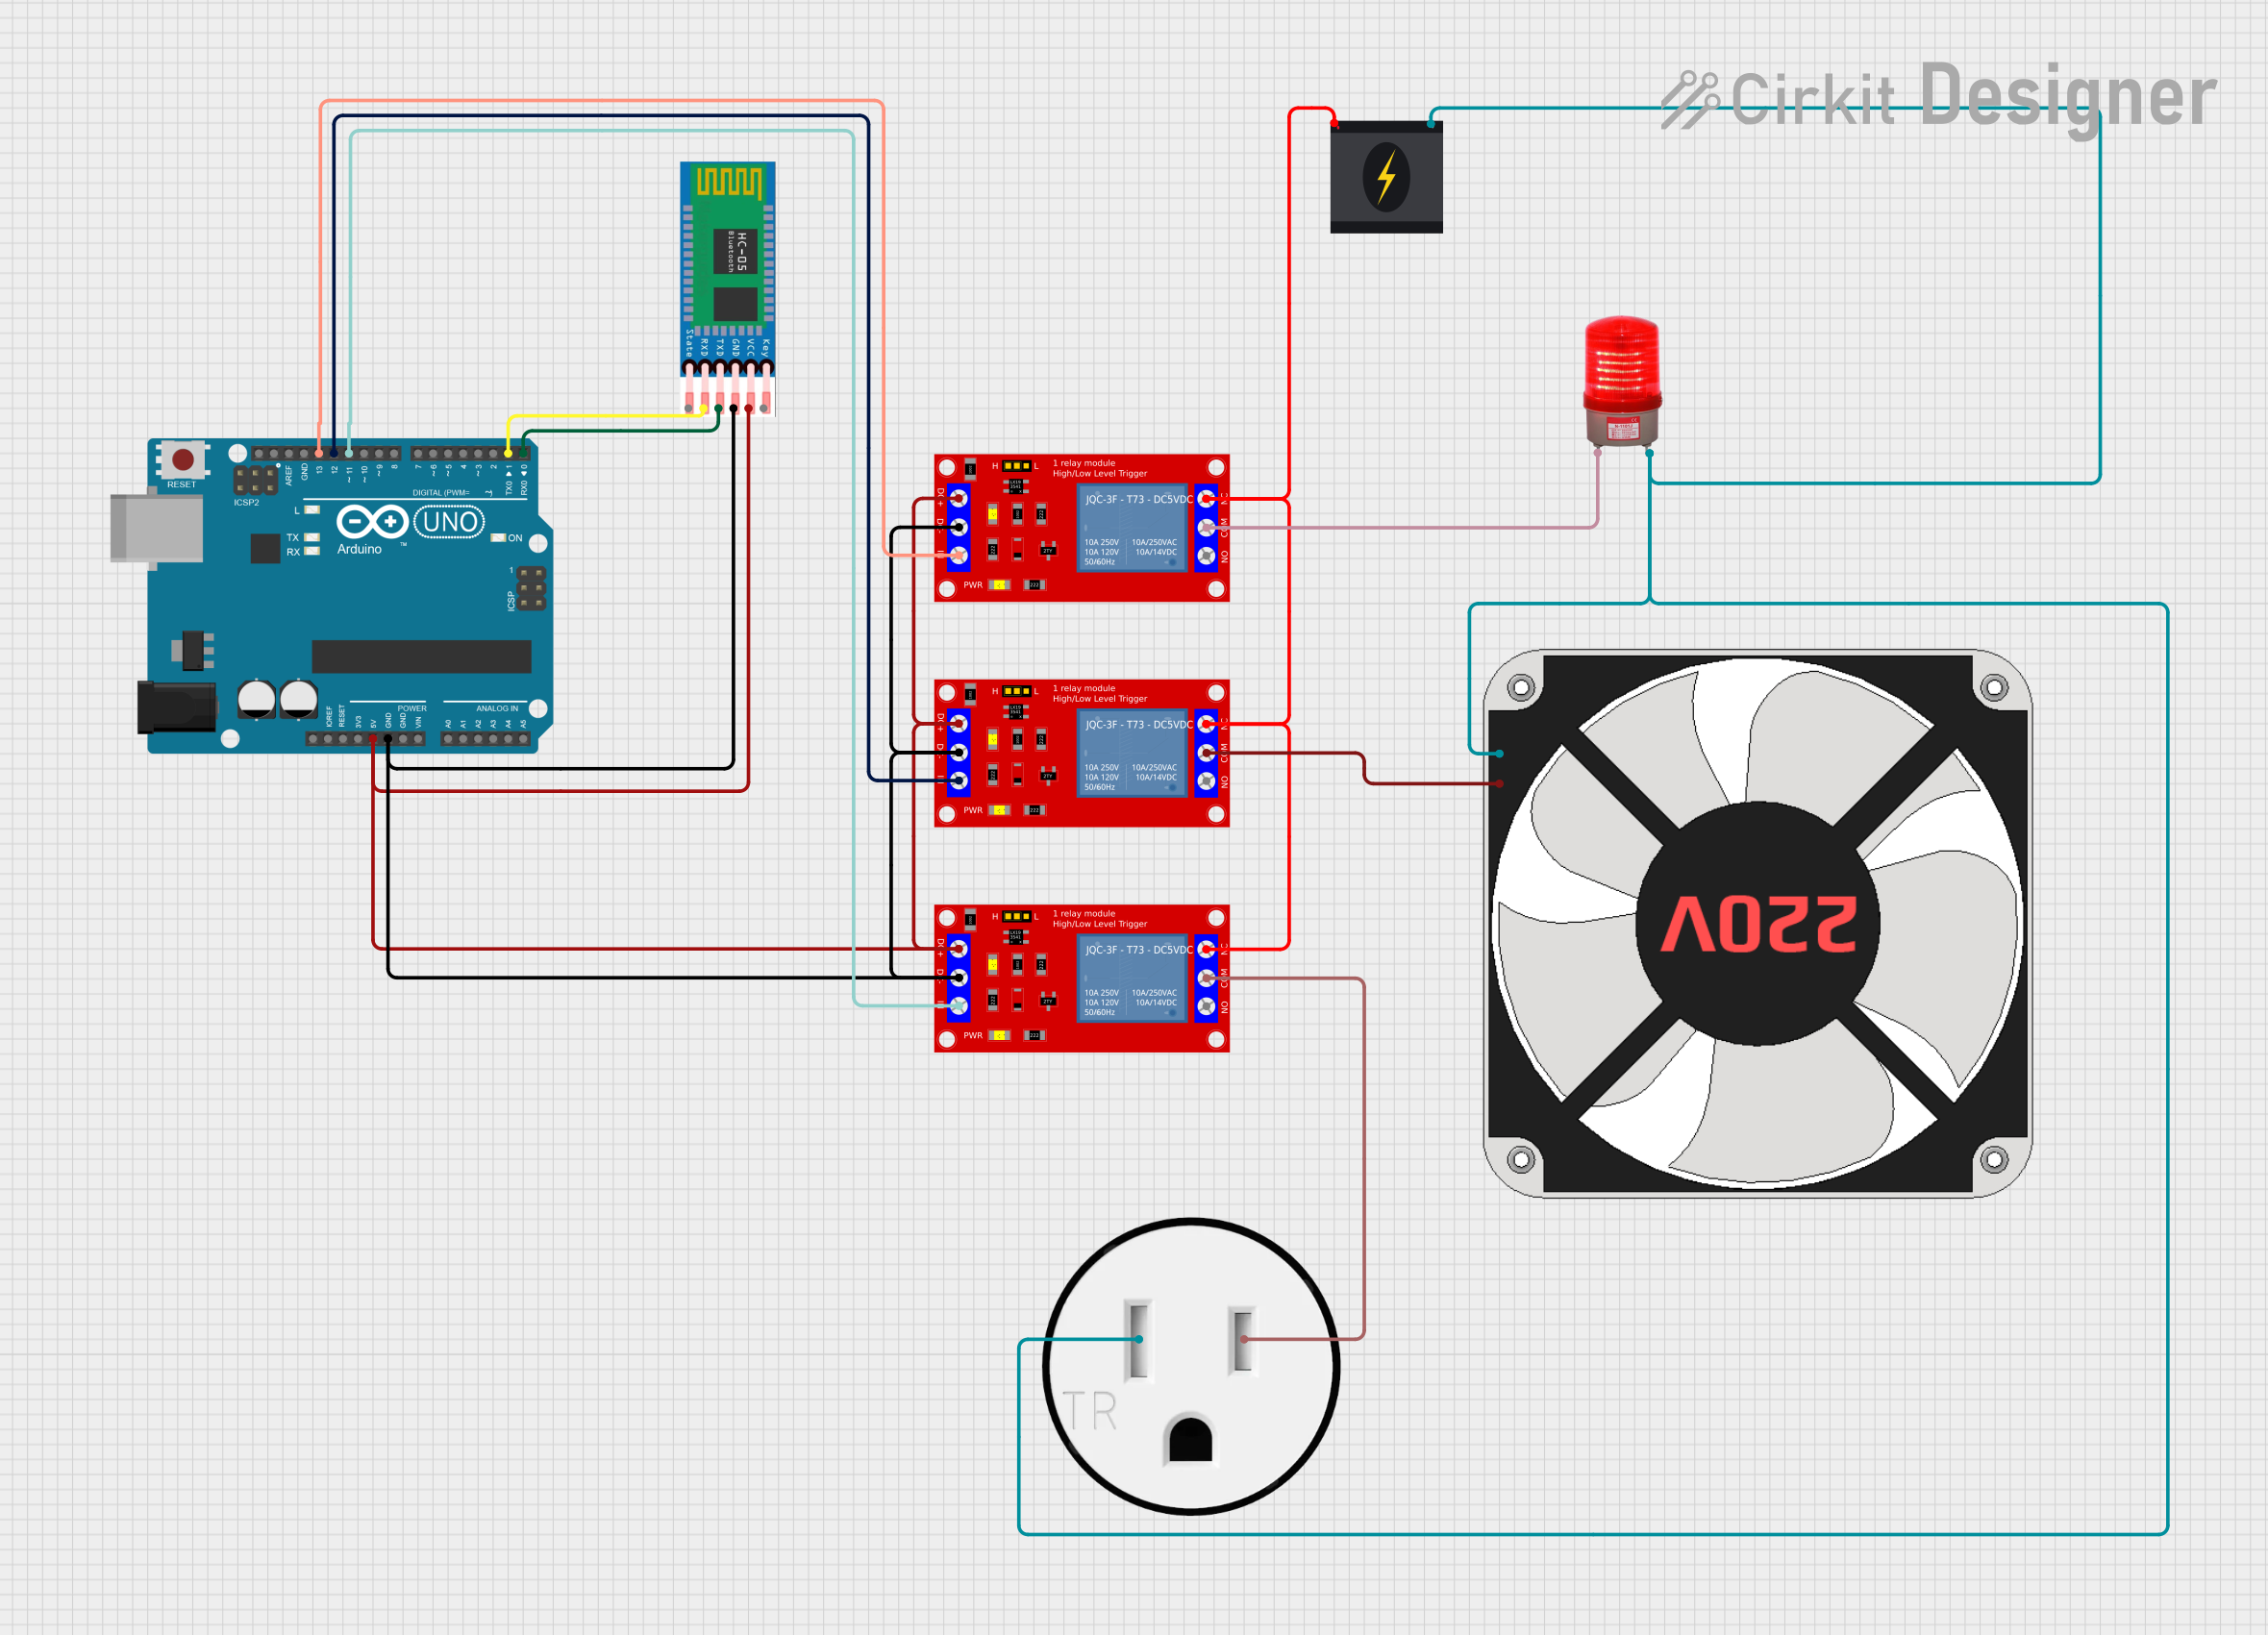 Open Project in Cirkit Designer
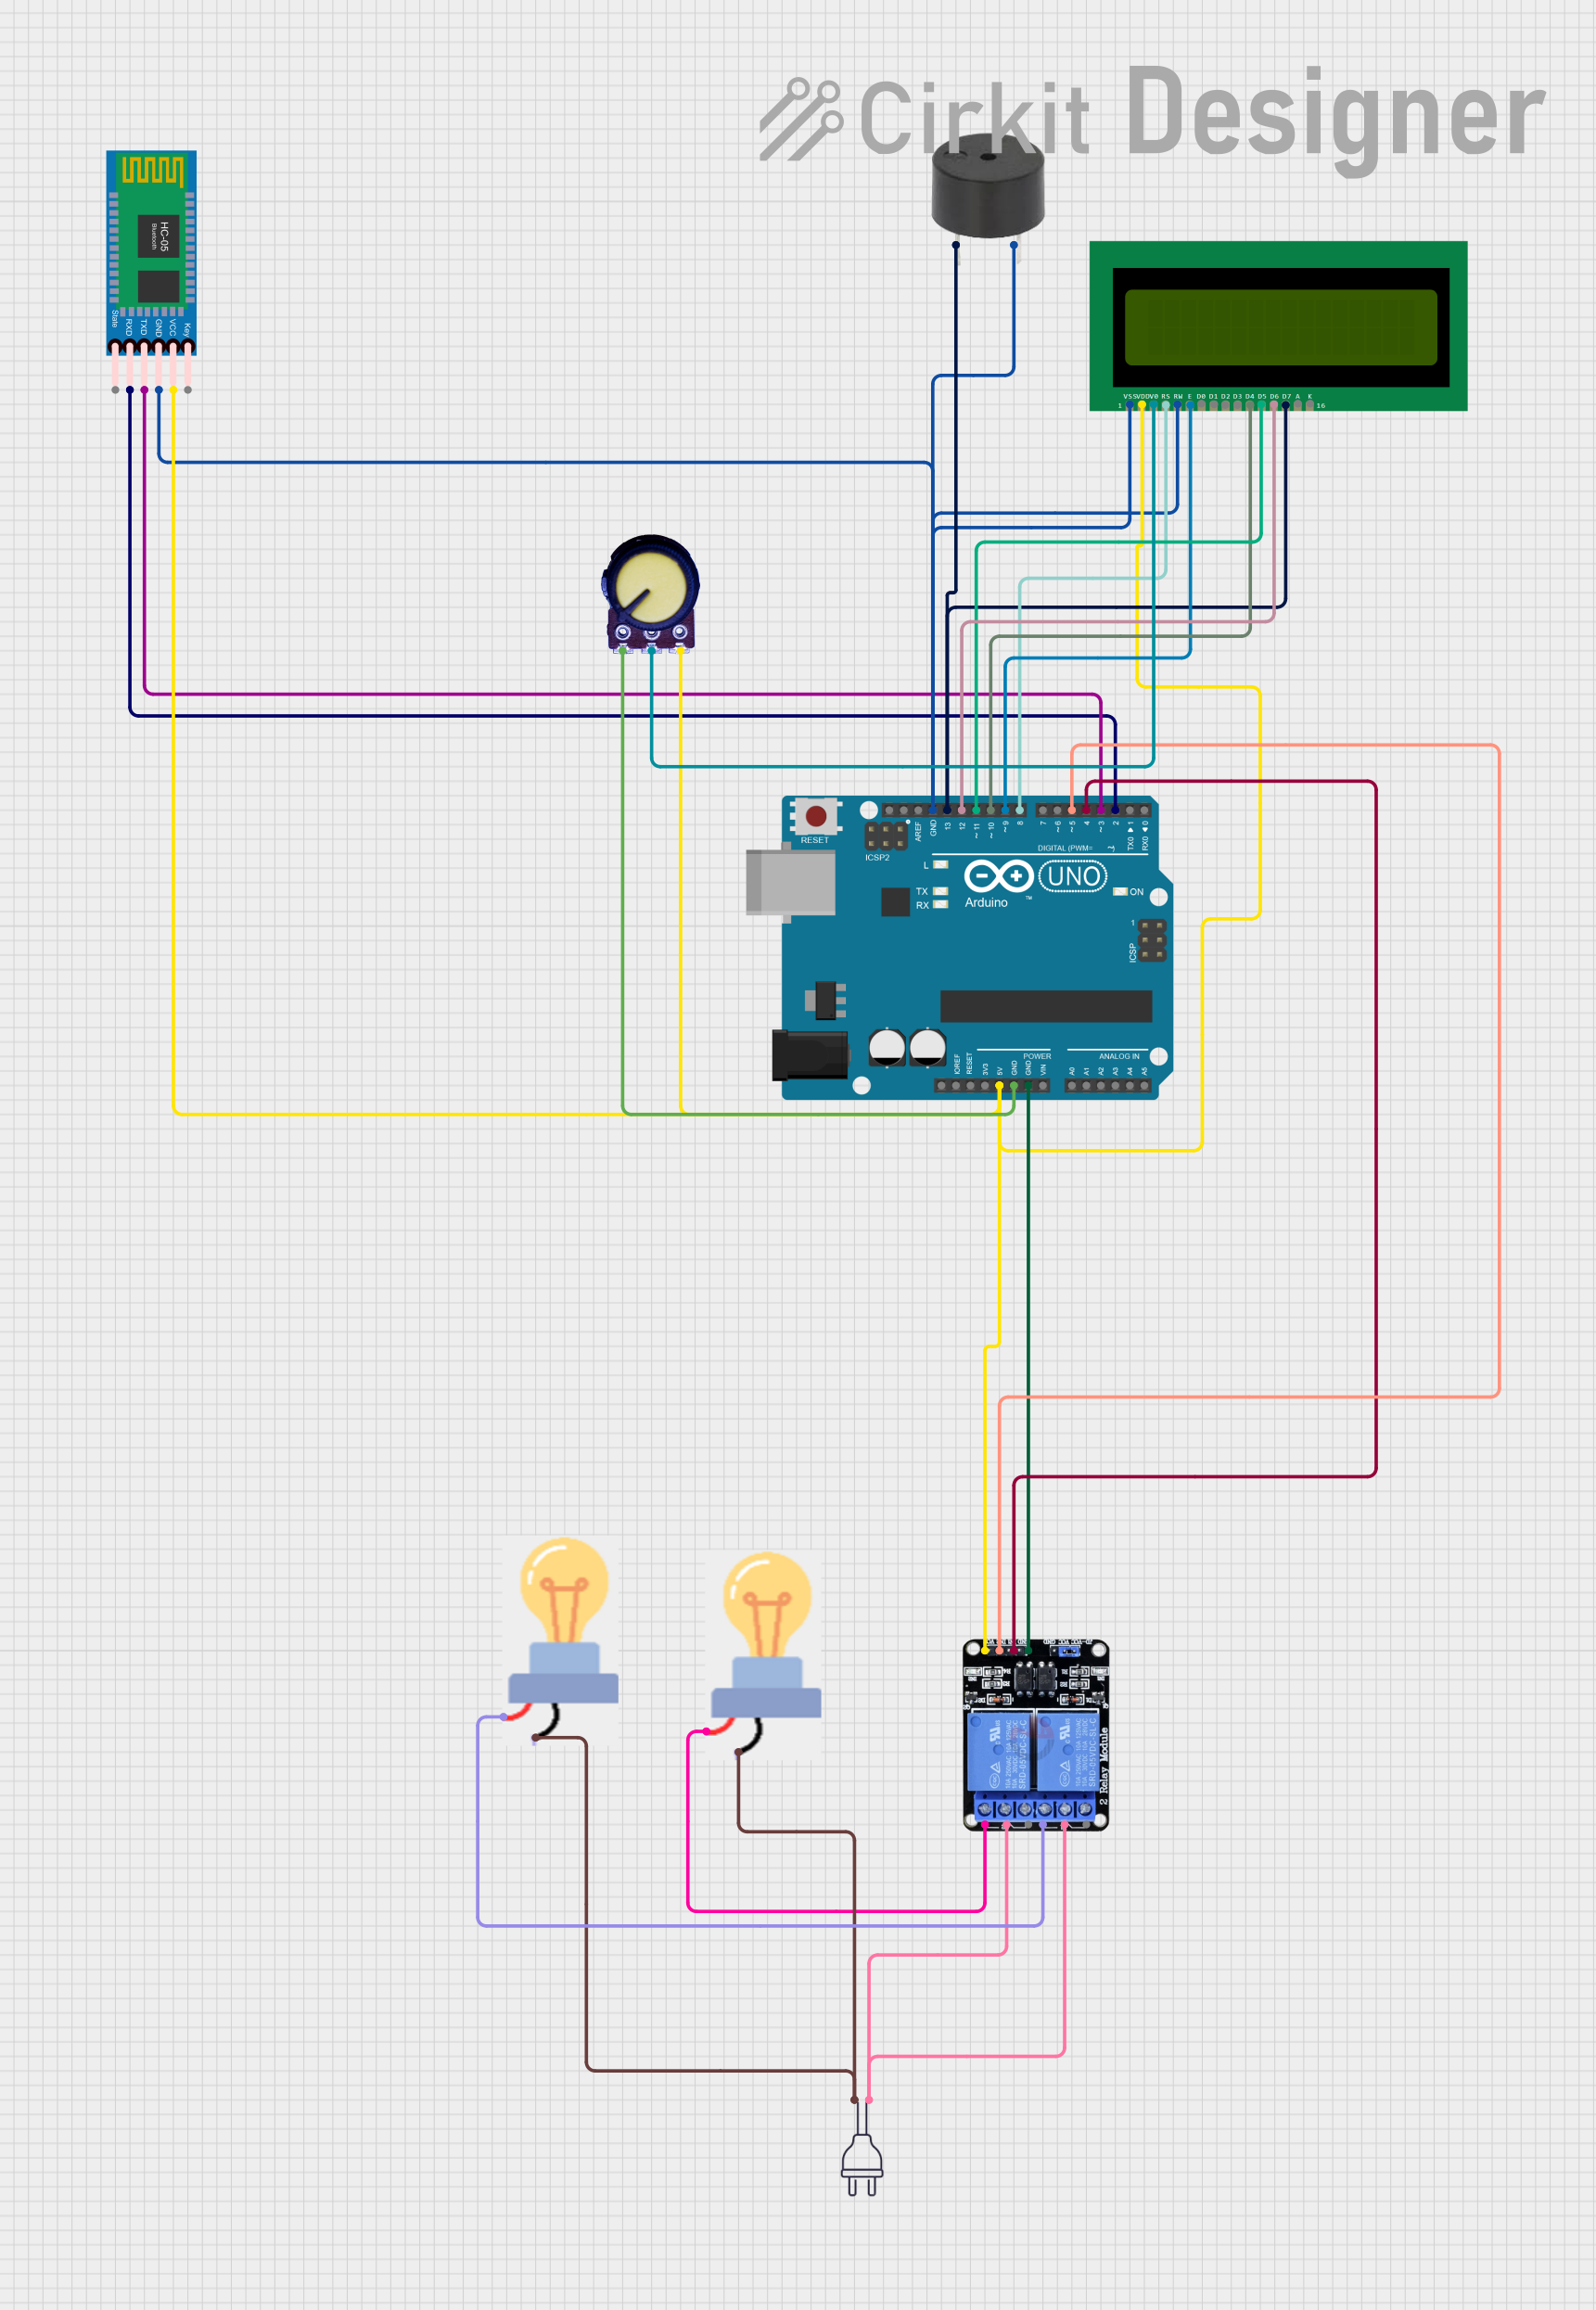 Open Project in Cirkit Designer
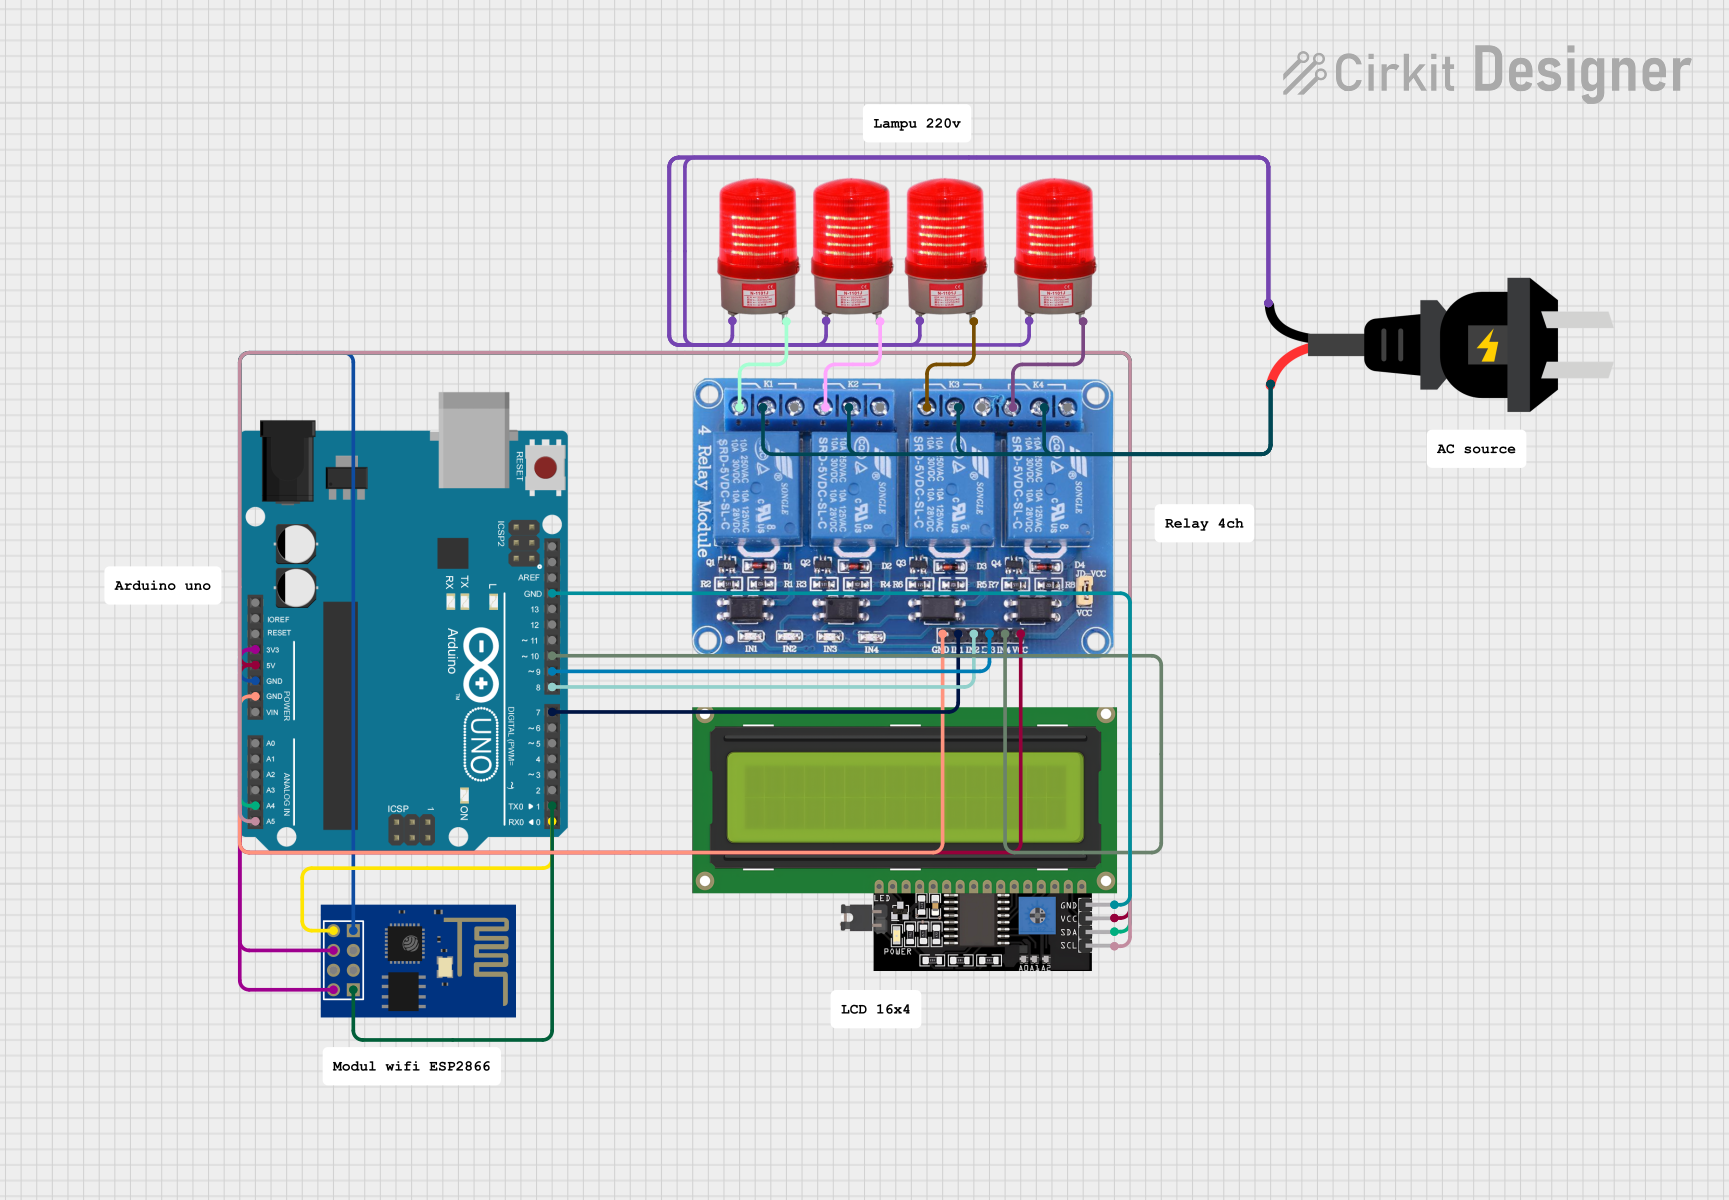 Open Project in Cirkit Designer
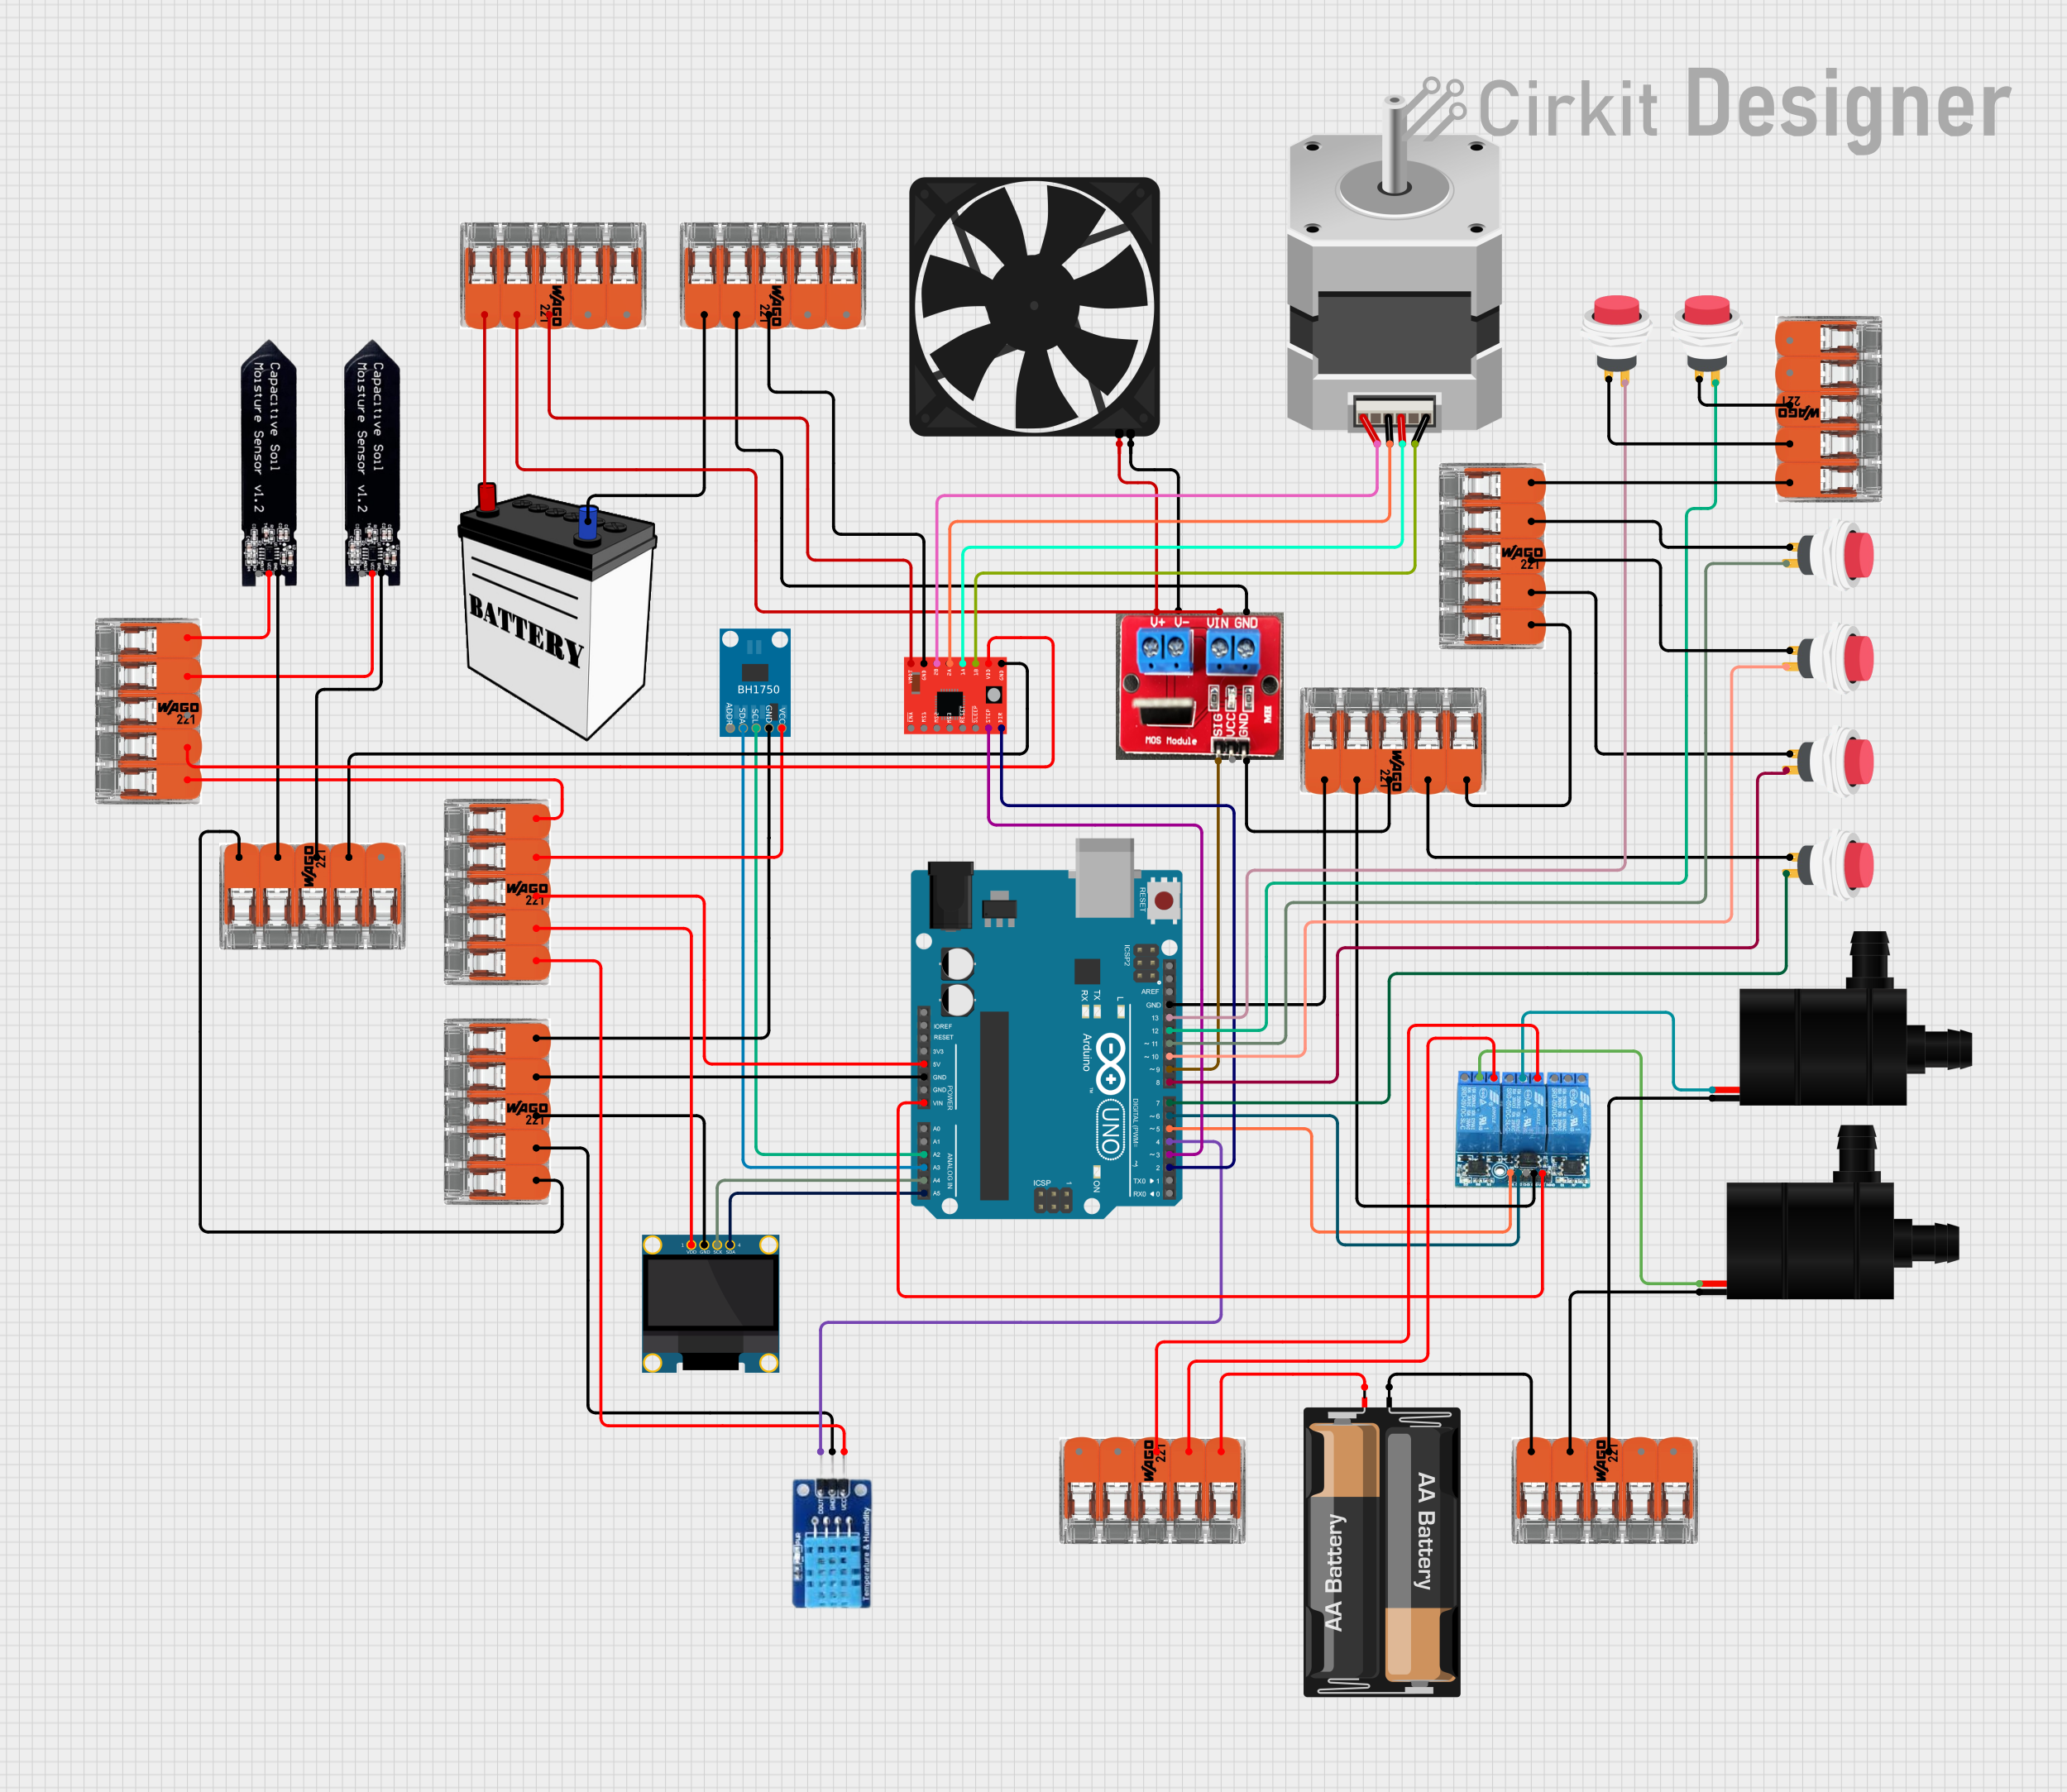 Open Project in Cirkit Designer
Explore Projects Built with Wiring V1.0 Rev 0004
Open Project in Cirkit DesignerOpen Project in Cirkit DesignerOpen Project in Cirkit DesignerOpen Project in Cirkit DesignerCommon Applications and Use Cases
- Connecting components in breadboards and prototyping circuits
- Permanent wiring in electronic devices and control panels
- Power distribution in low-voltage systems
- Signal transmission in sensors and actuators
- Use in Arduino, Raspberry Pi, and other microcontroller-based projects
Technical Specifications
Below are the key technical details for Wiring V1.0 Rev 0004:
| Parameter | Specification |
|---|---|
| Conductor Material | Copper (tinned for corrosion resistance) |
| Insulation Material | PVC (Polyvinyl Chloride) |
| Wire Gauge | 22 AWG |
| Voltage Rating | 300V |
| Current Rating | 7A |
| Temperature Range | -20°C to 80°C |
| Length per Unit | 1 meter (custom lengths available) |
| Color Options | Red, Black, Yellow, Green, Blue |
Pin Configuration and Descriptions
Wiring V1.0 Rev 0004 does not have pins but is a single-core wire with the following structure:
| Part | Description |
|---|---|
| Conductor Core | High-purity copper for maximum conductivity |
| Insulation Layer | PVC coating for electrical insulation and durability |
Usage Instructions
How to Use Wiring V1.0 Rev 0004 in a Circuit
- Cut to Desired Length: Use a wire cutter to trim the wire to the required length for your circuit.
- Strip the Insulation: Remove approximately 5-10mm of insulation from both ends using a wire stripper.
- Connect to Components:
- For breadboards, insert the stripped ends into the breadboard holes.
- For soldered connections, tin the stripped ends with solder before attaching to terminals or pads.
- Secure the Connections: Use heat shrink tubing or electrical tape to insulate exposed connections if necessary.
Important Considerations and Best Practices
- Avoid Overloading: Ensure the current passing through the wire does not exceed the 7A rating to prevent overheating.
- Proper Insulation: Always check that the insulation is intact to avoid short circuits.
- Use Appropriate Tools: Use a high-quality wire stripper and cutter to avoid damaging the conductor.
- Color Coding: Use different colors for different connections (e.g., red for power, black for ground) to maintain clarity in your circuit.
Example: Connecting to an Arduino UNO
Below is an example of using Wiring V1.0 Rev 0004 to connect an LED to an Arduino UNO:
// Example: Blinking an LED using Wiring V1.0 Rev 0004
// Connect the positive leg of the LED to pin 13 on the Arduino UNO
// using a 220-ohm resistor in series. Connect the negative leg to GND.

void setup() {
  pinMode(13, OUTPUT); // Set pin 13 as an output
}

void loop() {
  digitalWrite(13, HIGH); // Turn the LED on
  delay(1000);            // Wait for 1 second
  digitalWrite(13, LOW);  // Turn the LED off
  delay(1000);            // Wait for 1 second
}
Troubleshooting and FAQs
Common Issues Users Might Face
Wire Overheating:
- Cause: Exceeding the current rating of 7A.
- Solution: Use a thicker wire or reduce the current in the circuit.
Poor Connections:
- Cause: Improper stripping of insulation or loose connections.
- Solution: Ensure the wire ends are properly stripped and securely connected.
Short Circuits:
- Cause: Exposed conductor touching unintended parts of the circuit.
- Solution: Use heat shrink tubing or electrical tape to insulate exposed sections.
Wire Breakage:
- Cause: Excessive bending or mechanical stress.
- Solution: Avoid sharp bends and use cable management tools to secure the wire.
FAQs
Q: Can Wiring V1.0 Rev 0004 be used outdoors?
A: While the PVC insulation provides some protection, it is not UV-resistant or waterproof. For outdoor use, additional protective measures such as conduit or weatherproof tubing are recommended.
Q: Is this wire suitable for high-frequency signals?
A: Wiring V1.0 Rev 0004 is primarily designed for low-frequency and DC applications. For high-frequency signals, consider using coaxial or shielded cables.
Q: Can I use this wire for AC mains wiring?
A: No, this wire is not rated for AC mains applications. It is designed for low-voltage DC circuits only.
Q: How do I choose the correct wire color?
A: Use standard color conventions (e.g., red for positive, black for ground) to maintain clarity and avoid confusion in your circuit.
By following this documentation, you can effectively use Wiring V1.0 Rev 0004 in your electronic projects while ensuring safety and reliability.