
How to Use Photosensitive Sensor: Examples, Pinouts, and Specs
 Design with Photosensitive Sensor in Cirkit Designer
Introduction
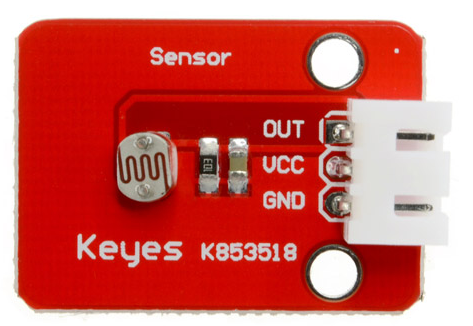
The Photosensitive Sensor (Keyes K853518) is a device designed to detect light levels and convert them into an electrical signal. This sensor is widely used in applications such as automatic lighting systems, photography, and light-sensitive alarms. Its ability to measure ambient light intensity makes it an essential component in various light-dependent systems.
Explore Projects Built with Photosensitive Sensor
 Open Project in Cirkit Designer
 Open Project in Cirkit Designer
 Open Project in Cirkit Designer
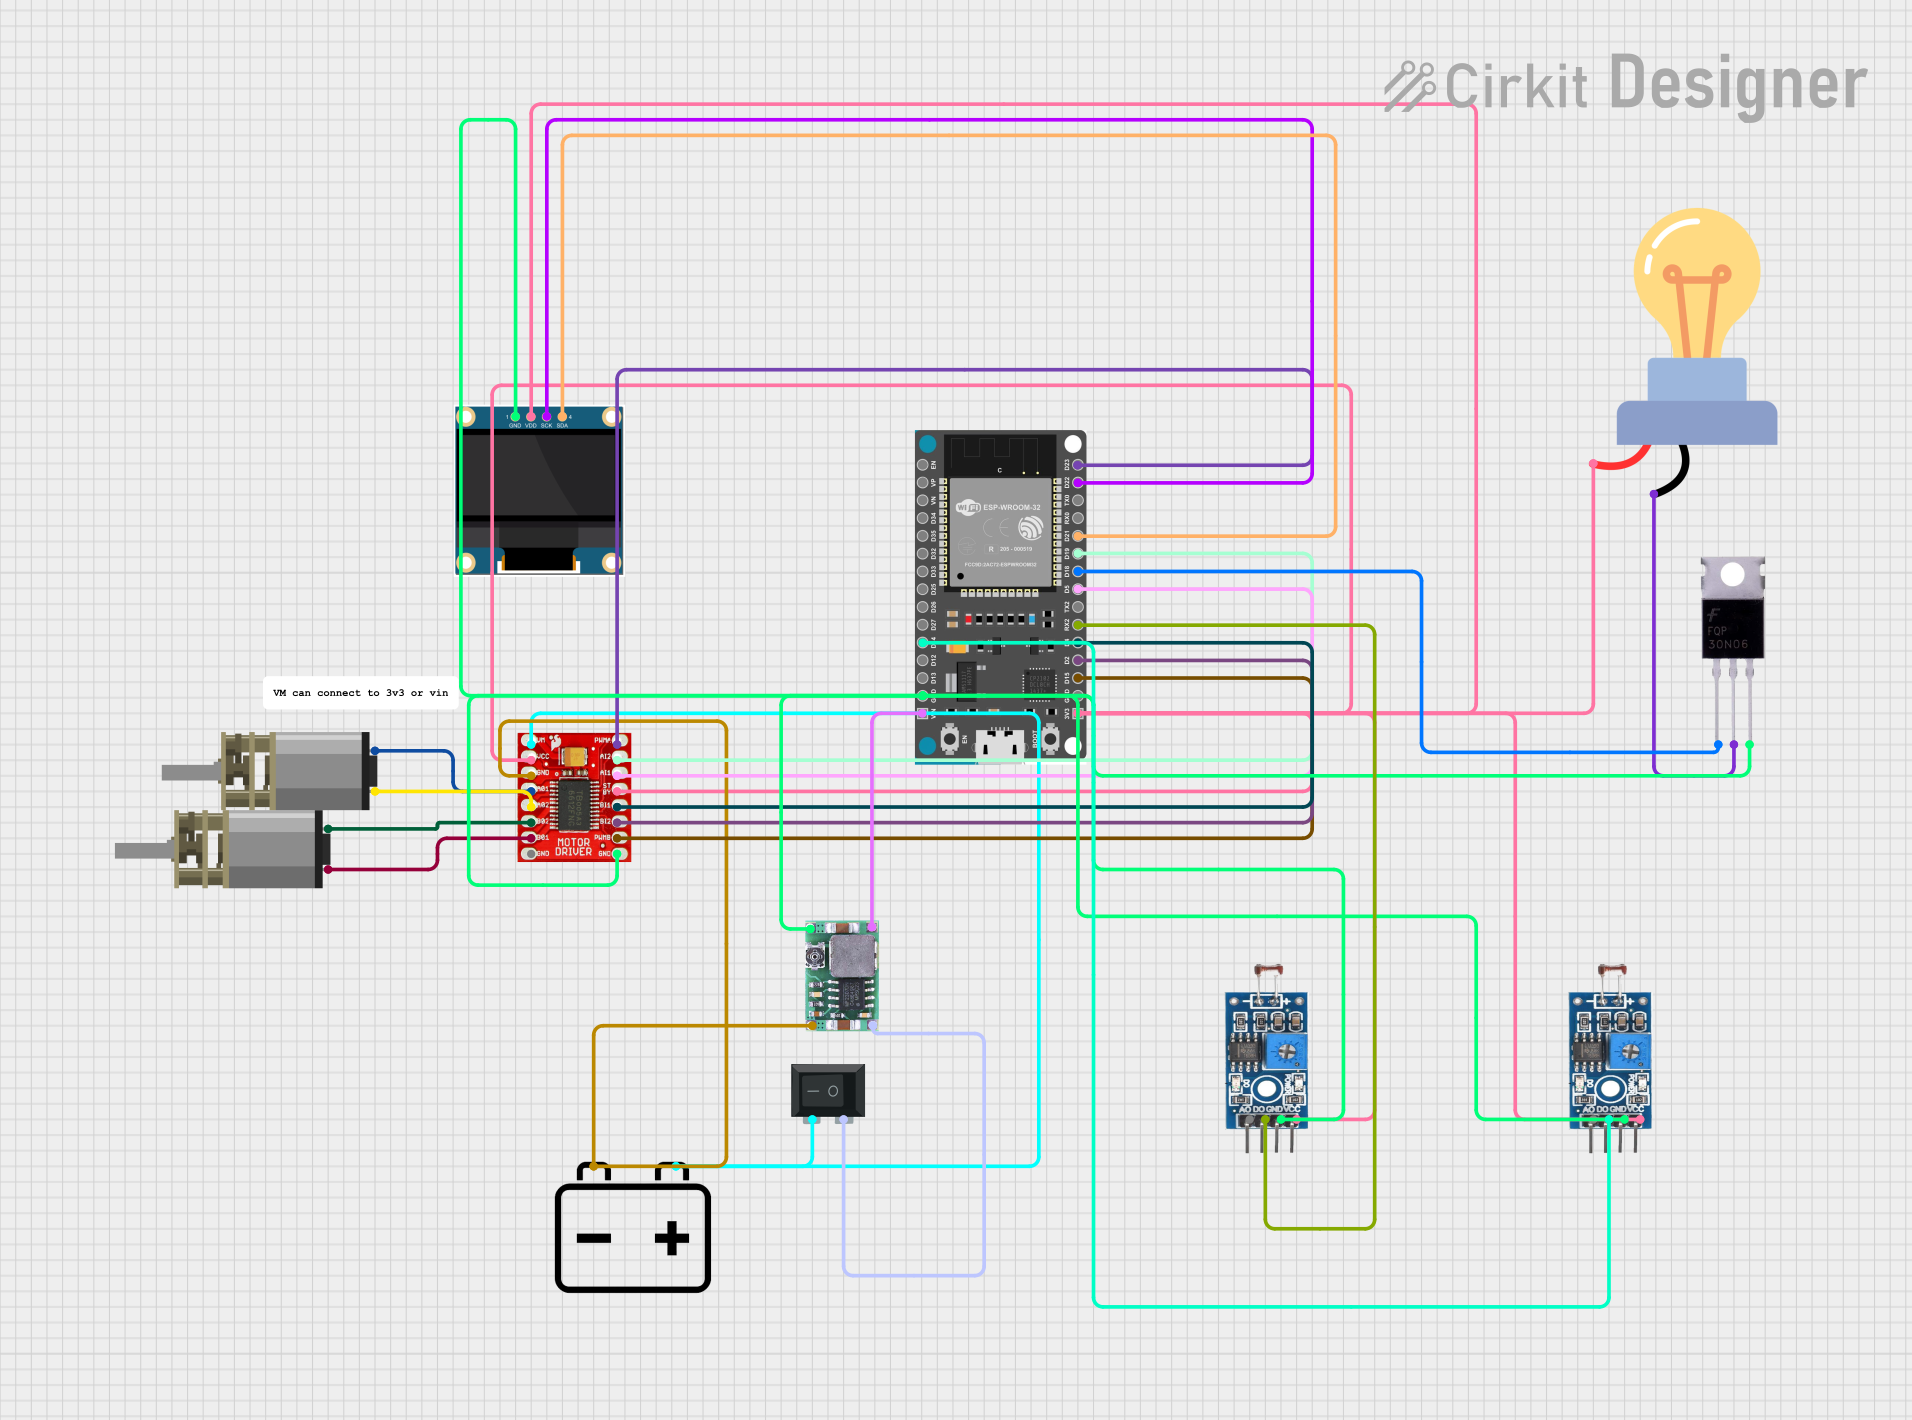 Open Project in Cirkit Designer
Explore Projects Built with Photosensitive Sensor
Open Project in Cirkit DesignerOpen Project in Cirkit DesignerOpen Project in Cirkit DesignerOpen Project in Cirkit DesignerCommon Applications
- Automatic streetlights and home lighting systems
- Photography exposure control
- Light-sensitive alarms and security systems
- Solar tracking systems
- DIY electronics and Arduino projects
Technical Specifications
The following table outlines the key technical details of the Keyes K853518 Photosensitive Sensor:
| Parameter | Specification |
|---|---|
| Operating Voltage | 3.3V - 5V |
| Output Type | Analog (voltage varies with light) |
| Sensitivity Range | 0 - 1000 Lux |
| Operating Temperature | -20°C to 70°C |
| Dimensions | 30mm x 20mm x 10mm |
| Manufacturer Part ID | K853518 |
Pin Configuration
The Keyes K853518 Photosensitive Sensor has a 3-pin interface. The pin configuration is as follows:
| Pin | Name | Description |
|---|---|---|
| 1 | VCC | Power supply pin (3.3V - 5V) |
| 2 | GND | Ground pin |
| 3 | OUT | Analog output pin (voltage proportional to light) |
Usage Instructions
How to Use the Sensor in a Circuit
- Power the Sensor: Connect the
VCCpin to a 3.3V or 5V power source and theGNDpin to the ground of your circuit. - Read the Output: Connect the
OUTpin to an analog input pin of a microcontroller (e.g., Arduino UNO) or an analog-to-digital converter (ADC) to measure the voltage output. - Interpret the Output: The voltage on the
OUTpin varies with the intensity of light. Higher light levels result in higher output voltage.
Important Considerations
- Power Supply: Ensure the sensor is powered within its operating voltage range (3.3V - 5V). Exceeding this range may damage the sensor.
- Placement: Place the sensor in a location where it can accurately detect ambient light without obstructions.
- Calibration: For precise applications, calibrate the sensor to account for environmental factors such as ambient light and temperature.
Example: Using the Sensor with Arduino UNO
Below is an example code snippet to read light intensity using the Keyes K853518 Photosensitive Sensor with an Arduino UNO:
// Define the analog pin connected to the sensor's OUT pin
const int sensorPin = A0;

// Variable to store the sensor reading
int sensorValue;

void setup() {
  // Initialize serial communication for debugging
  Serial.begin(9600);
}

void loop() {
  // Read the analog value from the sensor
  sensorValue = analogRead(sensorPin);

  // Convert the analog value to a voltage (assuming 5V reference)
  float voltage = sensorValue * (5.0 / 1023.0);

  // Print the sensor value and voltage to the Serial Monitor
  Serial.print("Sensor Value: ");
  Serial.print(sensorValue);
  Serial.print(" | Voltage: ");
  Serial.println(voltage);

  // Add a short delay before the next reading
  delay(500);
}
Notes:
- The
analogRead()function reads a value between 0 and 1023, corresponding to 0V to 5V. - Use the Serial Monitor in the Arduino IDE to view the sensor readings in real time.
Troubleshooting and FAQs
Common Issues
No Output or Incorrect Readings
- Cause: Incorrect wiring or loose connections.
- Solution: Double-check the wiring and ensure all connections are secure.
Output Voltage Stuck at Maximum or Minimum
- Cause: Sensor is exposed to extreme light or complete darkness.
- Solution: Test the sensor in a moderate lighting environment.
Fluctuating Readings
- Cause: Electrical noise or unstable power supply.
- Solution: Use a decoupling capacitor (e.g., 0.1µF) between the
VCCandGNDpins to stabilize the power supply.
FAQs
Q: Can this sensor detect specific wavelengths of light?
A: No, the Keyes K853518 Photosensitive Sensor is designed to measure overall light intensity and does not differentiate between specific wavelengths.
Q: Can I use this sensor outdoors?
A: Yes, but ensure it is protected from moisture and extreme environmental conditions to prevent damage.
Q: What is the maximum distance for accurate light detection?
A: The sensor does not have a fixed detection range, as it measures ambient light intensity rather than distance. Ensure it is placed in an unobstructed area for accurate readings.
Q: Can I use this sensor with a 3.3V microcontroller?
A: Yes, the sensor operates within a voltage range of 3.3V to 5V, making it compatible with 3.3V microcontrollers like the ESP32 or Raspberry Pi Pico.
By following this documentation, you can effectively integrate the Keyes K853518 Photosensitive Sensor into your projects and troubleshoot any issues that arise.