How to Use Arduino MKR ENV Shield rev2: Examples, Pinouts, and Specs
Introduction
The Arduino MKR ENV Shield rev2 is a versatile sensor shield designed for the Arduino MKR series. It provides a range of environmental sensing capabilities, including temperature, humidity, barometric pressure, light intensity, and air quality measurements. This shield is ideal for projects that require environmental monitoring, such as weather stations, smart agriculture, and indoor air quality systems.
By integrating multiple sensors into a single shield, the MKR ENV Shield rev2 simplifies the process of collecting environmental data, making it a powerful tool for both hobbyists and professionals.
Explore Projects Built with Arduino MKR ENV Shield rev2

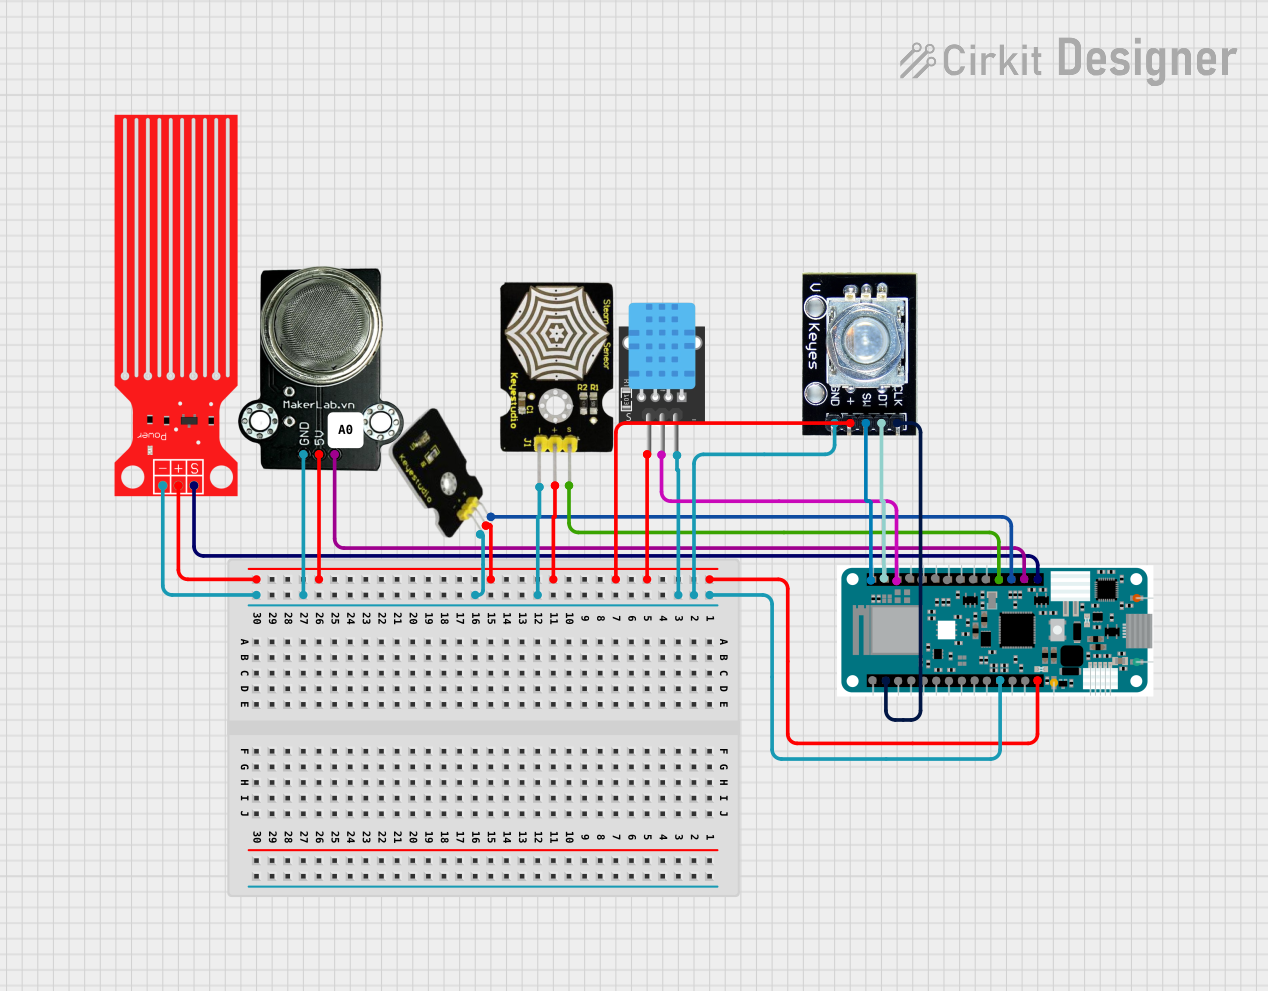
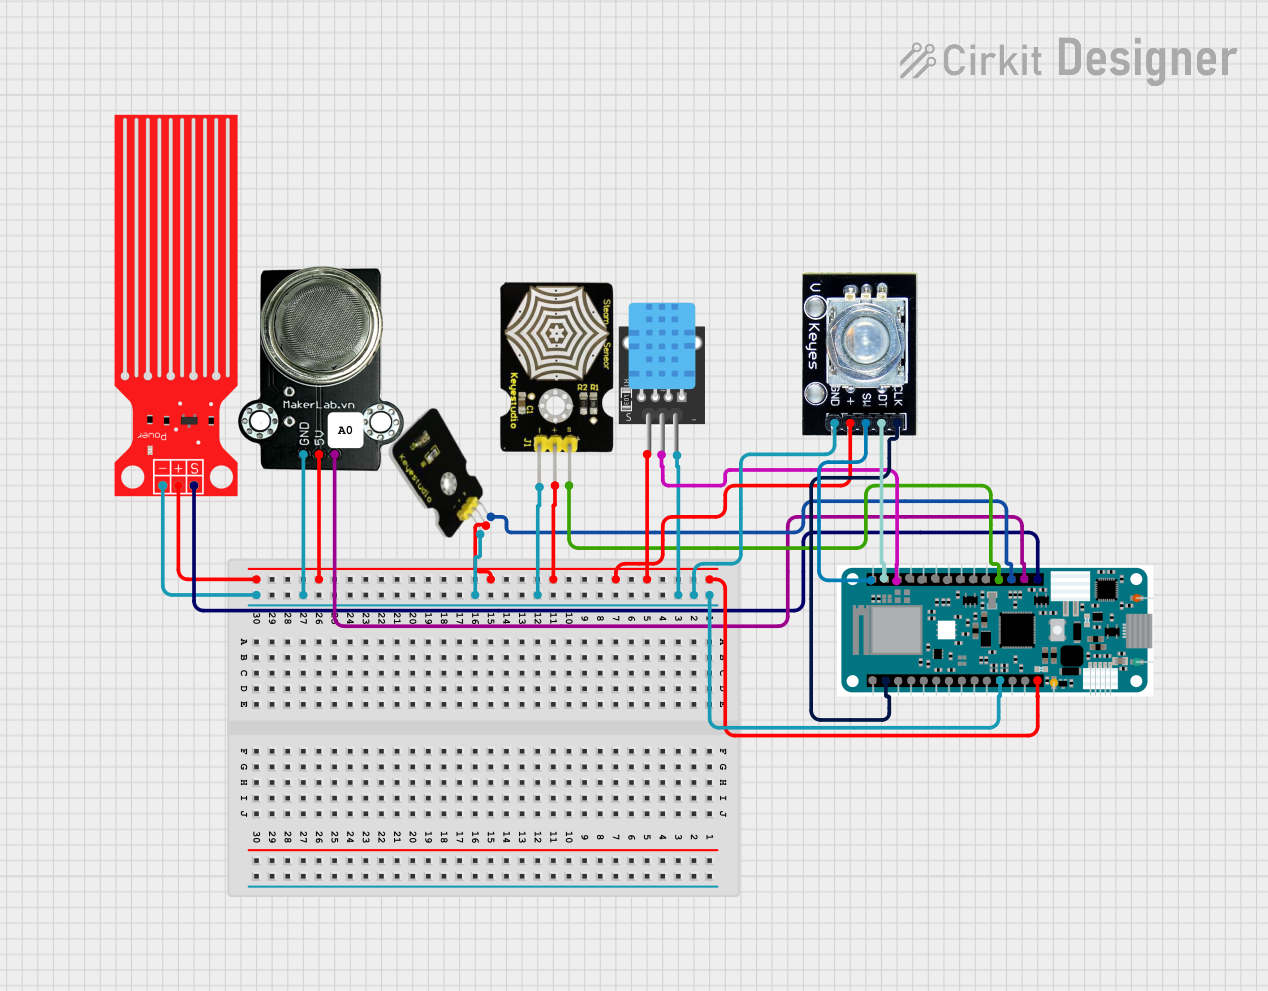
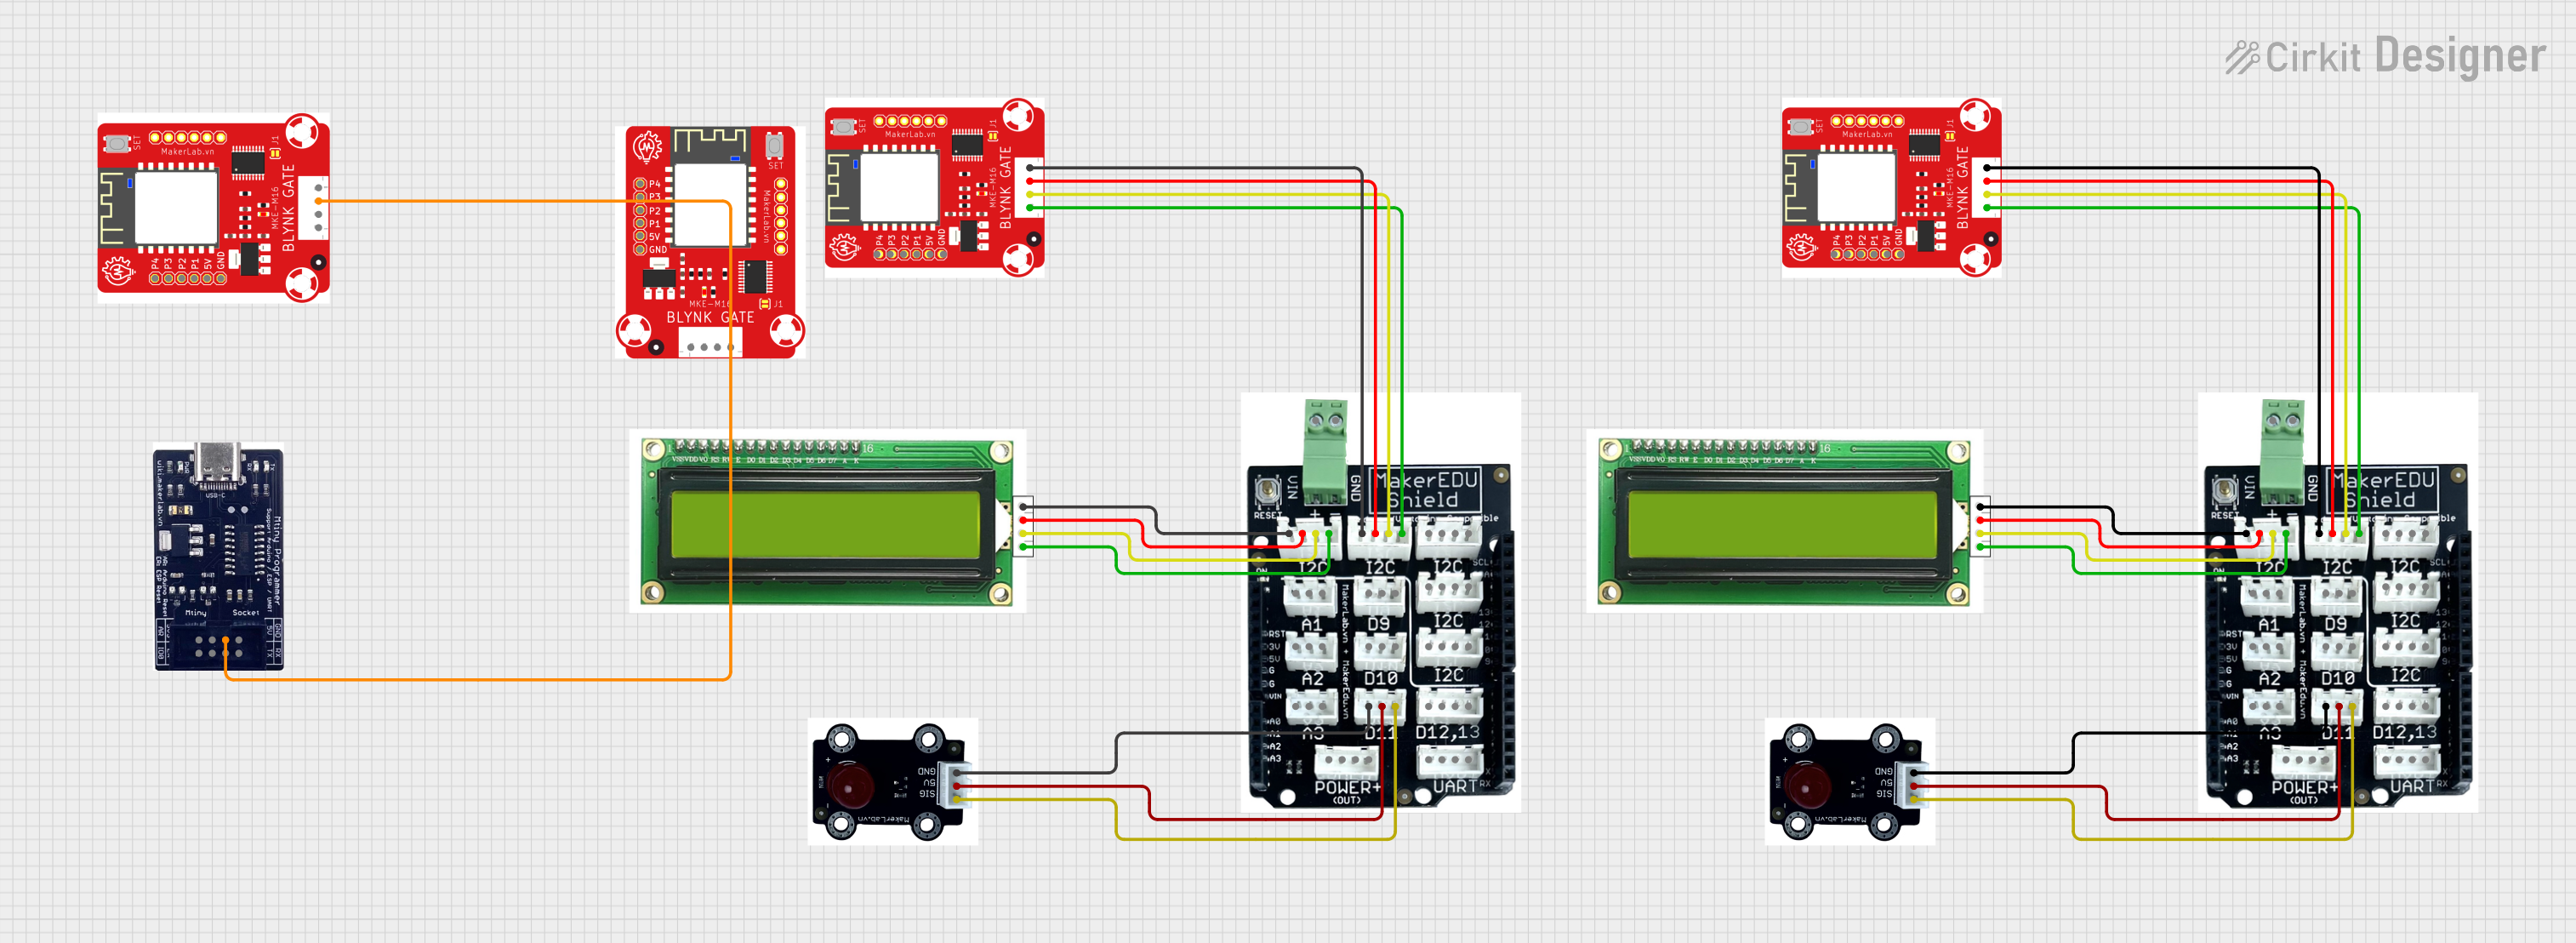
Explore Projects Built with Arduino MKR ENV Shield rev2
Common Applications and Use Cases
- Weather monitoring stations
- Smart home and building automation
- Indoor air quality monitoring
- Smart agriculture and greenhouse management
- Environmental data logging and analysis
Technical Specifications
The following table outlines the key technical specifications of the Arduino MKR ENV Shield rev2:
| Specification | Details |
|---|---|
| Operating Voltage | 3.3V (supplied by the MKR board) |
| Sensors Included | Temperature, Humidity, Barometric Pressure, Light Intensity, Air Quality |
| Communication Interface | I2C |
| Operating Temperature Range | -40°C to 85°C |
| Dimensions | 61.5mm x 25mm |
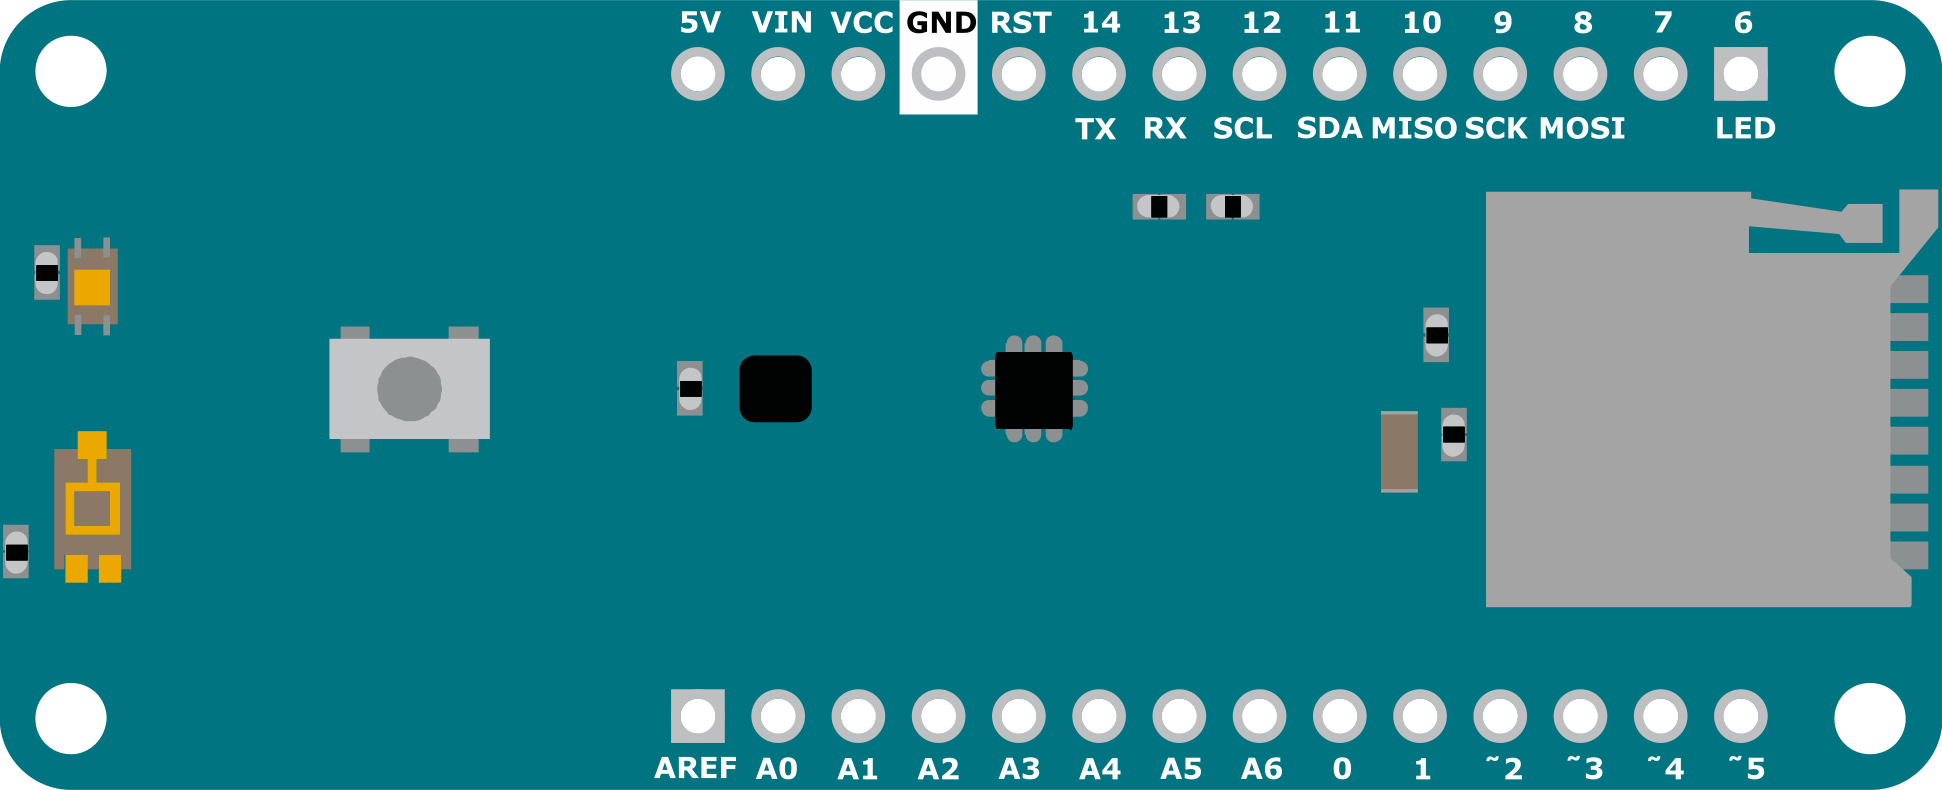
Pin Configuration and Descriptions
The MKR ENV Shield rev2 connects directly to the MKR series boards via the standard MKR pin headers. Below is a description of the key pins used by the shield:
| Pin | Function | Description |
|---|---|---|
| SDA | I2C Data Line | Used for communication with the onboard sensors. |
| SCL | I2C Clock Line | Provides the clock signal for I2C communication. |
| 3.3V | Power Supply | Supplies power to the shield from the MKR board. |
| GND | Ground | Common ground connection. |
Usage Instructions
How to Use the Component in a Circuit
- Attach the Shield: Plug the MKR ENV Shield rev2 directly onto the headers of an Arduino MKR board.
- Install Required Libraries: Use the Arduino IDE to install the
Arduino_MKRENVlibrary, which provides functions to interact with the shield's sensors. - Connect to Power: Ensure the MKR board is powered via USB or an external power source.
- Write and Upload Code: Use the Arduino IDE to write and upload code to read data from the sensors.
Important Considerations and Best Practices
- Power Supply: The shield operates at 3.3V. Ensure that no 5V signals are applied to the I2C pins to avoid damaging the shield.
- Environmental Conditions: Avoid exposing the shield to extreme conditions (e.g., water, dust) without proper protection.
- I2C Address Conflicts: If using additional I2C devices, ensure there are no address conflicts with the shield's sensors.
Example Code for Arduino UNO
Below is an example code snippet to read temperature, humidity, and pressure data from the MKR ENV Shield rev2:
#include <Arduino_MKRENV.h> // Include the library for the MKR ENV Shield

void setup() {
  Serial.begin(9600); // Initialize serial communication at 9600 baud
  while (!Serial);    // Wait for the serial monitor to open

  if (!ENV.begin()) { // Initialize the ENV Shield
    Serial.println("Failed to initialize MKR ENV Shield!");
    while (1);        // Halt execution if initialization fails
  }
  Serial.println("MKR ENV Shield initialized successfully.");
}

void loop() {
  // Read temperature, humidity, and pressure from the shield
  float temperature = ENV.readTemperature(); // Temperature in °C
  float humidity = ENV.readHumidity();       // Relative humidity in %
  float pressure = ENV.readPressure();       // Pressure in hPa

  // Print the sensor readings to the serial monitor
  Serial.print("Temperature: ");
  Serial.print(temperature);
  Serial.println(" °C");

  Serial.print("Humidity: ");
  Serial.print(humidity);
  Serial.println(" %");

  Serial.print("Pressure: ");
  Serial.print(pressure);
  Serial.println(" hPa");

  delay(1000); // Wait for 1 second before the next reading
}
Troubleshooting and FAQs
Common Issues Users Might Face
Shield Not Detected:
- Cause: Improper connection or missing library.
- Solution: Ensure the shield is securely attached to the MKR board and the
Arduino_MKRENVlibrary is installed.
Incorrect Sensor Readings:
- Cause: Environmental interference or calibration issues.
- Solution: Place the shield in a stable environment and avoid sudden temperature or humidity changes.
I2C Communication Errors:
- Cause: Address conflicts or loose connections.
- Solution: Check for I2C address conflicts and ensure all connections are secure.
Solutions and Tips for Troubleshooting
- Verify Connections: Double-check that the shield is properly seated on the MKR board.
- Update Libraries: Ensure you are using the latest version of the
Arduino_MKRENVlibrary. - Test with Example Code: Use the example sketches provided in the library to verify the shield's functionality.
- Monitor Power Supply: Ensure the MKR board is receiving sufficient power, especially if additional peripherals are connected.
By following this documentation, you can effectively integrate the Arduino MKR ENV Shield rev2 into your projects and take full advantage of its environmental sensing capabilities.