How to Use Acorn CNC: Examples, Pinouts, and Specs
Introduction
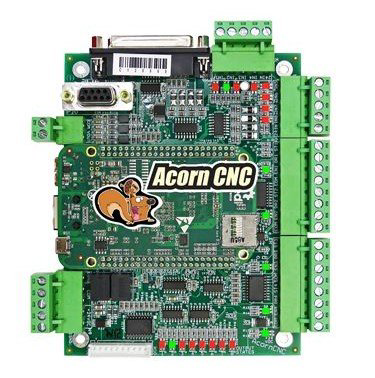
The Acorn CNC by Centroid is a compact and affordable CNC controller designed for hobbyists and small businesses. It provides a user-friendly interface and robust performance, making it an excellent choice for those looking to control CNC machines such as mills, lathes, routers, and plasma cutters. The Acorn CNC is known for its easy setup, compatibility with a wide range of CNC machines, and support for Centroid's powerful CNC12 software.
Explore Projects Built with Acorn CNC


Explore Projects Built with Acorn CNC
Common Applications and Use Cases
- CNC milling machines for precision machining
- CNC lathes for turning operations
- CNC routers for woodworking and engraving
- Plasma cutters for metal cutting
- Educational and prototyping projects
- Small-scale manufacturing and hobbyist projects
Technical Specifications
The Acorn CNC controller is designed to deliver reliable performance while being easy to integrate into various CNC systems. Below are its key technical specifications:
Key Technical Details
- Power Supply Input: 24V DC (regulated)
- Processor: ARM Cortex A8
- Communication Interface: Ethernet
- Supported Motors: Stepper and servo motors
- Number of Axes: Up to 4 axes
- Software Compatibility: Centroid CNC12 software
- Inputs/Outputs:
- 8 optically isolated inputs
- 8 relay outputs
- Dimensions: 5.5" x 5.5" (140mm x 140mm)
- Operating Temperature: 0°C to 50°C
Pin Configuration and Descriptions
The Acorn CNC controller features a well-labeled pinout for easy wiring. Below is the pin configuration:
Input/Output Pin Descriptions
| Pin Name | Type | Description |
|---|---|---|
| IN1 - IN8 | Input | Optically isolated inputs for limit switches, etc. |
| OUT1 - OUT8 | Output | Relay outputs for controlling devices like coolant. |
| +24V | Power Input | 24V DC power supply input. |
| GND | Ground | Ground connection for the power supply. |
| Motor Outputs (X,Y,Z,A) | Motor Control | Step and direction signals for stepper/servo motors. |
| Ethernet Port | Communication | Connects to PC for CNC12 software control. |
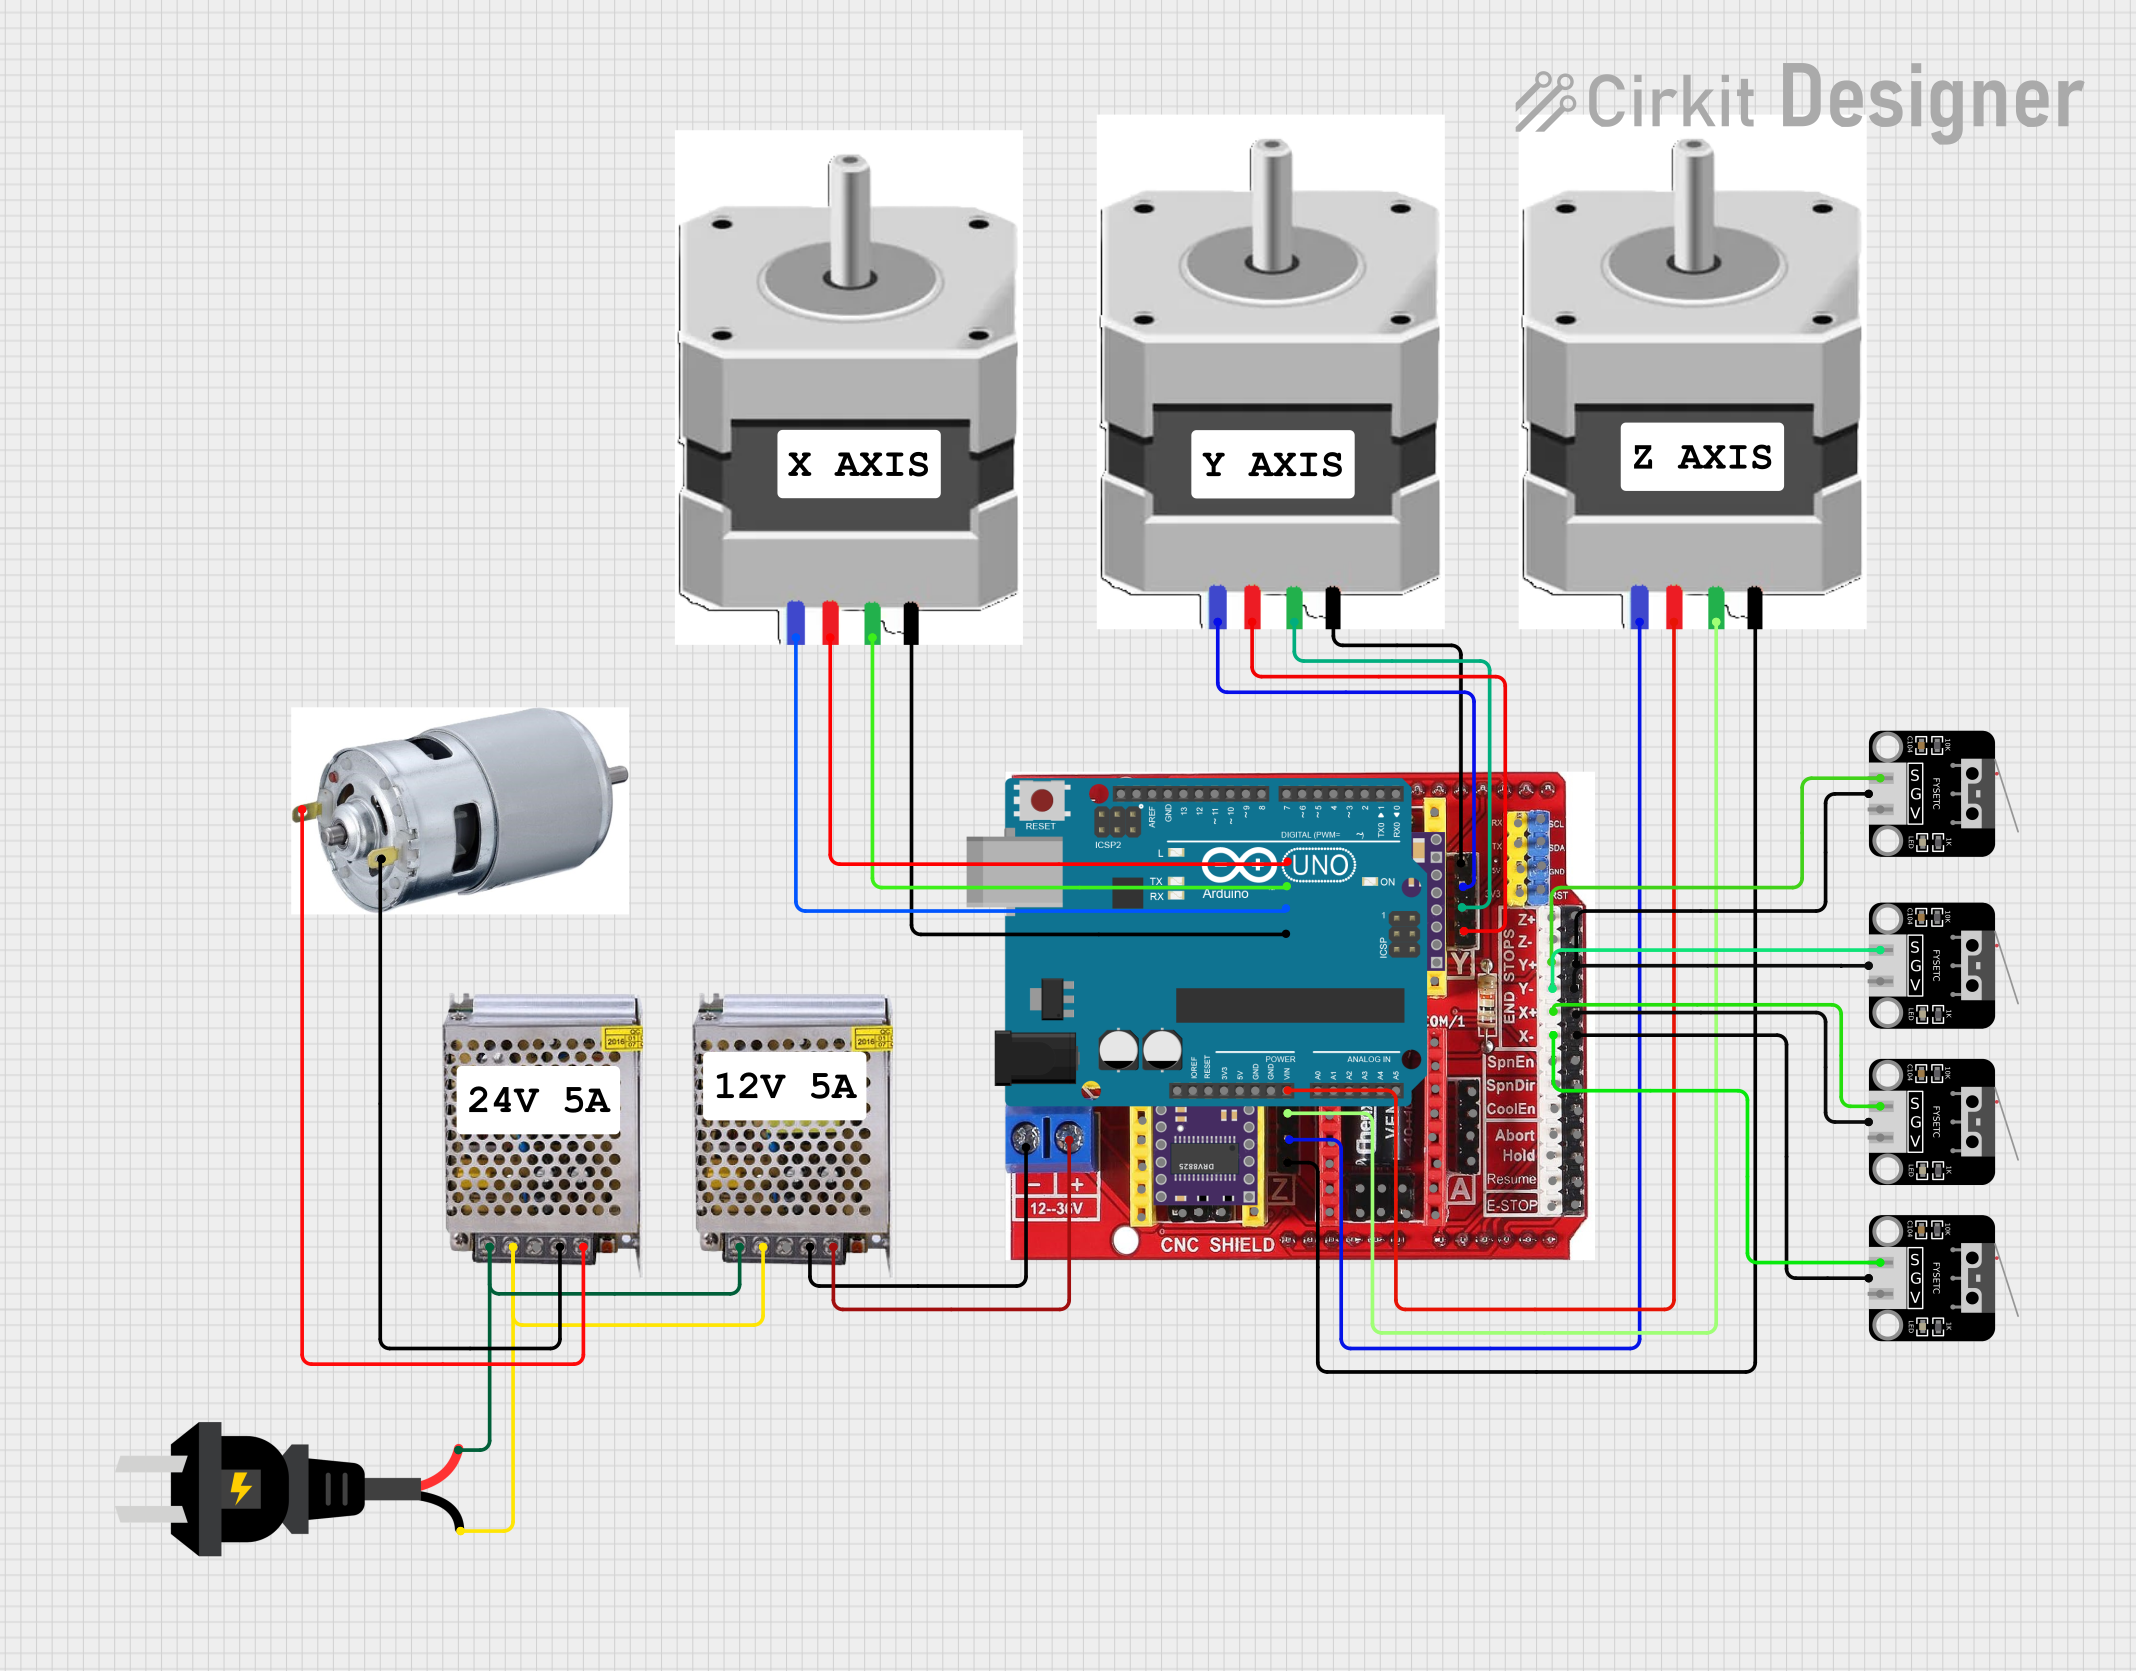
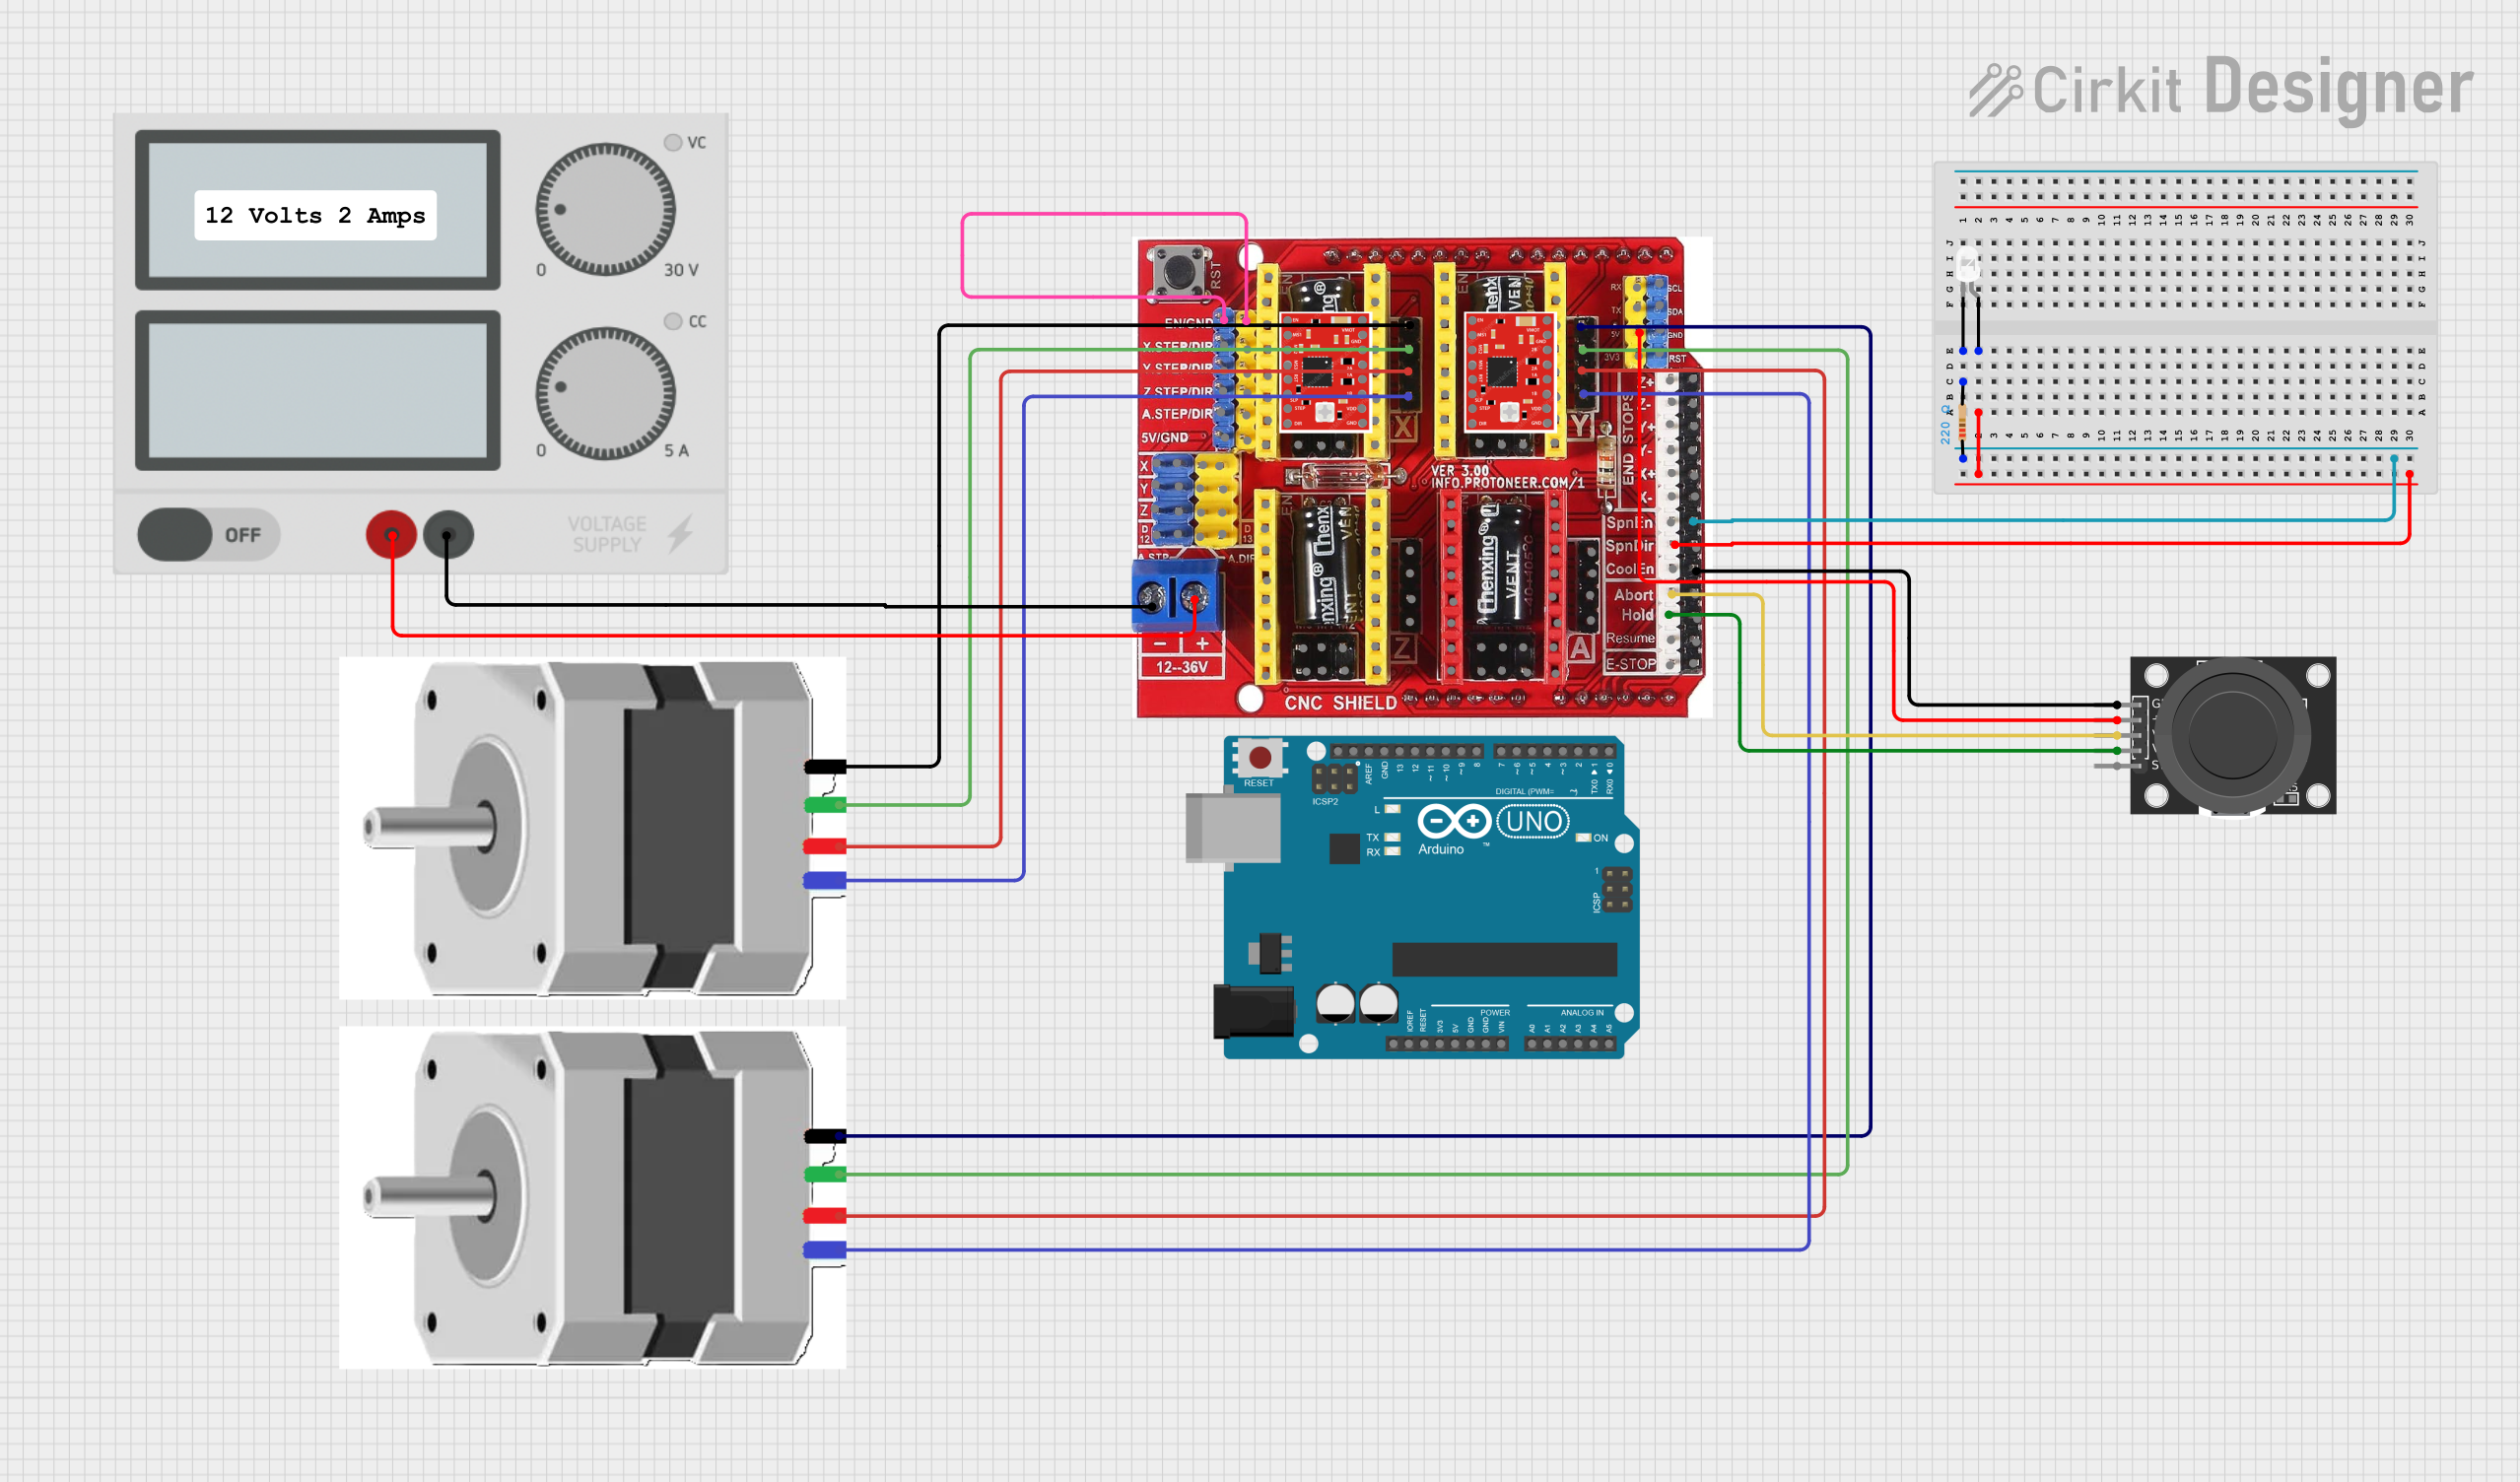
Motor Control Pinout
| Axis | Step Pin | Direction Pin | Description |
|---|---|---|---|
| X | X_STEP | X_DIR | Step and direction signals for X-axis motor. |
| Y | Y_STEP | Y_DIR | Step and direction signals for Y-axis motor. |
| Z | Z_STEP | Z_DIR | Step and direction signals for Z-axis motor. |
| A | A_STEP | A_DIR | Step and direction signals for A-axis motor. |
Usage Instructions
The Acorn CNC controller is designed for ease of use, but proper setup and configuration are essential for optimal performance. Follow the steps below to integrate the Acorn CNC into your CNC system.
Step 1: Hardware Setup
- Power Supply: Connect a regulated 24V DC power supply to the +24V and GND terminals.
- Motor Connections: Wire the stepper or servo motors to the corresponding step and direction pins (X_STEP, X_DIR, etc.).
- Limit Switches: Connect limit switches or other input devices to the optically isolated input pins (IN1 - IN8).
- Relay Outputs: Use the relay outputs (OUT1 - OUT8) to control external devices like coolant pumps or spindle relays.
- Ethernet Connection: Connect the Ethernet port to your PC for communication with the CNC12 software.
Step 2: Software Installation
- Download and install the Centroid CNC12 software from the official Centroid website.
- Configure the software to match your machine's specifications (e.g., motor steps per revolution, axis travel limits).
- Use the software's built-in wizards to calibrate and test the system.
Step 3: Testing and Calibration
- Power on the Acorn CNC controller and ensure all connections are secure.
- Open the CNC12 software and verify communication with the controller.
- Test each axis for proper movement and direction.
- Configure limit switches and safety features to prevent overtravel.
Arduino UNO Integration Example
While the Acorn CNC is primarily controlled via the CNC12 software, it can also interface with an Arduino UNO for custom applications. Below is an example of how to send step and direction signals from an Arduino to the Acorn CNC:
// Example Arduino code to control the X-axis of the Acorn CNC
// Connect Arduino pins to the Acorn CNC's X_STEP and X_DIR pins

#define STEP_PIN 2  // Arduino pin connected to X_STEP
#define DIR_PIN 3   // Arduino pin connected to X_DIR

void setup() {
  pinMode(STEP_PIN, OUTPUT); // Set STEP_PIN as output
  pinMode(DIR_PIN, OUTPUT);  // Set DIR_PIN as output

  digitalWrite(DIR_PIN, LOW); // Set initial direction (LOW or HIGH)
}

void loop() {
  // Generate step pulses for the X-axis motor
  digitalWrite(STEP_PIN, HIGH); // Set STEP_PIN HIGH
  delayMicroseconds(500);       // Wait for 500 microseconds
  digitalWrite(STEP_PIN, LOW);  // Set STEP_PIN LOW
  delayMicroseconds(500);       // Wait for 500 microseconds
}
Best Practices
- Use shielded cables for motor and signal connections to reduce electrical noise.
- Ensure the power supply is stable and within the specified voltage range.
- Regularly inspect connections and components for wear or damage.
- Follow Centroid's guidelines for software updates and maintenance.
Troubleshooting and FAQs
Common Issues and Solutions
No Communication with CNC12 Software:
- Ensure the Ethernet cable is securely connected.
- Verify the PC's network settings match the Acorn CNC's IP address.
- Restart the controller and software.
Motors Not Moving:
- Check motor wiring and ensure connections are secure.
- Verify the step and direction signals are correctly configured in the software.
- Test the power supply voltage.
Limit Switches Not Detected:
- Confirm the switches are wired to the correct input pins (IN1 - IN8).
- Check the software configuration for input assignments.
- Test the switches with a multimeter to ensure they are functioning.
Relay Outputs Not Working:
- Verify the relay wiring and connections.
- Check the software settings for output assignments.
- Test the relays with a multimeter.
FAQs
Q: Can the Acorn CNC control more than 4 axes?
A: No, the Acorn CNC is limited to 4 axes. For more axes, consider Centroid's higher-end controllers.
Q: Is the Acorn CNC compatible with third-party software?
A: The Acorn CNC is designed to work with Centroid's CNC12 software. Third-party software compatibility is not guaranteed.
Q: What types of motors are supported?
A: The Acorn CNC supports both stepper and servo motors with step and direction control.
Q: Can I use the Acorn CNC for plasma cutting?
A: Yes, the Acorn CNC is suitable for plasma cutting applications with proper configuration.
By following this documentation, users can effectively set up and operate the Acorn CNC controller for a variety of CNC applications.