How to Use Adafruit USB LiPoly Charger: Examples, Pinouts, and Specs
Introduction
The Adafruit USB LiPoly Charger is a compact and efficient charging module designed specifically for lithium polymer (LiPoly) and lithium-ion batteries. It allows for easy charging via a standard USB connection, making it ideal for portable and embedded electronics projects. The charger features built-in protection circuitry to prevent overcharging, ensuring safe and reliable operation. Its small form factor makes it suitable for applications where space is limited.
Explore Projects Built with Adafruit USB LiPoly Charger
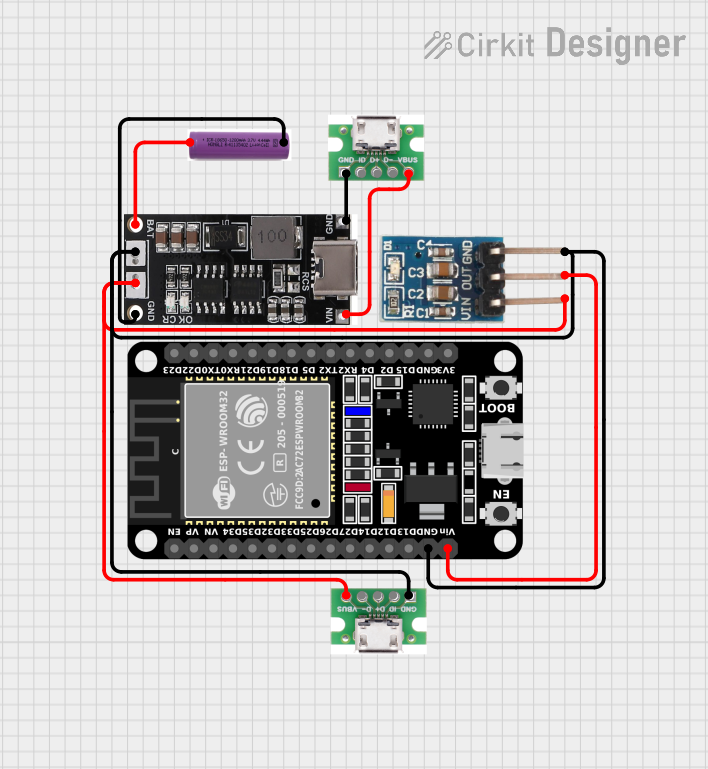


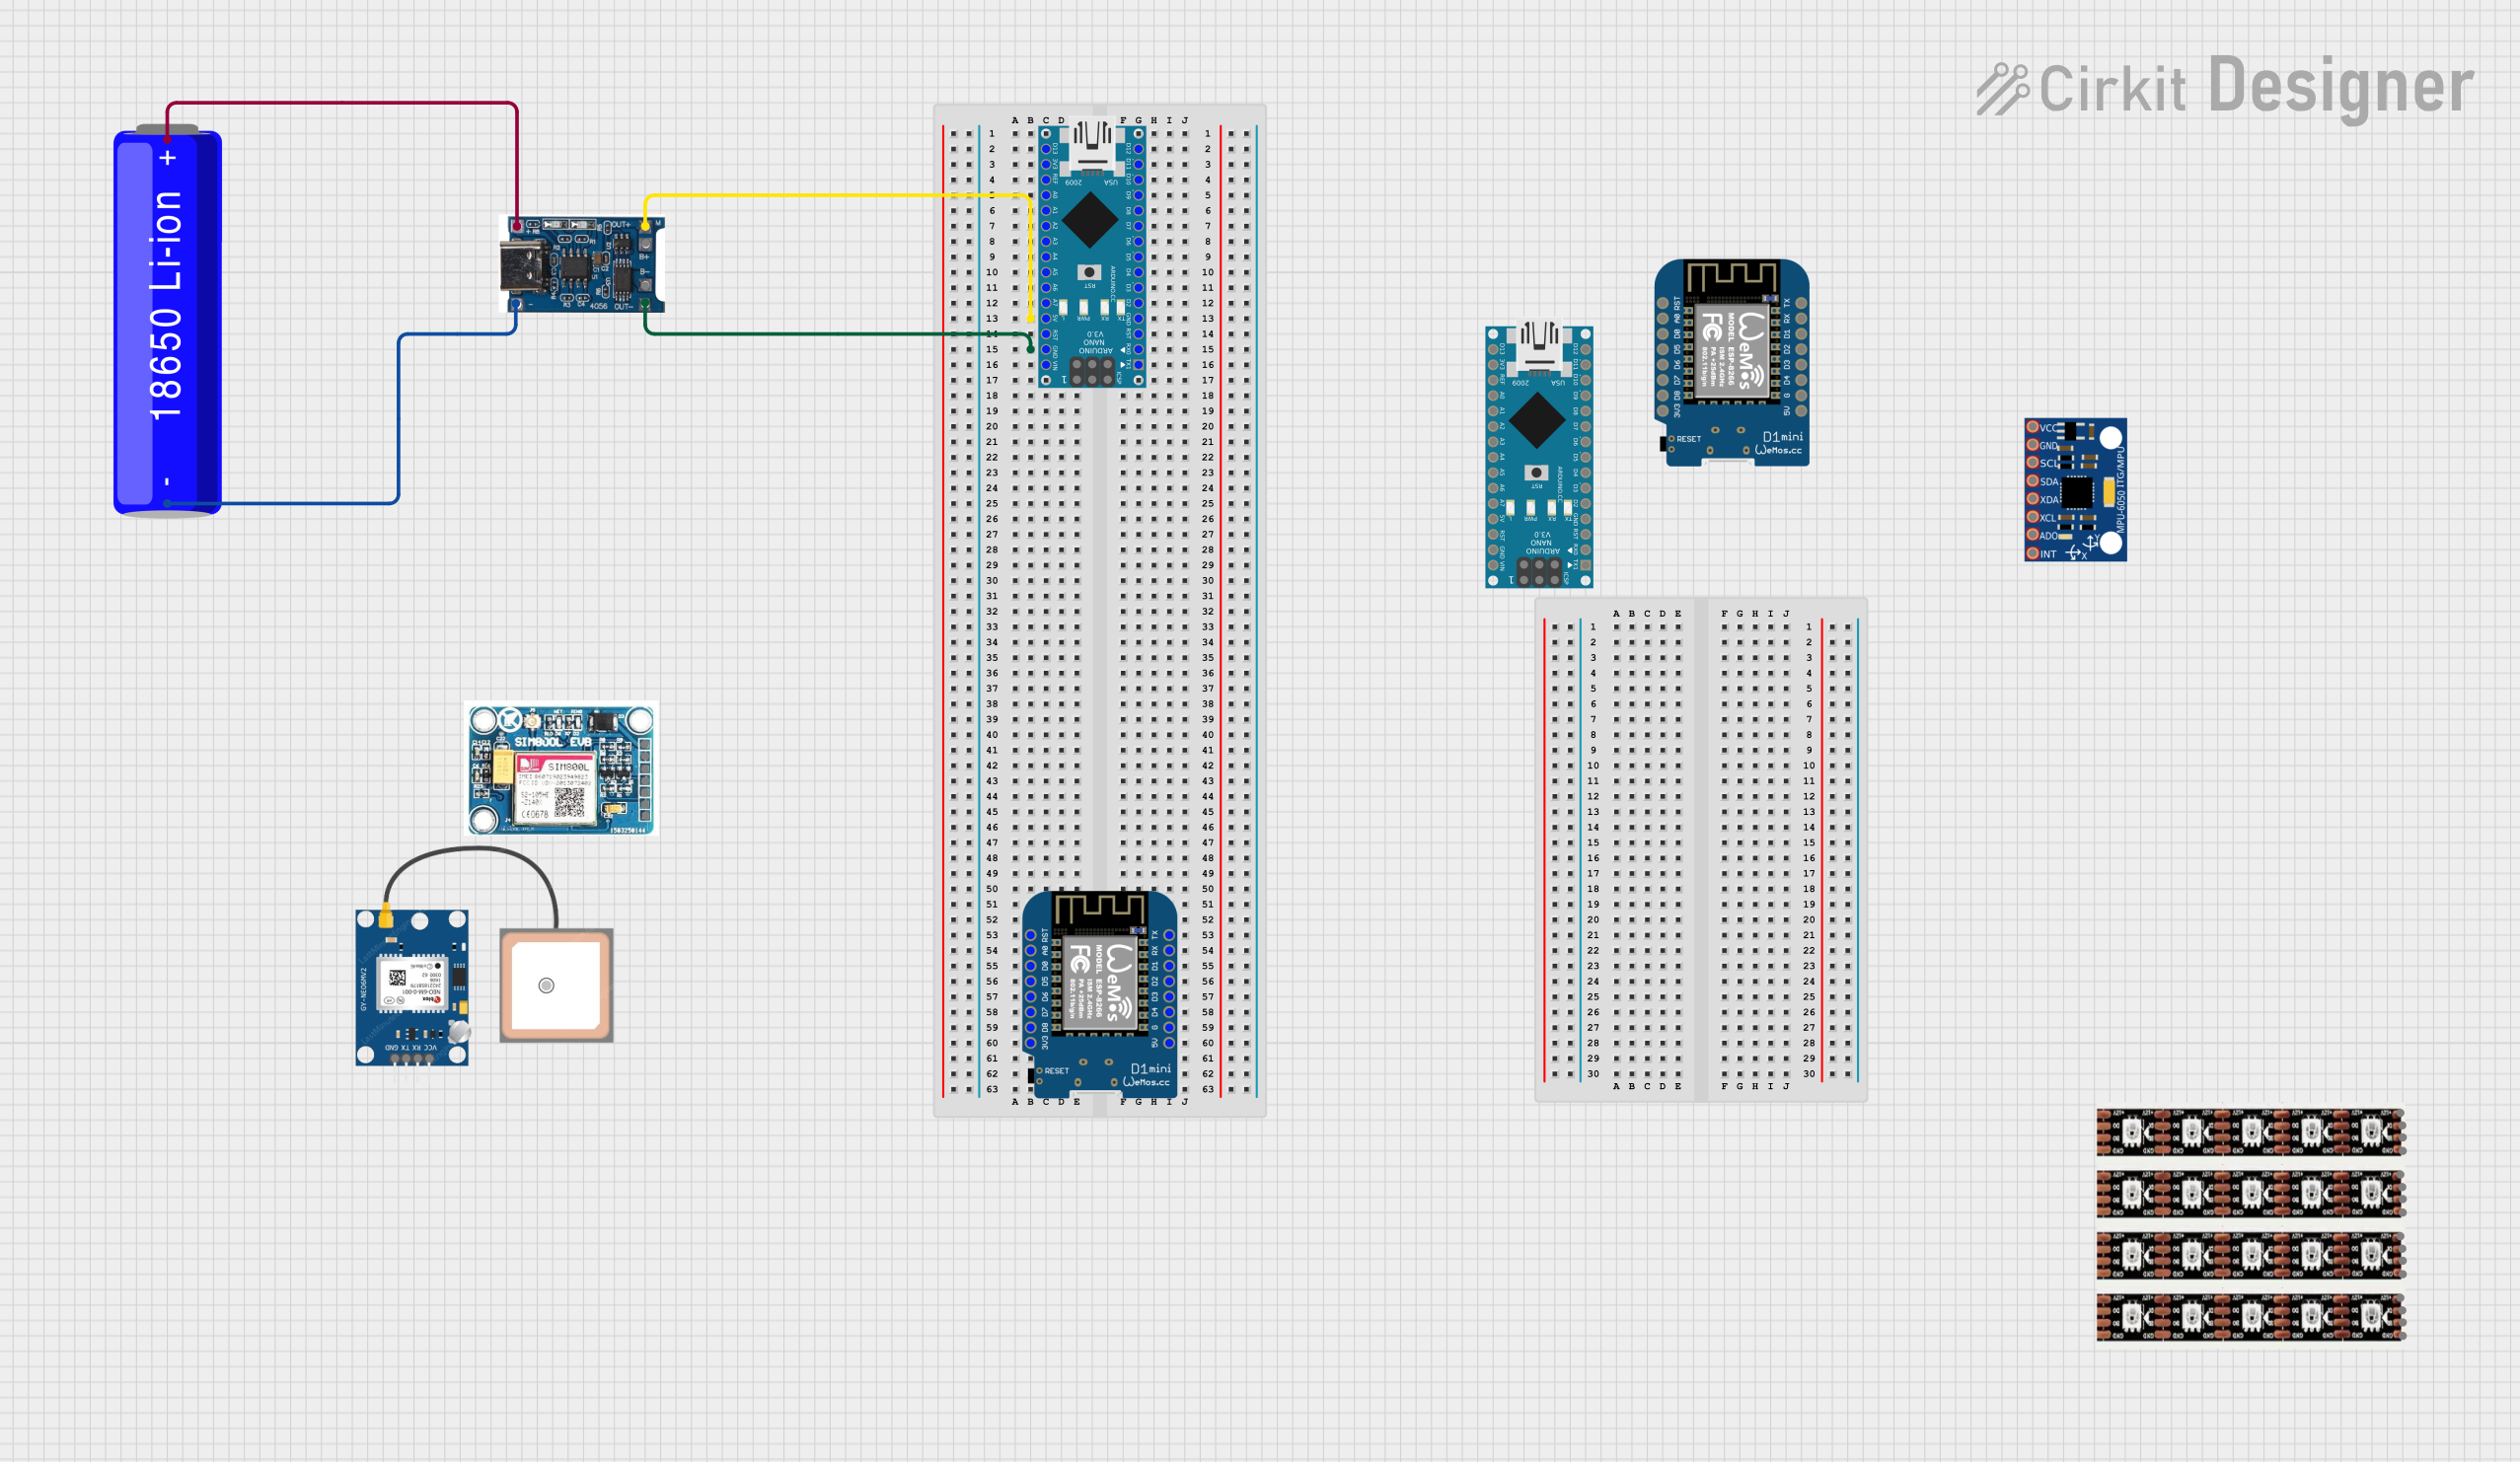
Explore Projects Built with Adafruit USB LiPoly Charger
Common Applications and Use Cases
- Charging lithium polymer or lithium-ion batteries for portable devices
- Powering wearable electronics and IoT devices
- Prototyping battery-powered projects
- Safe and efficient charging for robotics and embedded systems
Technical Specifications
The Adafruit USB LiPoly Charger is designed to provide reliable and safe charging for single-cell LiPoly batteries. Below are the key technical details:
| Specification | Details |
|---|---|
| Input Voltage | 5V (via USB micro-B connector) |
| Charging Current | 500mA (default), adjustable to 100mA |
| Battery Compatibility | Single-cell LiPoly/Li-ion batteries |
| Charge Termination Voltage | 4.2V ± 1% |
| Protection Features | Overcharge, short-circuit, and reverse polarity protection |
| Dimensions | 25mm x 17mm x 4mm |
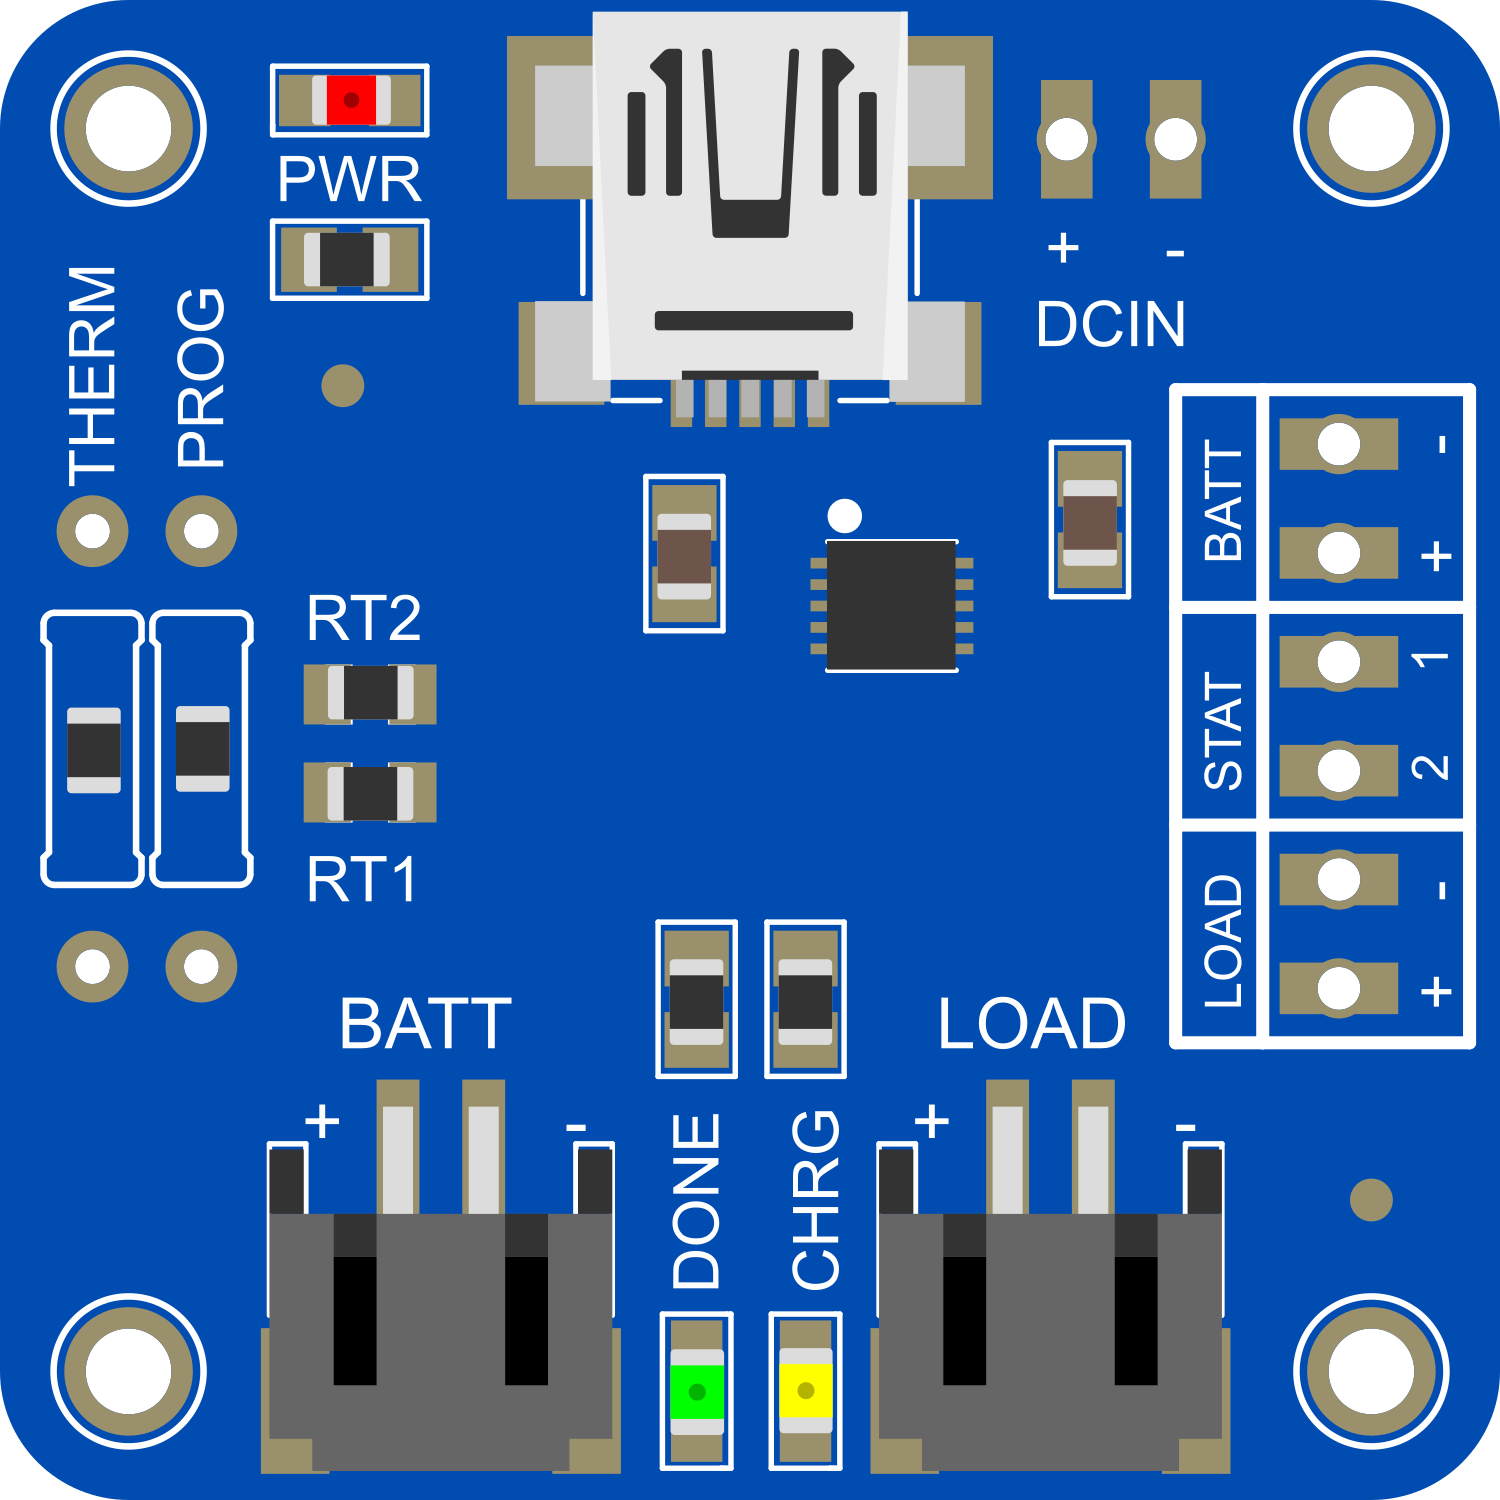
Pin Configuration and Descriptions
The Adafruit USB LiPoly Charger has a simple pinout for easy integration into your projects:
| Pin Name | Description |
|---|---|
| BAT | Connect to the positive terminal of the LiPoly/Li-ion battery |
| GND | Ground connection for the battery and circuit |
| USB | Micro-B USB connector for 5V input power |
| PROG | Used to adjust the charging current (default is 500mA, can be reduced to 100mA) |
| STAT | Status pin: Indicates charging state (LED output for visual feedback) |
Usage Instructions
How to Use the Adafruit USB LiPoly Charger in a Circuit
- Connect the Battery: Attach the positive terminal of your LiPoly or Li-ion battery to the
BATpin and the negative terminal to theGNDpin. - Power the Charger: Plug a USB cable into the micro-B USB connector to supply 5V power to the charger.
- Monitor Charging Status: Use the
STATpin or the onboard LED to monitor the charging state:- Red LED: Charging in progress.
- Green LED: Charging complete.
- Adjust Charging Current (Optional): If you need to reduce the charging current to 100mA (e.g., for smaller batteries), solder a resistor to the
PROGpin as per the datasheet instructions.
Important Considerations and Best Practices
- Battery Compatibility: Ensure the battery is a single-cell LiPoly or Li-ion type with a nominal voltage of 3.7V.
- Heat Management: The charger may become warm during operation. Ensure proper ventilation to avoid overheating.
- USB Power Source: Use a reliable USB power source capable of supplying at least 500mA.
- Avoid Overdischarge: Do not allow the battery to discharge below 3.0V, as this can damage the cell.
Example: Using with an Arduino UNO
The Adafruit USB LiPoly Charger can be used to power an Arduino UNO via a LiPoly battery. Below is an example of how to monitor the charging status using the STAT pin:
// Example code to monitor the charging status of the Adafruit USB LiPoly Charger
// Connect the STAT pin of the charger to Arduino digital pin 2

const int statPin = 2; // STAT pin connected to digital pin 2

void setup() {
  pinMode(statPin, INPUT); // Set STAT pin as input
  Serial.begin(9600);      // Initialize serial communication
}

void loop() {
  int chargingStatus = digitalRead(statPin); // Read the STAT pin state

  if (chargingStatus == LOW) {
    // STAT pin LOW indicates charging in progress
    Serial.println("Battery is charging...");
  } else {
    // STAT pin HIGH indicates charging is complete
    Serial.println("Battery is fully charged.");
  }

  delay(1000); // Wait for 1 second before checking again
}
Troubleshooting and FAQs
Common Issues and Solutions
LEDs Not Lighting Up
- Cause: No power supply or loose connections.
- Solution: Ensure the USB cable is properly connected and the power source is functional.
Battery Not Charging
- Cause: Incorrect battery connection or incompatible battery type.
- Solution: Verify the battery polarity and ensure it is a single-cell LiPoly or Li-ion battery.
Charger Overheating
- Cause: Insufficient ventilation or excessive charging current.
- Solution: Reduce the charging current by adjusting the
PROGpin or improve airflow around the charger.
Charging Takes Too Long
- Cause: Large battery capacity or low charging current.
- Solution: Increase the charging current (if safe for the battery) or use a higher-capacity USB power source.
FAQs
Can I use this charger with a multi-cell battery?
- No, the Adafruit USB LiPoly Charger is designed for single-cell batteries only.
How do I adjust the charging current?
- Solder a resistor to the
PROGpin as per the datasheet to set the desired current.
- Solder a resistor to the
What happens if I leave the battery connected after it is fully charged?
- The charger will stop charging once the battery reaches 4.2V, preventing overcharging.
Can I use this charger while powering my project?
- Yes, but ensure the battery can handle the combined load of charging and powering the project.
This documentation provides all the necessary details to safely and effectively use the Adafruit USB LiPoly Charger in your projects.