How to Use SDCARD: Examples, Pinouts, and Specs
Introduction
The SDCARD (microSD), manufactured by jcB, is a secure digital card designed for data storage in electronic devices. It is widely used in applications requiring portable and reliable storage, such as digital cameras, smartphones, IoT devices, and embedded systems. Its compact size and high storage capacity make it an essential component for modern electronics.
Explore Projects Built with SDCARD

Explore Projects Built with SDCARD
Common Applications and Use Cases
- Data logging in microcontroller-based systems
- Storing multimedia files (images, videos, audio)
- Bootable storage for single-board computers (e.g., Raspberry Pi)
- Portable storage for smartphones and cameras
- Firmware updates and configuration storage for embedded devices
Technical Specifications
The jcB microSD card adheres to the SD card standard and offers the following technical specifications:
| Parameter | Specification |
|---|---|
| Manufacturer | jcB |
| Part ID | microSD |
| Storage Capacity | Varies (e.g., 4GB, 8GB, 16GB, 32GB) |
| Operating Voltage | 2.7V - 3.6V |
| Interface | SPI / SDIO |
| Data Transfer Speed | Up to 25 MB/s (standard mode) |
| Operating Temperature | -25°C to 85°C |
| Dimensions | 15mm x 11mm x 1mm |
| File System Support | FAT16, FAT32, exFAT |
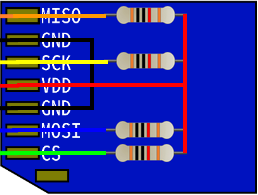
Pin Configuration and Descriptions
The microSD card has a standard 8-pin configuration. Below is the pinout and description:
| Pin Number | Pin Name | Description |
|---|---|---|
| 1 | DAT2 | Data Line 2 (Not used in SPI mode) |
| 2 | CD/DAT3 | Card Detect/Data Line 3 |
| 3 | CMD | Command/Response Line |
| 4 | VDD | Power Supply (2.7V - 3.6V) |
| 5 | CLK | Clock Signal |
| 6 | VSS | Ground |
| 7 | DAT0 | Data Line 0 |
| 8 | DAT1 | Data Line 1 (Not used in SPI mode) |
Usage Instructions
How to Use the microSD Card in a Circuit
Hardware Connections:
- Connect the microSD card to a microcontroller or development board using an SD card module or directly via SPI pins.
- Ensure proper power supply (2.7V - 3.6V) and ground connections.
- Use pull-up resistors on the CMD, DAT0, DAT1, and DAT2 lines for reliable communication.
Software Setup:
- Use an appropriate library (e.g., SD library for Arduino) to initialize and communicate with the microSD card.
- Format the card with a supported file system (FAT16, FAT32, or exFAT) before use.
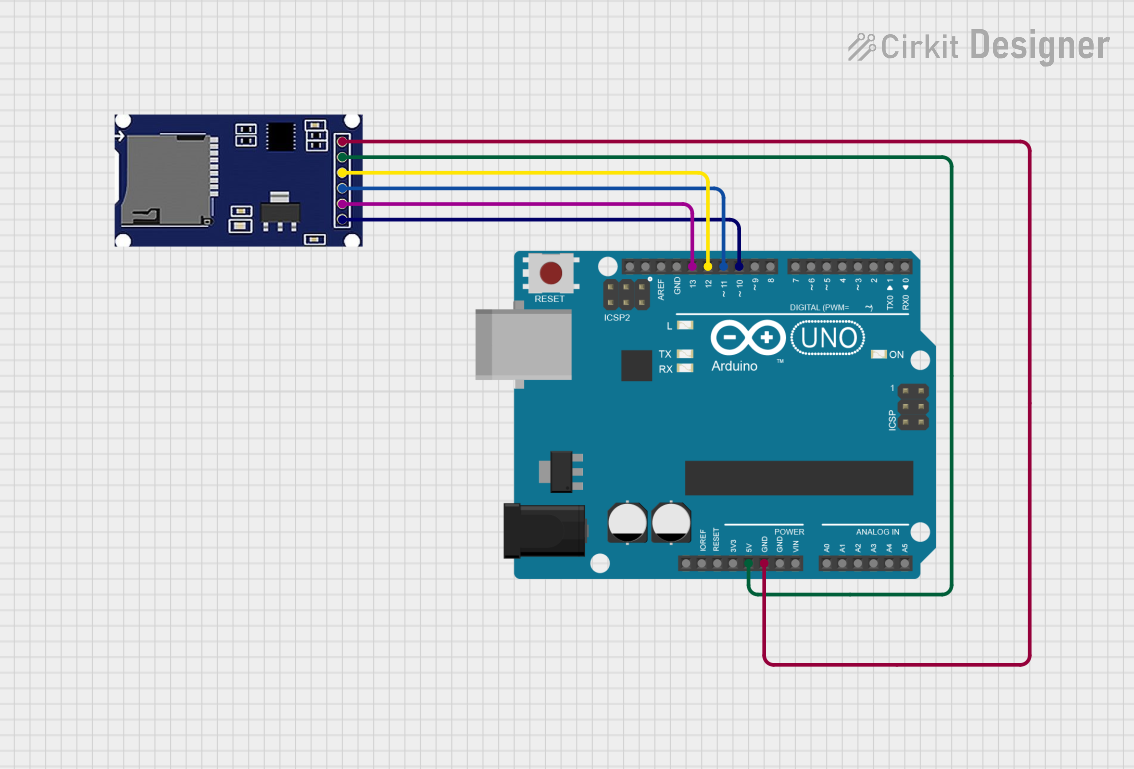
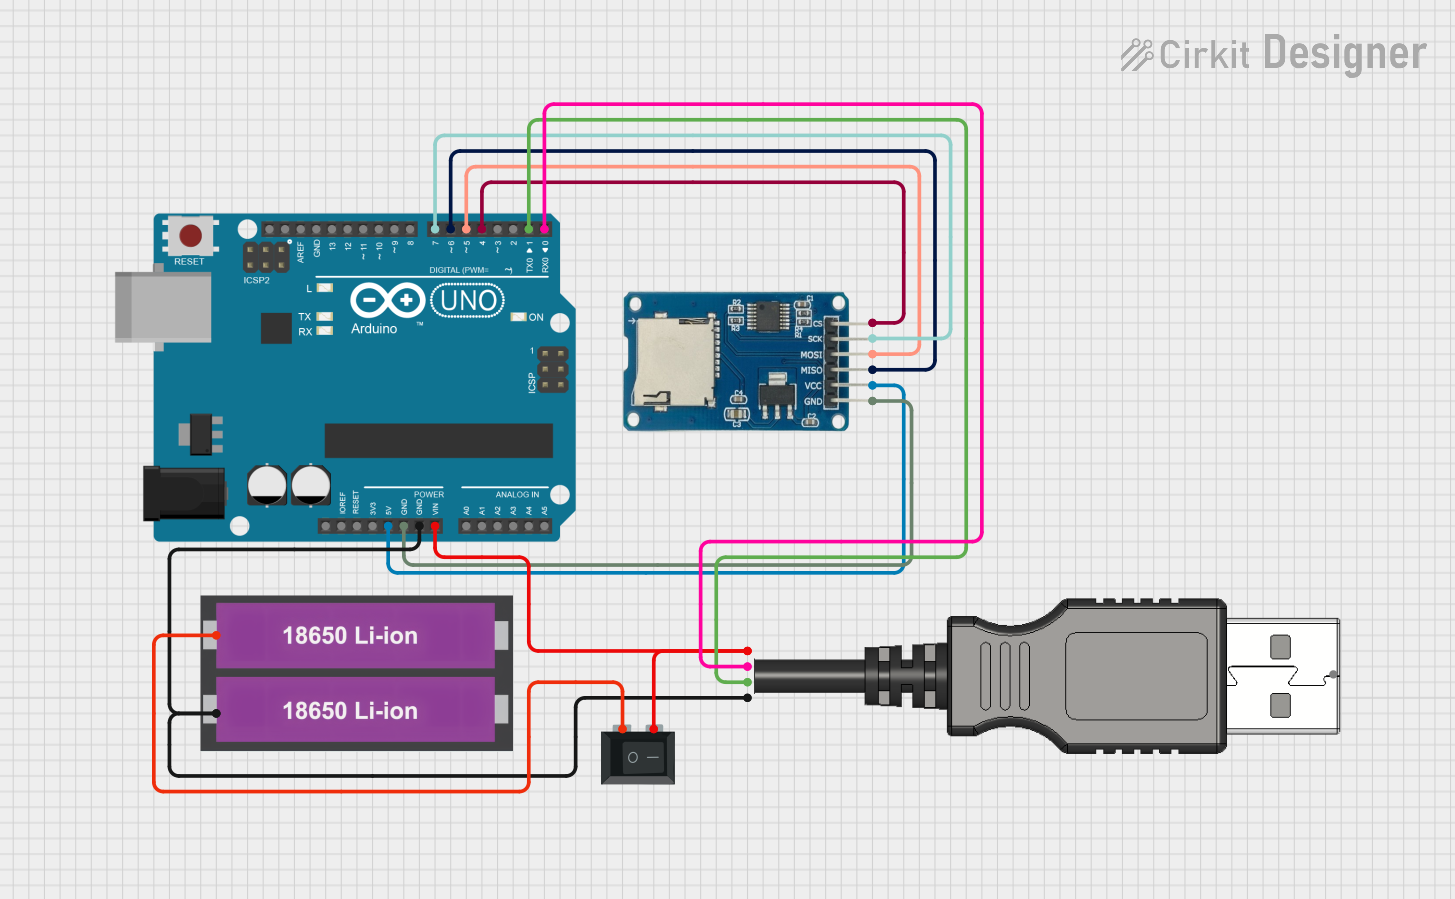
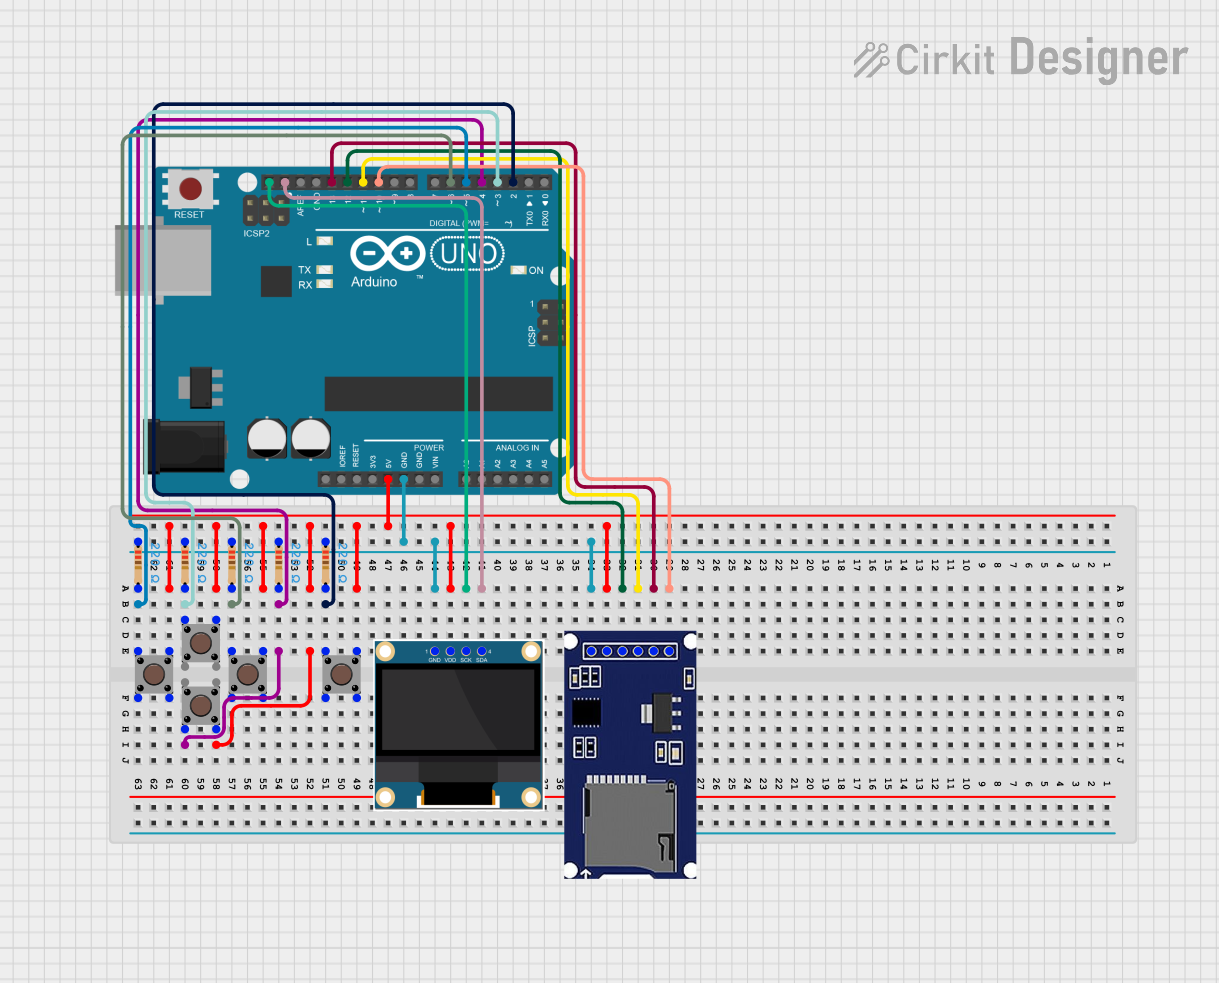
Example Circuit:
- Connect the microSD card module to an Arduino UNO as follows:
CS(Chip Select) to Arduino pin 10MOSIto Arduino pin 11MISOto Arduino pin 12SCKto Arduino pin 13VCCto 3.3V or 5V (depending on the module)GNDto Ground
- Connect the microSD card module to an Arduino UNO as follows:
Example Code for Arduino UNO
#include <SPI.h>
#include <SD.h>

// Define the chip select pin for the SD card module
const int chipSelect = 10;

void setup() {
  // Initialize serial communication for debugging
  Serial.begin(9600);
  while (!Serial) {
    ; // Wait for the serial port to connect (for native USB boards)
  }

  Serial.println("Initializing SD card...");

  // Check if the SD card is present and can be initialized
  if (!SD.begin(chipSelect)) {
    Serial.println("Card failed, or not present");
    // Stop further execution if the card is not detected
    while (1);
  }
  Serial.println("Card initialized successfully!");

  // Create or open a file on the SD card
  File dataFile = SD.open("example.txt", FILE_WRITE);

  // Check if the file opened successfully
  if (dataFile) {
    dataFile.println("Hello, SD card!"); // Write data to the file
    dataFile.close(); // Close the file
    Serial.println("Data written to file.");
  } else {
    Serial.println("Error opening file.");
  }
}

void loop() {
  // Nothing to do here
}
Important Considerations and Best Practices
- Always format the microSD card using the official SD Formatter tool for optimal performance.
- Avoid removing the card while the system is powered on to prevent data corruption.
- Use level shifters or voltage dividers if interfacing a 5V microcontroller with a 3.3V microSD card.
- Ensure proper ESD protection when handling the card to avoid damage.
Troubleshooting and FAQs
Common Issues and Solutions
SD Card Not Detected:
- Ensure proper wiring and check for loose connections.
- Verify that the card is formatted with a supported file system.
- Check the power supply voltage (2.7V - 3.6V).
File Write/Read Errors:
- Ensure sufficient free space on the card.
- Verify that the file name and path are correct.
- Check for proper initialization in the code.
Slow Data Transfer Speeds:
- Use a high-speed microSD card (Class 10 or UHS-I).
- Optimize the SPI clock speed in the microcontroller settings.
Card Fails After Prolonged Use:
- Flash memory has a limited write cycle lifespan; replace the card if necessary.
- Avoid frequent write operations to extend the card's life.
FAQs
Q1: Can I use the microSD card with a 5V microcontroller?
A1: Yes, but you need to use a level shifter or voltage divider to step down the 5V signals to 3.3V.
Q2: What is the maximum storage capacity supported by the jcB microSD card?
A2: The maximum capacity depends on the specific model, but jcB microSD cards typically support up to 32GB.
Q3: How do I recover data from a corrupted microSD card?
A3: Use data recovery software or tools like chkdsk on Windows. If the card is physically damaged, professional recovery services may be required.
Q4: Can I use the microSD card for booting an operating system?
A4: Yes, as long as the device supports booting from an SD card and the card is properly formatted with the required boot files.
Q5: Is the jcB microSD card waterproof?
A5: Check the specific product datasheet for environmental ratings. Many microSD cards are water-resistant but not fully waterproof.